I have well and truly caught the knitting bug. My previous knitting projects have consisted of rotating the same few patterns over and over but I’m feeling much more confident and having fun branching out into new projects now.
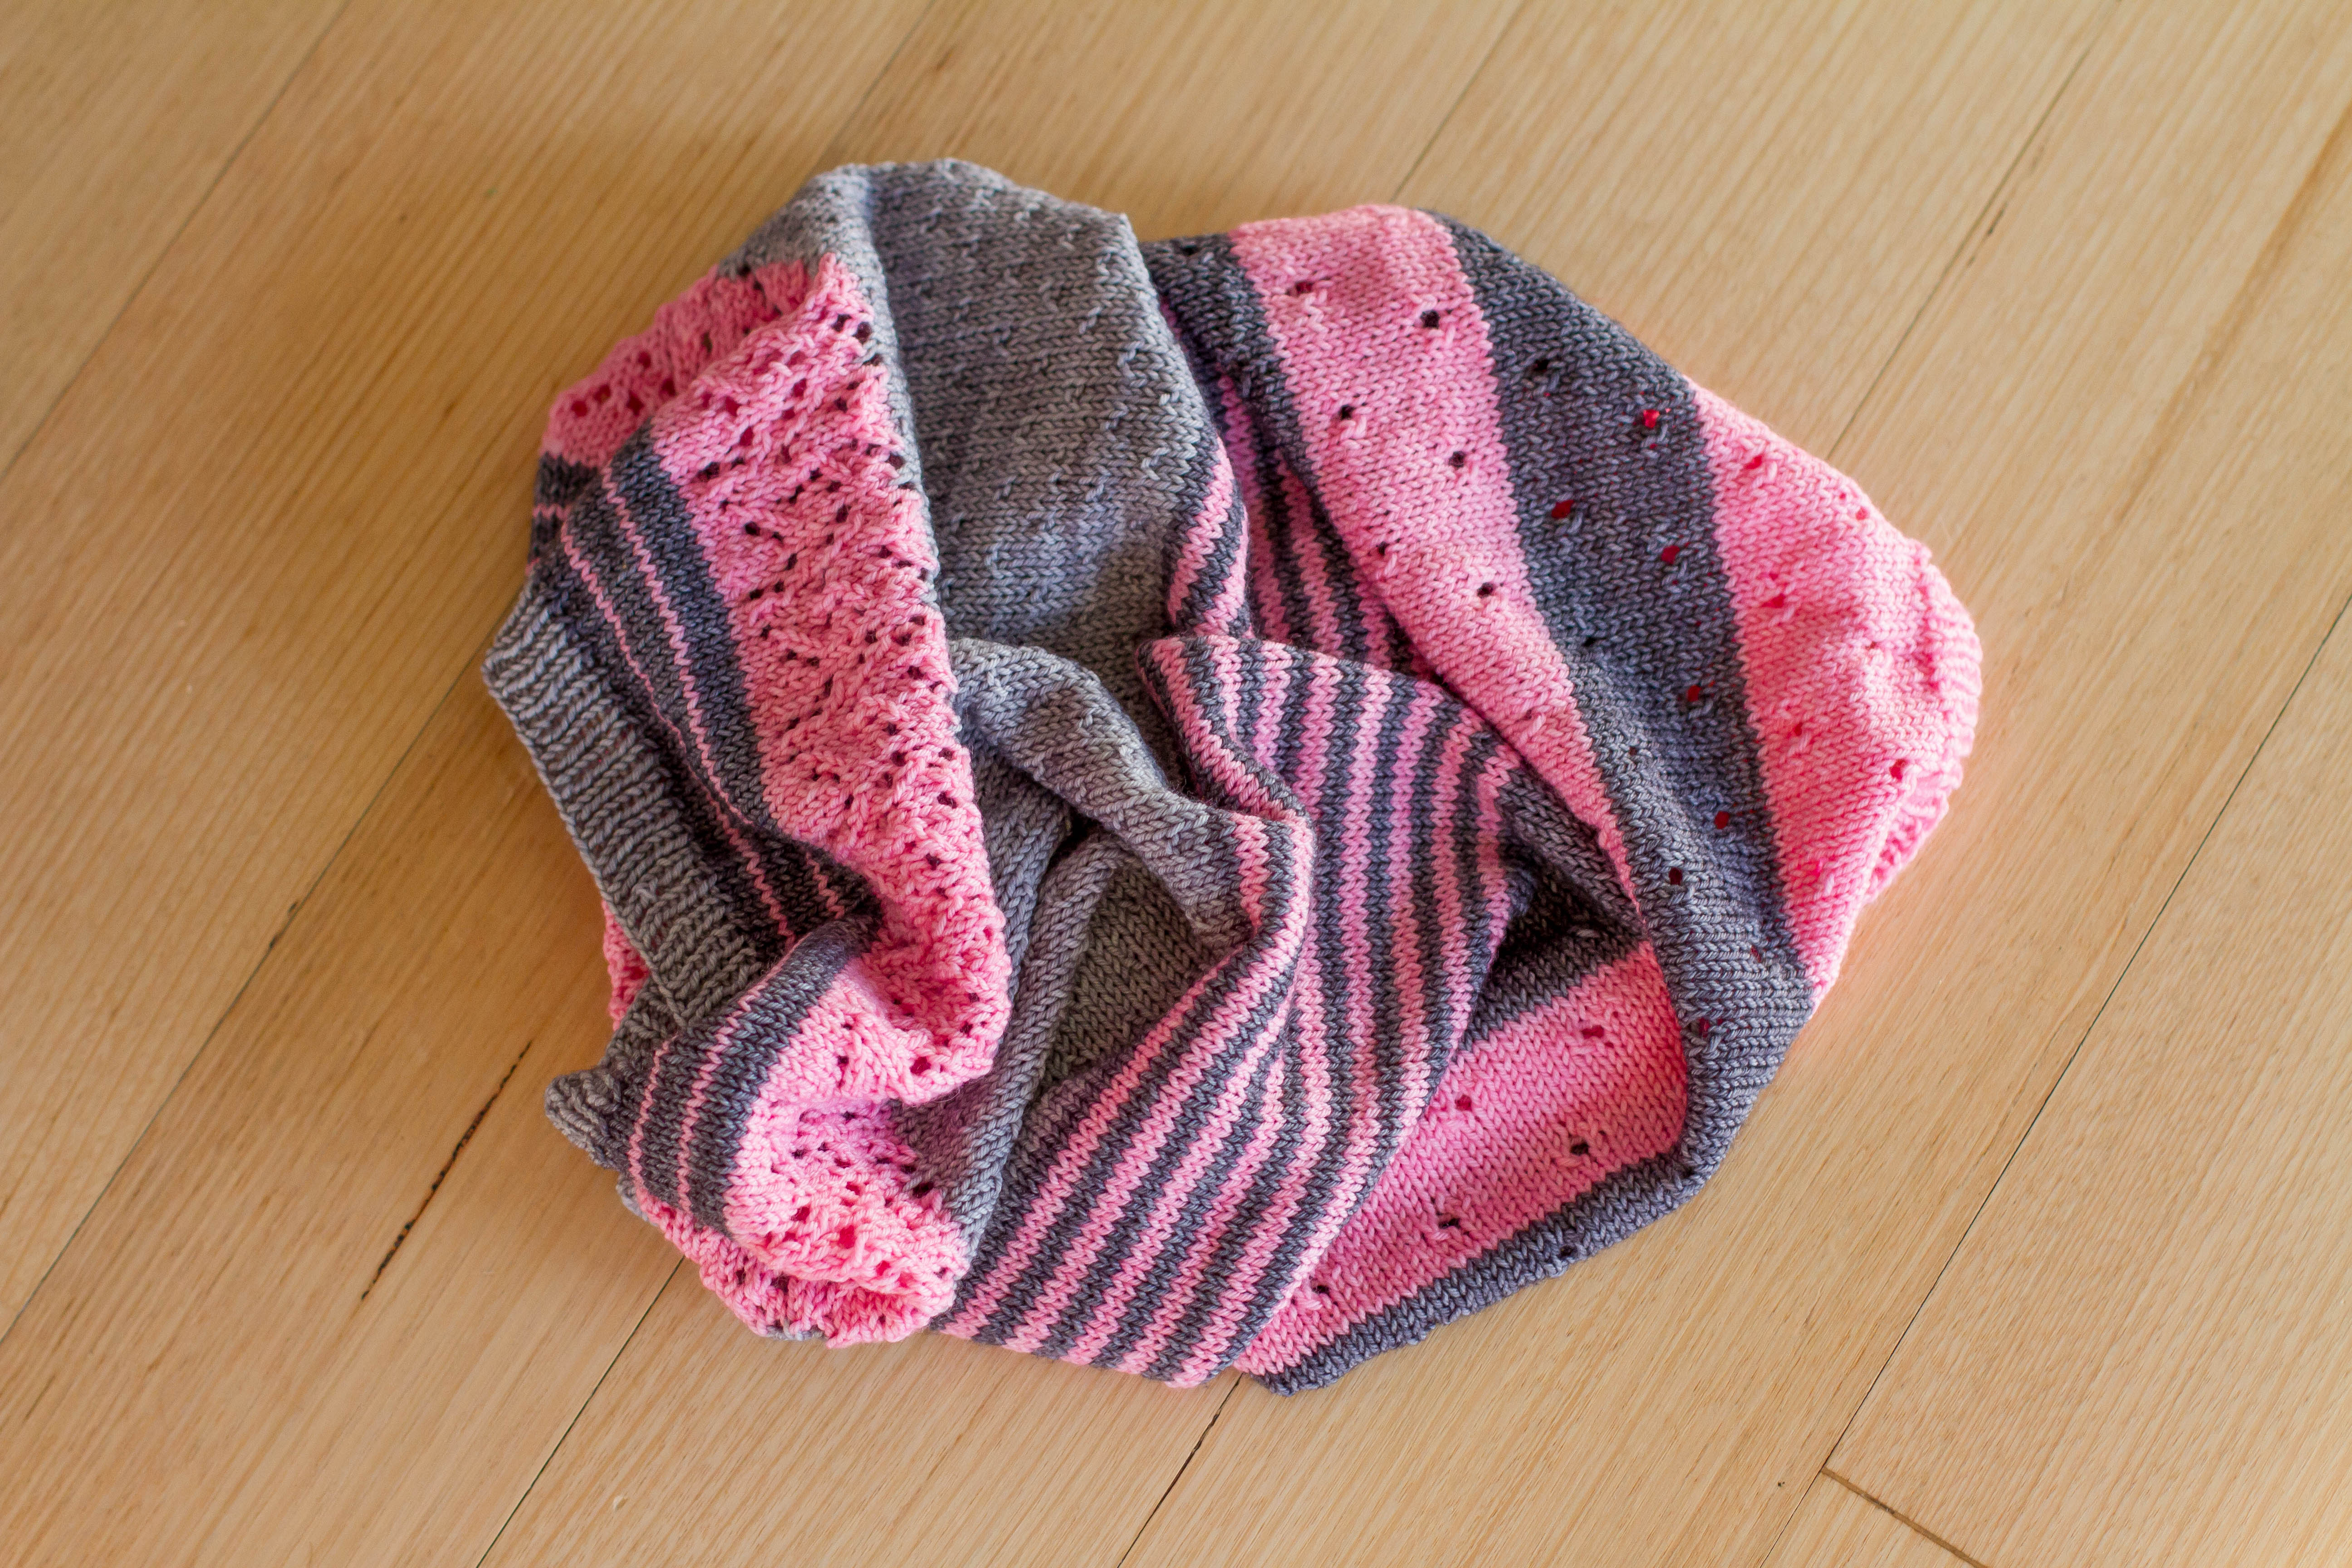
This 3-Colour Cashmere Cowl is a very popular pattern and a few of my friends have knitted it so I knew it would be a winner. I ordered 3 x 50g balls of Lush sock yarn from Little Plum Yarn (an awesome Aussie dyer who is no longer in business – boo!) and they were the perfect length to knit this cowl without any left-overs. The colours I chose were Gunmetal, Silver & Belle.
If you are unfamiliar with the 3-Colour Cashmere Cowl pattern, it is basically a long, narrow tube, knit in the round on circular needles and consists of blocks of different colour, design and stitches (um…there is probably a more accurate way to describe it but my technical knitting terminology is not up there yet!) Anyway, I loved this knit! It was fun, fairly quick and switching between colours and stitches kept it interesting.
I love wearing this cowl, the pops of colour brighten up a neutral outfit and, best of all, it is super warm!
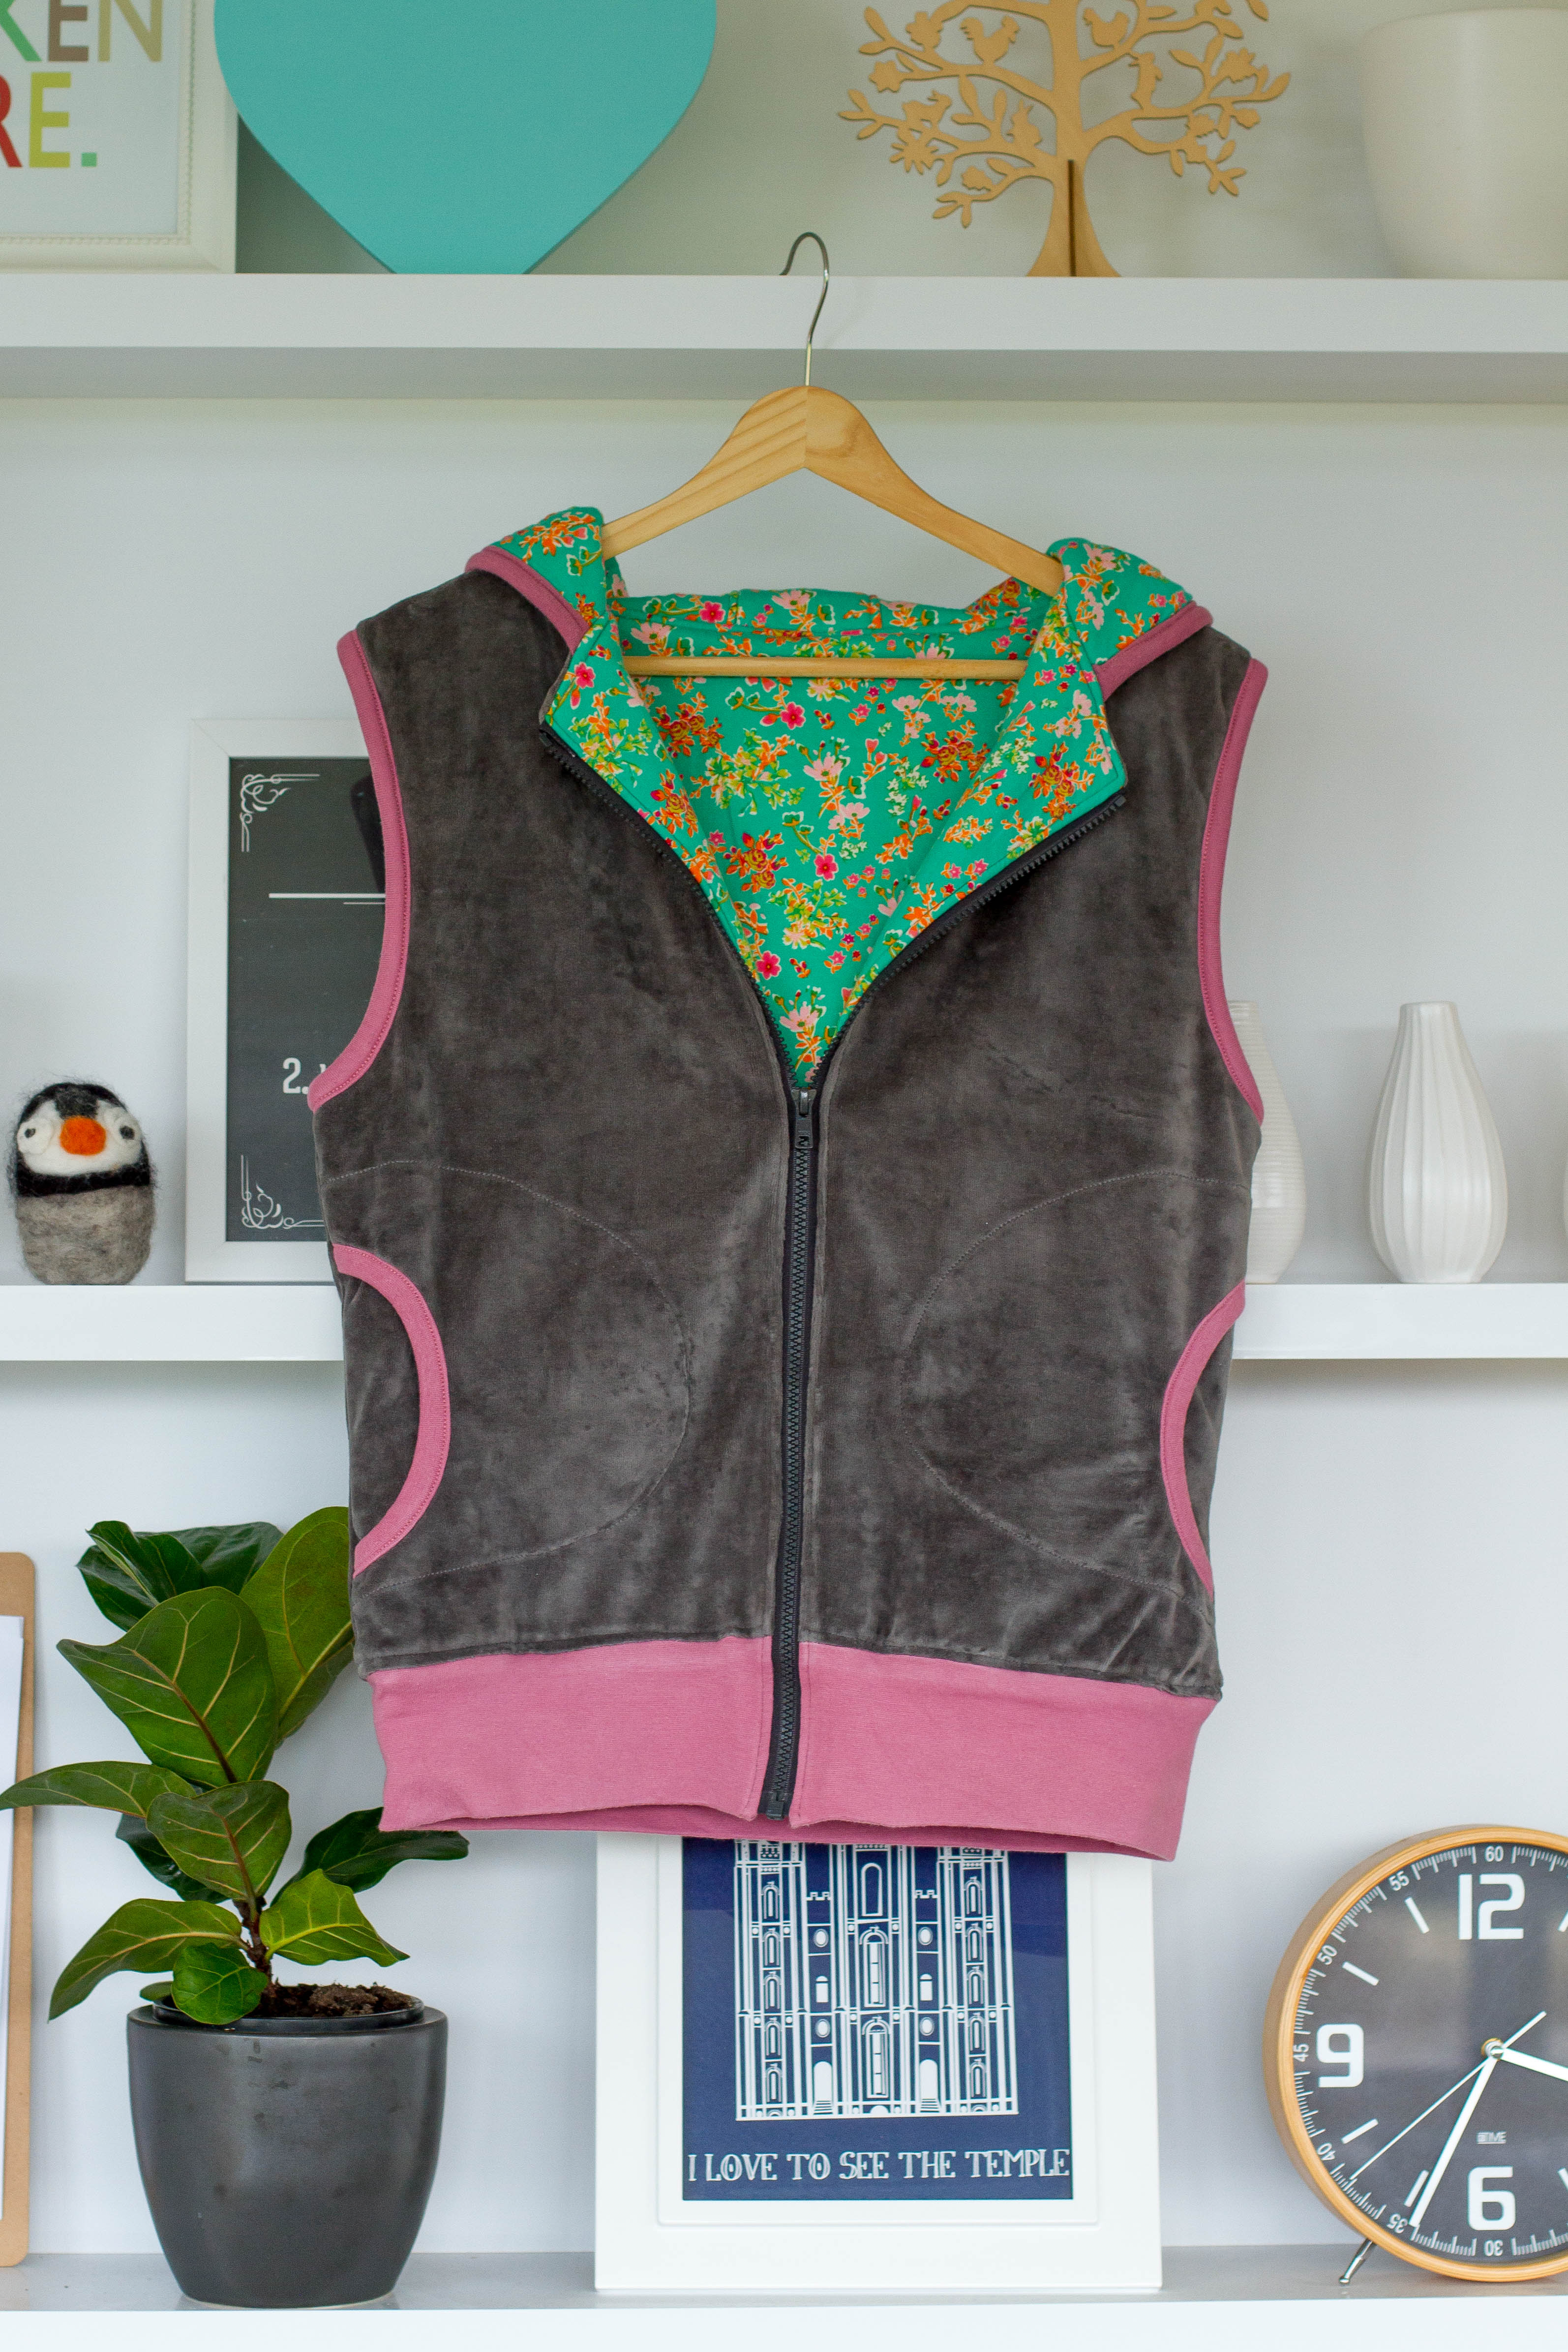
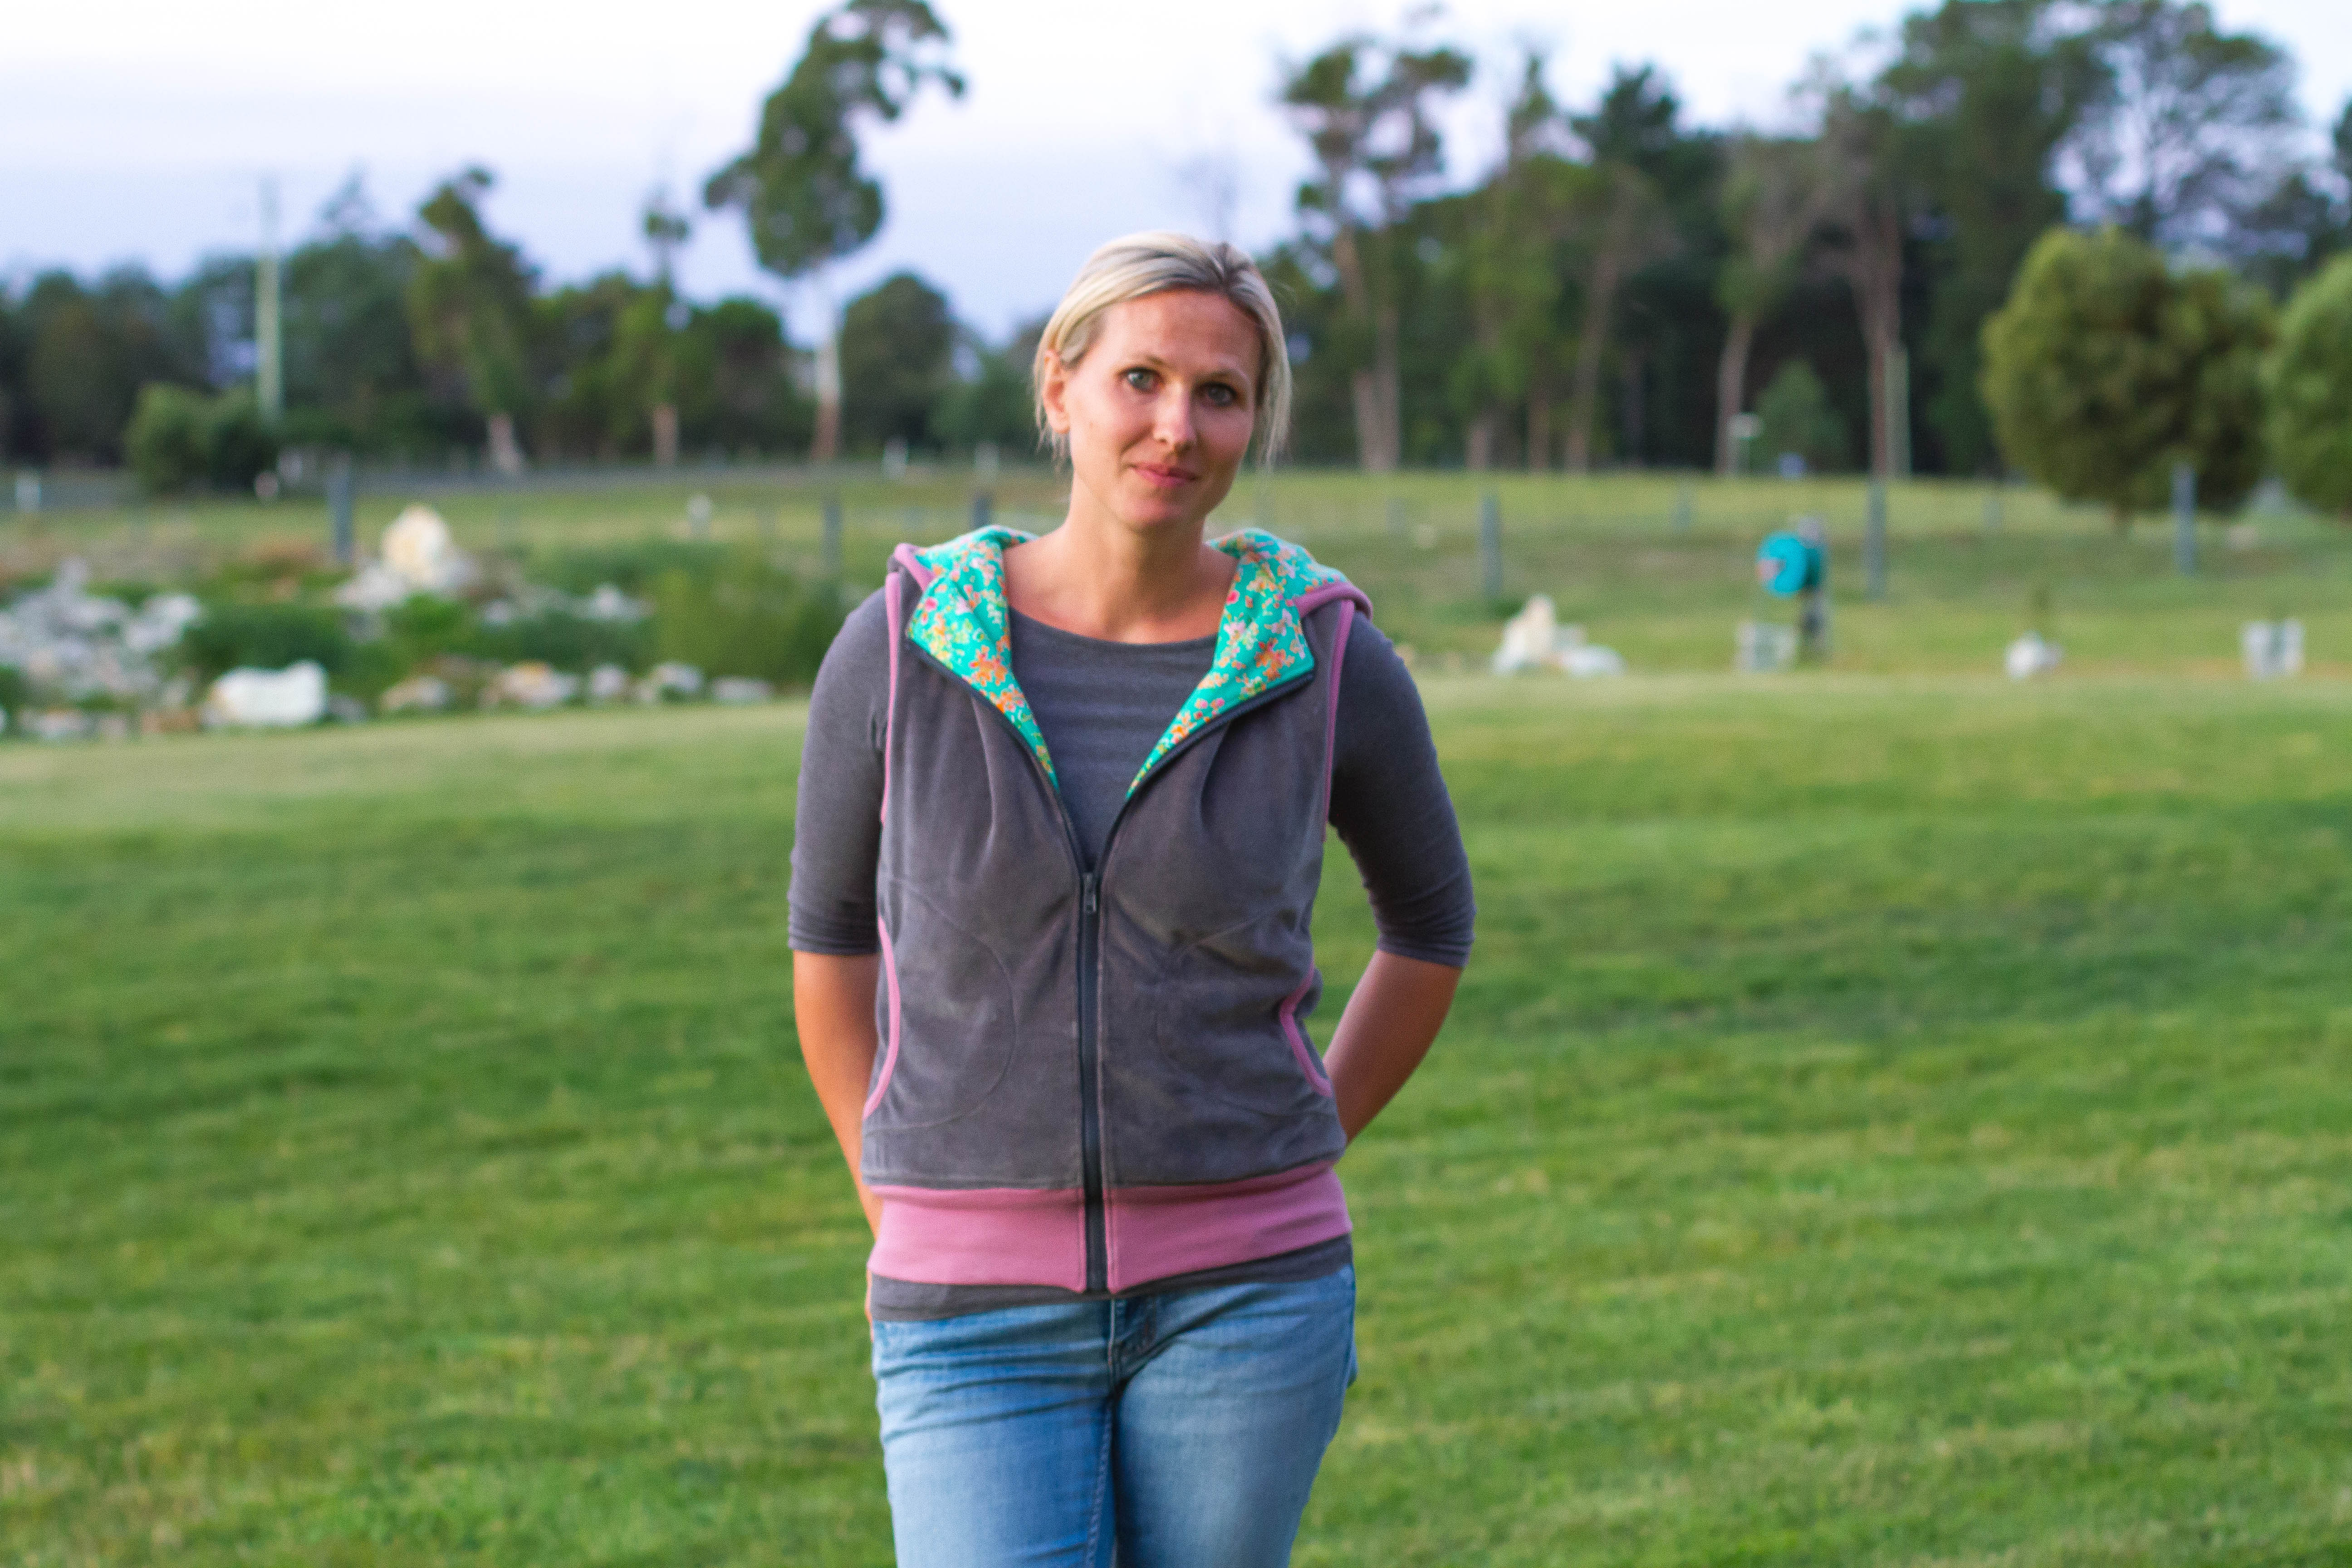
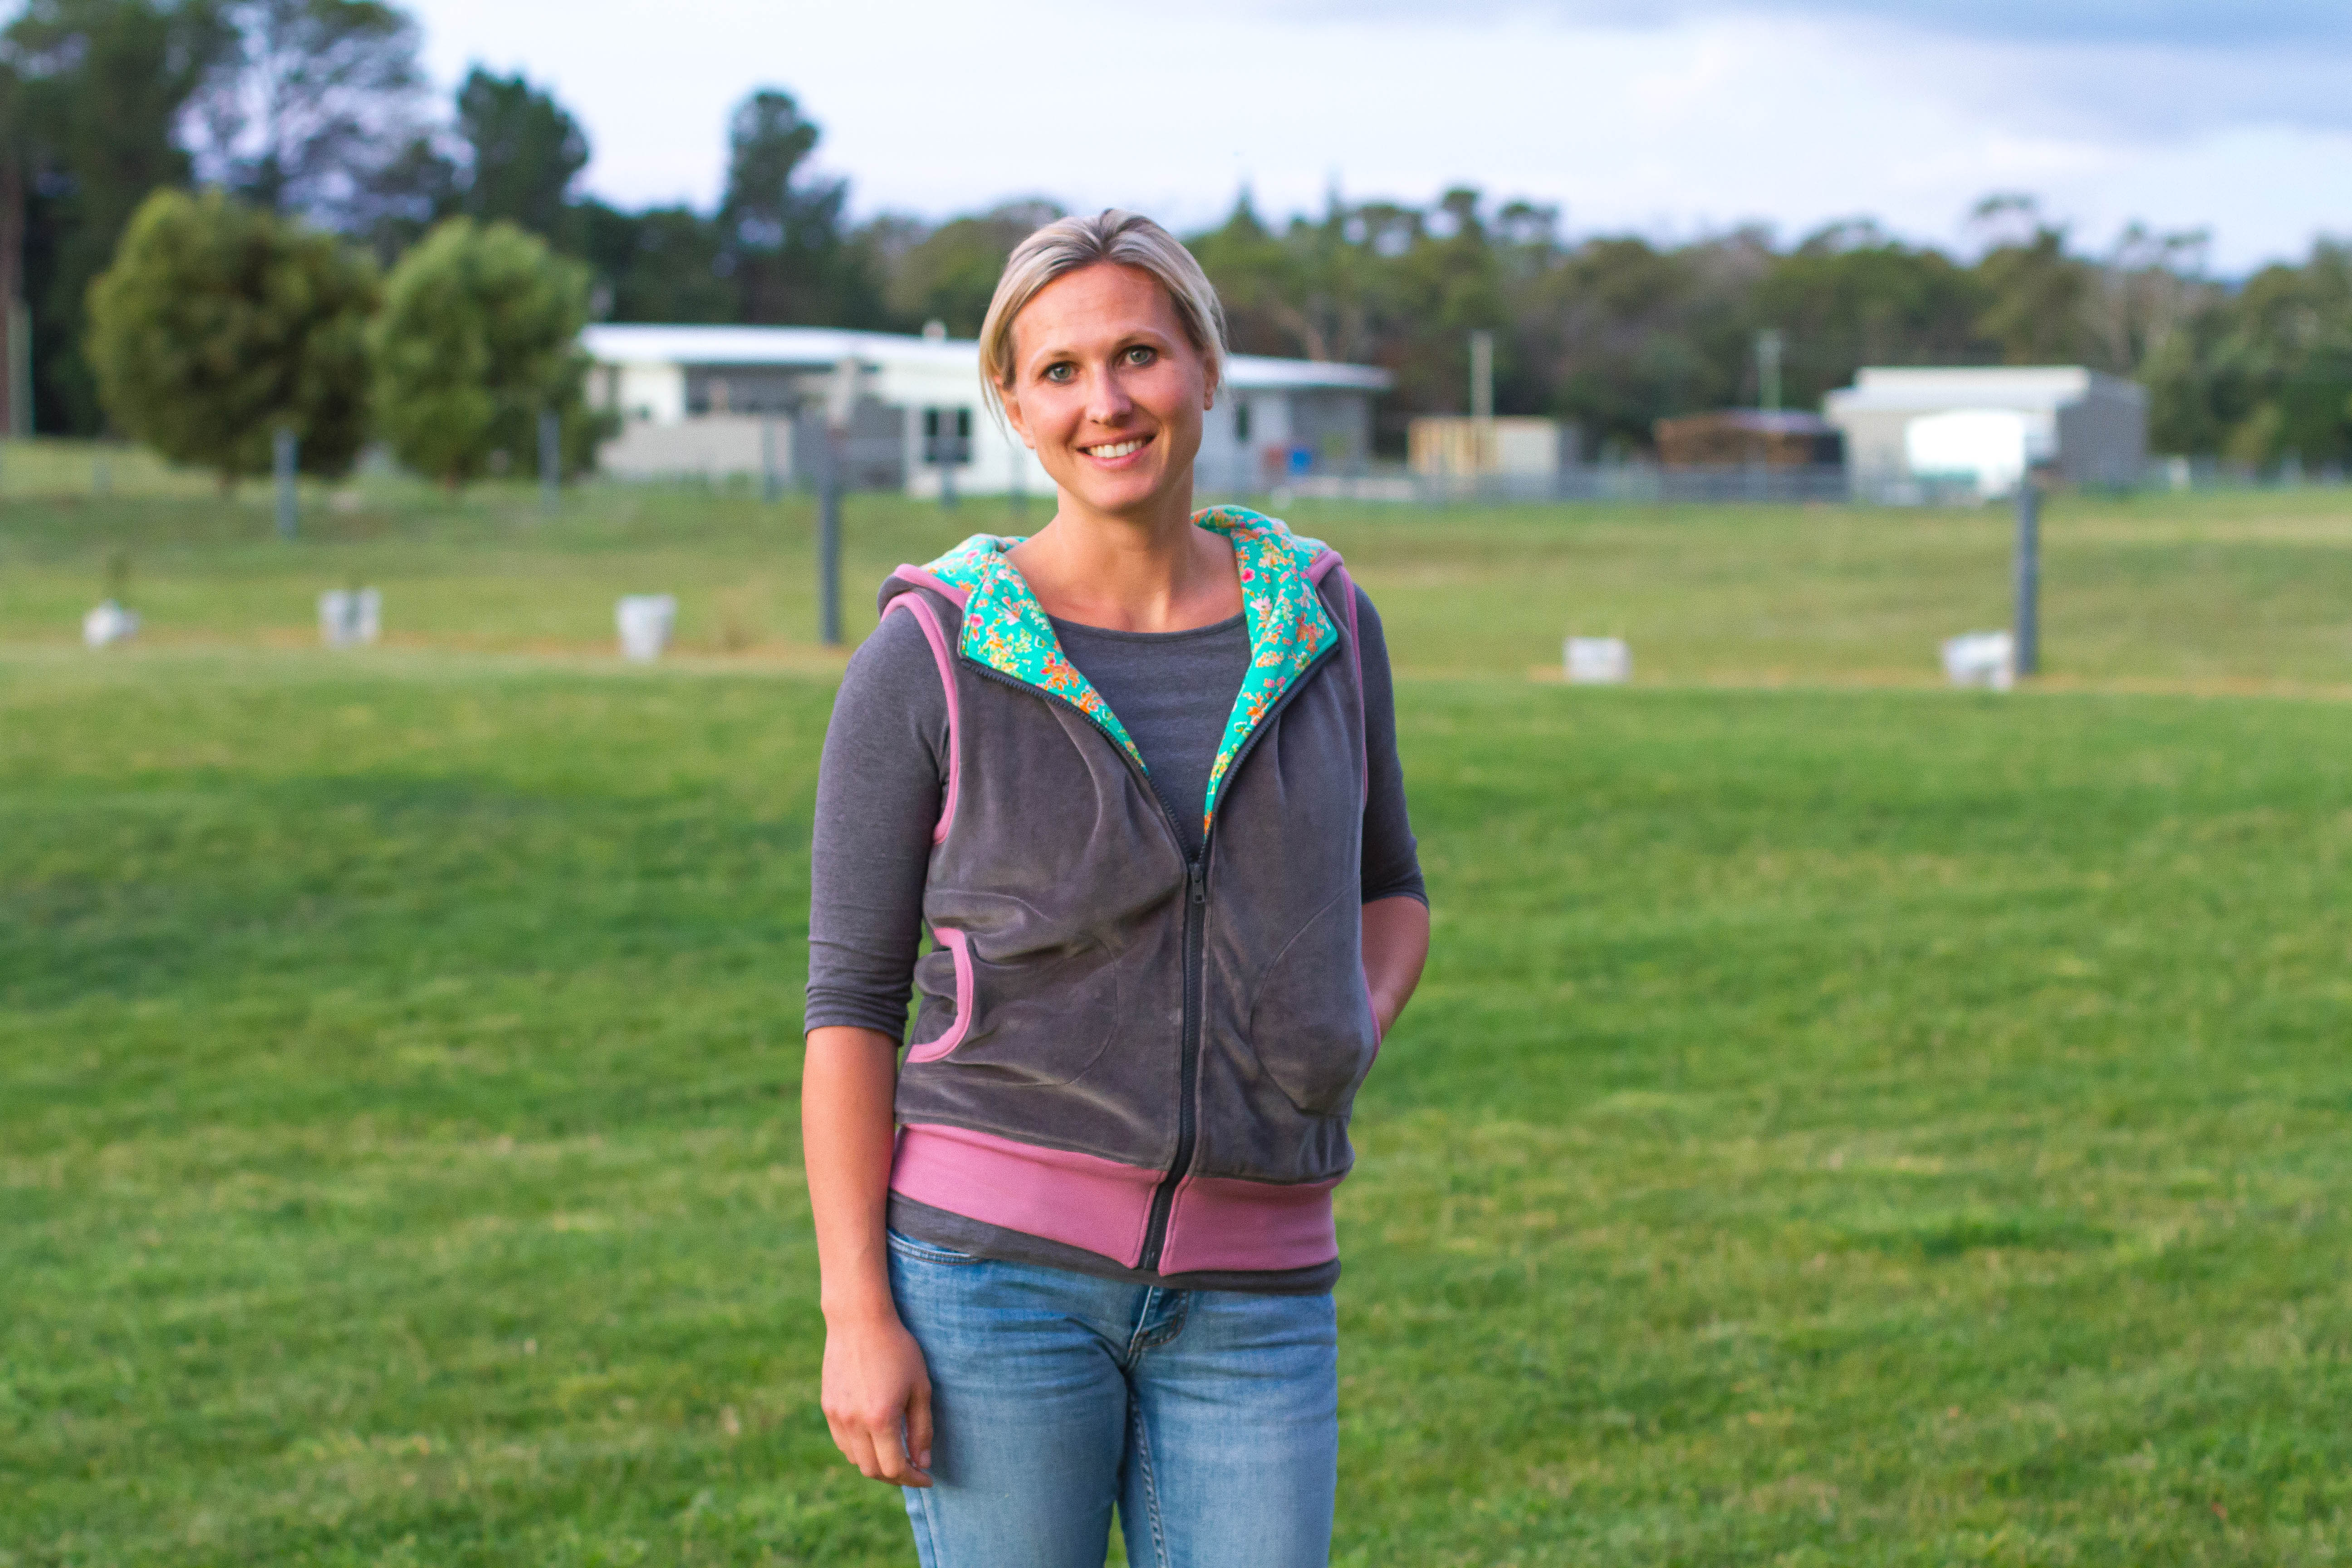
Sharing another make from (ahem!) last Winter today…I wanted to experiment with the Women’s Hero Vest pattern and some different fabrics so pulled some thick and stretch grey velour from my stash to have a play with. Frenchterry knits and flannel have been my fabrics of choice for Women’s Hero Vests to date but I had a vision for this one in my head and wanted to see how these fabrics would work together.
The exterior is a thick and luscious European velour knit. It feels amazing and is snug and warm. For the lining I wanted to add hint of floral – something bright and perhaps a bit unexpected. I used an Art Gallery knit – Priory Square, Cottagely Posy in emerald and love the contrast it gives to the plain exterior. Because the velour was so thick I didn’t need any more layers for warmth.
Because I was going for a fun look with this vest, I finished off with some dusty pink ribbing for all of the binding and waistband.
And there’s not much about the Women’s Hero Vest to add that I haven’t said before! Love this one 🙂
After the festivities and indulgent eating of December and January (because we all know holiday celebrations go on and on and on, right?!) I declared February sugar-free month.
Which is a big deal for me. I am a self-declared chocolate lover. I blame my Mum, and I she blames her Dad. In my 34 years of life, never have I once been able to go sugar-free for a long period of time. I think 7 days has been my max previously and it was hard. I was determined to give it a good crack this time though as I’ve dabbled in the Whole 30 and general paleo eating from time to time and know how amazing I feel after eliminating junk foods from my diet. It is just really, really hard to get started!
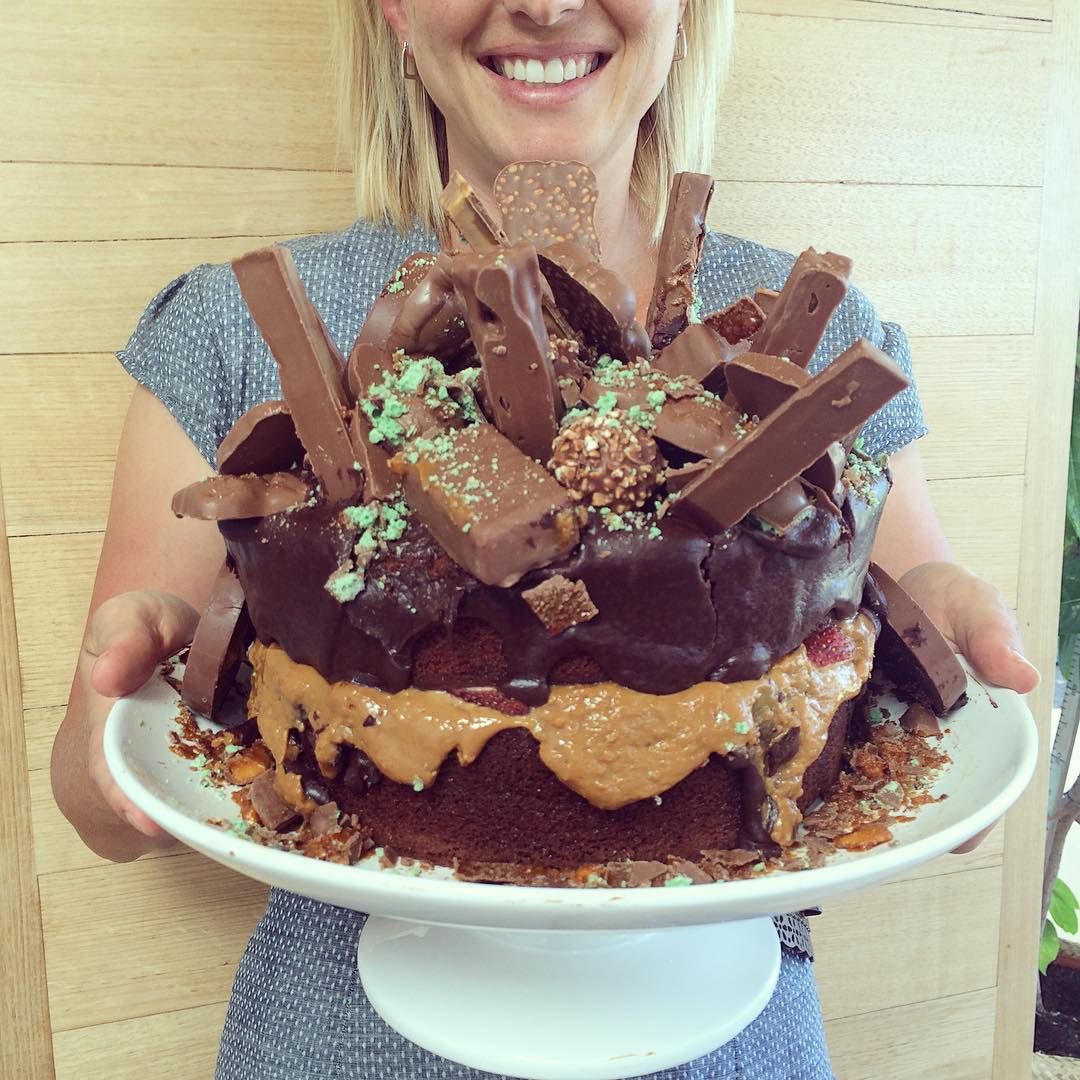
February is also my birthday month (the 9th) so I allowed myself a cheat day on my birthday and made sure it was worth every single delicious, chocolate overloaded bite! I made a chocolate mud cake and bought a heap of my favourite chocolates and let the kids go crazy with the decorating. It was good. And bad. And I experienced my first “sugar hangover” afterwards which was interesting as I have never been so affected by it before but obviously after just a week of eliminating it, I felt a difference when I introduced it again. It was good that I felt so rotten after though because I was encouraged to jump back on the sugar-free bandwagon again.
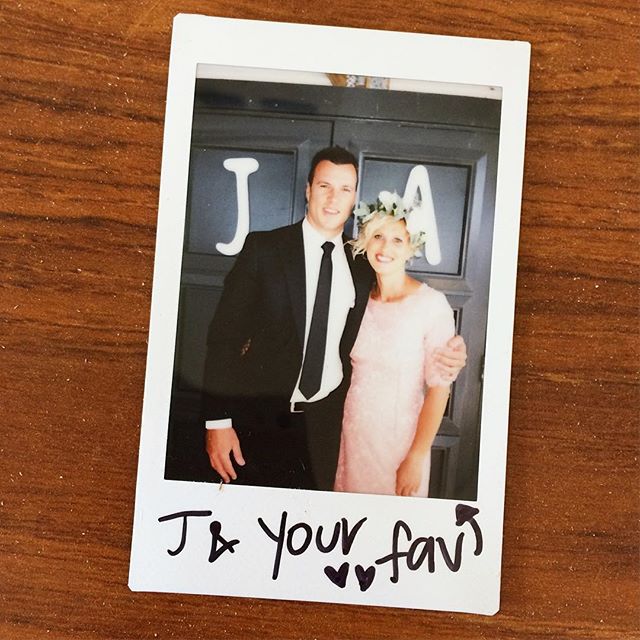
Another big incentive for me was the fact that I was to be a bridesmaid in my sister-in-law’s wedding and I wanted to be feeling good before the big day!
I know you are all hanging out for the results of Sugar-Free Feb, right?! I always scroll to the end of a post like this to see if it was worth it or not!! Haha! Well, firstly I’ll admit that I didn’t make it for the whole month. Just over 3 weeks. I’m determined to do another sugar-free month again soon though so that I can prove to myself I can handle 4 whole weeks! But by the end of my sugar-free time, I felt amazing. Funnily enough, I didn’t realise I felt good until I started eating sugar again and then when I ate it I realised how quickly I lost energy and started to feel puffy and flat. I was a bit disappointed that I didn’t lose much weight though – just 1kg! But my clothes did feel much more comfortable and I noticed that I had lost a lot of bloating and flabbiness around my tummy – my problem area. The difference was good enough that I wasn’t worried about what the scales said, I felt and looked different and that was good enough for me to feel happy about!
People asked me how strict I was with all of the sugar-free rules. Basically, if I was eating processed/packaged food I tried to stay under 4g of sugar per 100g. As for adding sugar myself, I was happy to use a bit of rice malt syrup, pure maple syrup or natvia. If I was REALLY struggling, I treated myself to square of Pana Chocolate (this is my favourite flavour) – it isn’t technically sugar-free, but I felt good about eating a little piece a couple of times a week. They felt like easy enough to follow guidelines for me and I didn’t want to make it tricky or it would be too hard to follow through.
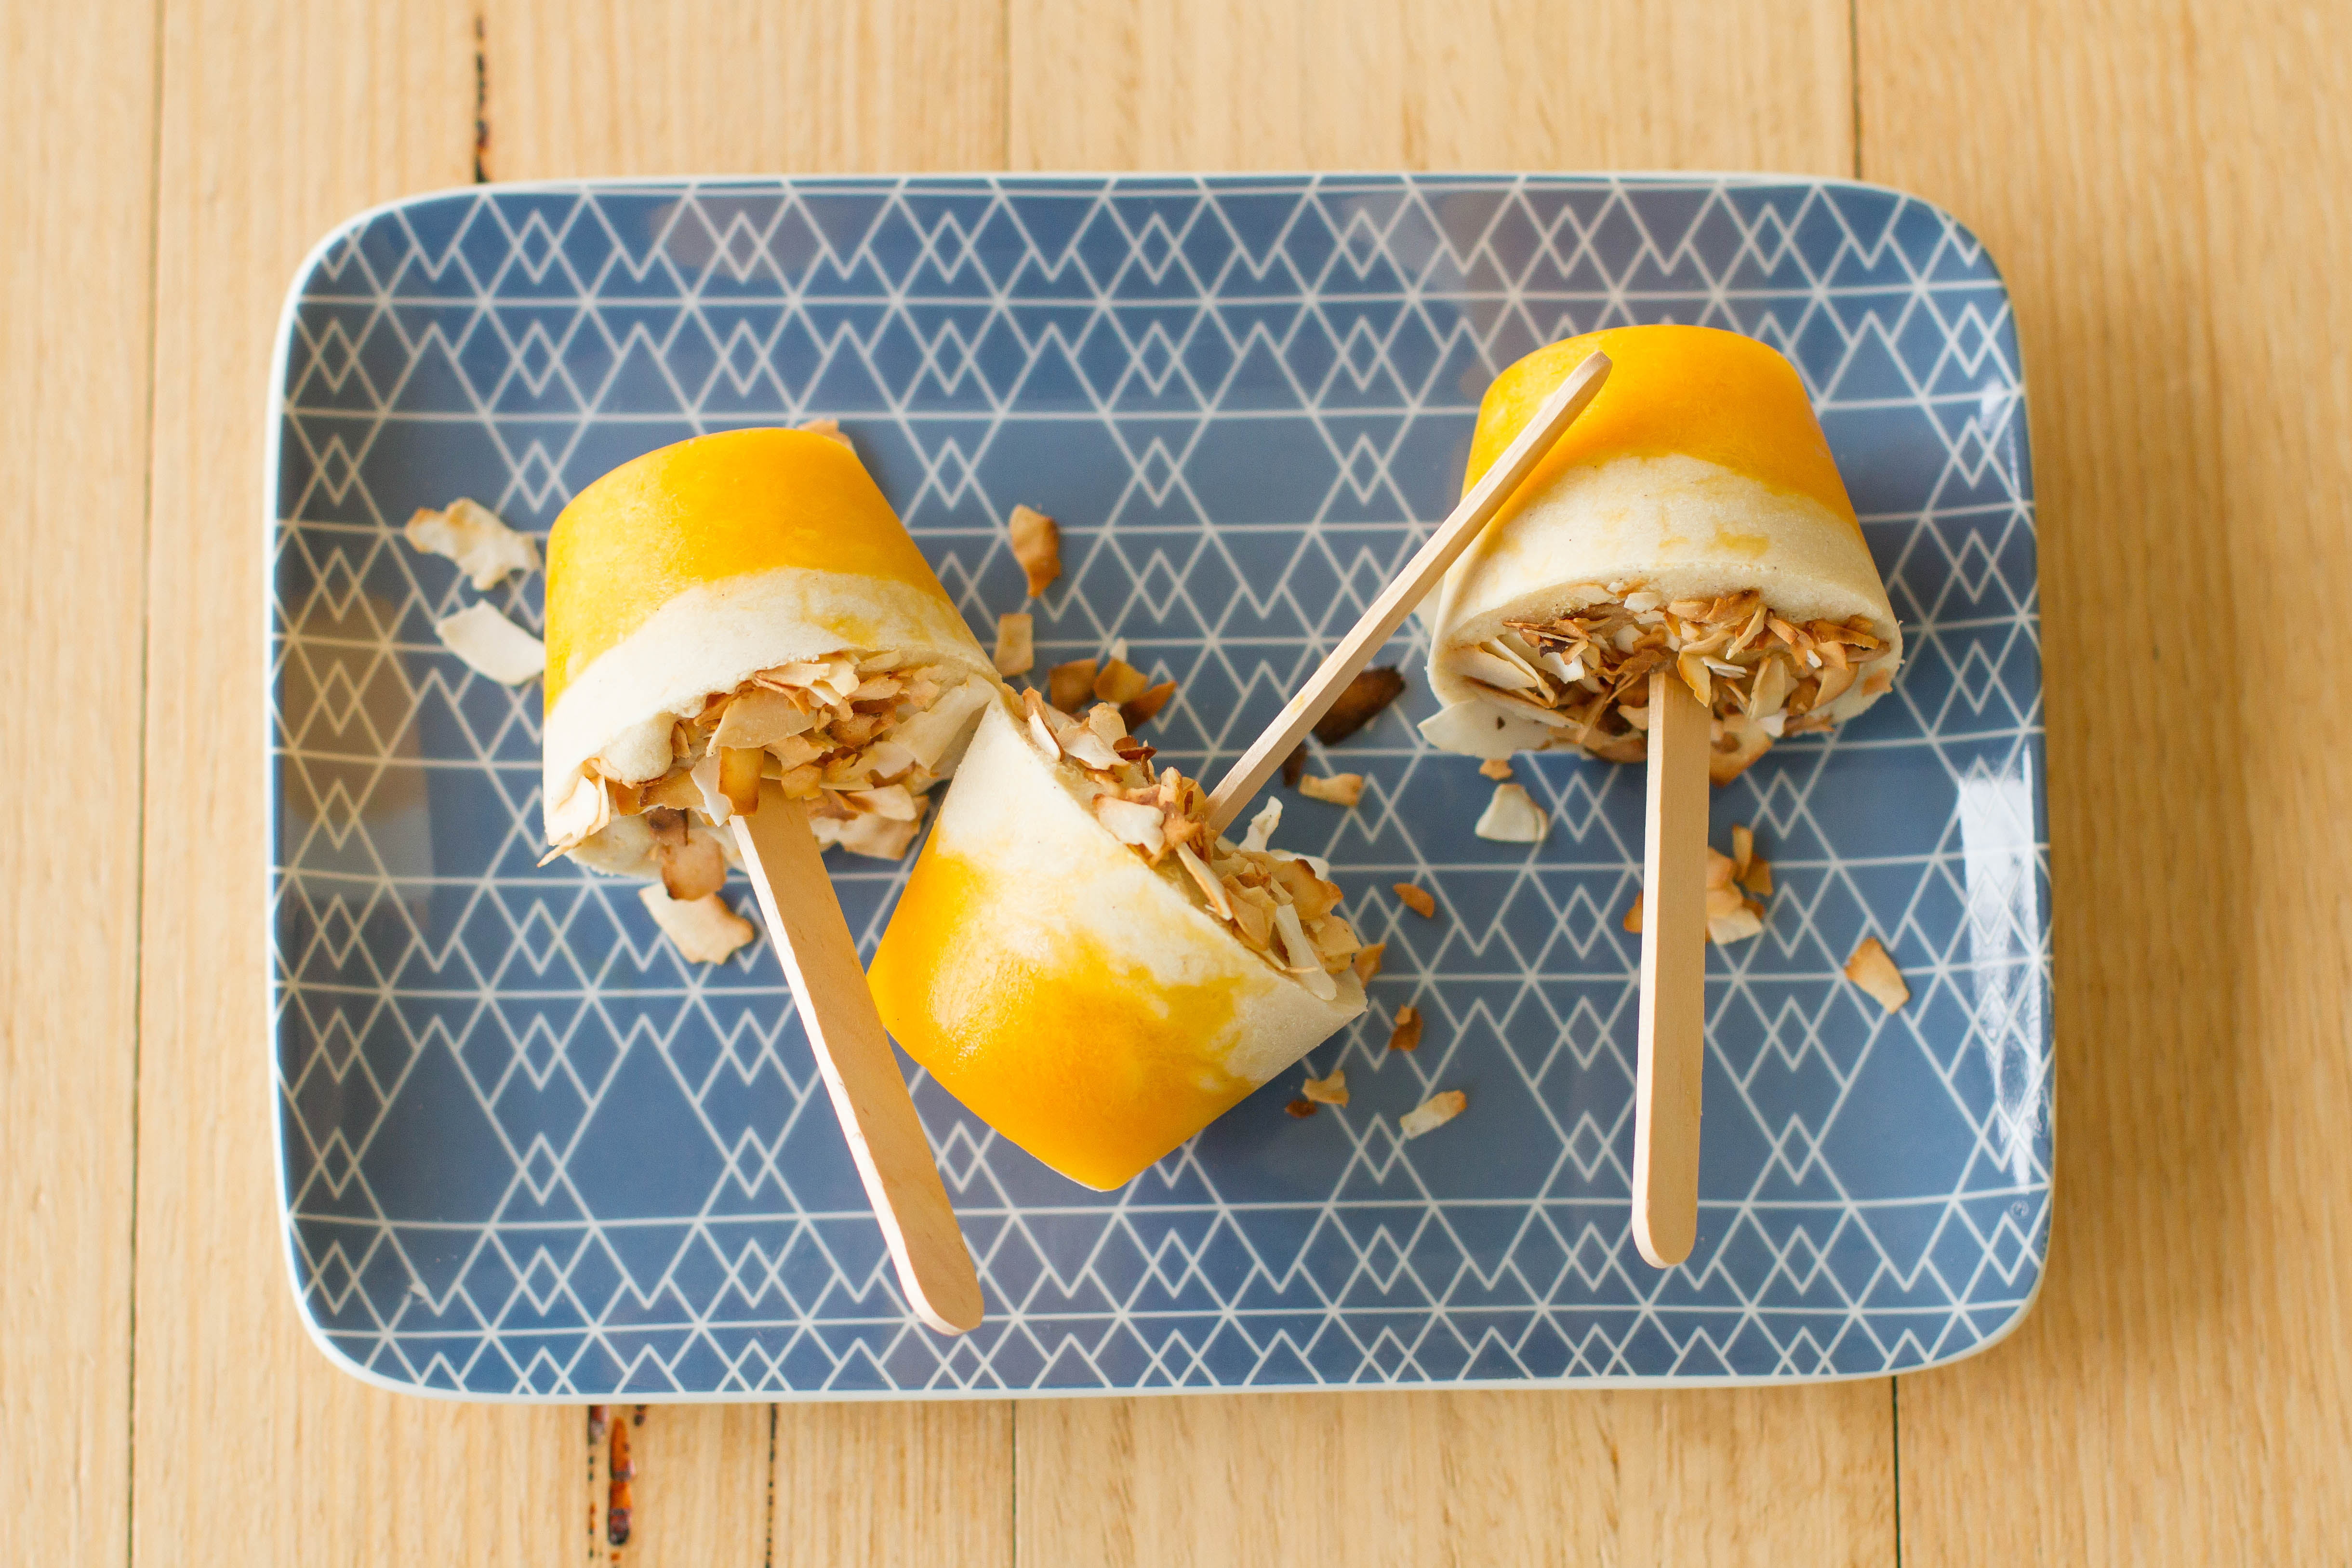
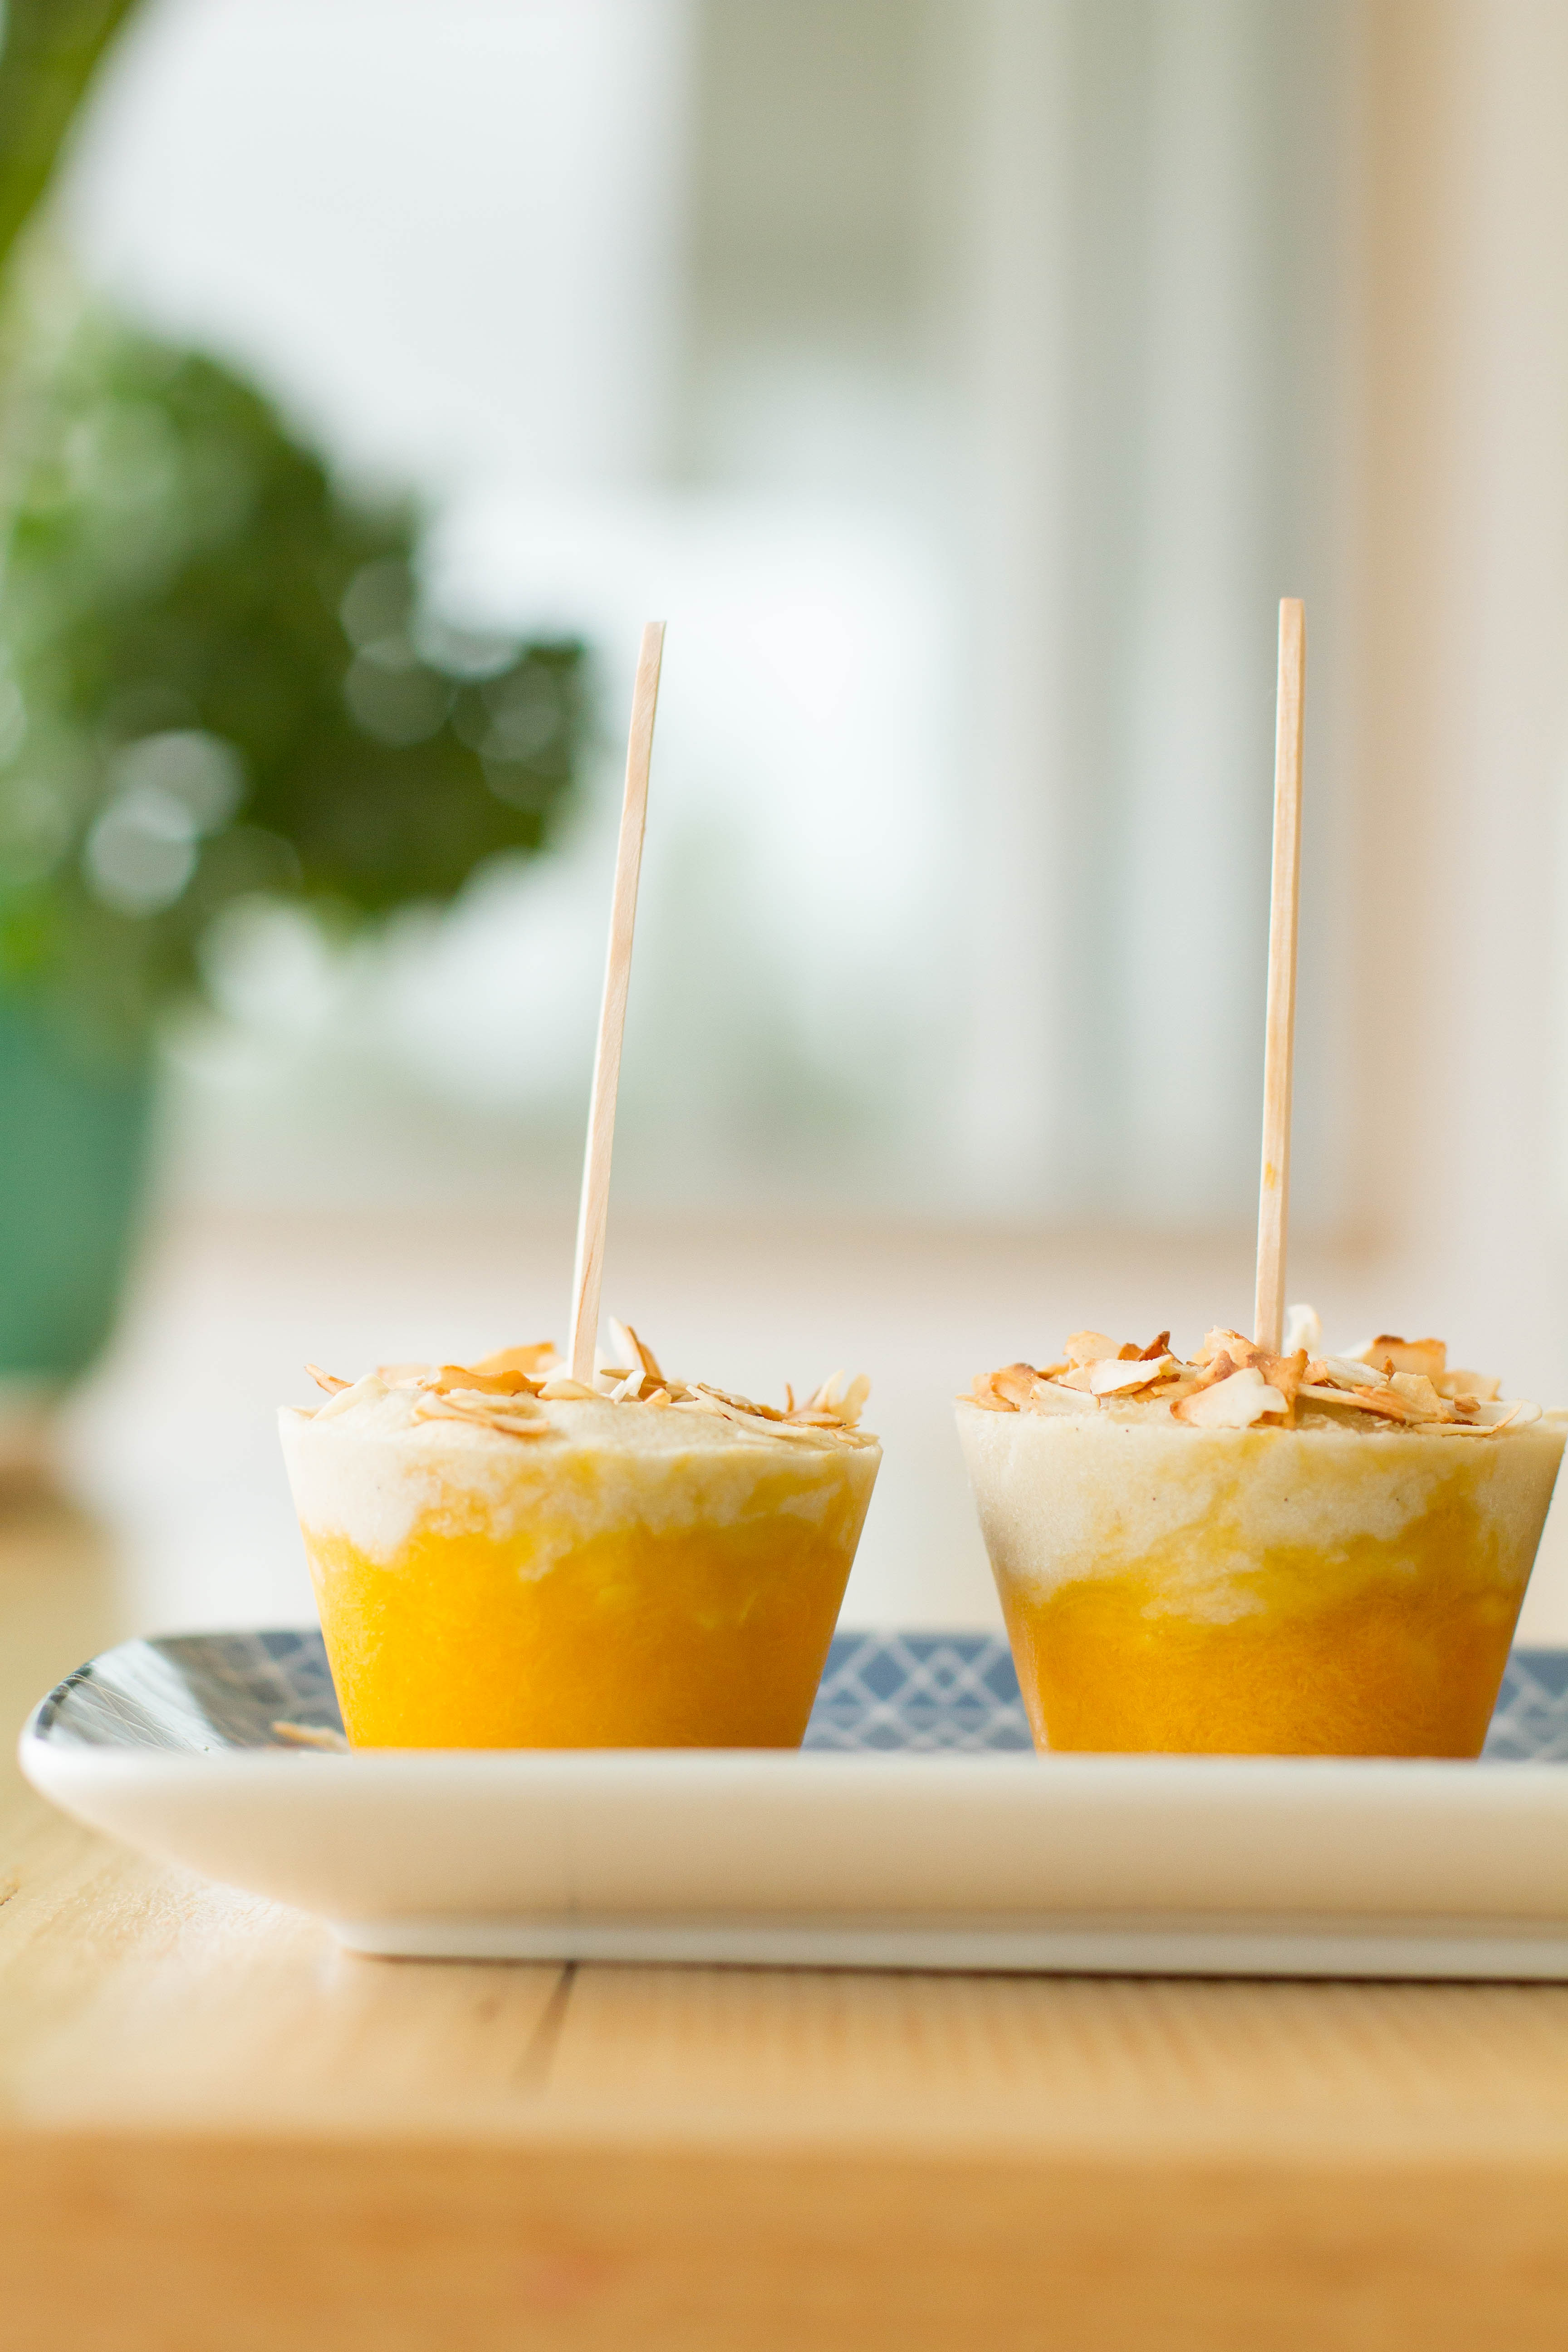
So, to keep myself sane, I managed to cook a few nice sugar-free treats to look forward to while I was on the cleanse. One of them was my homemade version of Mango & Macadamia Weis Bars. I think I must have been craving something cold and tasty as a post-dinner treat and these satisfied nicely. I sweetened them slightly with rice malt syrup, but the mango was lovely and sweet to start with the coconut cream has a sweetness to it anyway so I didn’t need to add much. The layers in these clean-eating Weis Bars are great – from fresh and fruity to smooth and creamy with crunchy macadamias and crisp toasted coconut throughout. Yum! If you are looking for a healthy, easy sweet-treat to make yourself then these are perfect to make up and pop into individual snap-lock bags in the freezer.
CLEAN EATING HOMEMADE WEIS BARS
2 fresh, ripe mangoes, mashed
1/4c toasted macadamia nuts, coarsely chopped
1 tin coconut cream
2 tsp vanilla bean paste
rice malt syrup (or maple syrup)
2 Tbs coconut flakes, toasted
Combine mango and macadamia nuts. Spoon mixture into ice cream moulds. (I used a deep, silicone muffin tin – but you can use anything you like. Or even make into a big slab and cut into bars when you are ready to eat.) Freeze mango mixture until it starts to firm up.
Mix coconut cream with vanilla and enough rice malt syrup to taste as sweet as you desire. (When I made my weis bars, I just mixed this together by hand. It was fine, but a little grainy so if you want a super smooth mix you might want to blend it in a processor first or even heat the coconut cream slightly so that all of the lumps disappear.) Pour over the top of the mango mixture in moulds.
Sprinkle top of coconut cream with coconut flakes. When mixture starts to harden but is still soft, stick ice cream sticks into the middle of the moulds. Freeze until completely firm. Remove from moulds and store in individual snap-lock bags in the freezer.
When Anna’s book arrived in my letterbox last year, the first thing I wanted to make from it was a pincushion. Yep, out of all the awesome projects in the book it was the pincushion that I needed in my life – ha!
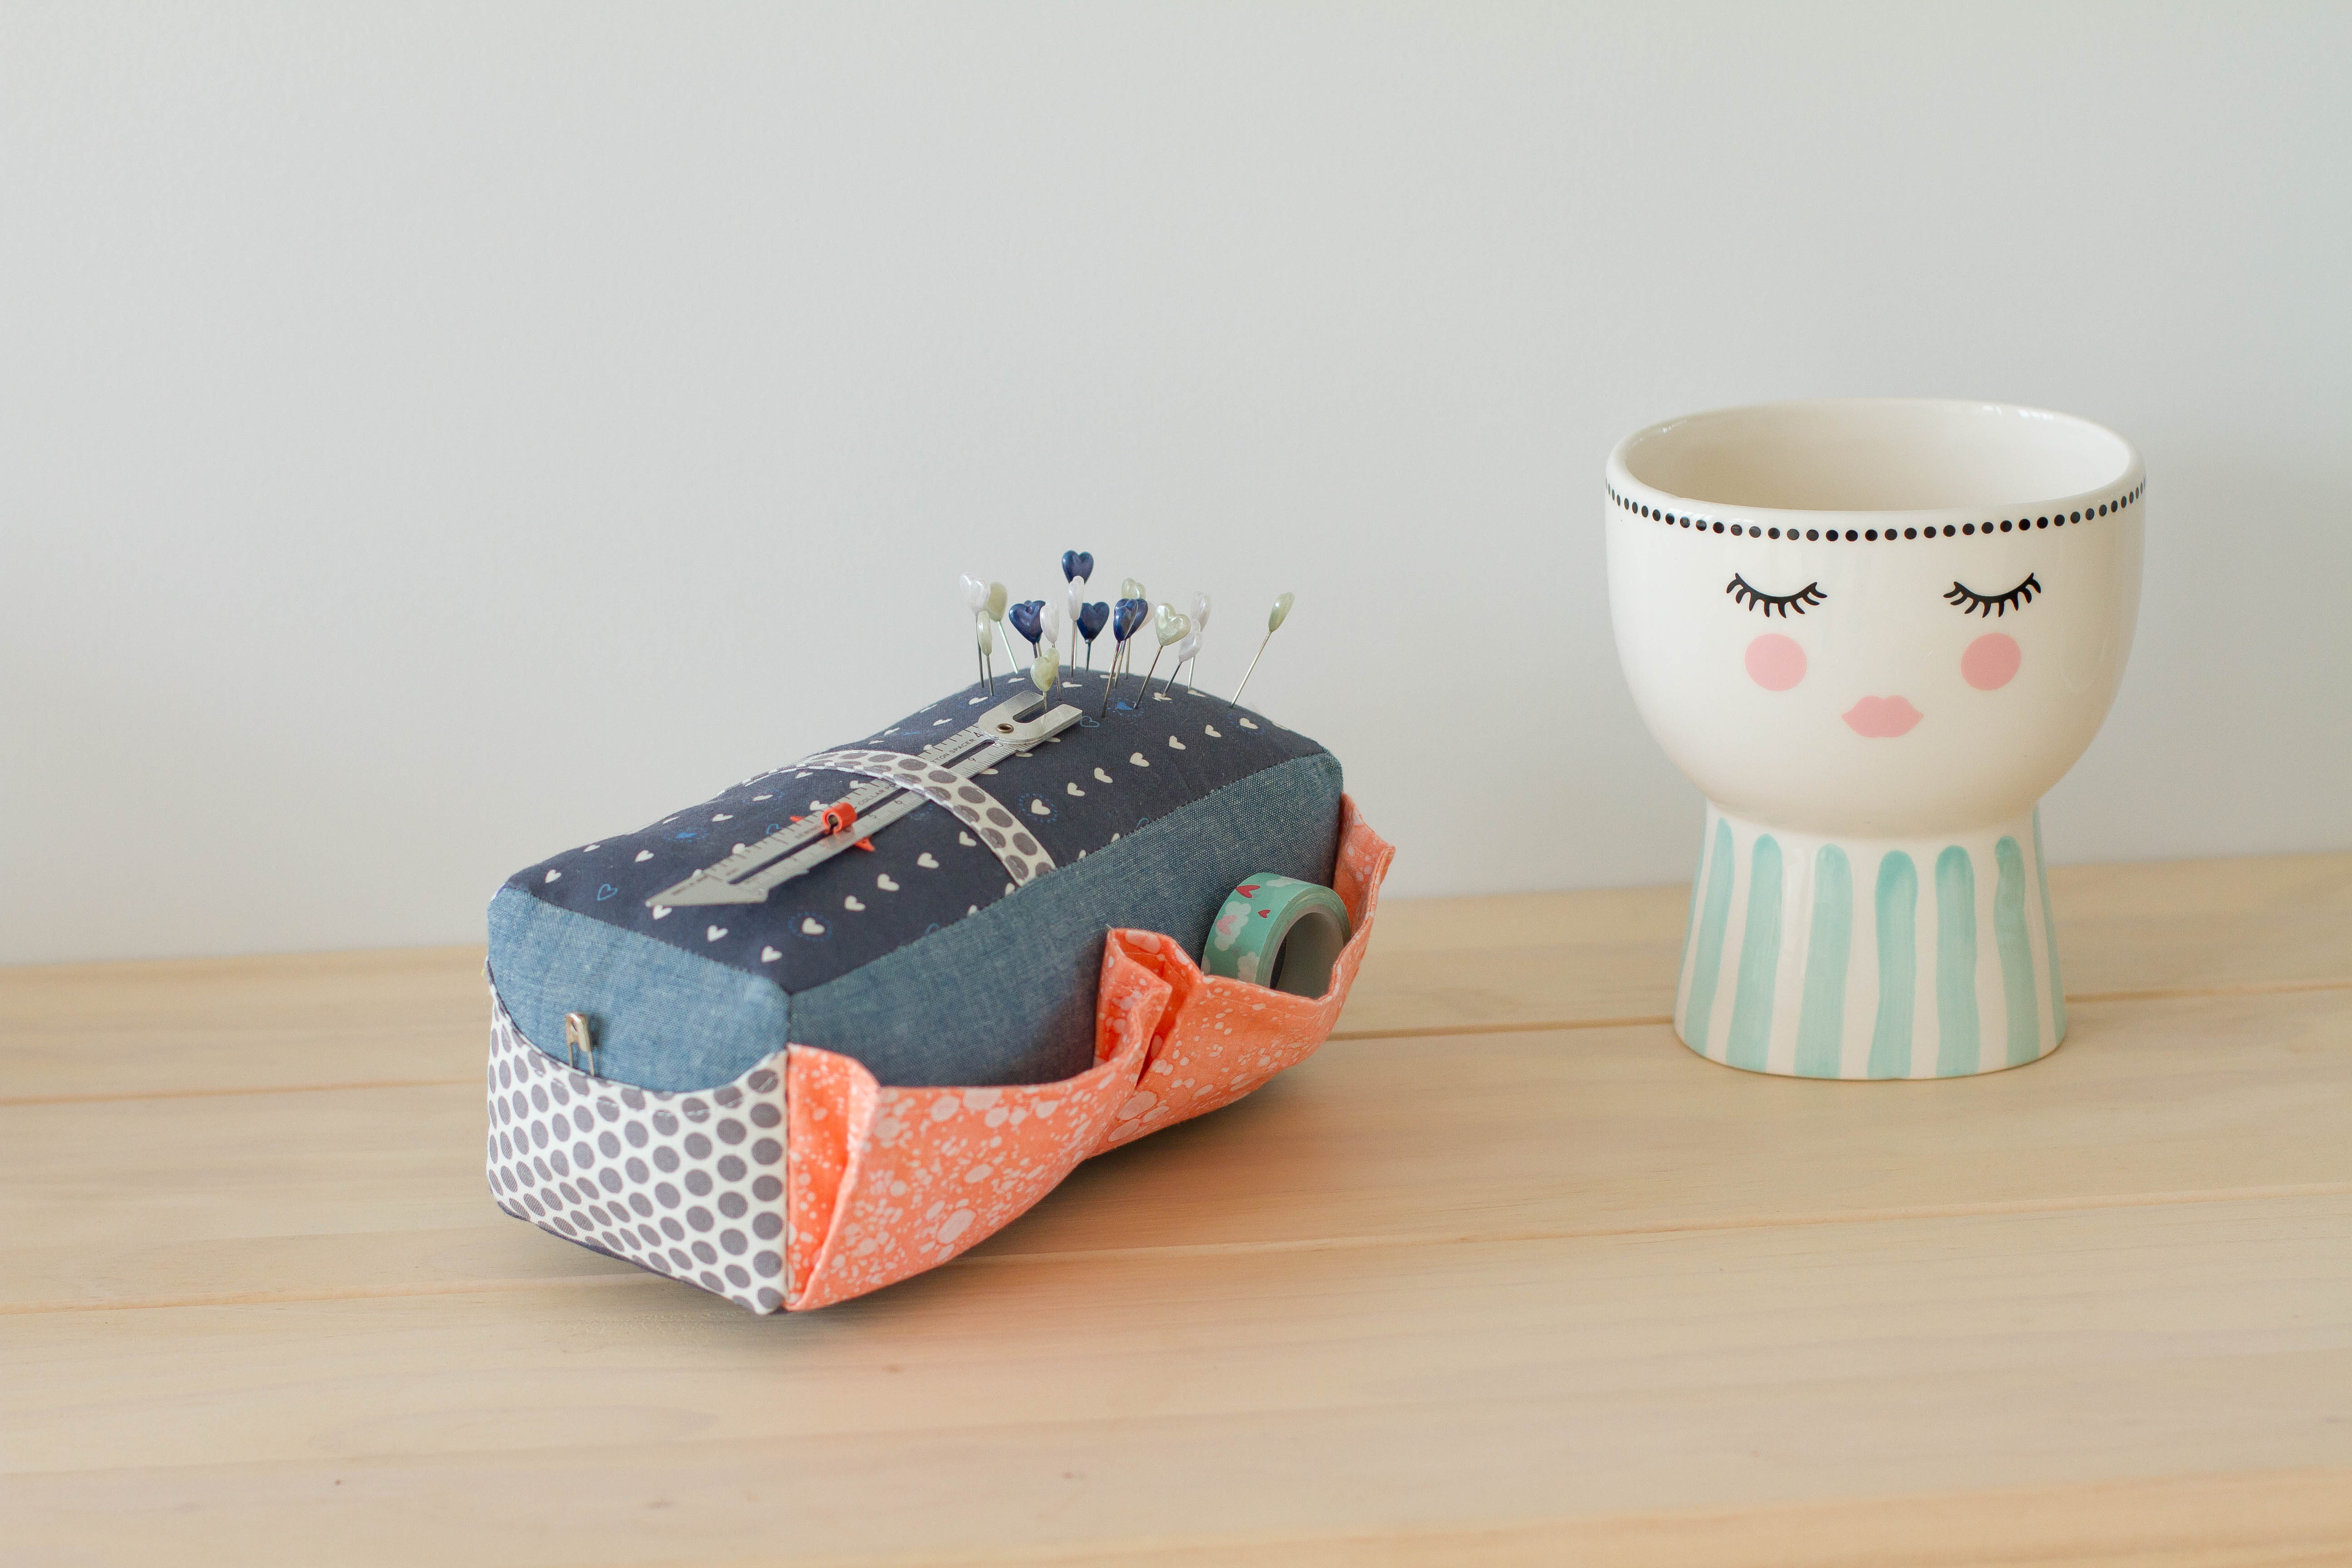
It’s nice to take a break from garment sewing once in awhile and get back to the small scraps of fabric and playing with crazy amounts of prints and patterns to create something useable. Most of the fabrics I used on the pincushion are leftovers from making big cushions for my loungeroom couches! They are mostly from Spoonflower and I only had small scraps left after making the cushions so was happy to give them another job to do.
The actual pincushion construction was nice and straight-forward. This is the mother of all pincushions, I wanted to make it because I am forever digging around in my sewing boxes looking for pencil cases and little tools floating around on their own. Now that I have this big pincushion, I can keep all of my “most-used tools” in one spot and save myself time at the sewing table. Truth be told, I actually don’t use it as a pincushion as much as a place to store needles, safety pins, rulers, markers, labels, etc. I find it a bit too big to move around with me (from the sewing machine, to the floor, to the ironing board, etc.) so still take my little pincushion with me from place to place. Which is actually falling apart so I will probably need to make something smaller to replace it soon!
If you want to make one for yourself, check out Anna’s book, Handmade Style here (I ordered my copy from Book Depository). And there are lots of other great projects in the book too that are on my list to sew in the future!


 I have well and truly caught the knitting bug. My previous knitting projects have consisted of rotating the same few patterns over and over but I’m feeling much more confident and having fun branching out into new projects now.


