I thought my days of sewing clothes for Oscar were well and truly over. He is quite picky with what he wears and I really didn’t think that he would want a pair of PJ pants because he has only been happy to wear shorts to bed since he was about 5 years old.
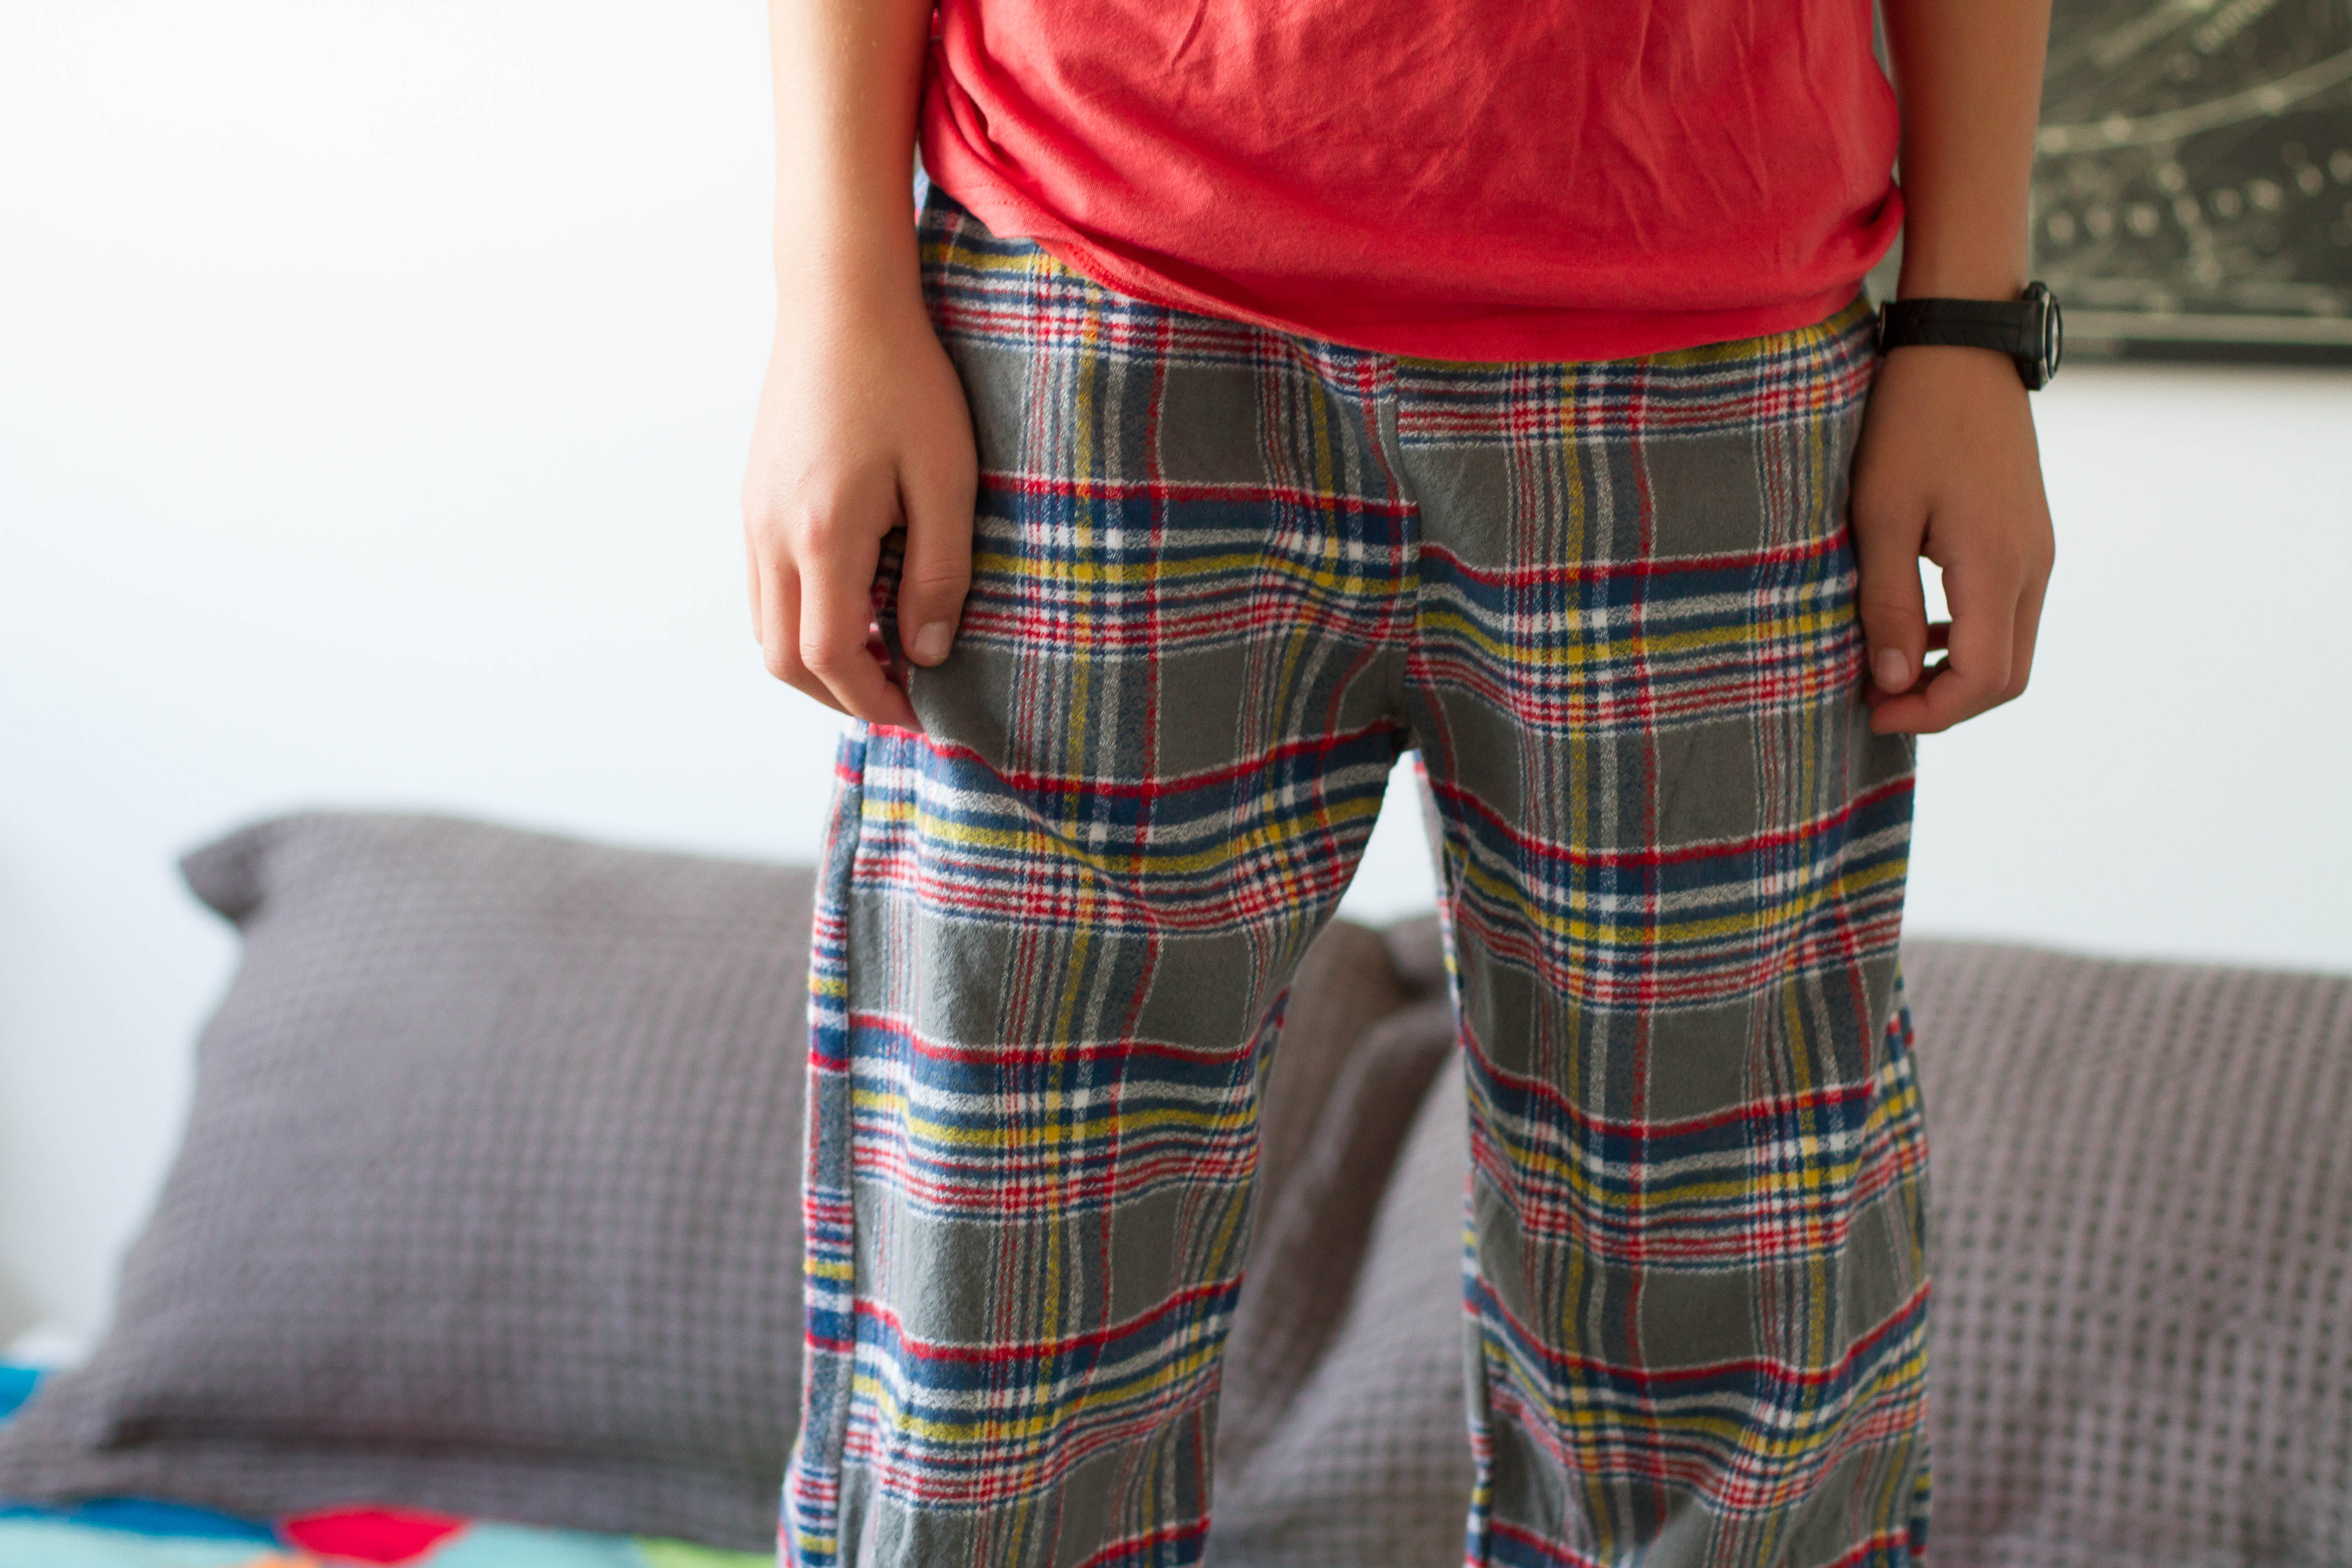
You can only imagine me surprise when he actually ASKED me to make him a pair of warm PJ pants just after I released the Catnap Pyjamas pattern. The nights had just started to cool down and I guess he was feeling it. I had this plaid flannel in my stash that was big enough to accommodate a pair of pants and thought it would make a good pair of pants for a 10 year old.
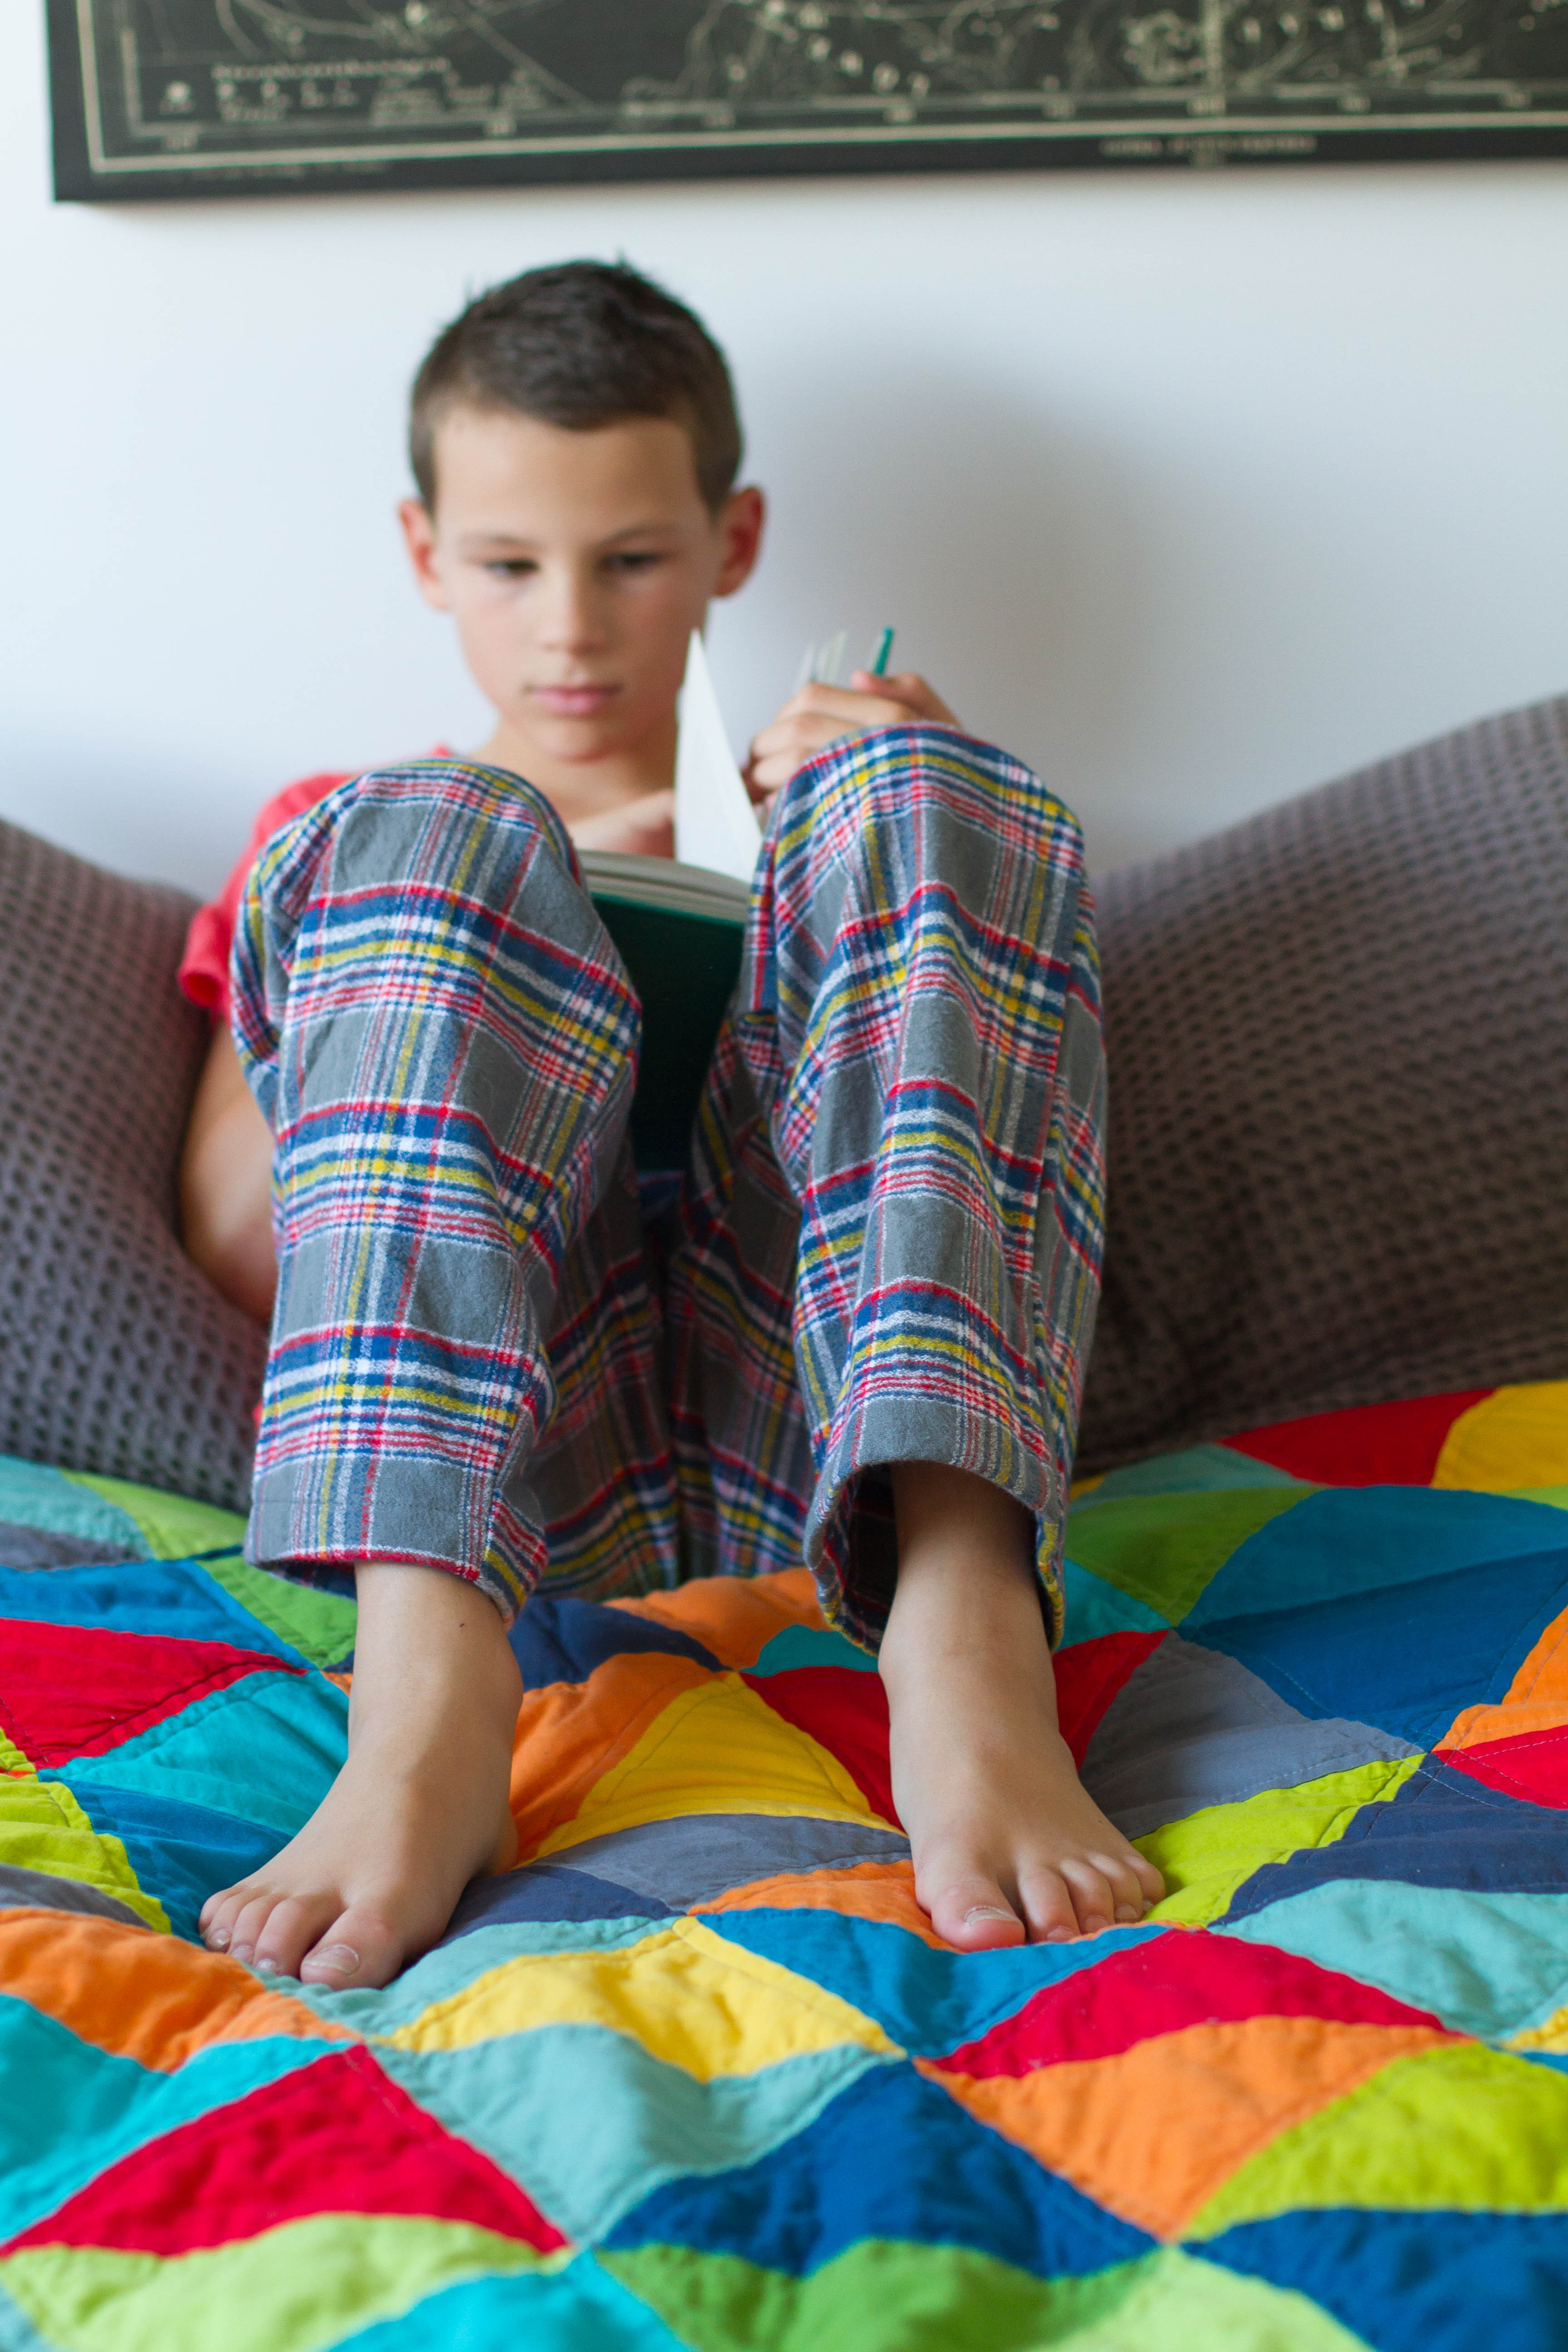
Because Oscar is quite tall, I sewed a size 10 and added an extra 1 1/2″ to the length of the pants – you can see in the first photo that they are actually nice and long on him, and a bit of growing room is just what I wanted because I have a feeling that he is going too keep growing at a fast rate! I didn’t have enough fabric to match any of the plaid lines, but they are just PJs so I wasn’t too fussed.
I made these pants about a month ago and am happy to say that they have been worn a lot! Yay! Maybe I will be able to sew PJ pants for him for the rest of his life 😉
SUPPLIES: Make It Perfect, Catnap Pyjamas pattern, Robert Kaufman, Mammoth Flannel in Sundance.
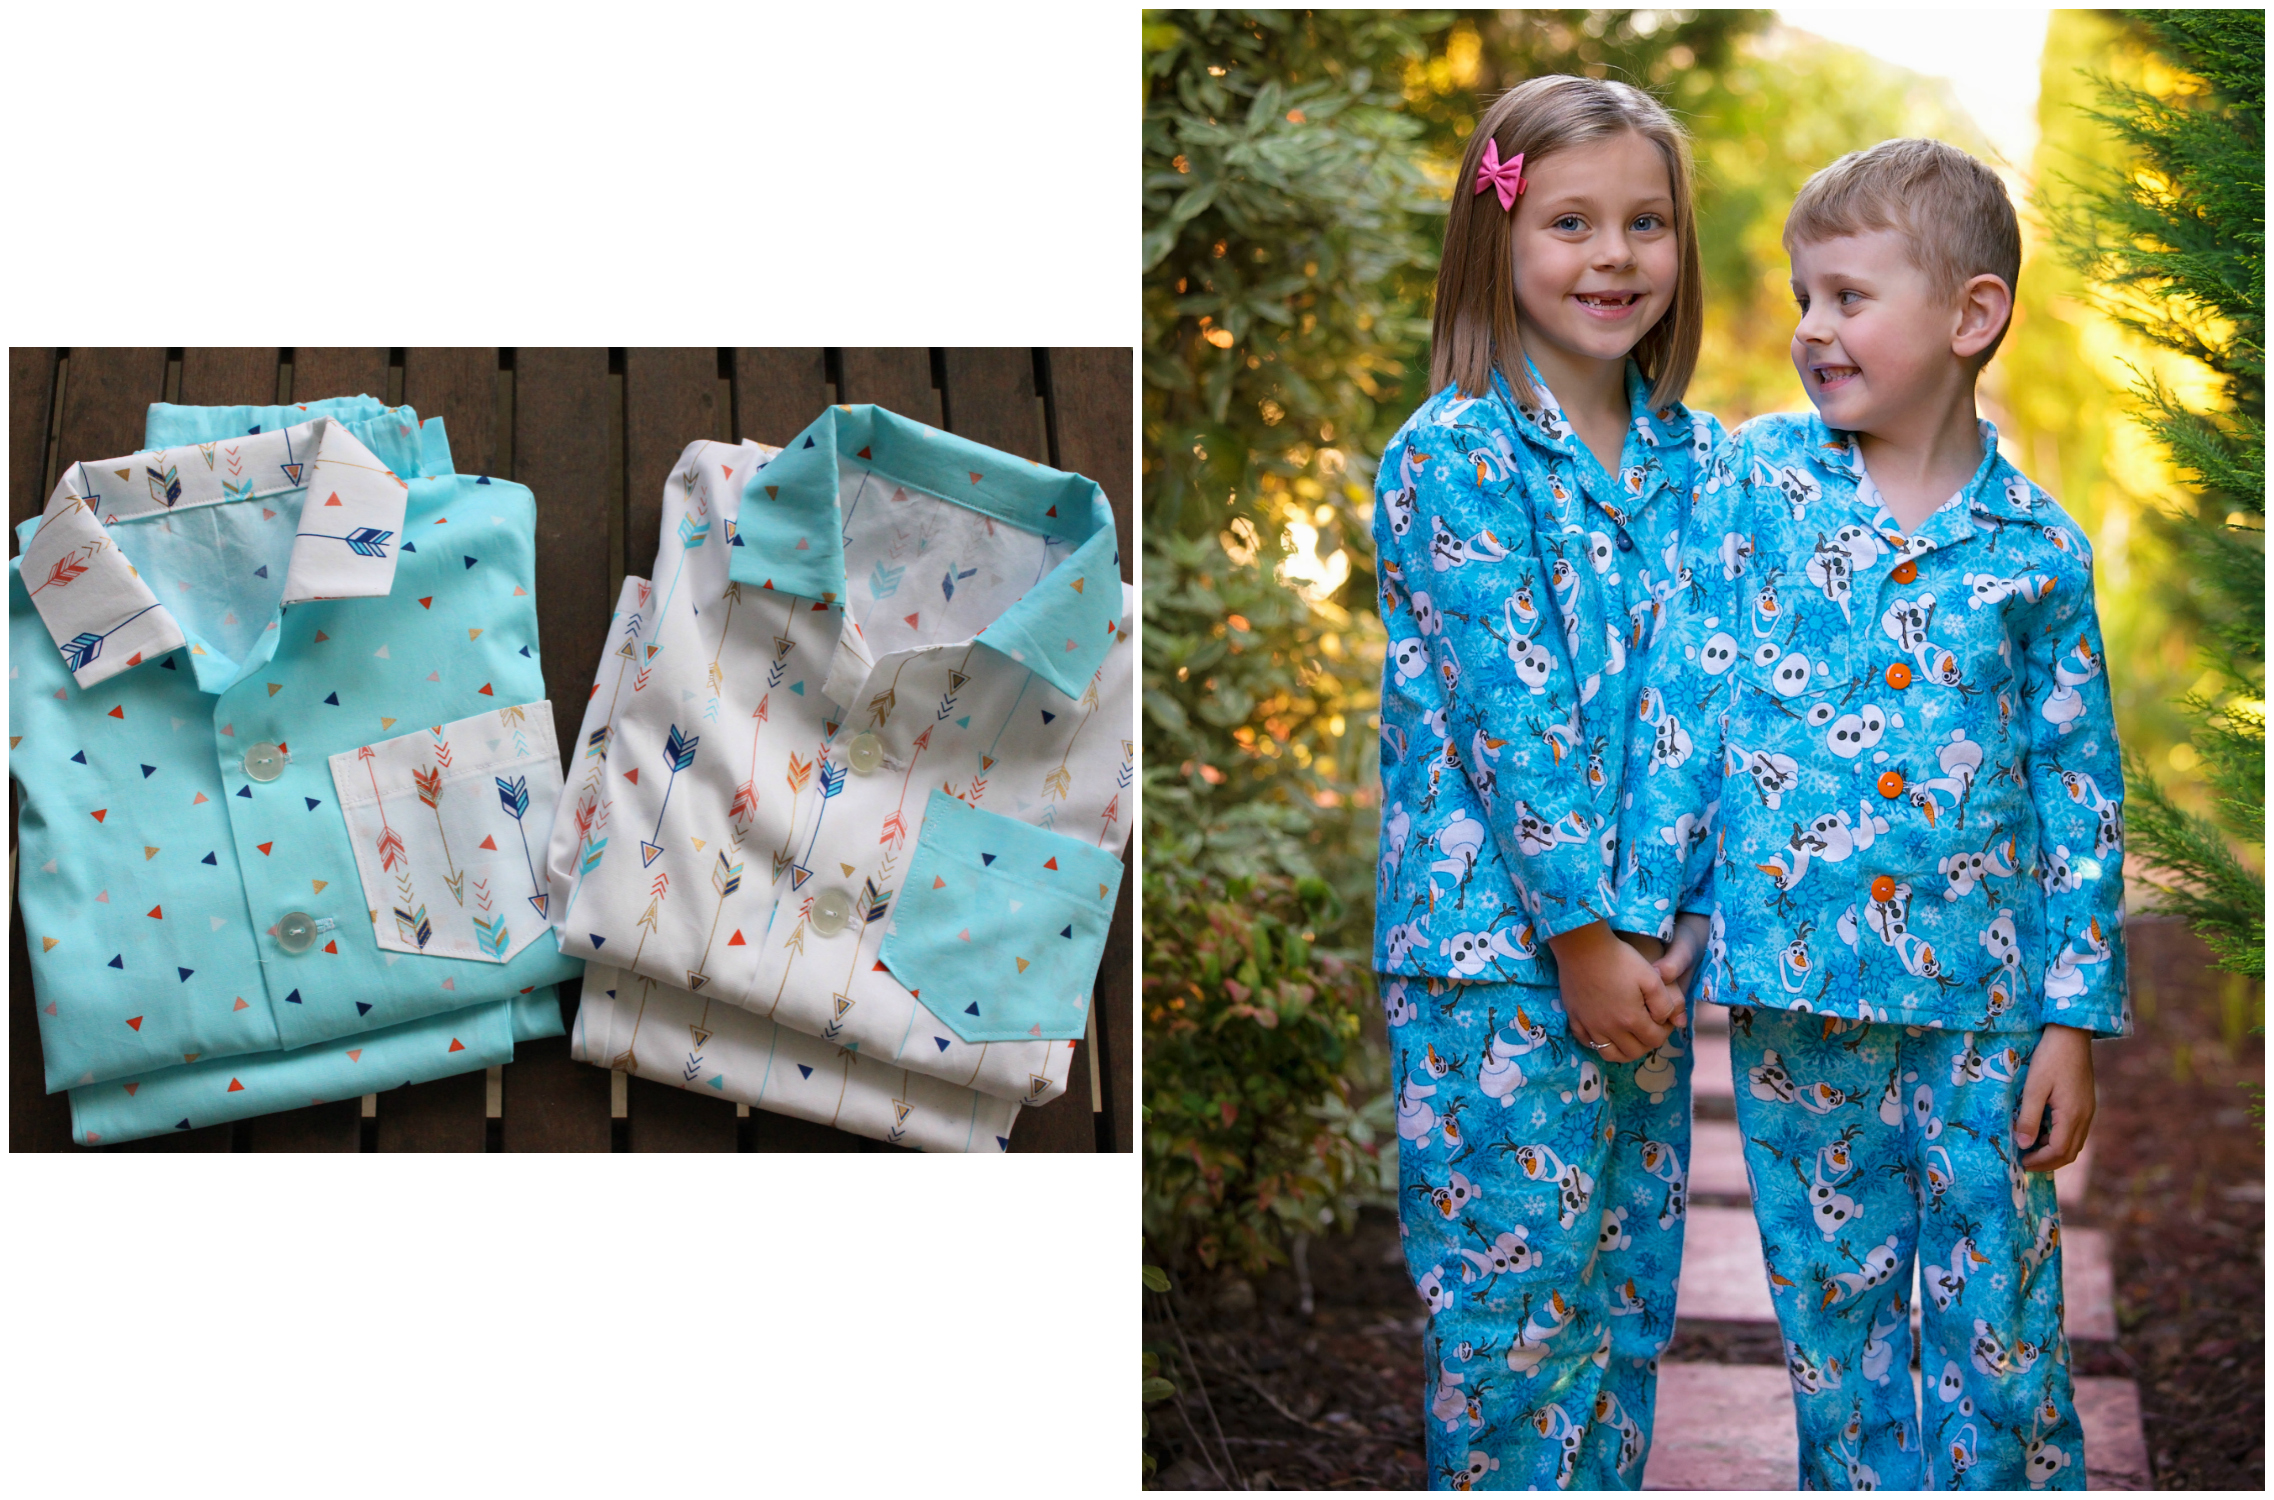
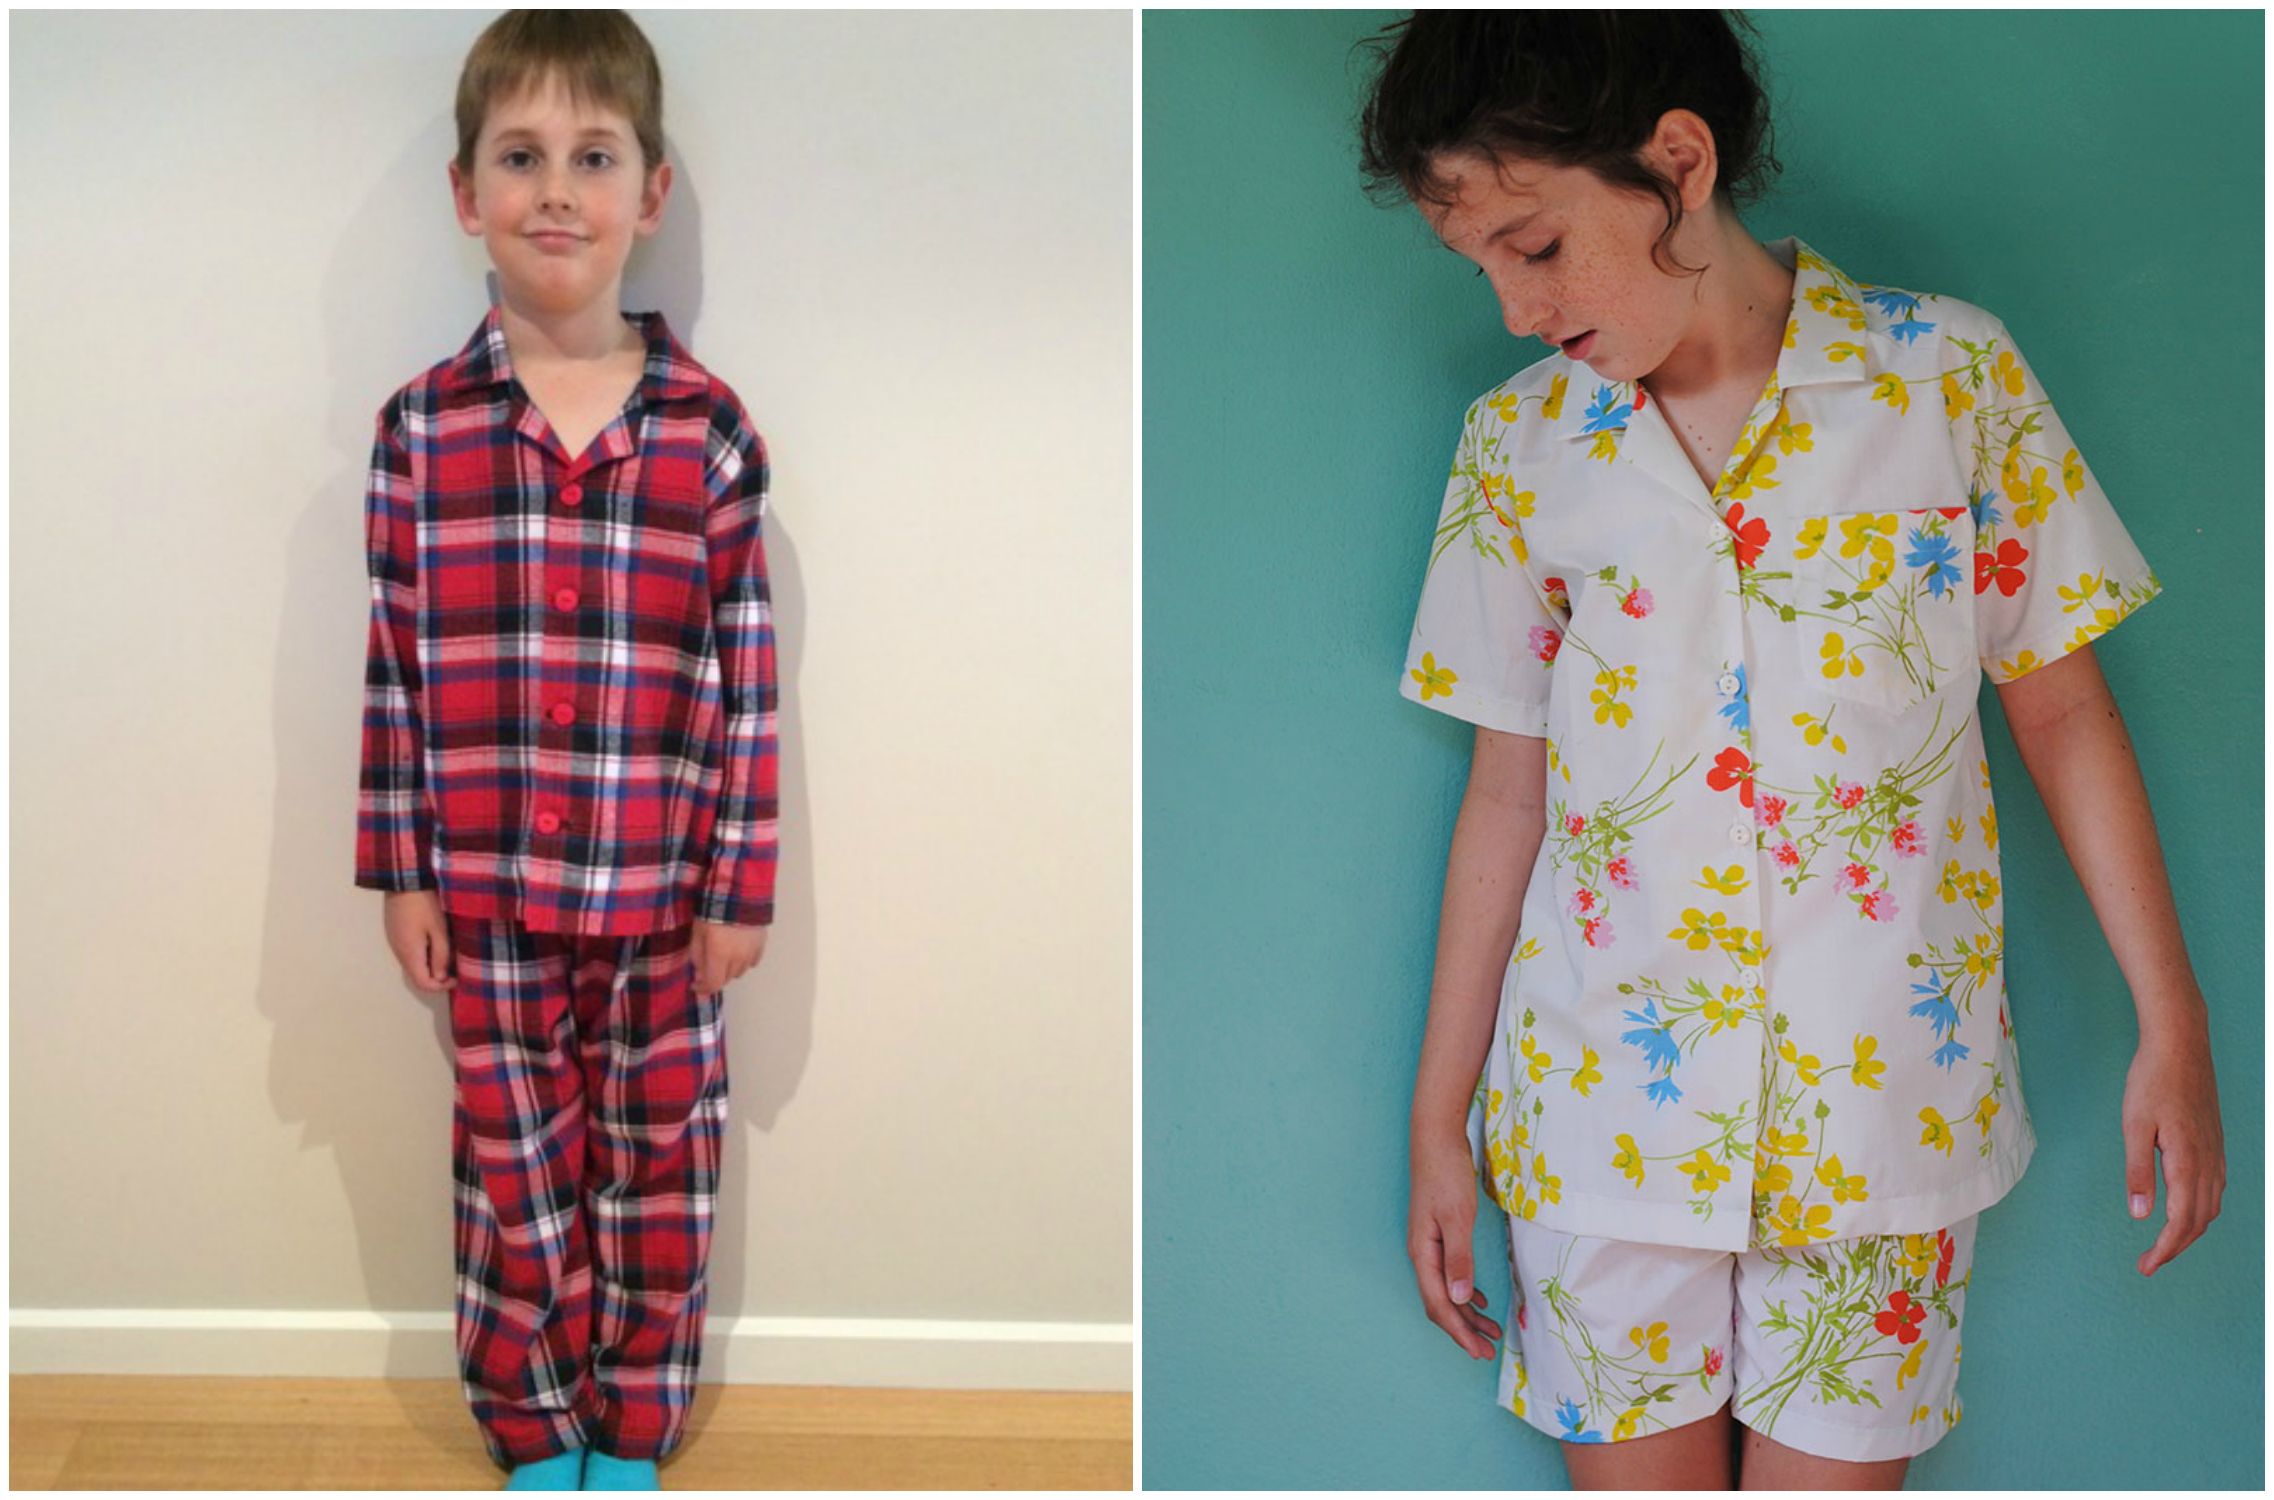
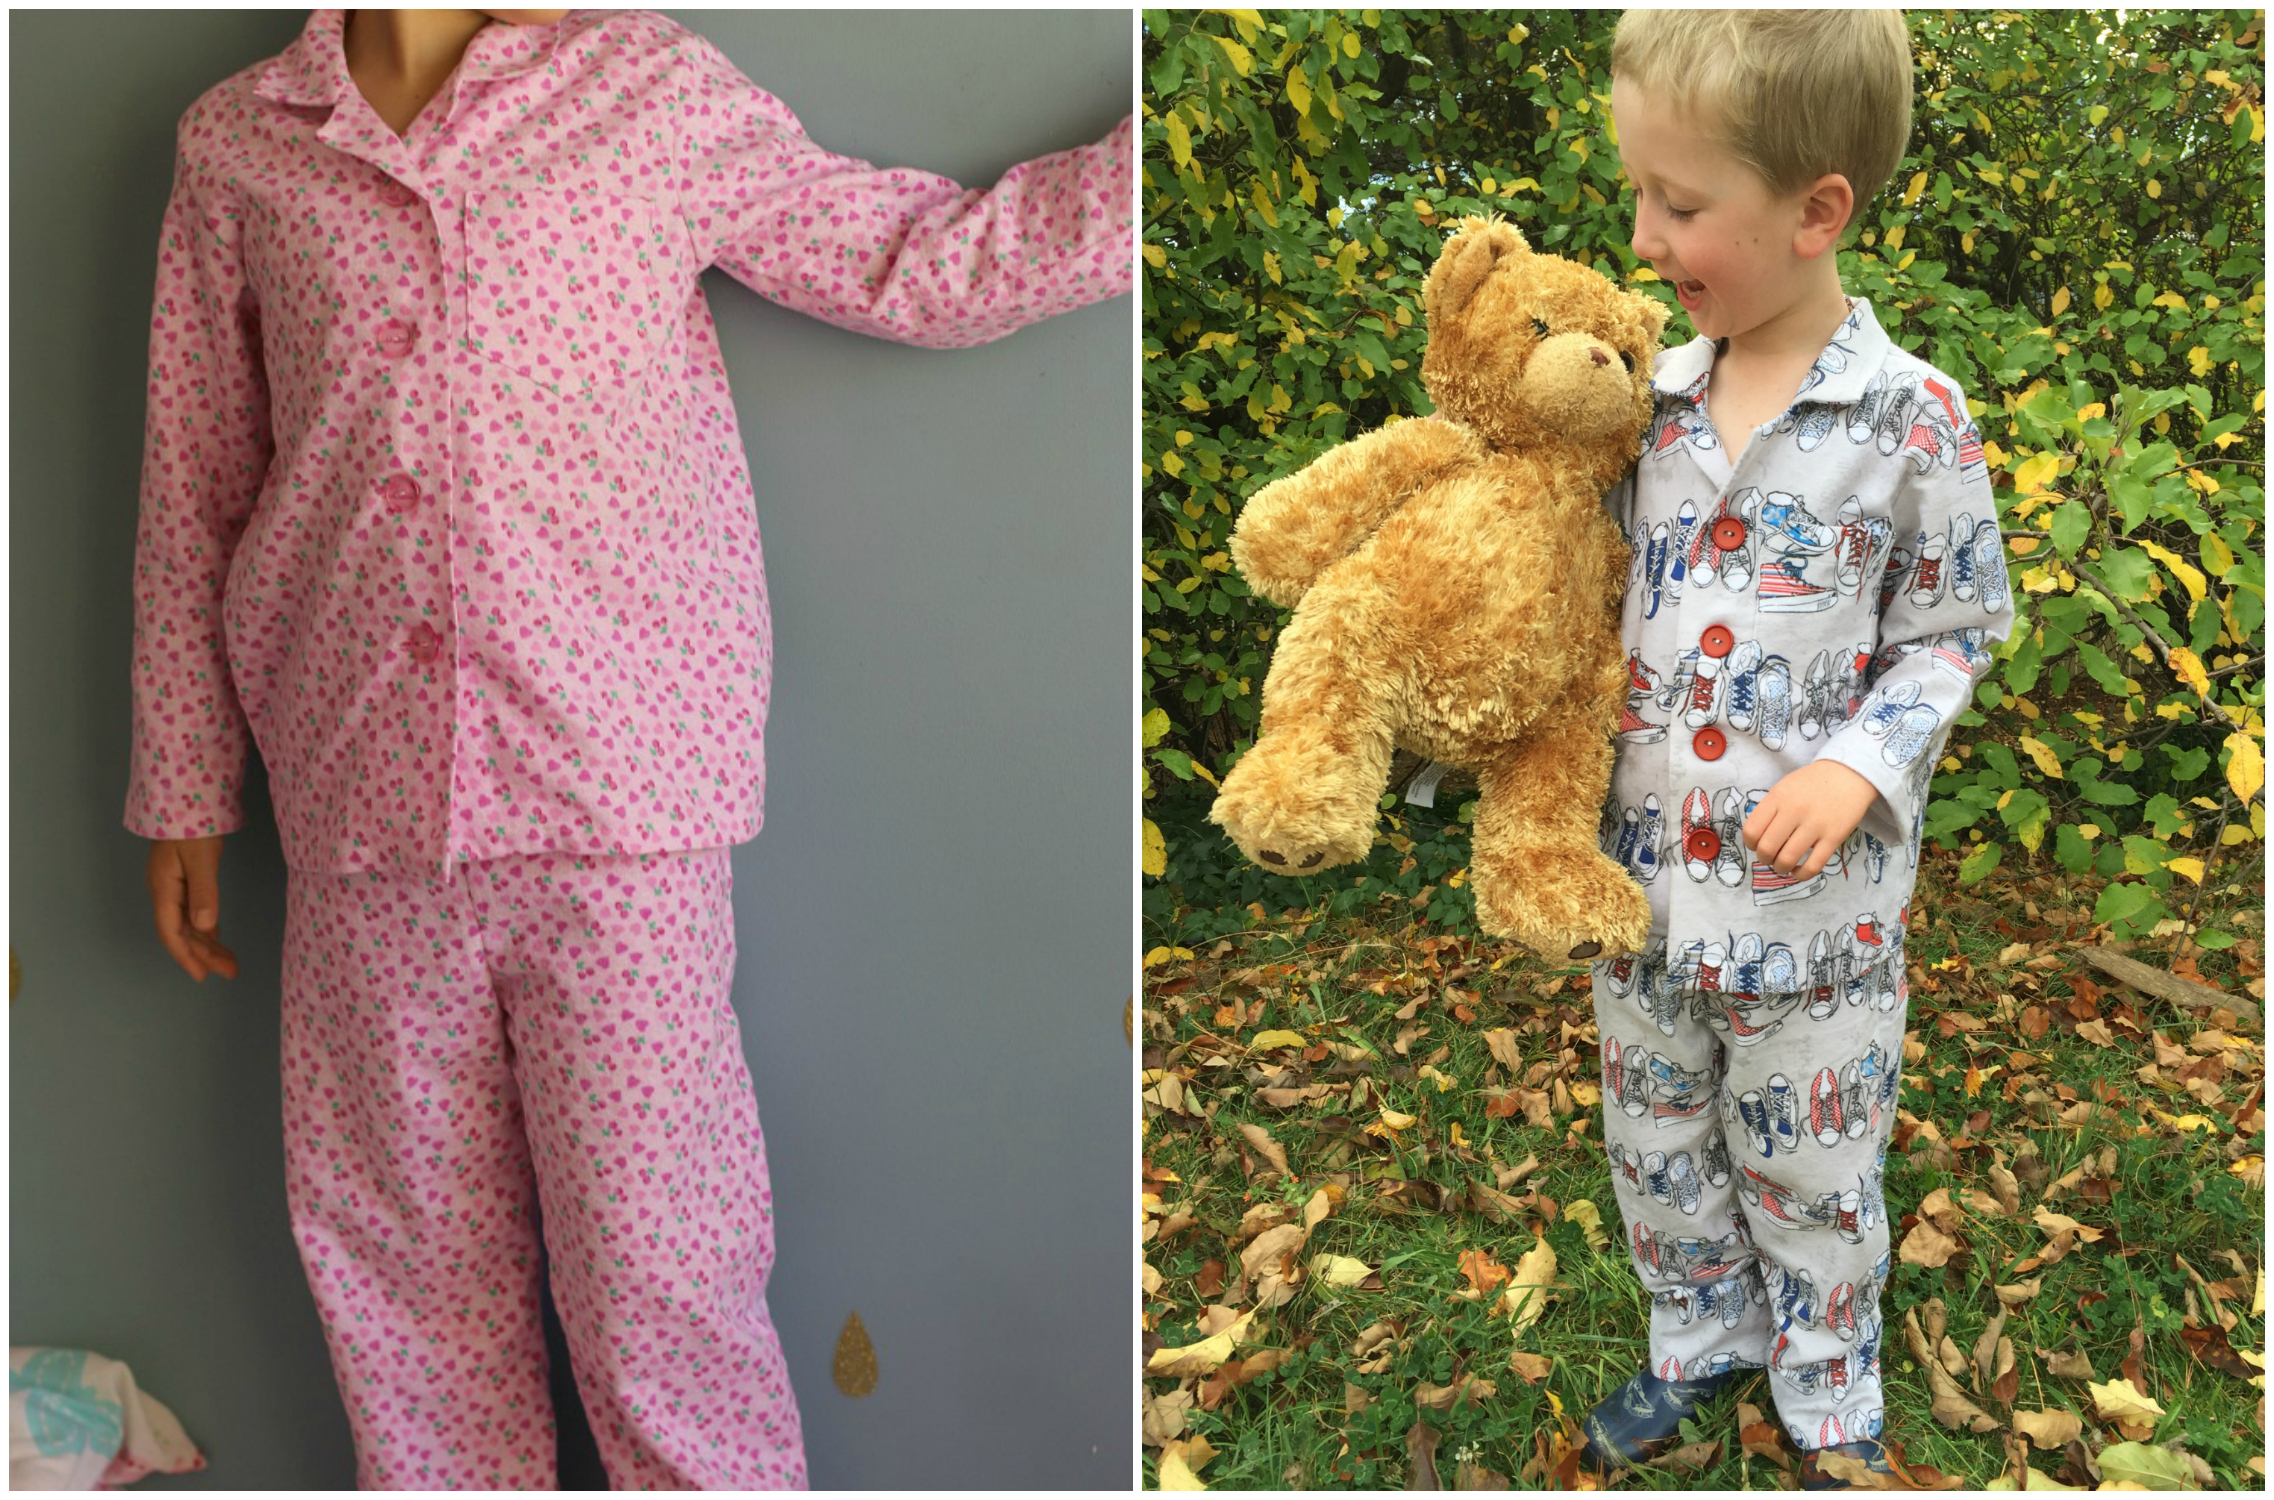
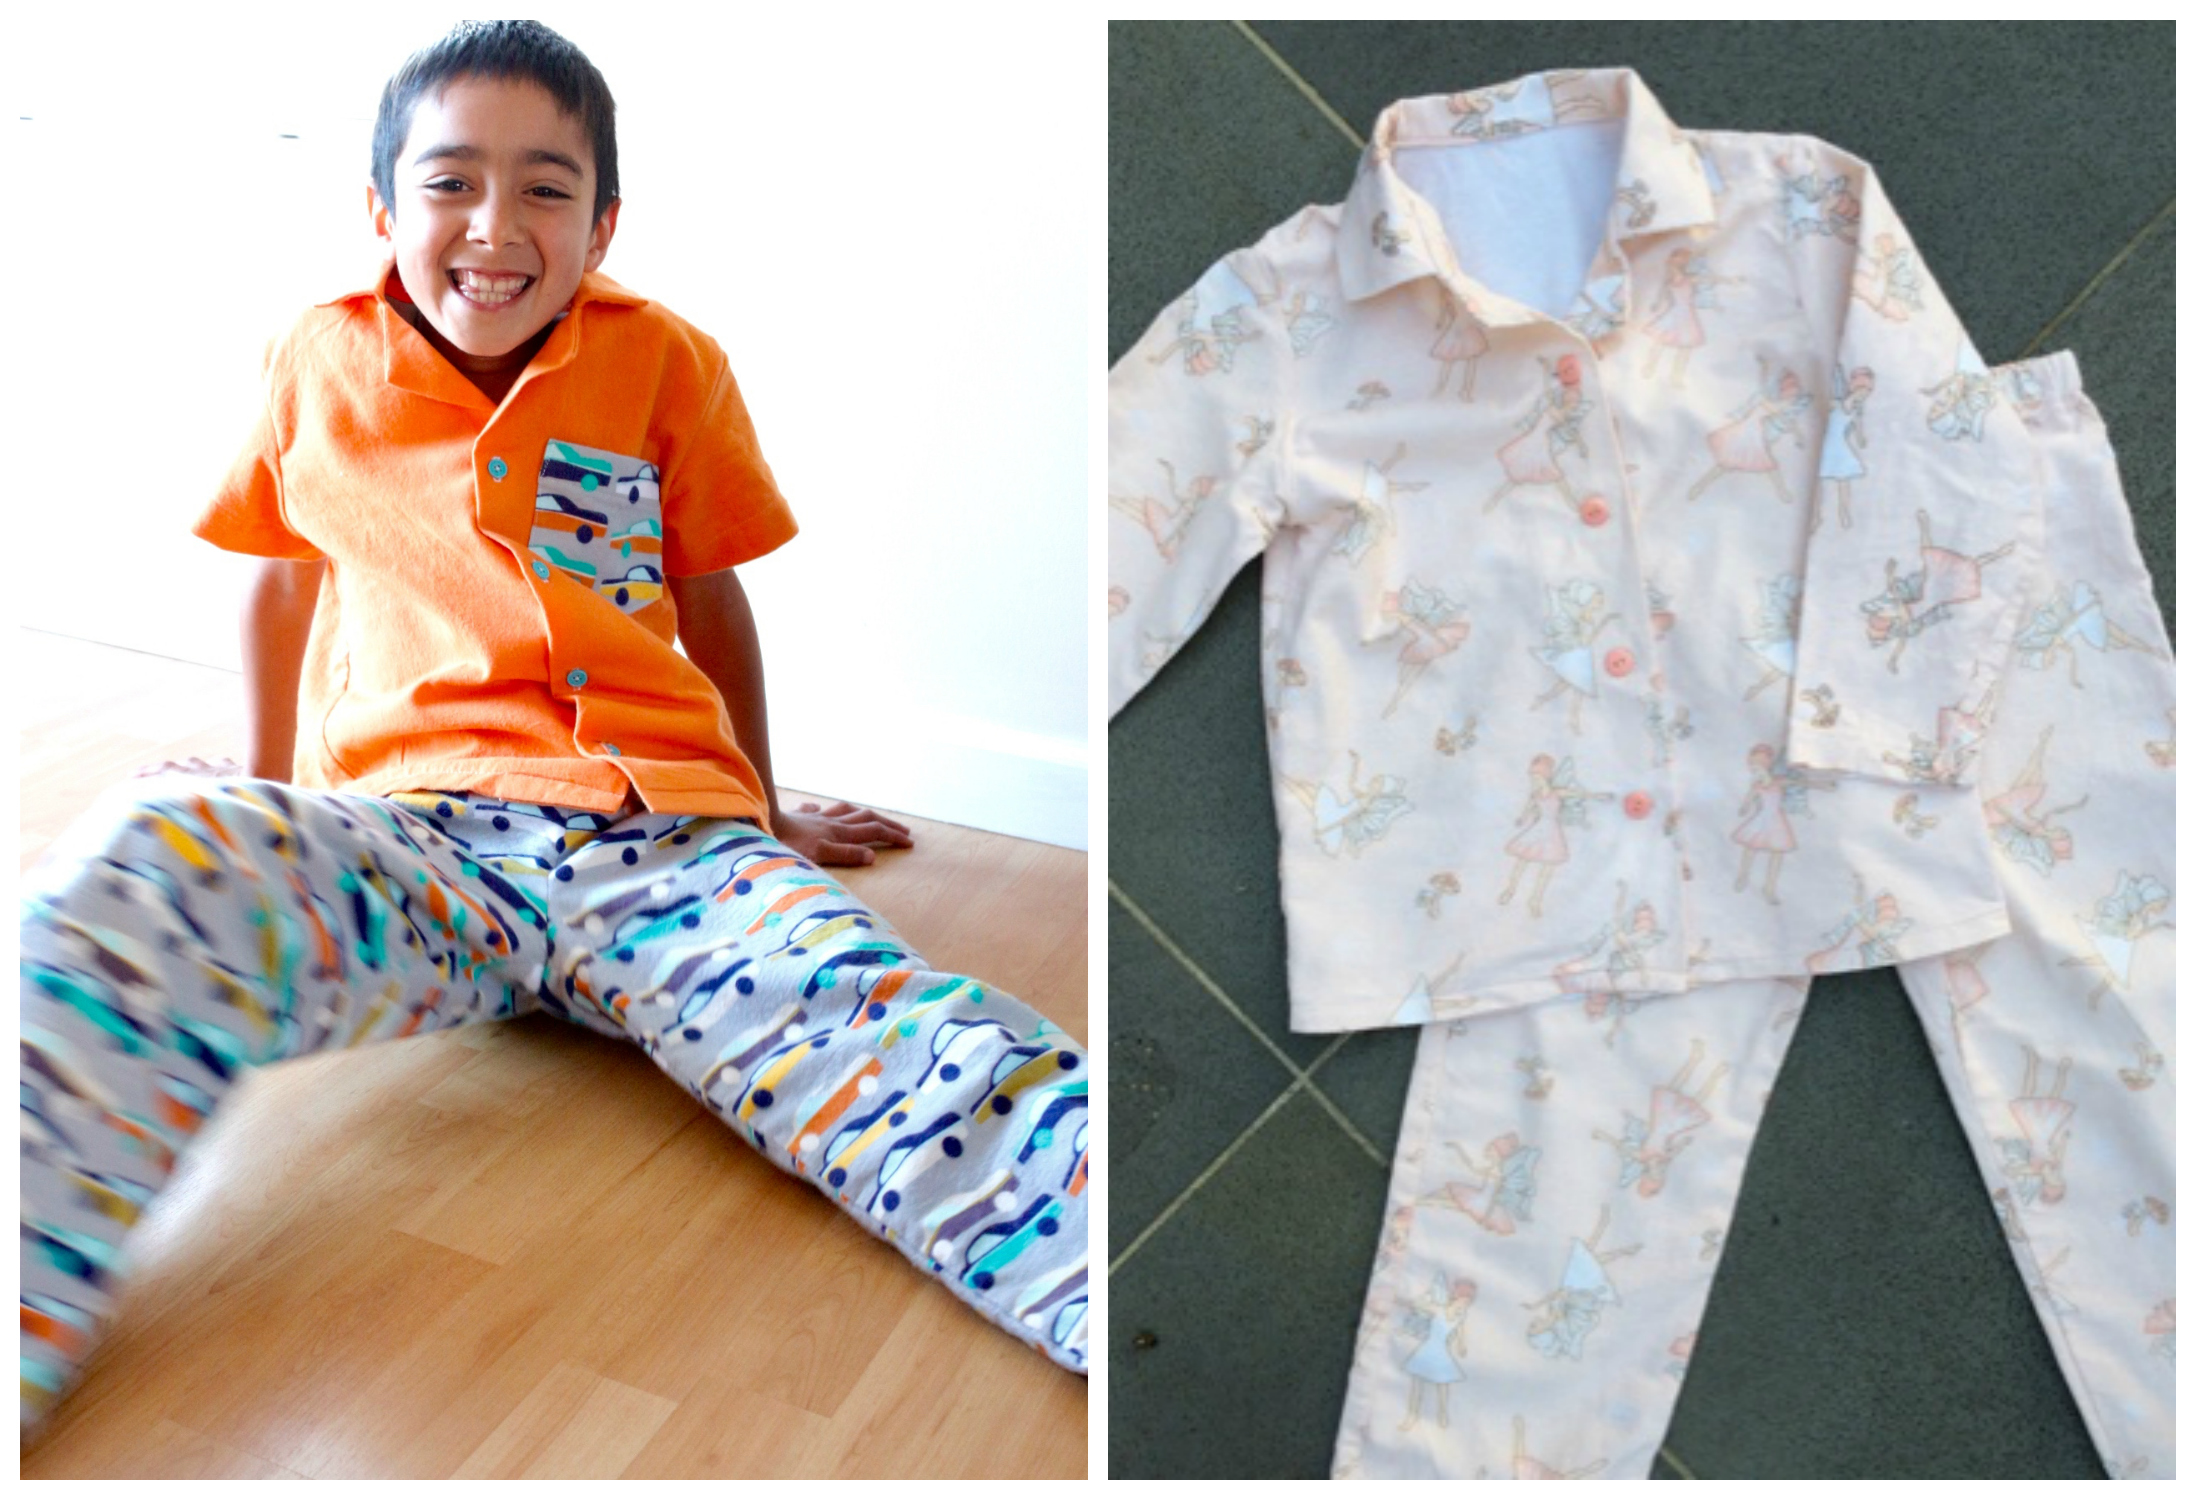
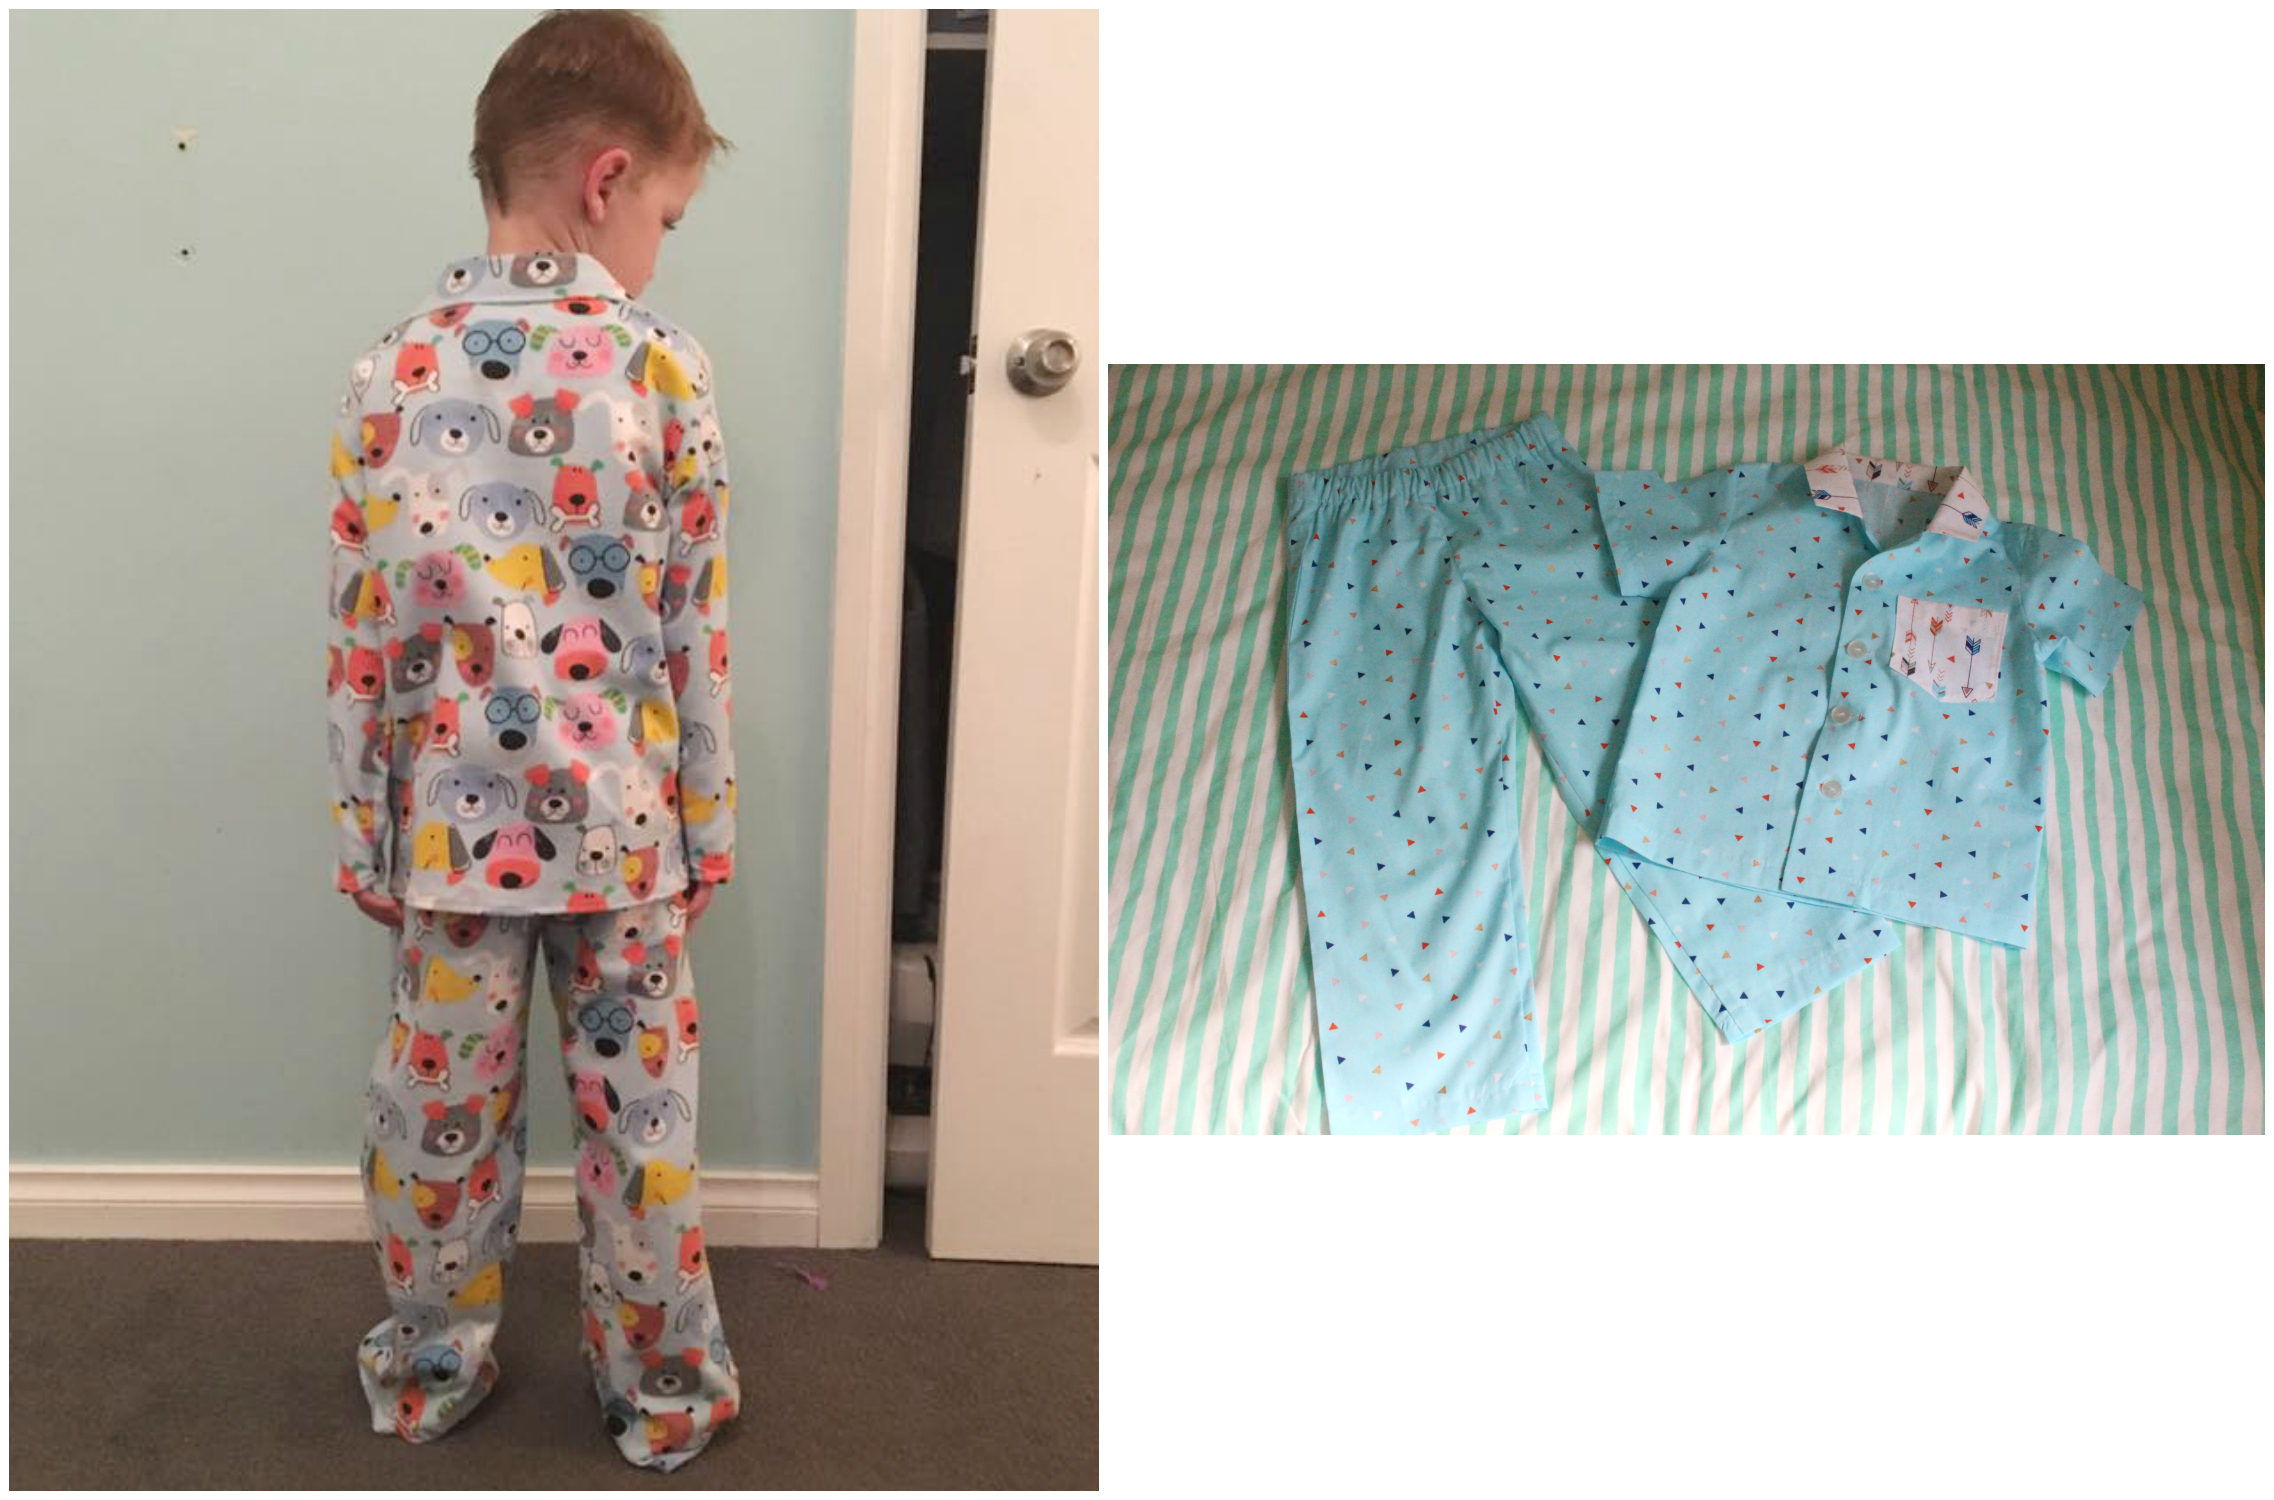
Here are a few of their Catnap Pyjamas tester pics for your inspiration. Have you made a pair of Catnap Pyjamas yet?? A few people have been sharing theirs on the MIP Sharing Facebook Group. Head over for a look and share yours too!
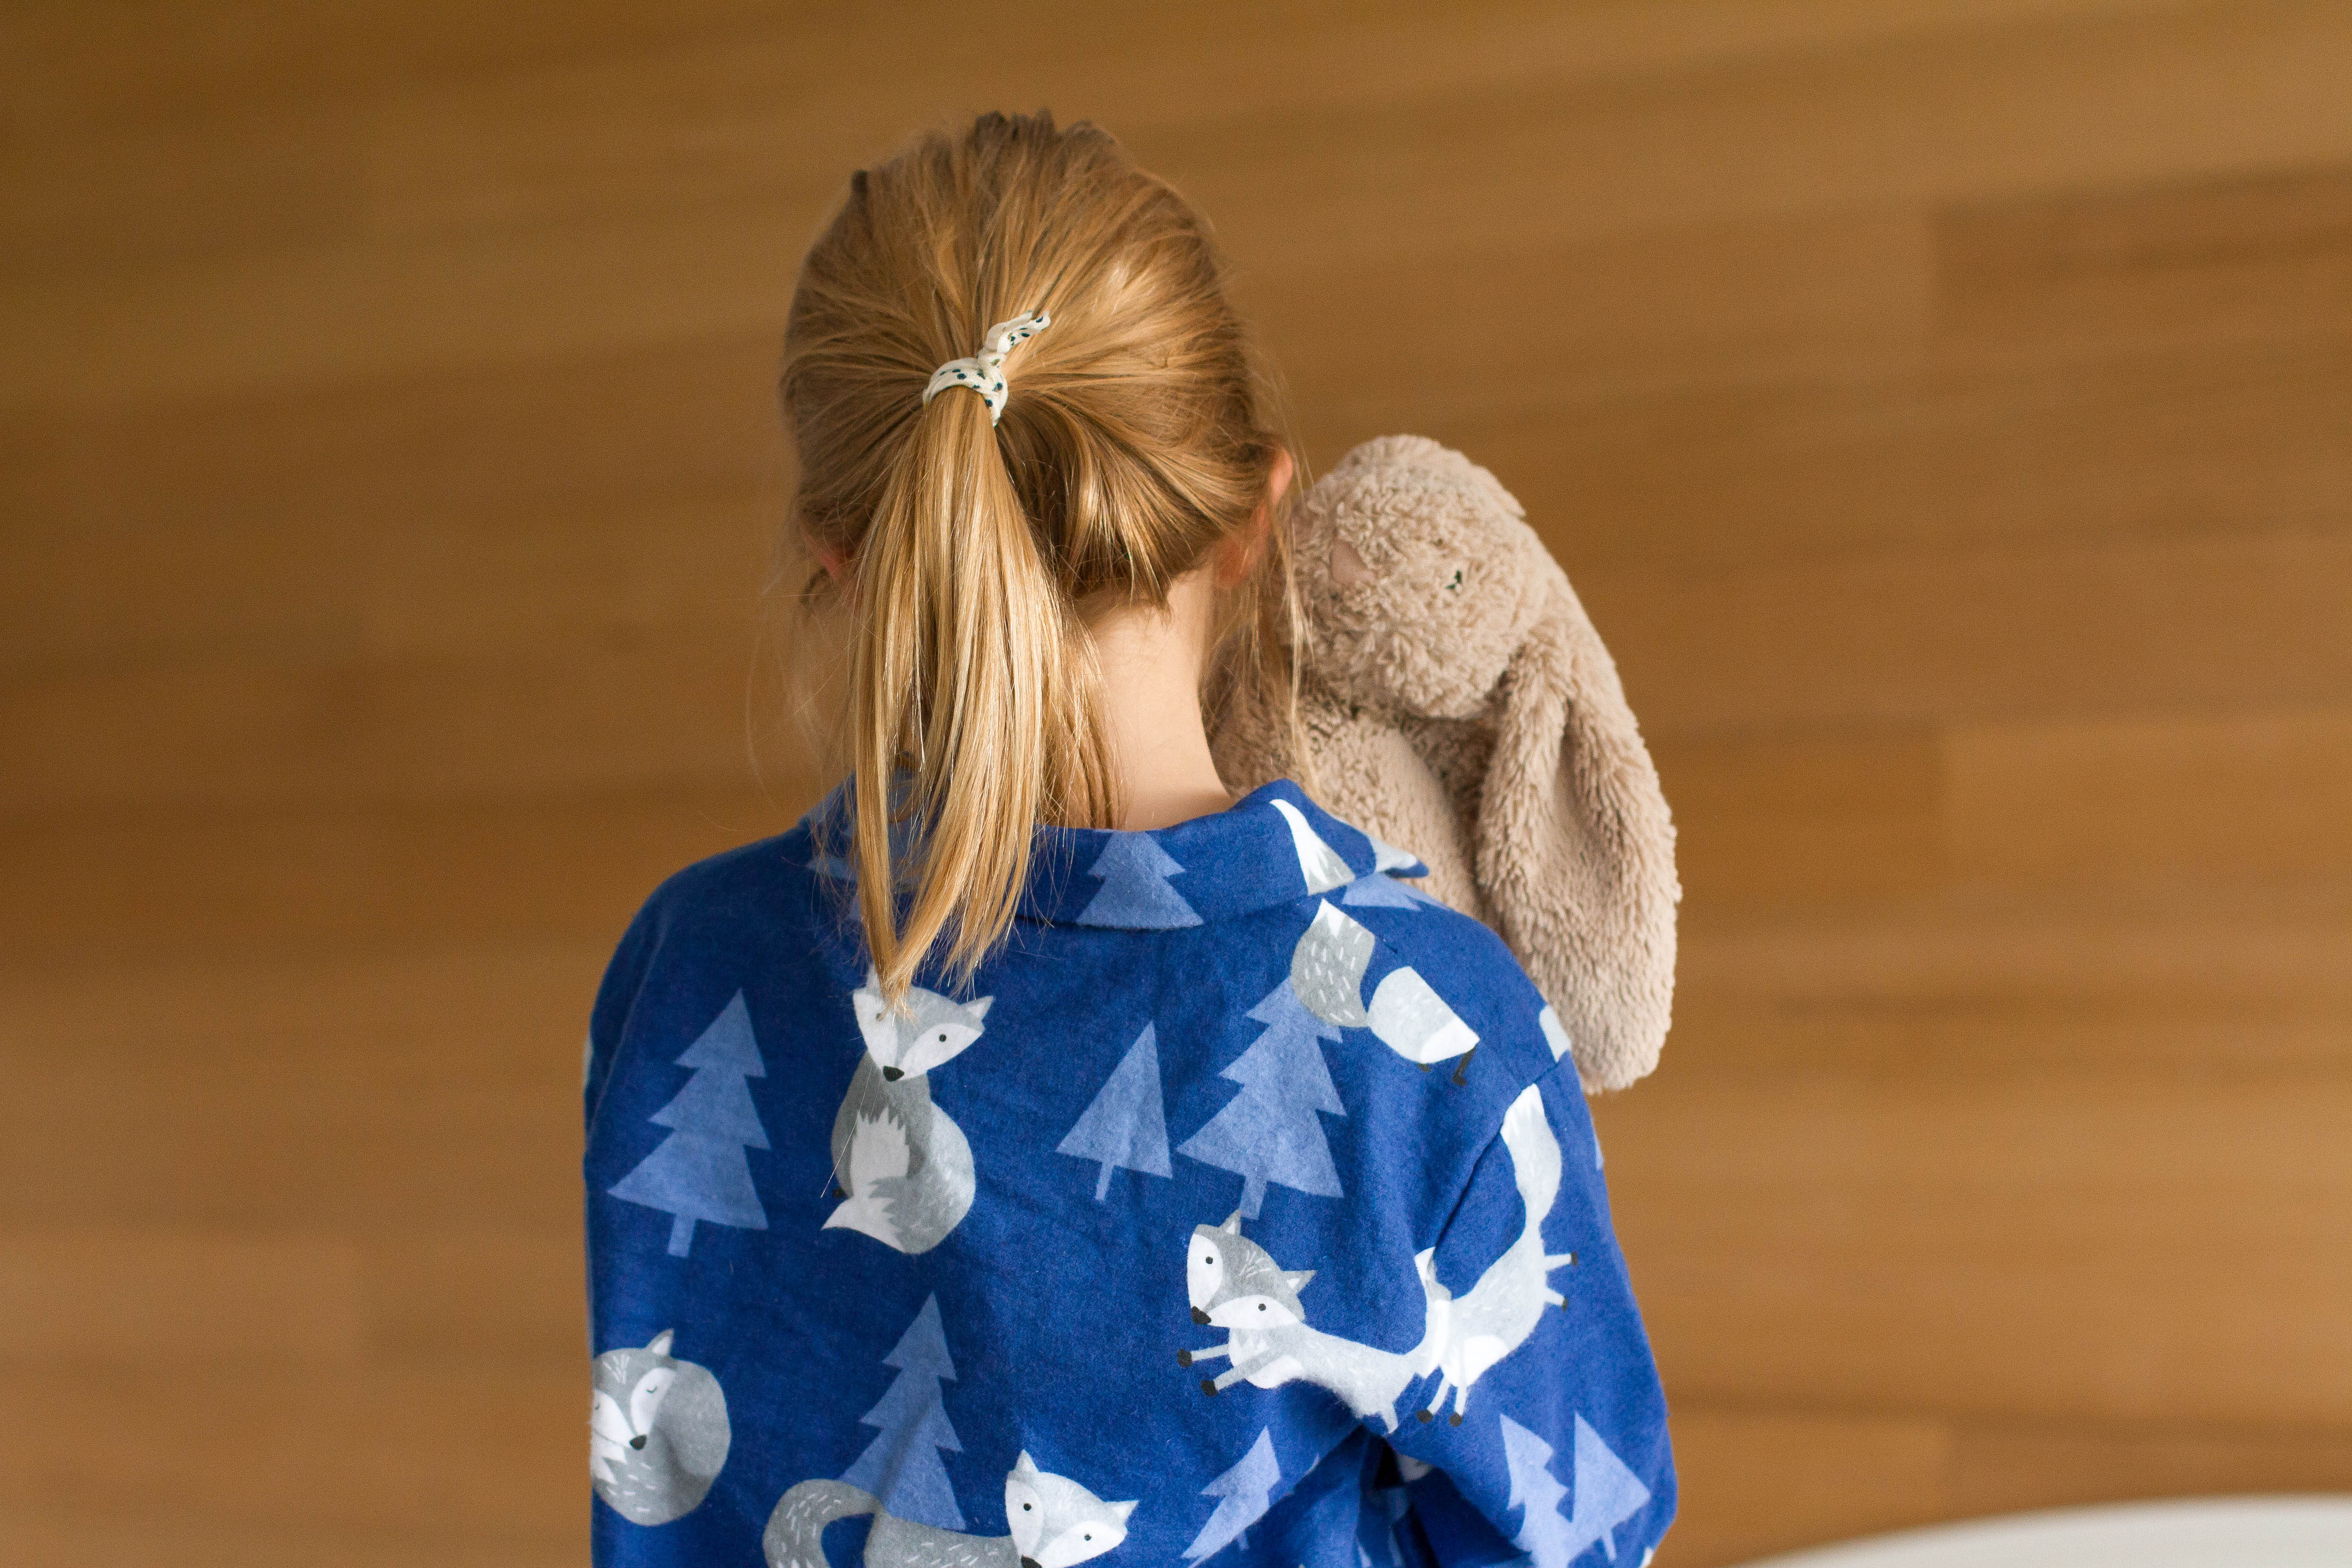
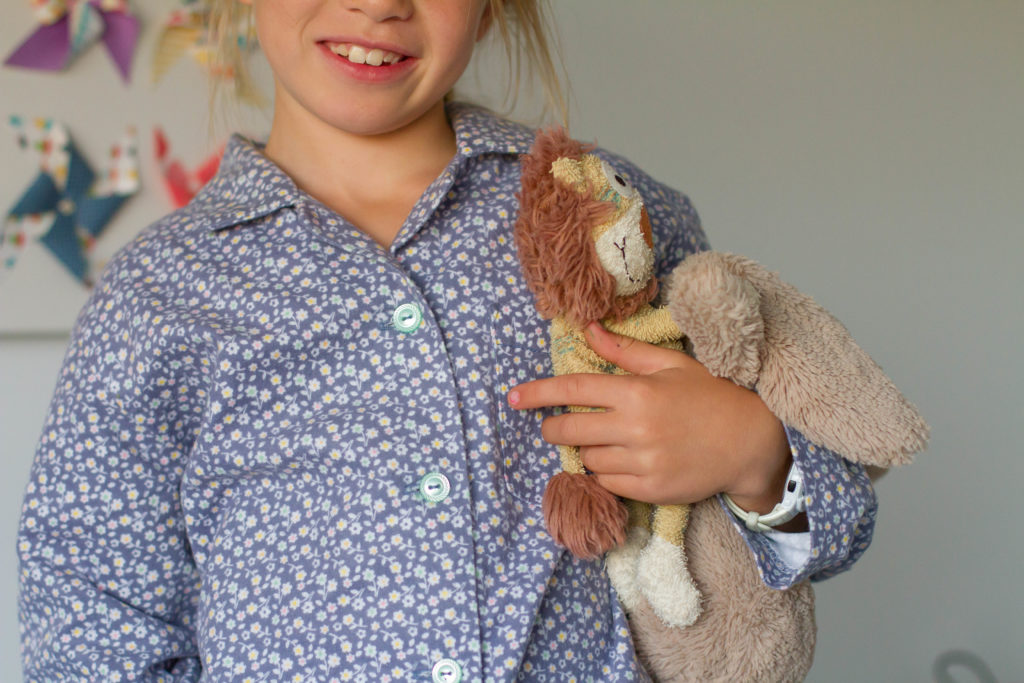
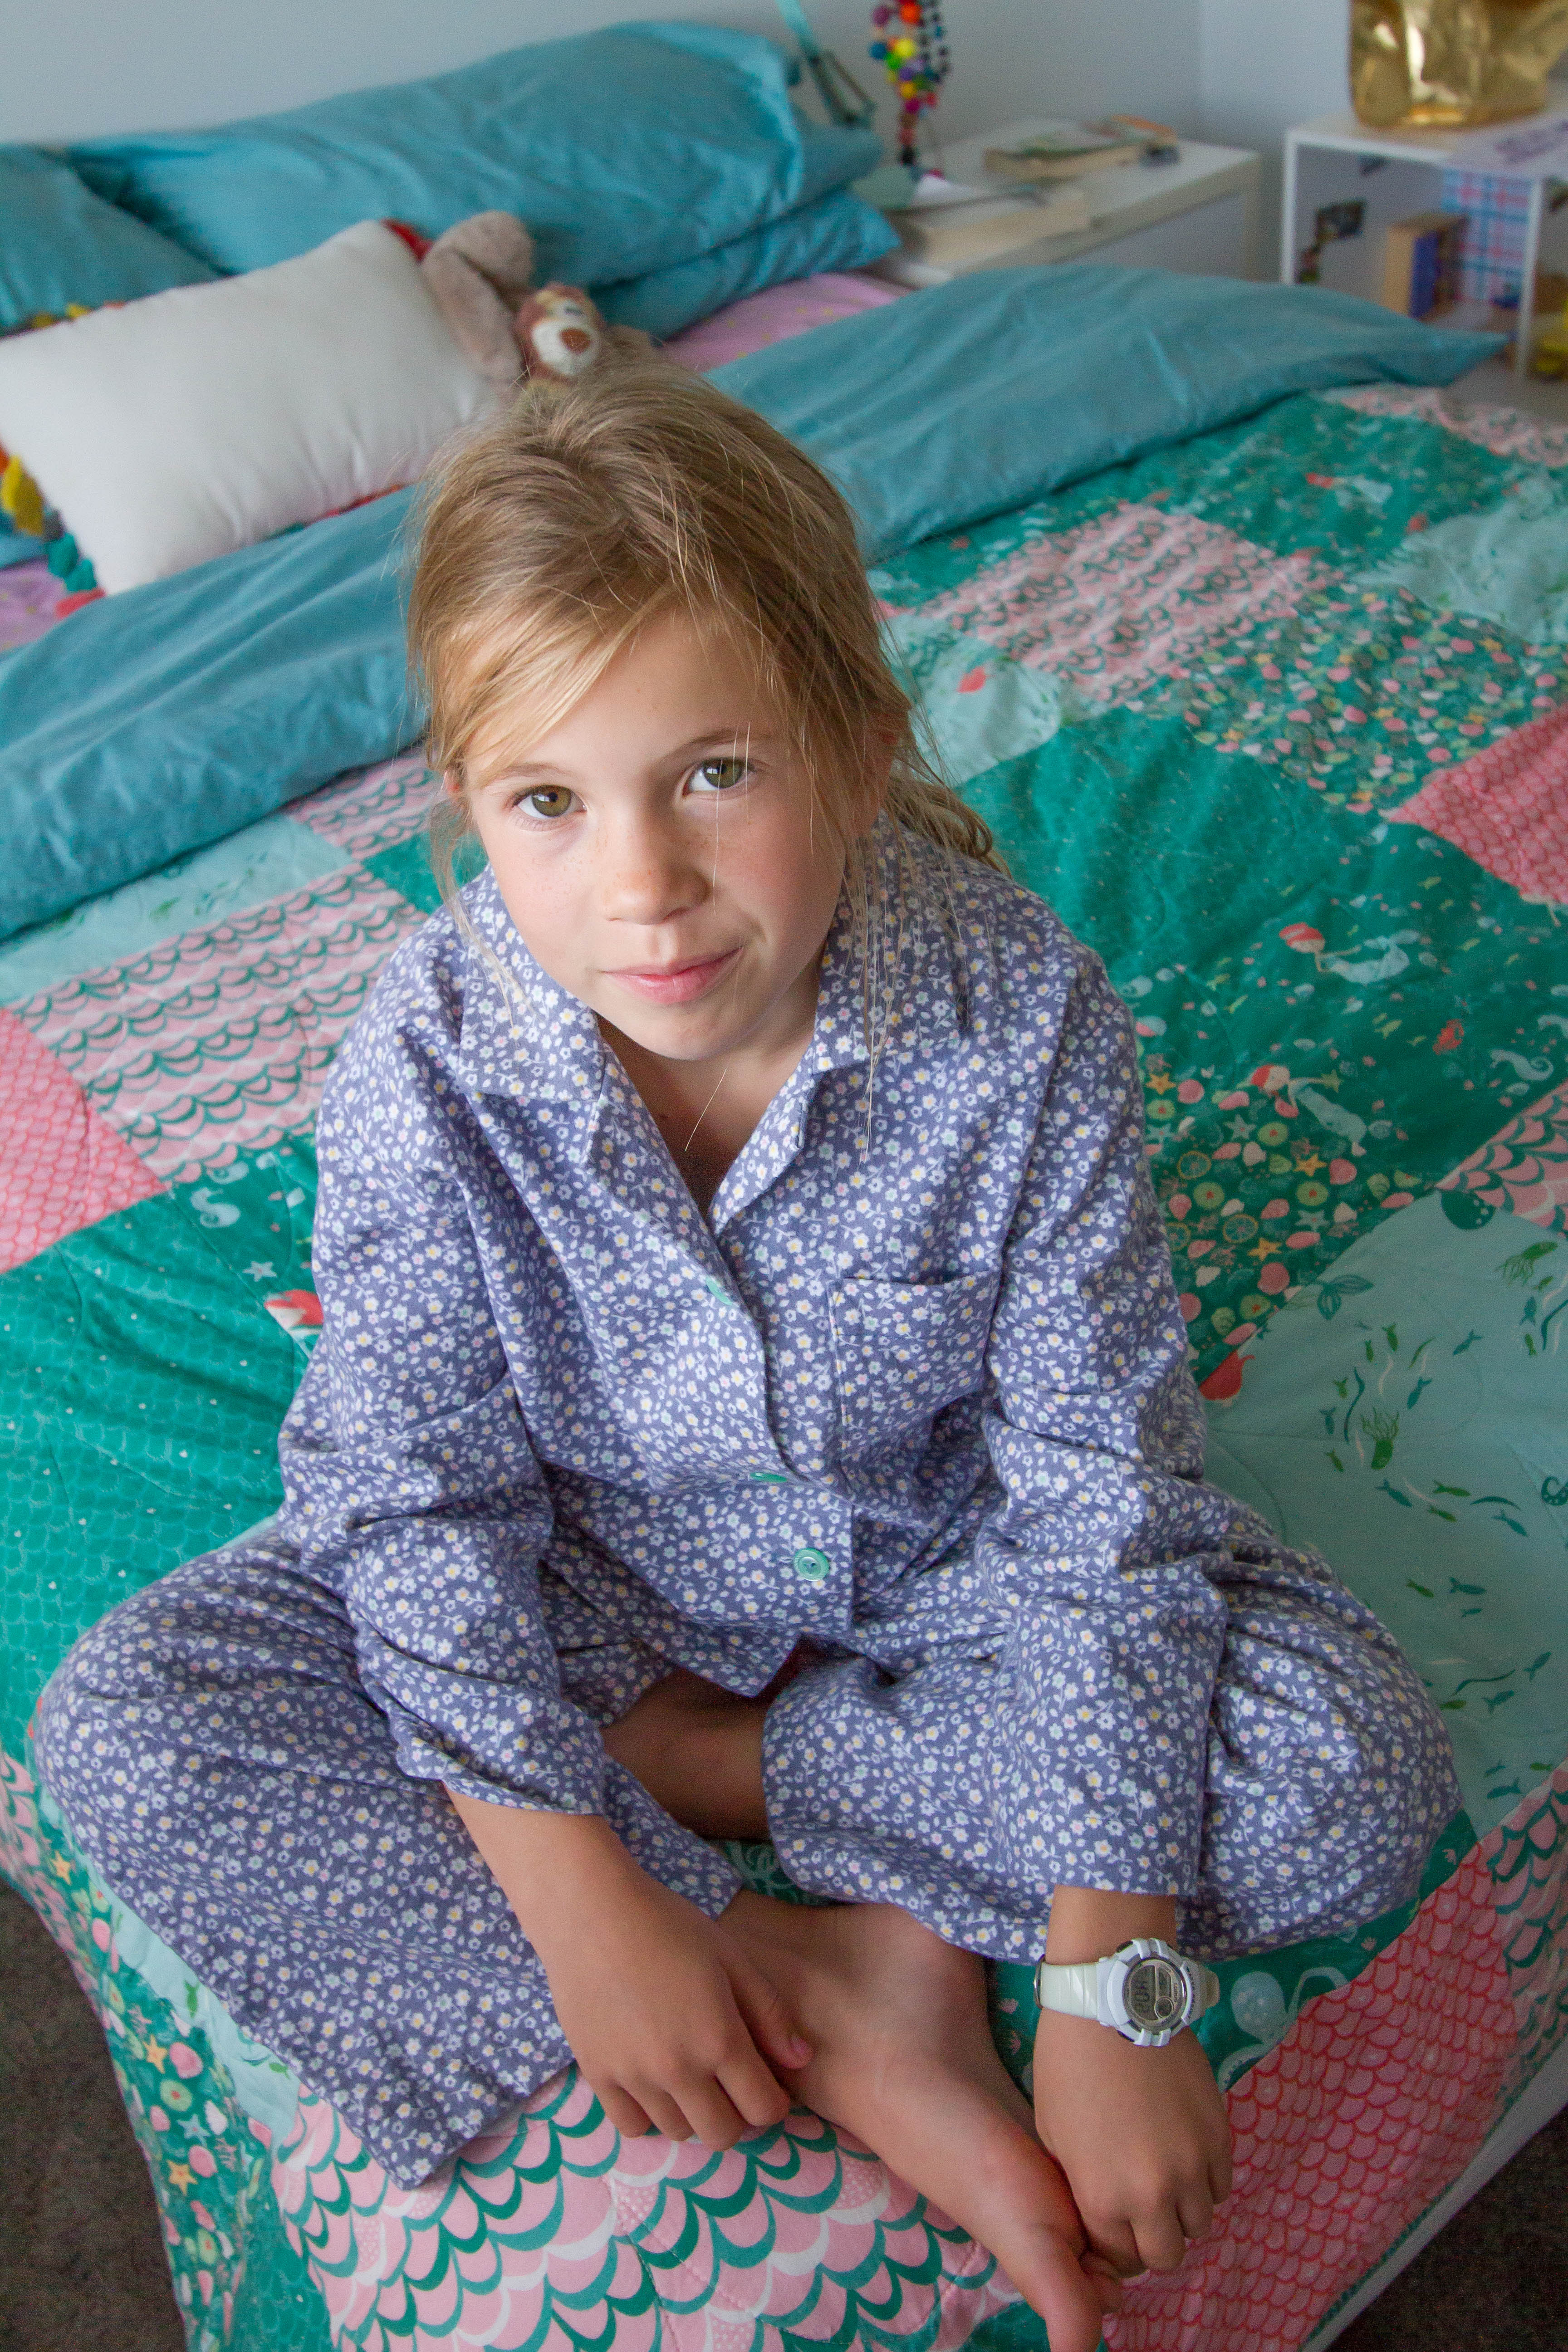
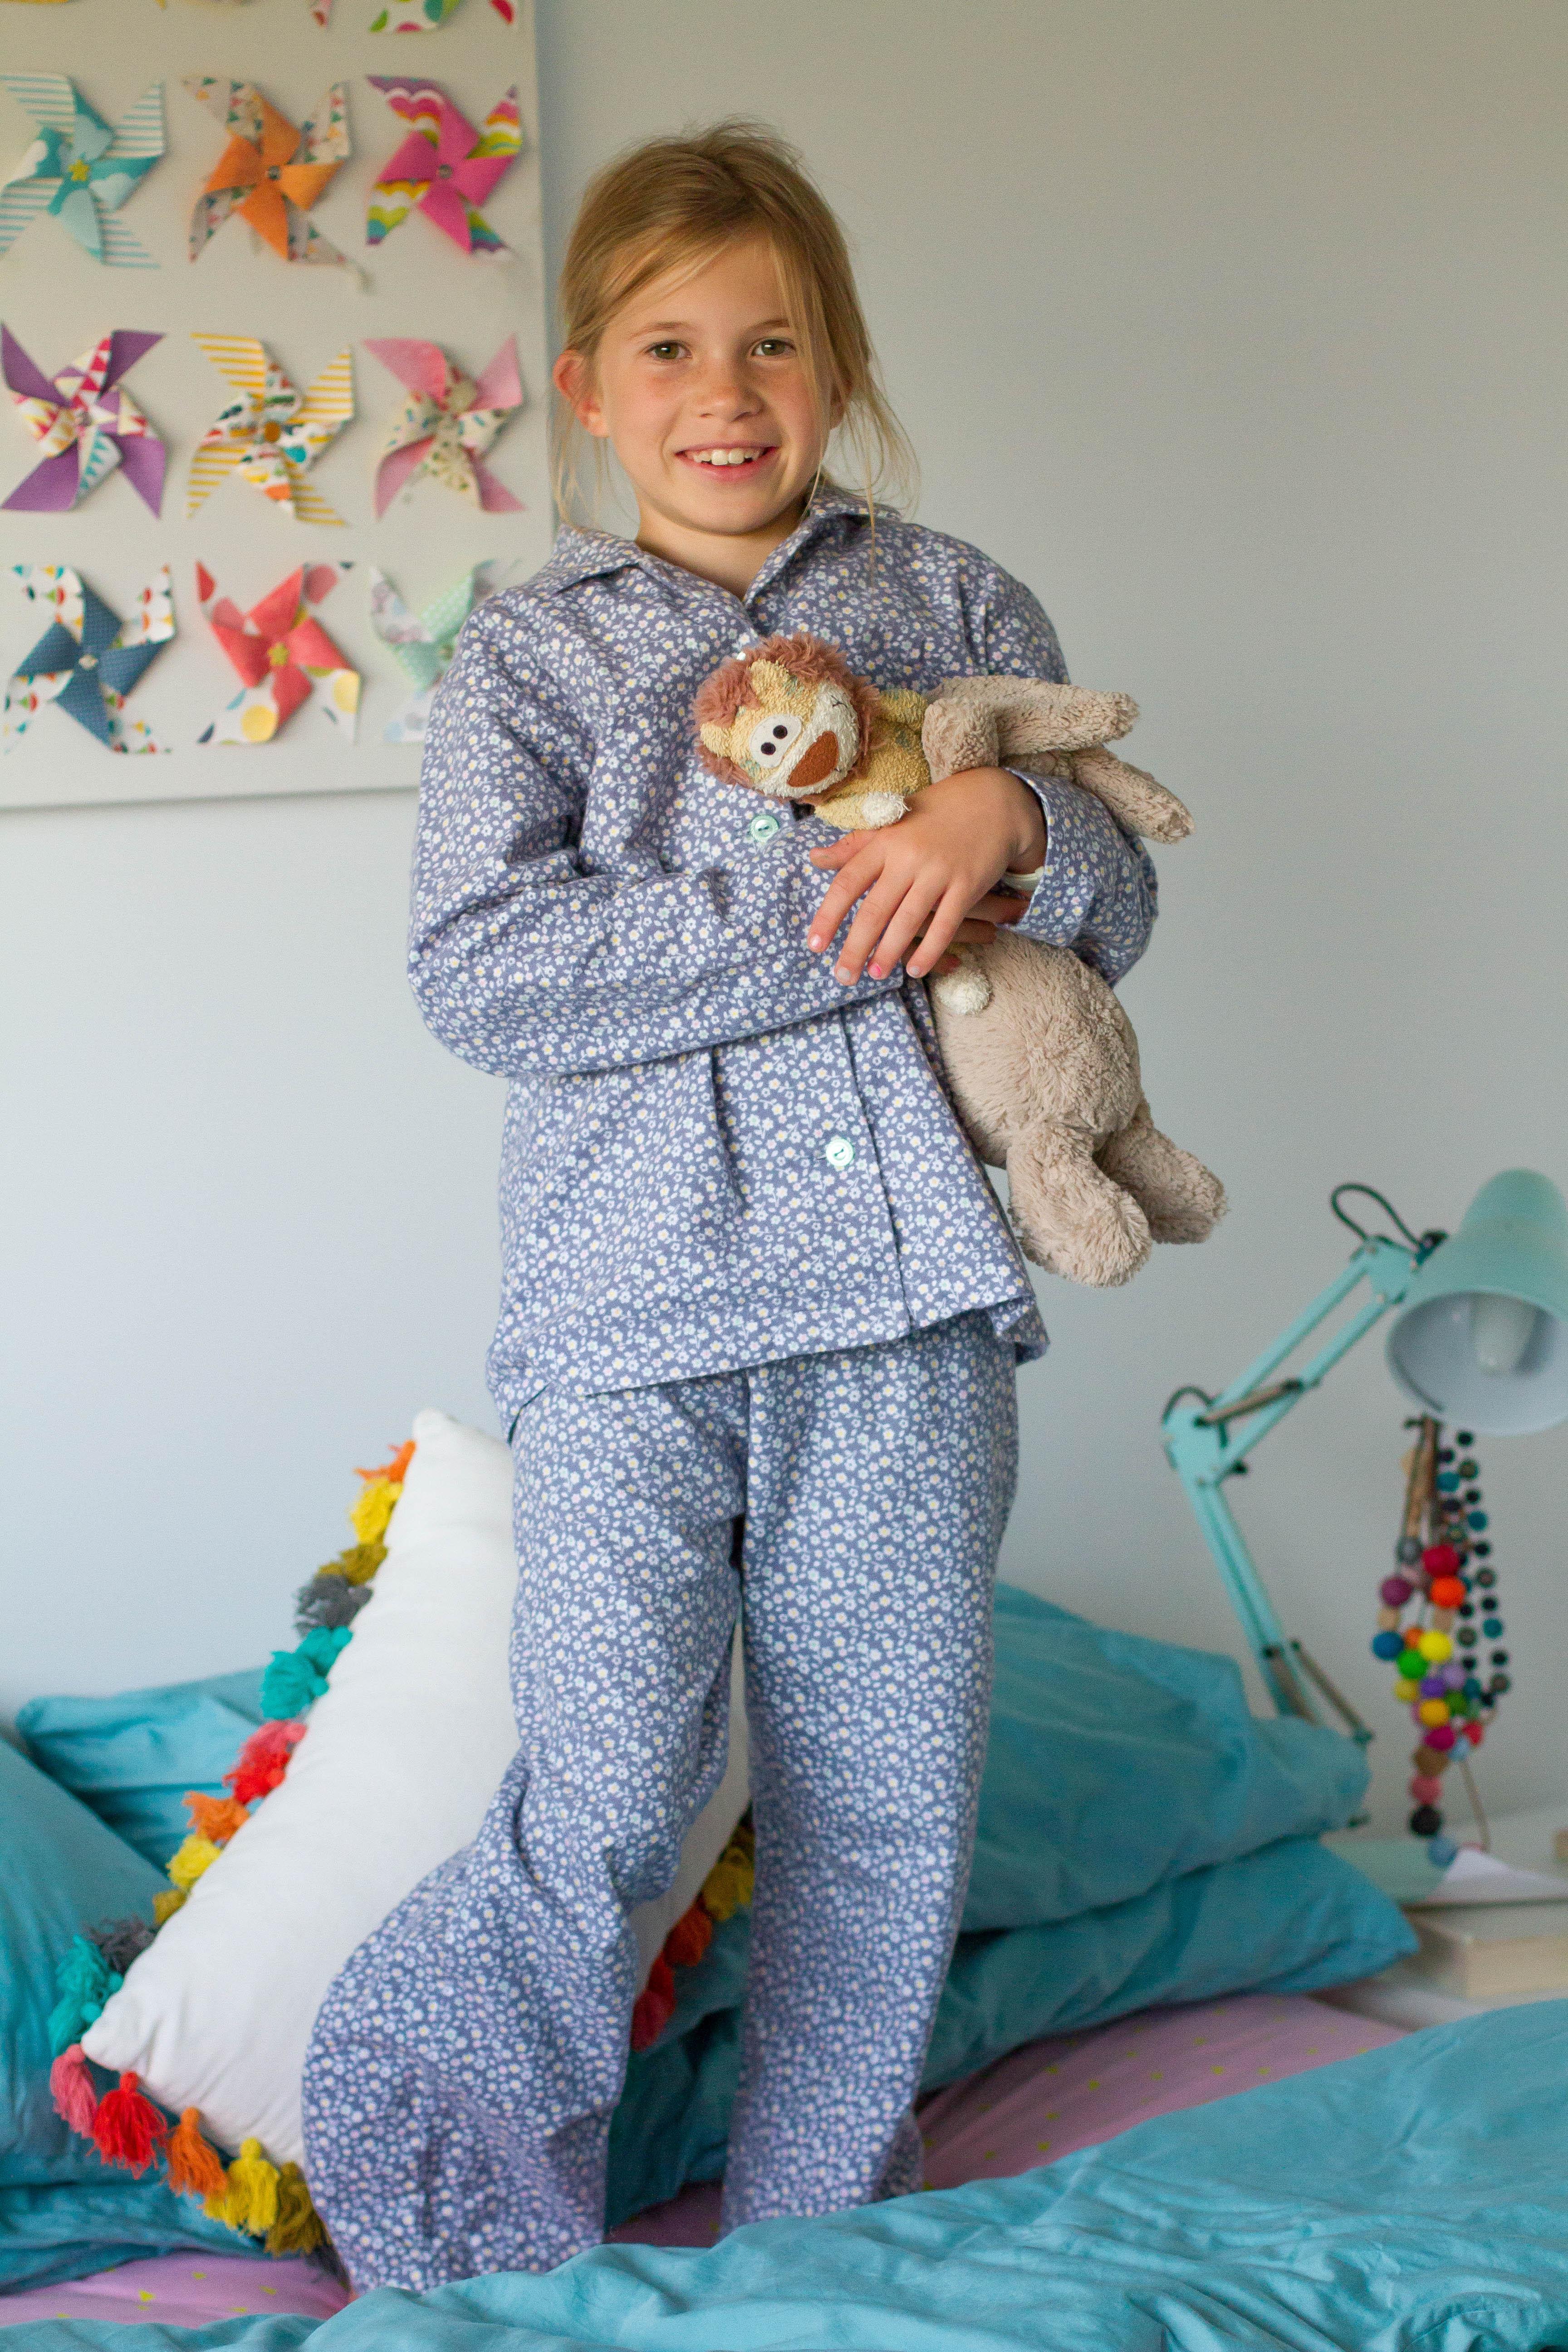
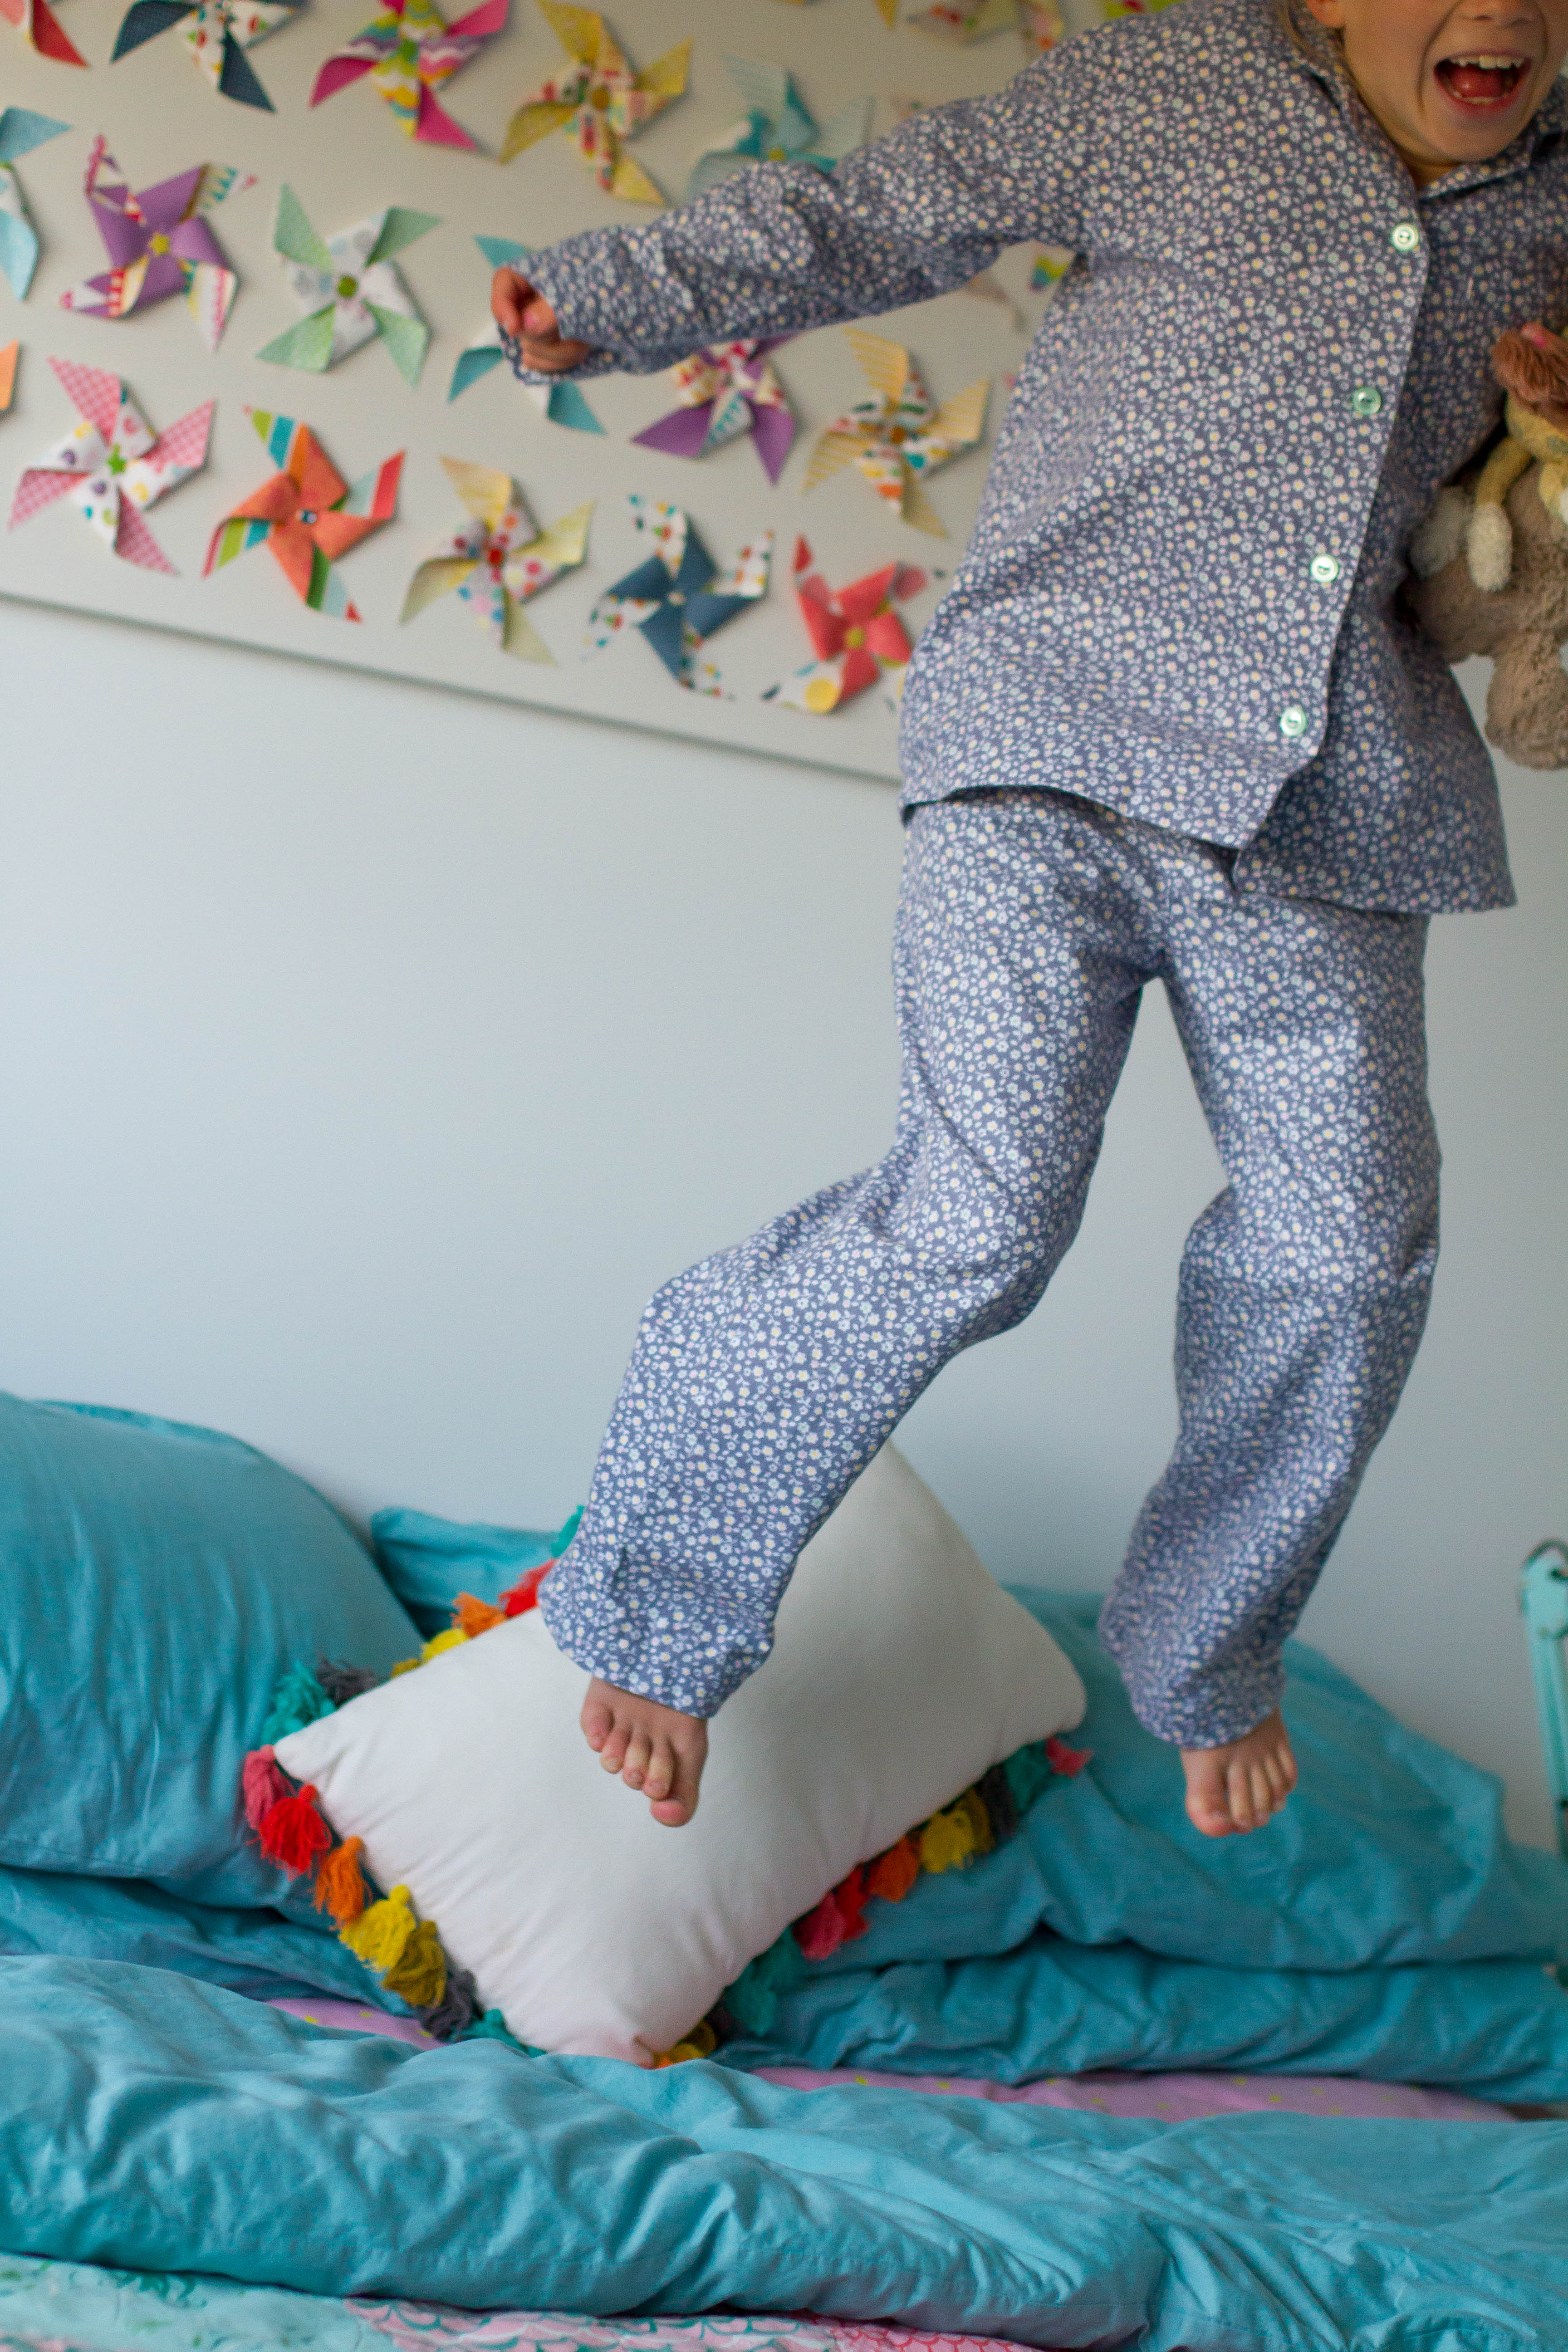
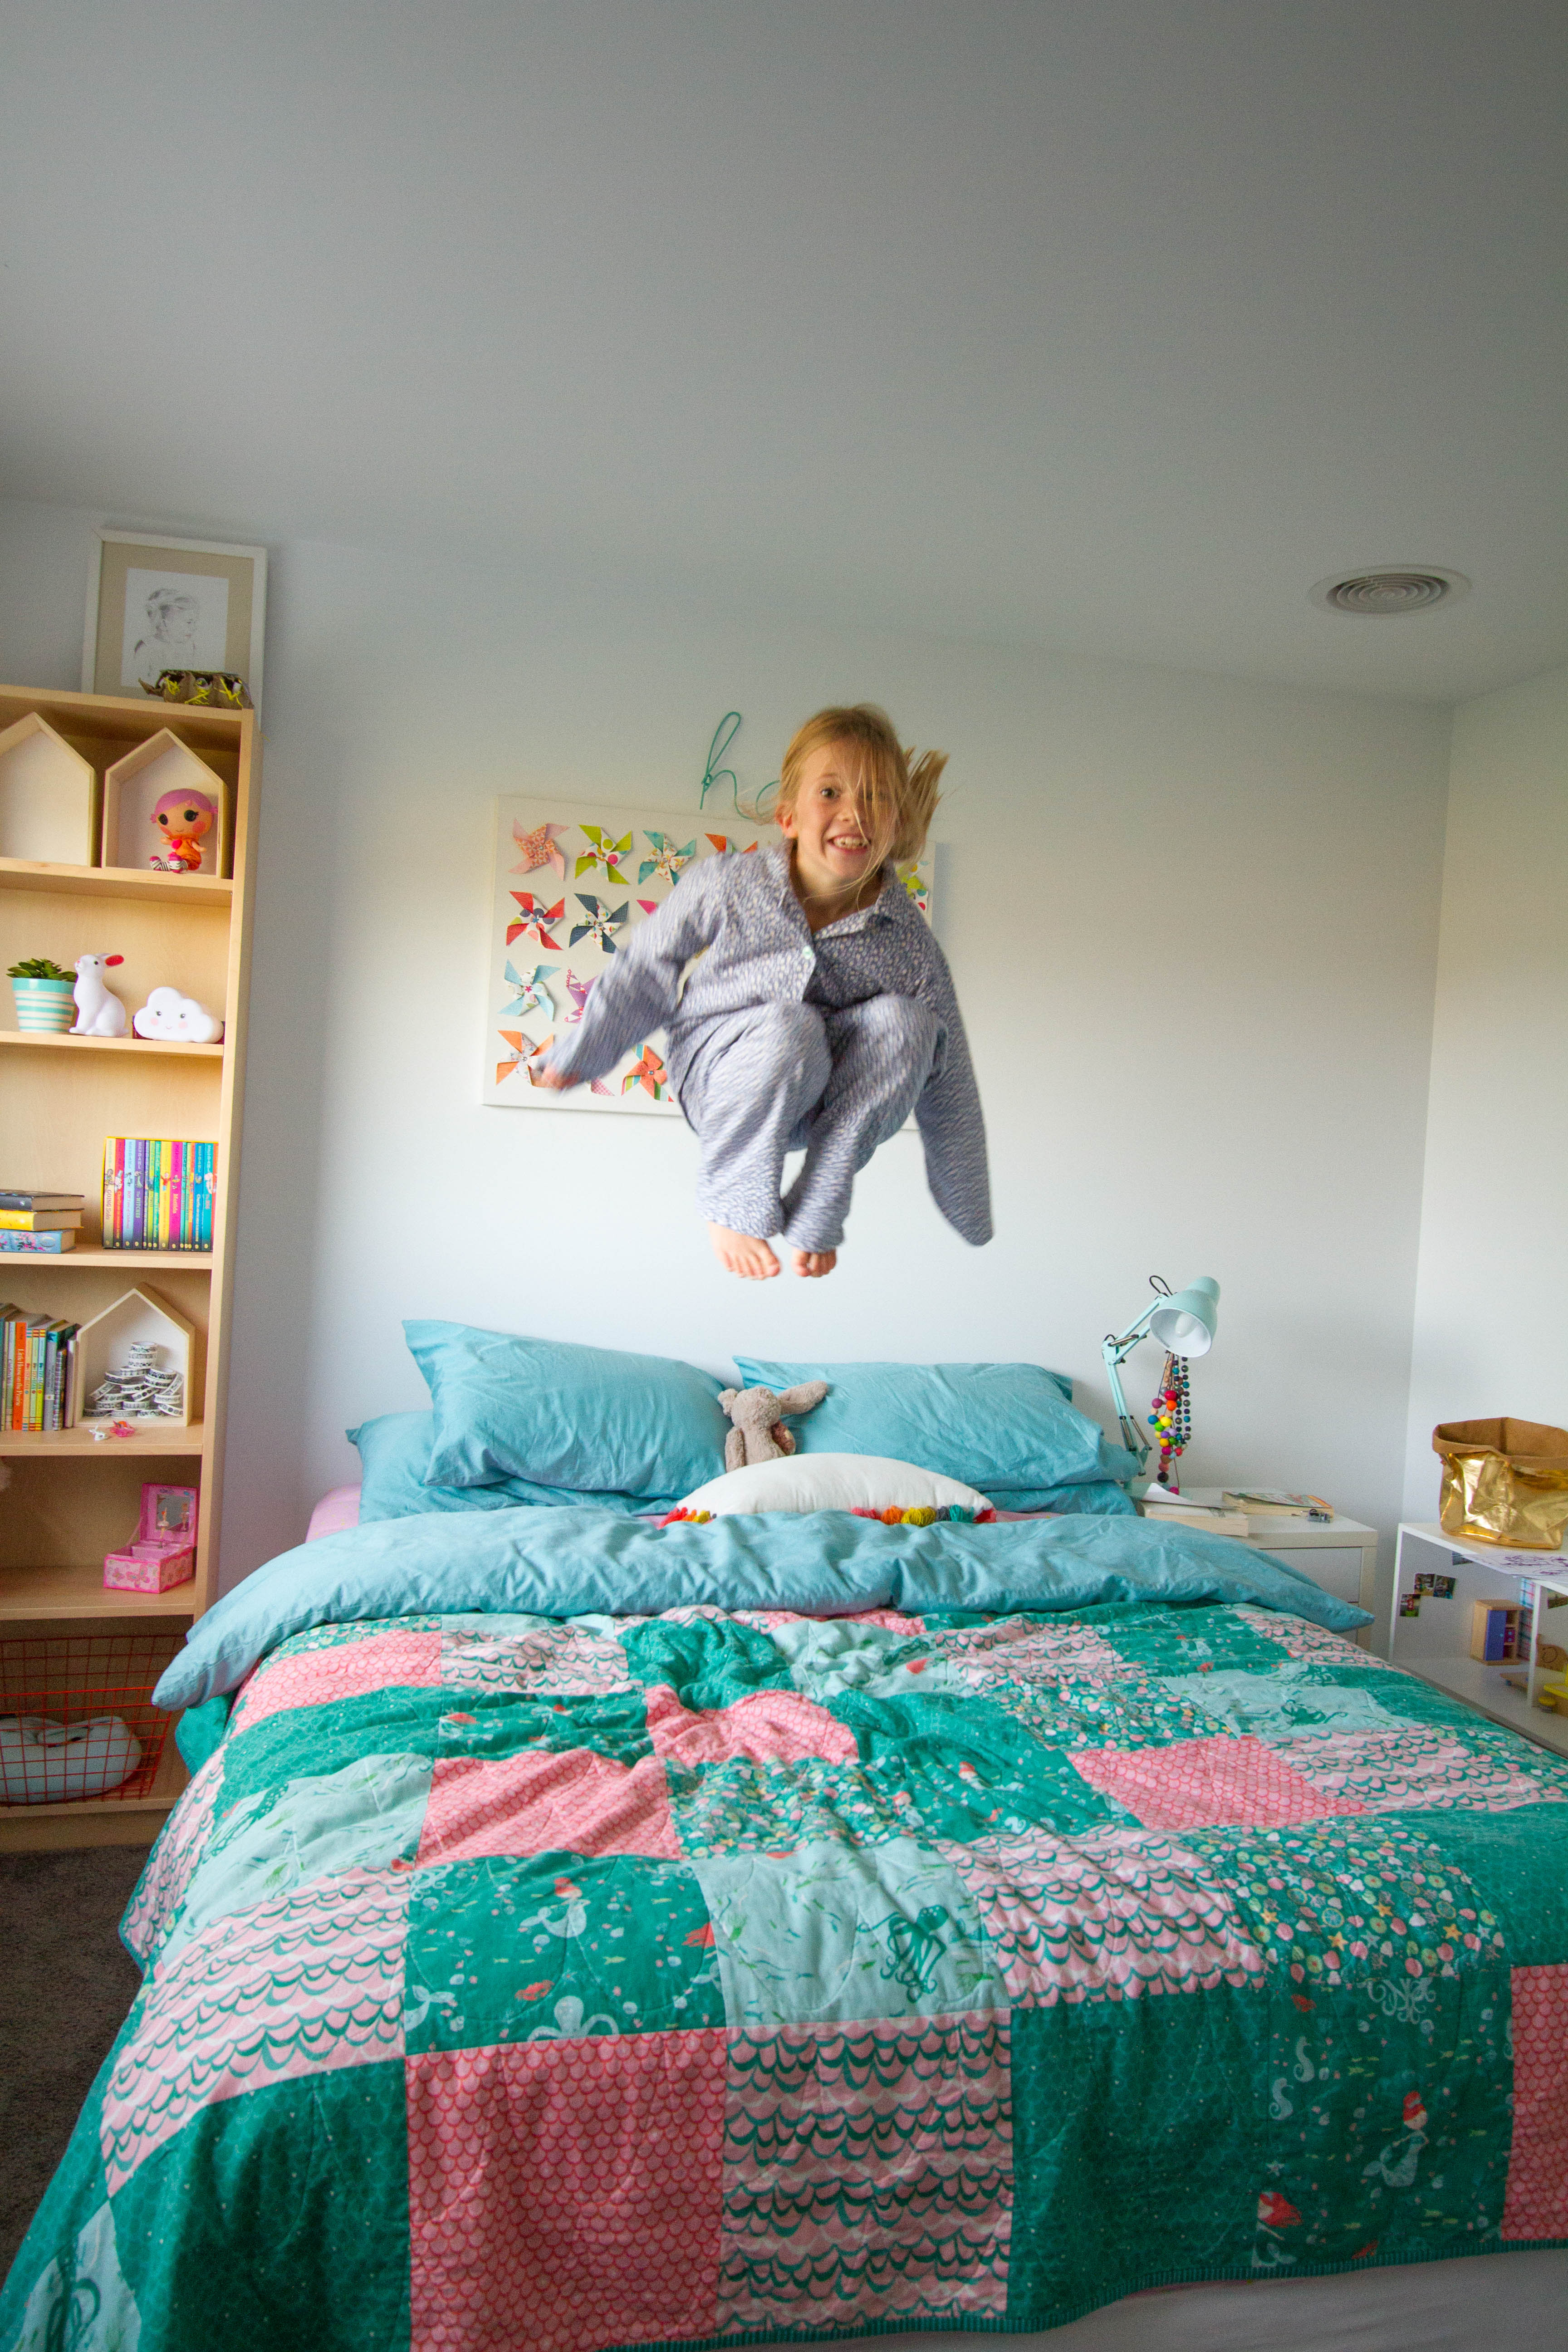
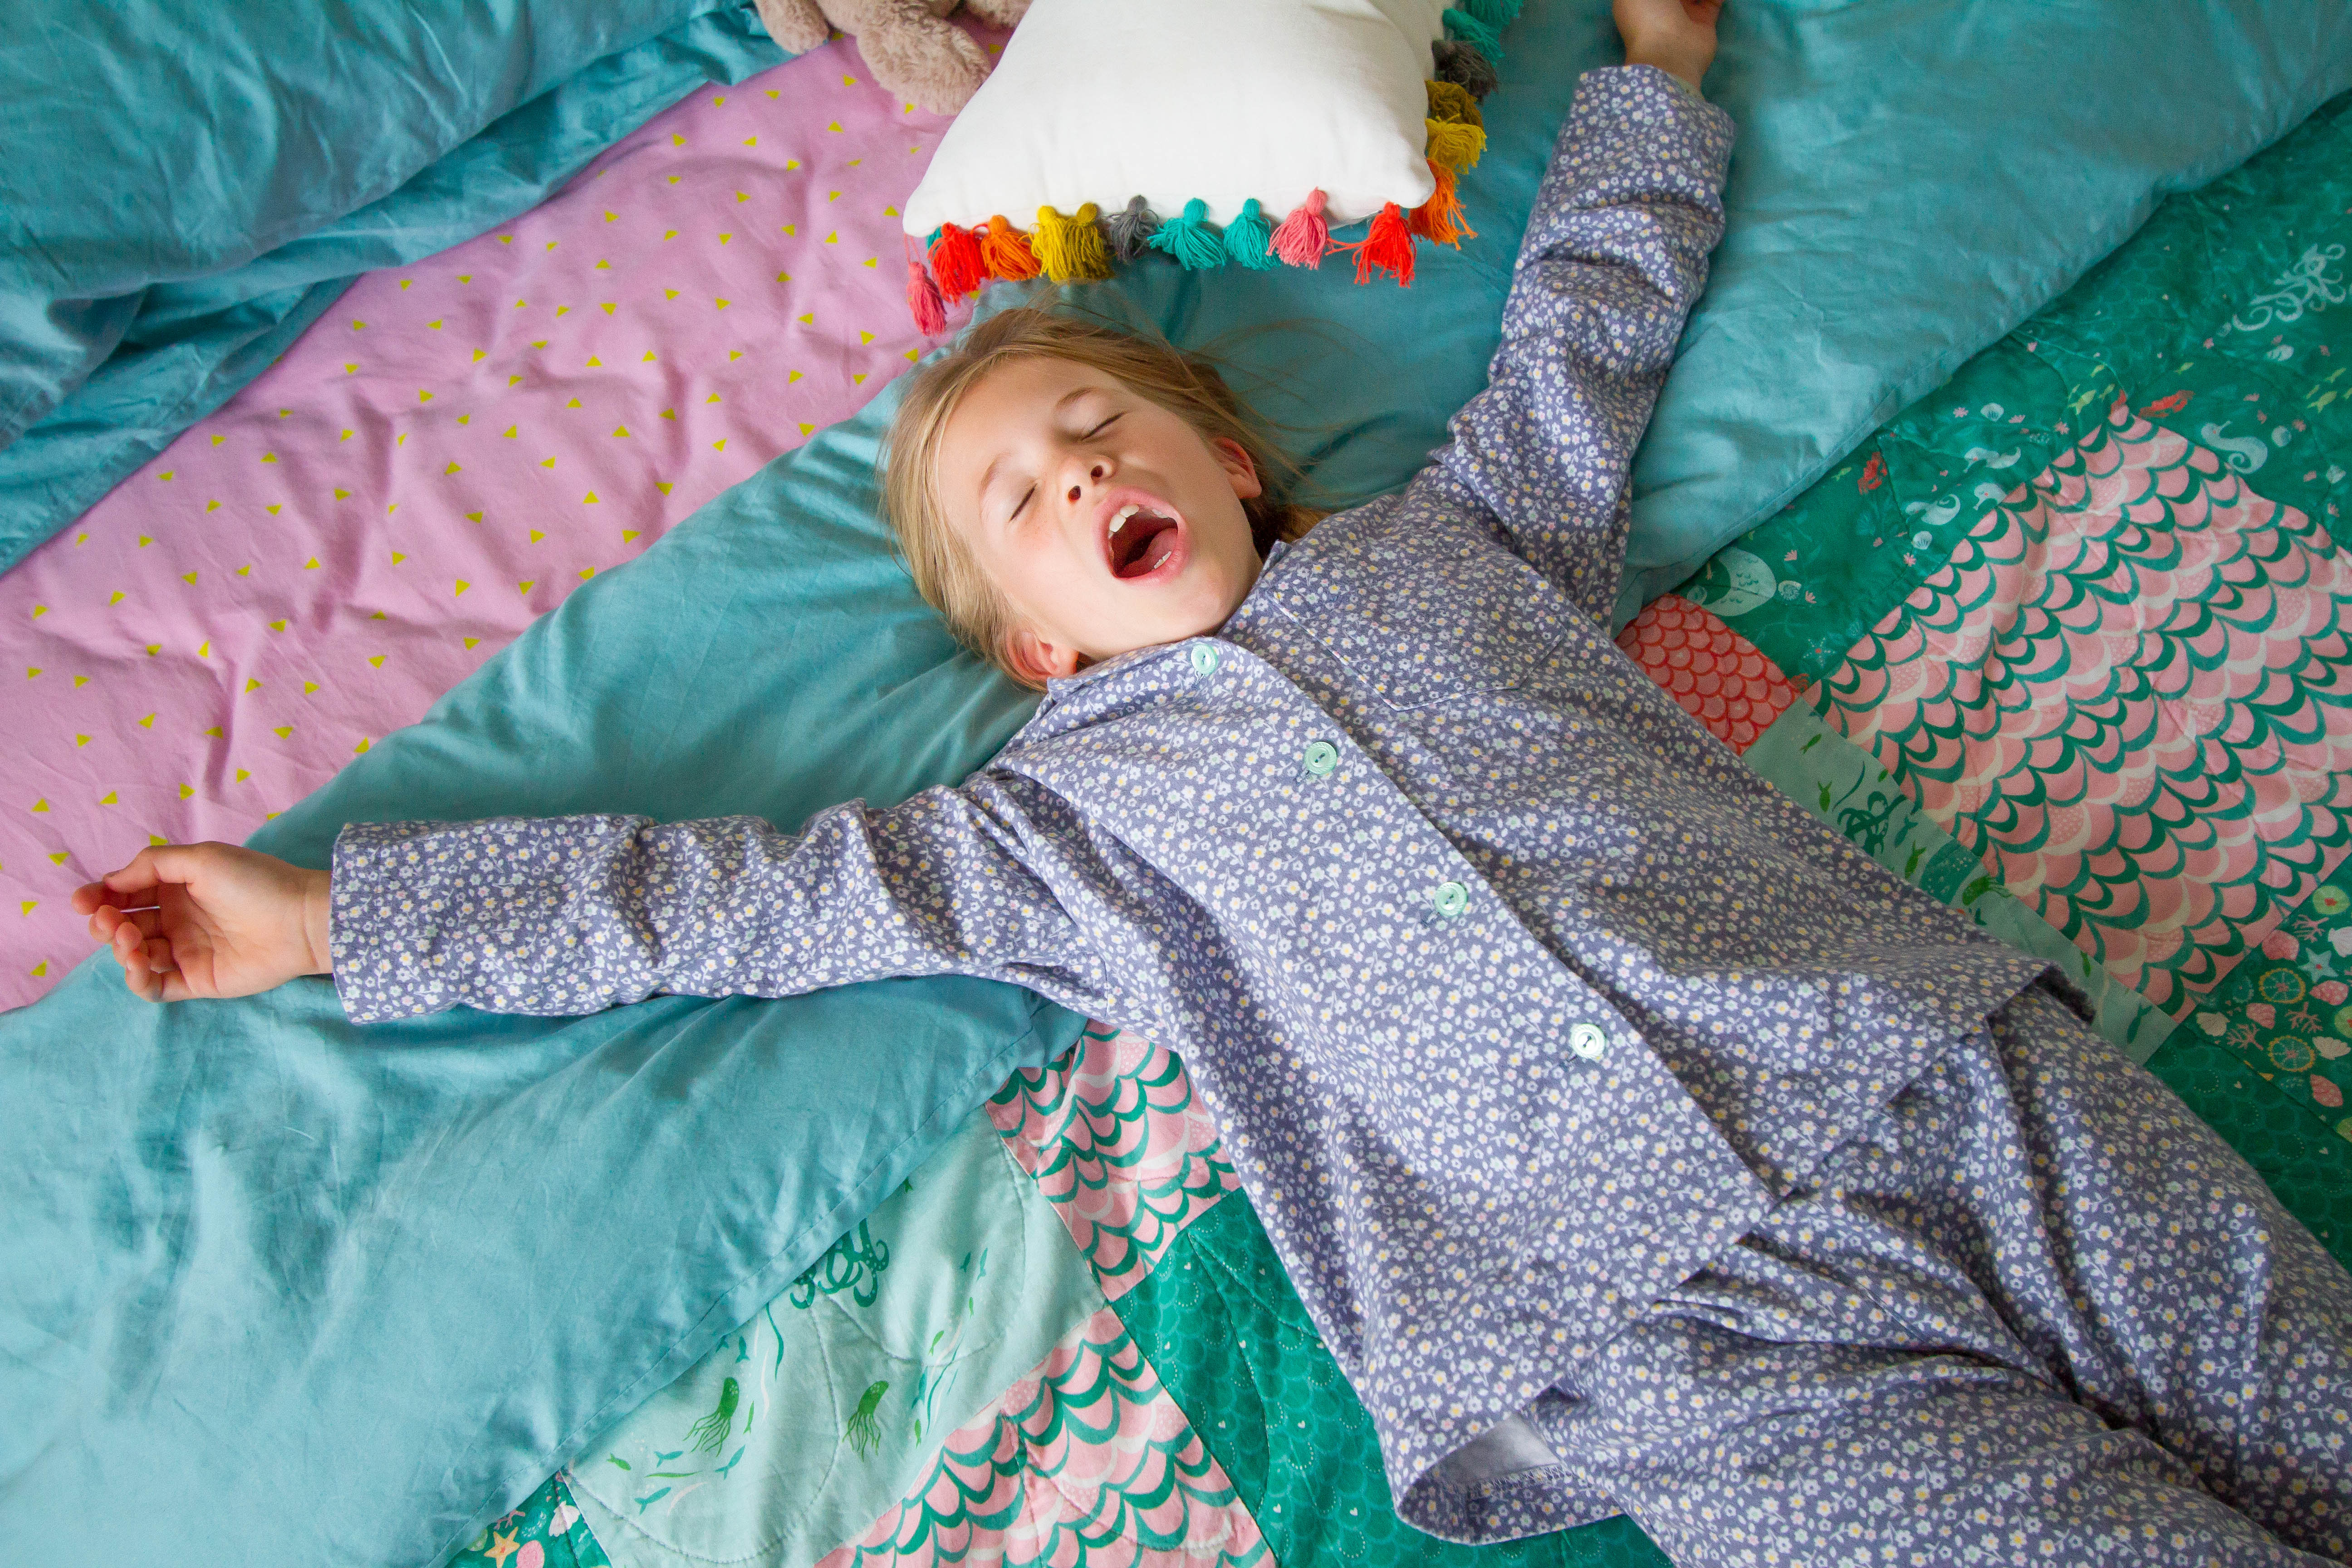
The way to Lil’s heart is a anything blue and anything floral. She got these Catnap Pyjamas for Easter and the smile on her face when she saw them was priceless!
I sewed her a size 8 – she is still a mini and turns 9 in a few months and the 8 is great on her! I could probably have sewn her a 7, but she will get much more wear out of the 8…actually, at the rate she grows, I’m sure she will be wearing them when she is 12!
Sewing with flannel is lovely. The fabric is thick, soft and warm to sew with and because of the brushed cotton texture, it isn’t slippery at all. Very easy to handle and great for a sewer who isn’t super confident yet.
Thanks for all of your support and enthusiasm for my new pattern – I really appreciate it and can’t wait to see your creations in the future.
Tomorrow I’ll be back sharing photos from some of my awesome pattern testers – their Catnap Pyjamas are so cool!
Don’t forget that today is the last day to get your copy of the Catnap Pyjamas pattern 20% off! Sale will finish tonight at 10pm.
SUPPLIES: Make It Perfect, Catnap Pyjamas pattern // Riley Blake flannel, A Beautiful Thing, Floral in navy
Who is getting ready to sew some kiddo PJs? I’ve had so much fun sewing Catnap Pyjamas for my kids and I have to say, they are looking pretty cute after bath each night now!
I like to make sure that all of my patterns are easy to follow and give satisfying results for all skill levels. When I was writing the instructions for the Catnap Pyjamas, I knew that the collar insertion was probably the trickiest part of the whole project. When I say “tricky” I don’t mean “hard” – not at all! In fact, once you’ve sewn one collar you will feel pretty proud of yourself and realise that it is actually easy peasy. BUT until you have done it successfully the instructions can look a bit tricky.
For those of you who are having trouble figuring this step out in the pattern or for those of you who are big visual learners and like to have step-by-step photographs to refer to, I have decided to pop a little sew-along on the blog today for you to refer to and help you make sense of this step.
Okay, let’s get collar sewing!!
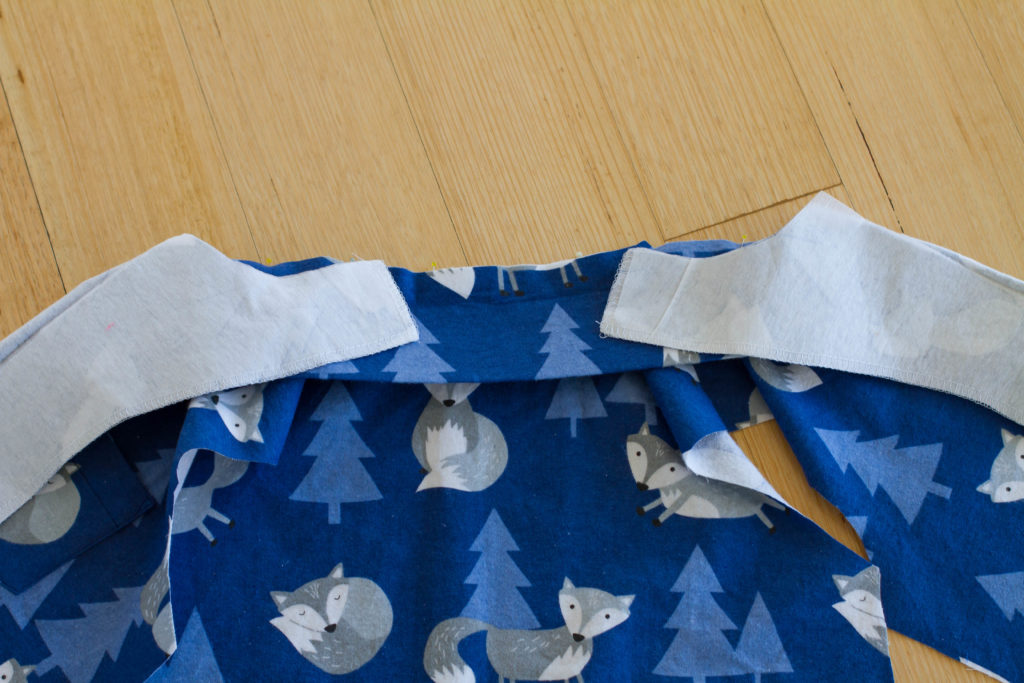
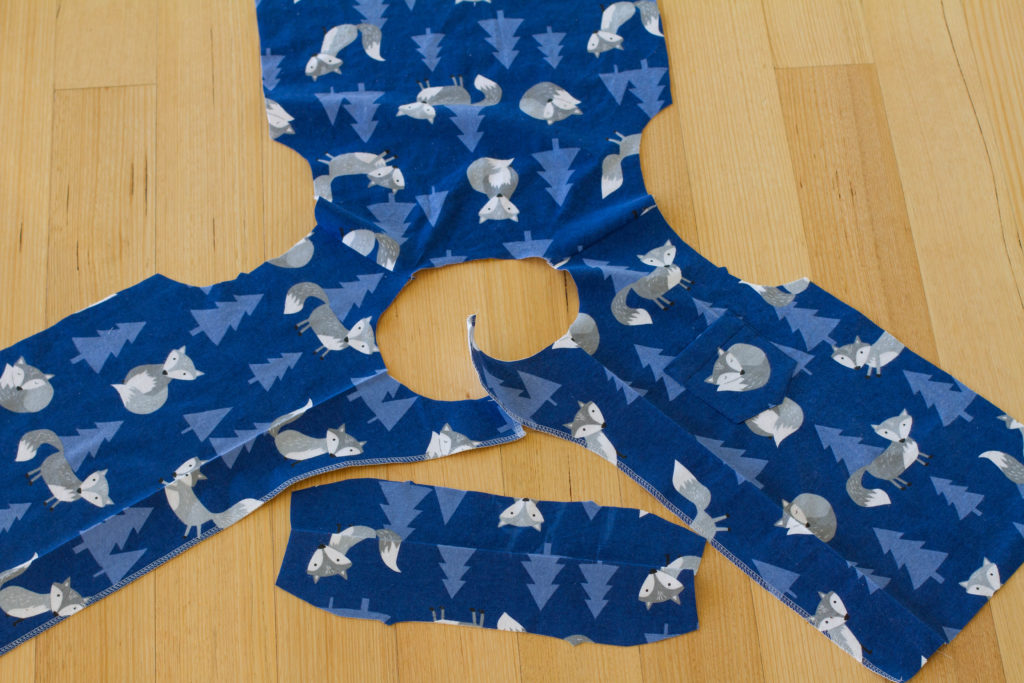
You will need to follow the instructions in the pattern up until Step 3, d. At this stage you will have fused the interfacing to your PJ top front pieces and collar piece and pressed folds in all pieces. Here are the pieces we are working with for this sew-along…The big piece is the PJ top back with front pieces joined at the shoulder seams and the little piece is the collar – folded in half.
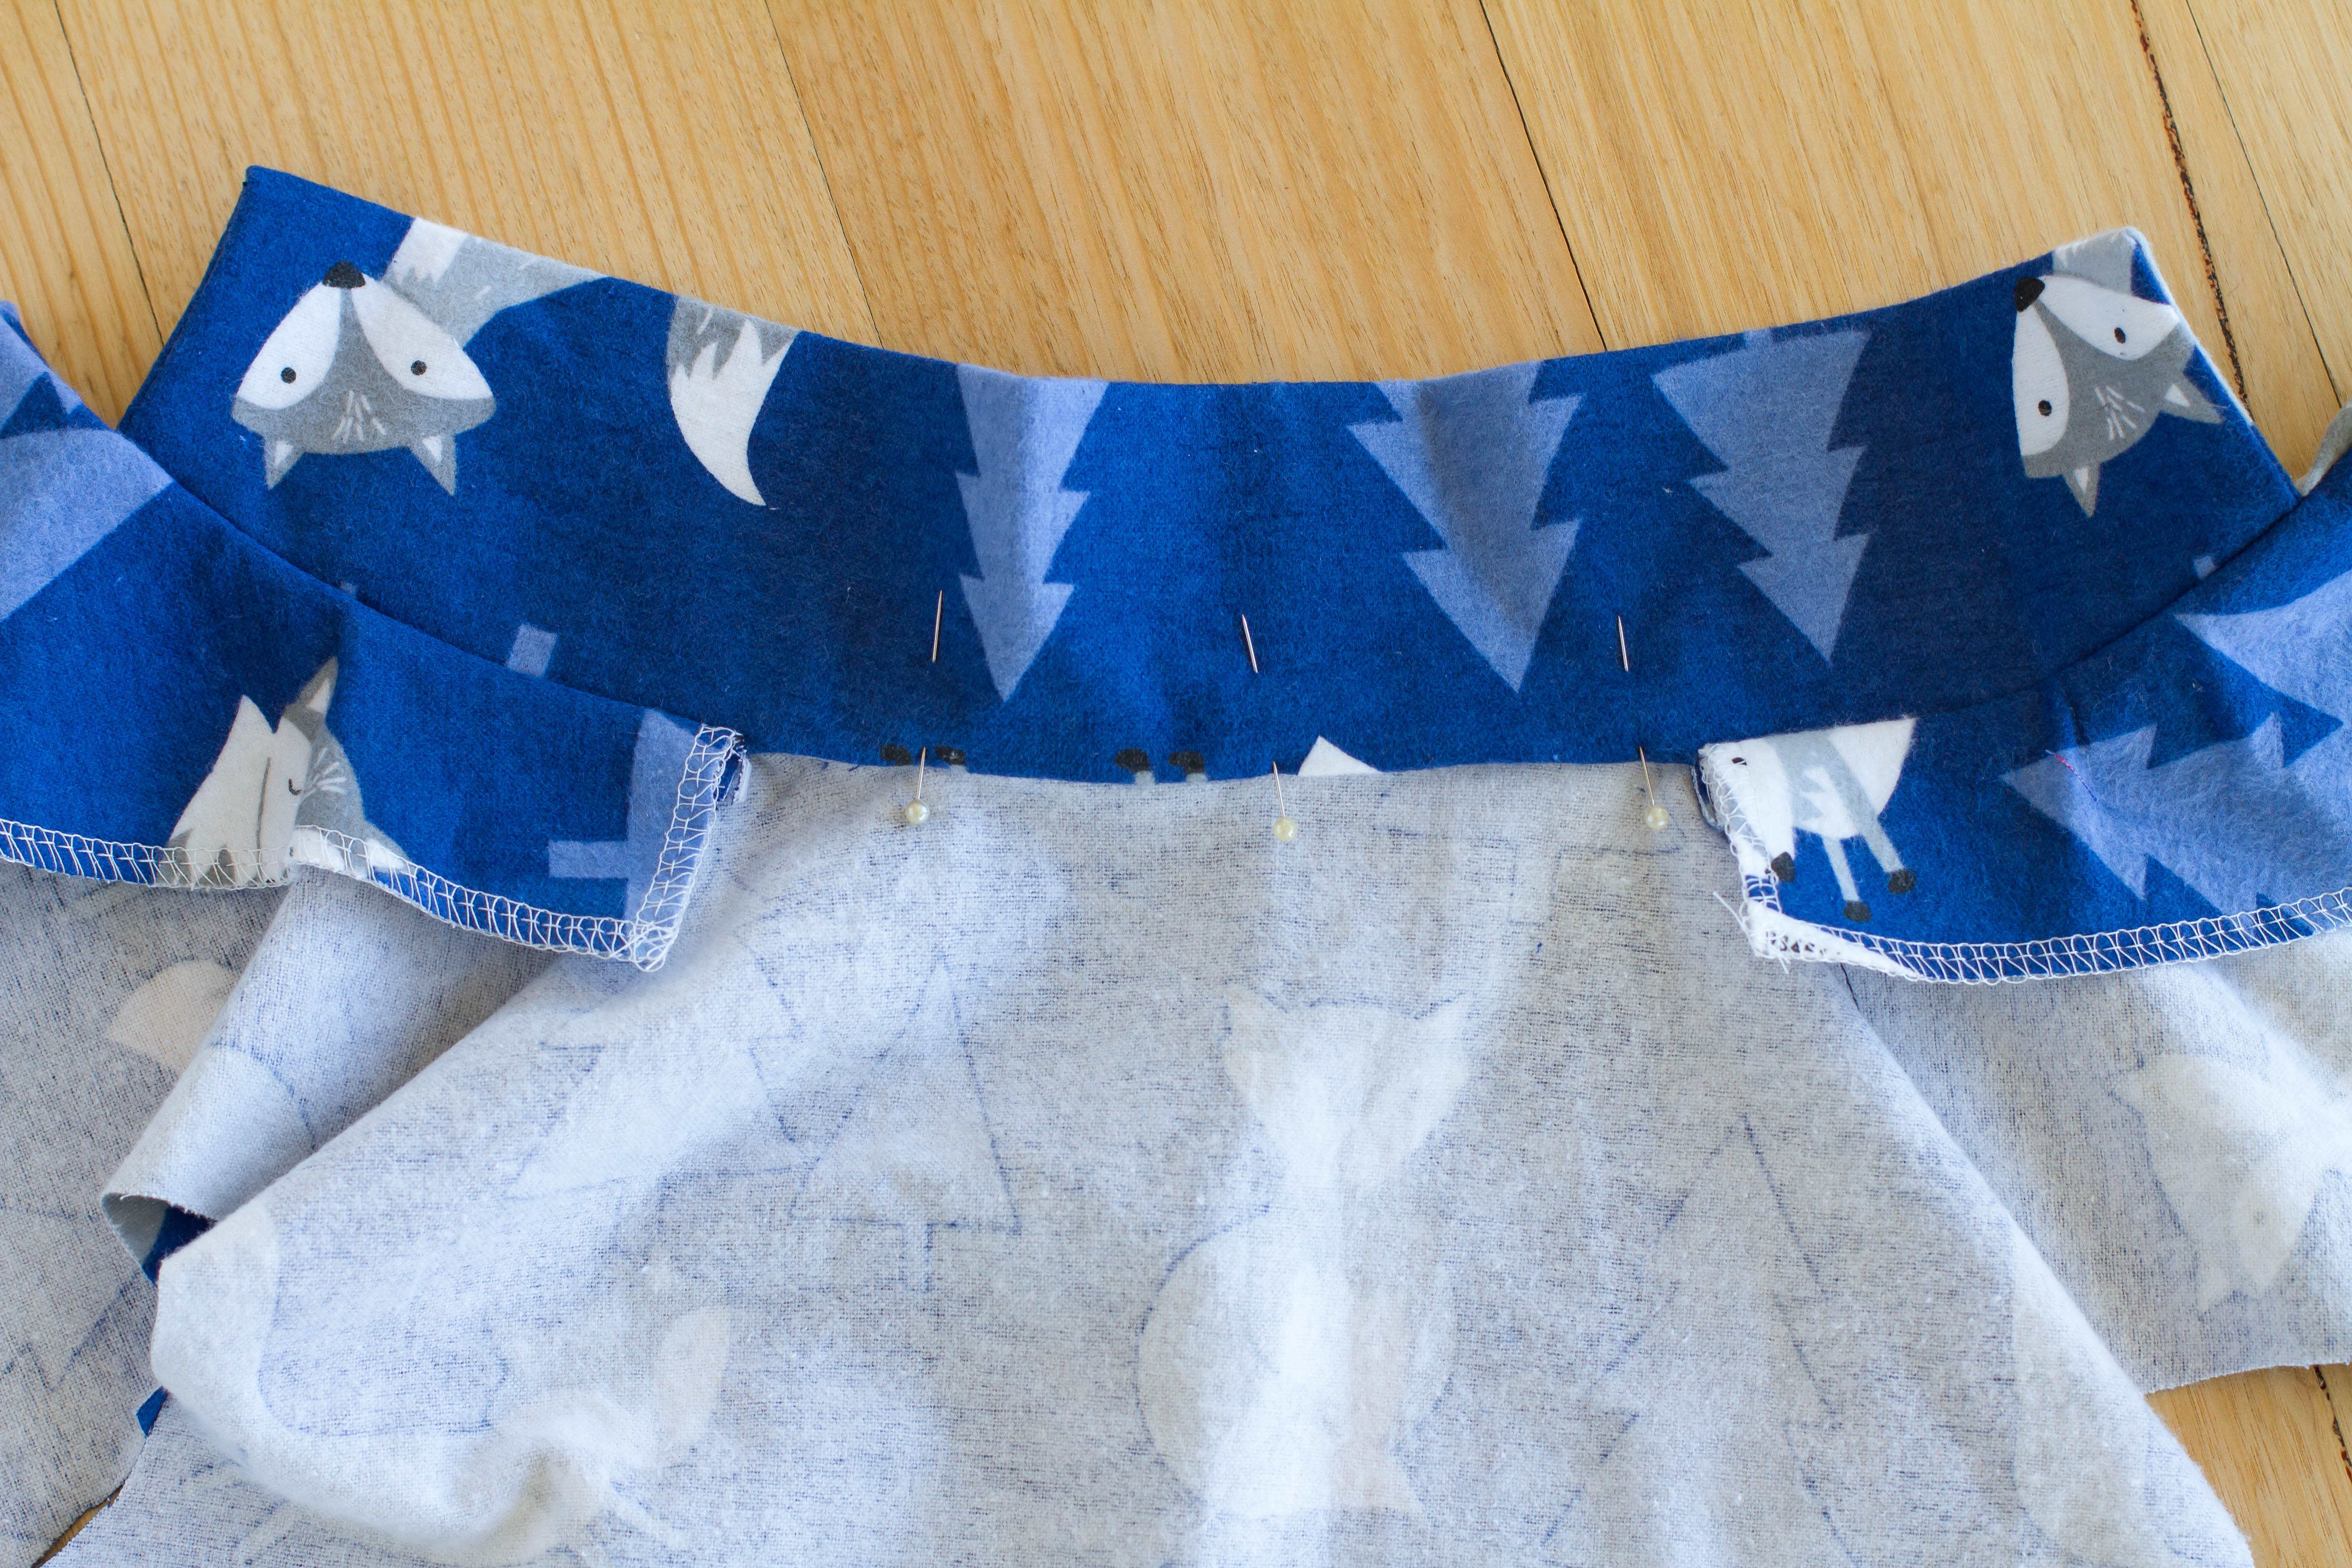
First of all, you will need to unfold the front facings on the PJ front pieces. Then take your folded collar piece and place the raw edge of the collar onto the right side of the PJ top neckline. Make sure that the NON-INTERFACED side of the collar is facing the right side of the PJ top.
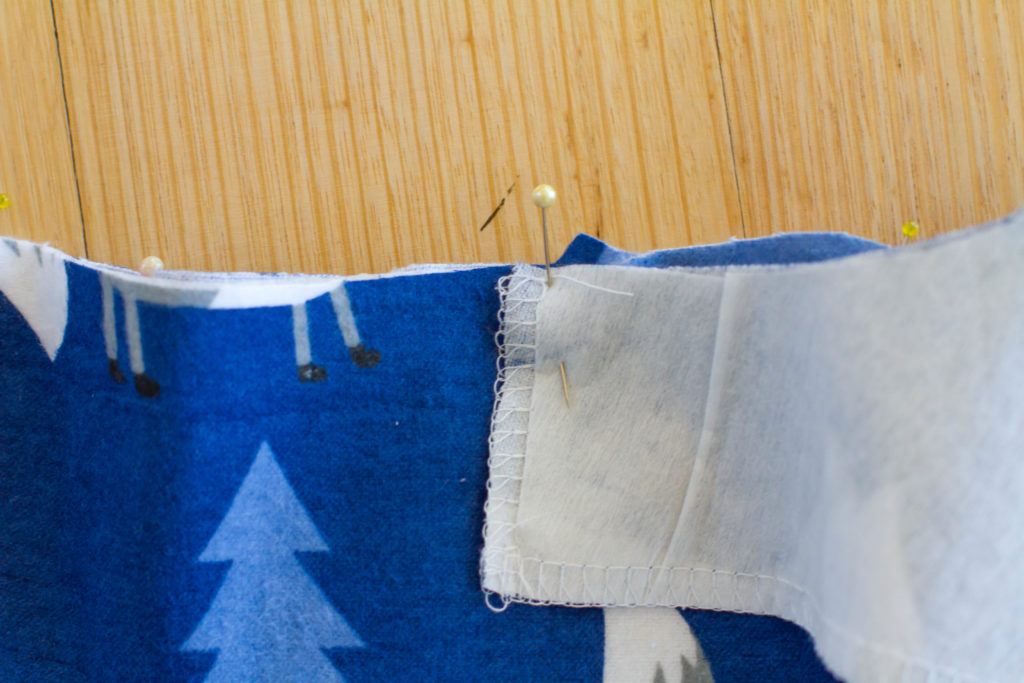
Pin the collar to the PJ top – I start by pinning the collar notches to the shoulder seams, then extending the ends of the collar around the front of the top. Make sure that the ends of the collar finish at equal distances at both sides of the PJ top neckline. You don’t want an uneven collar!!
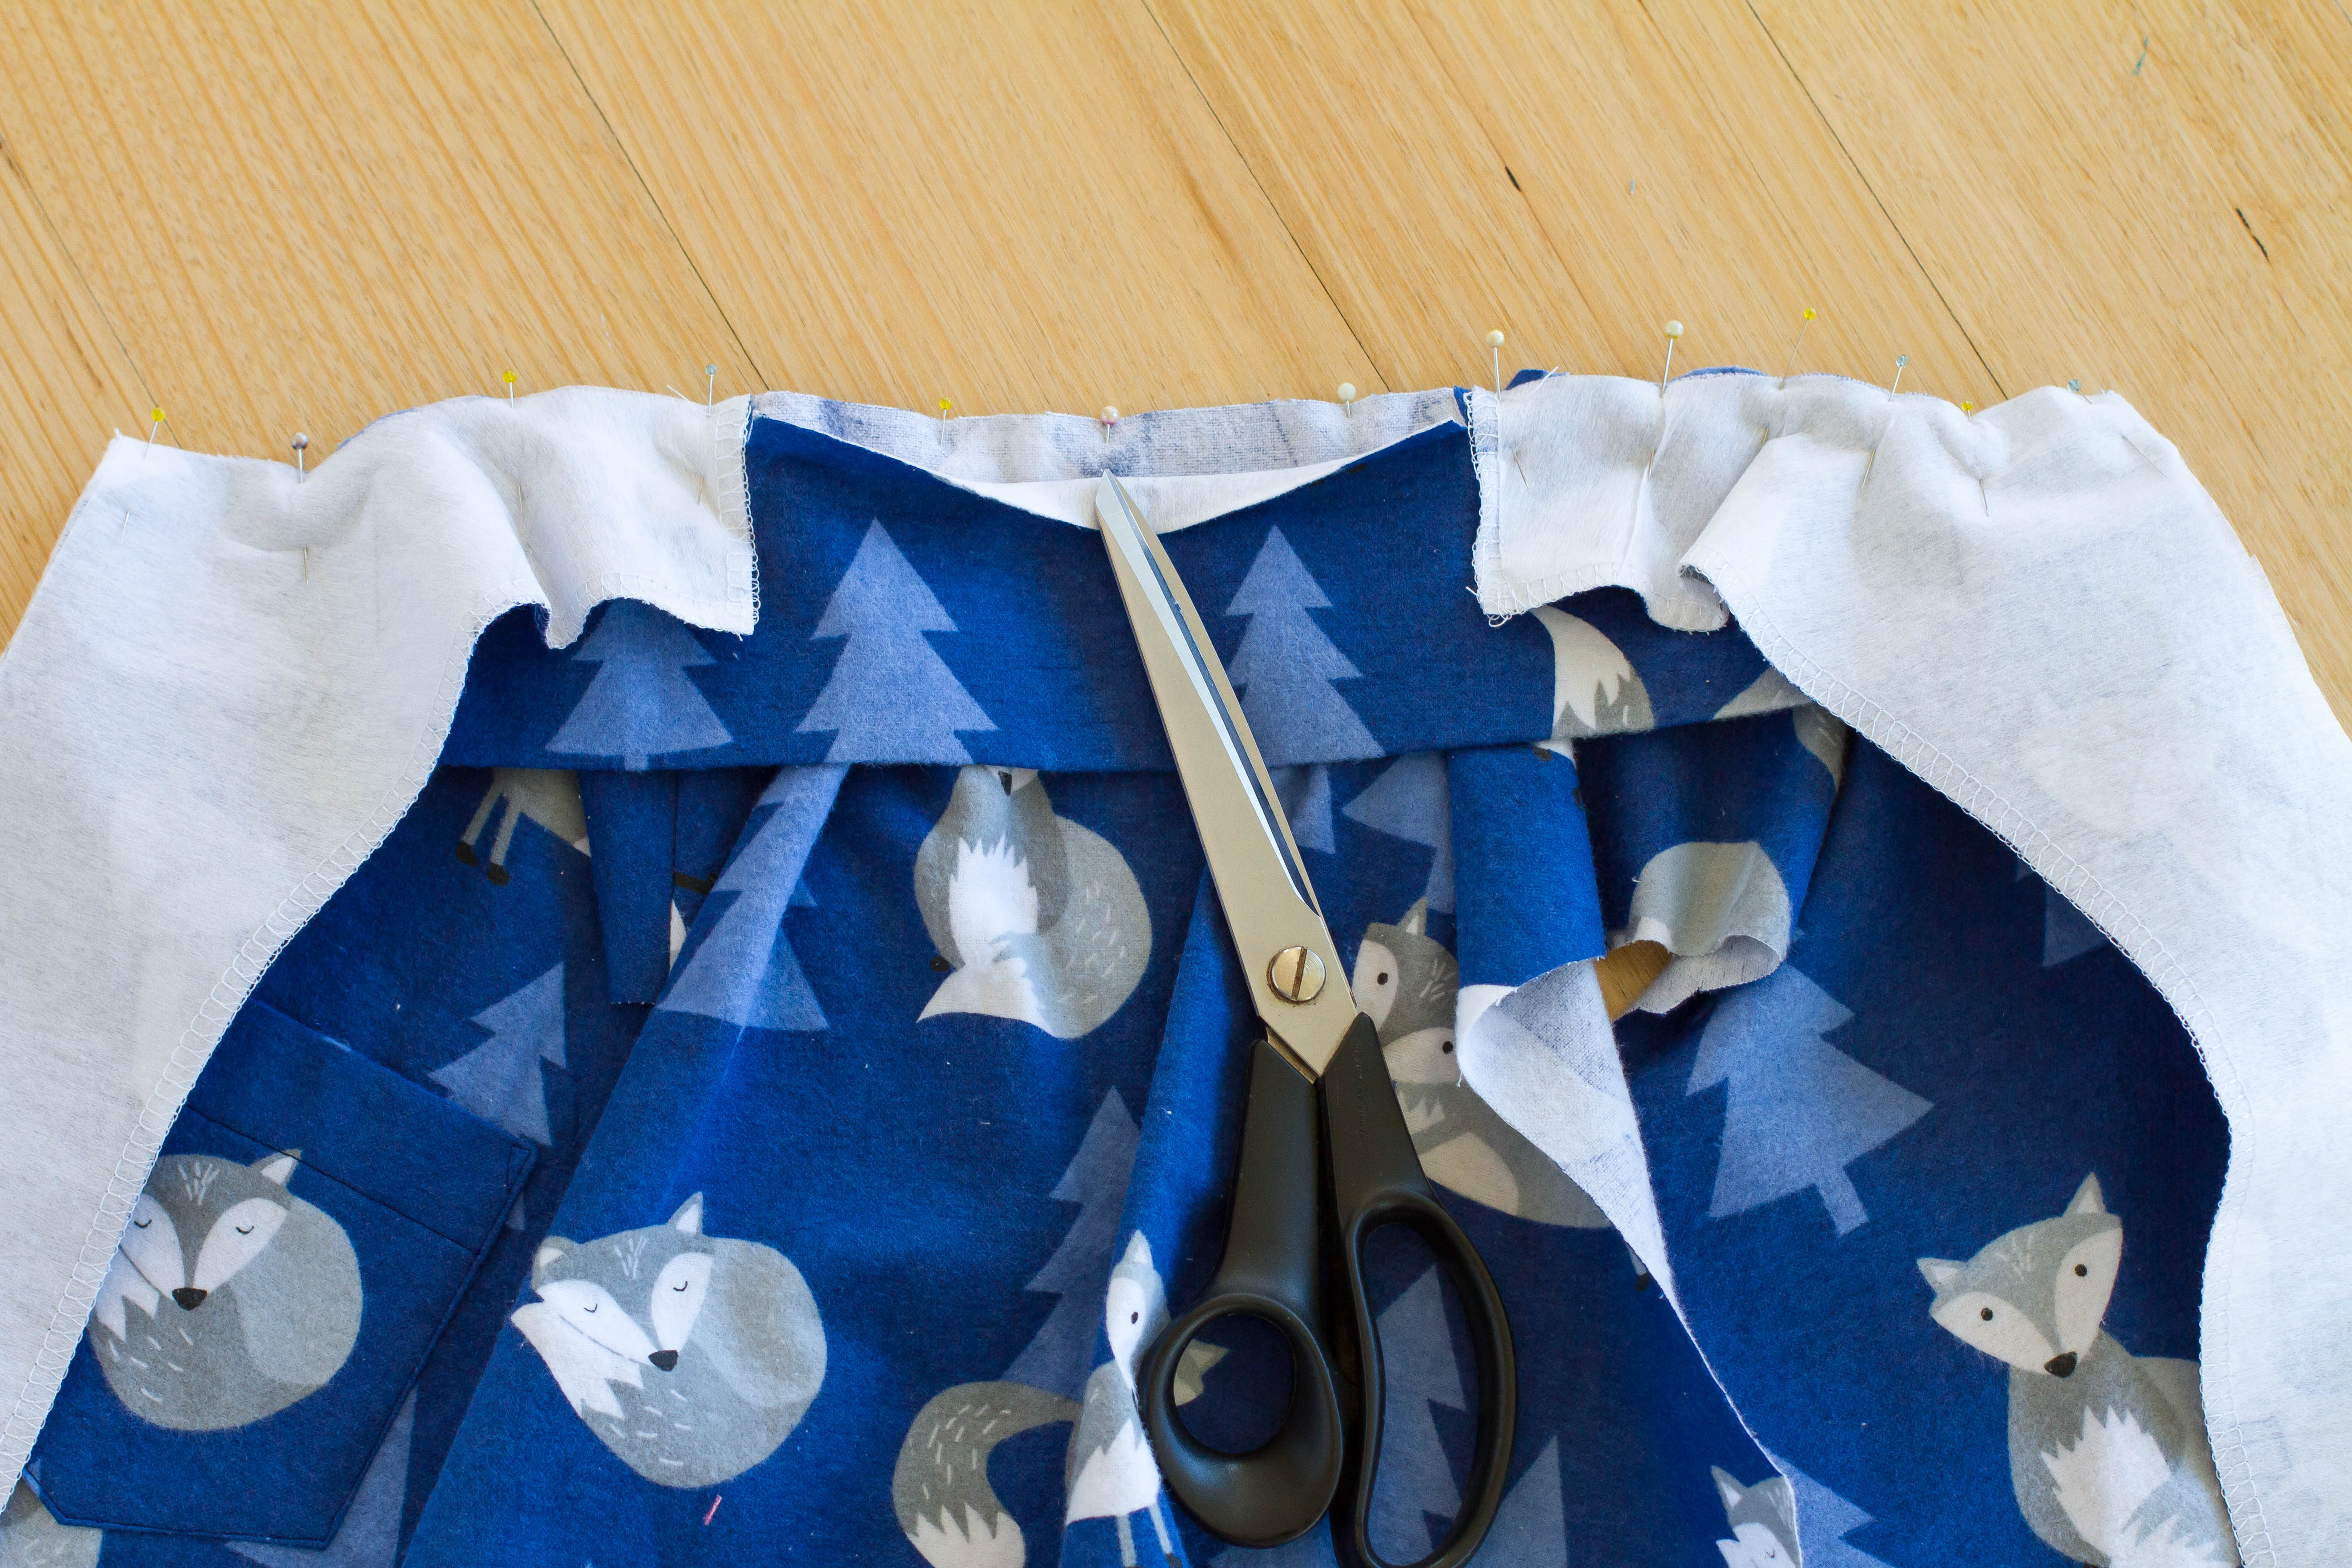
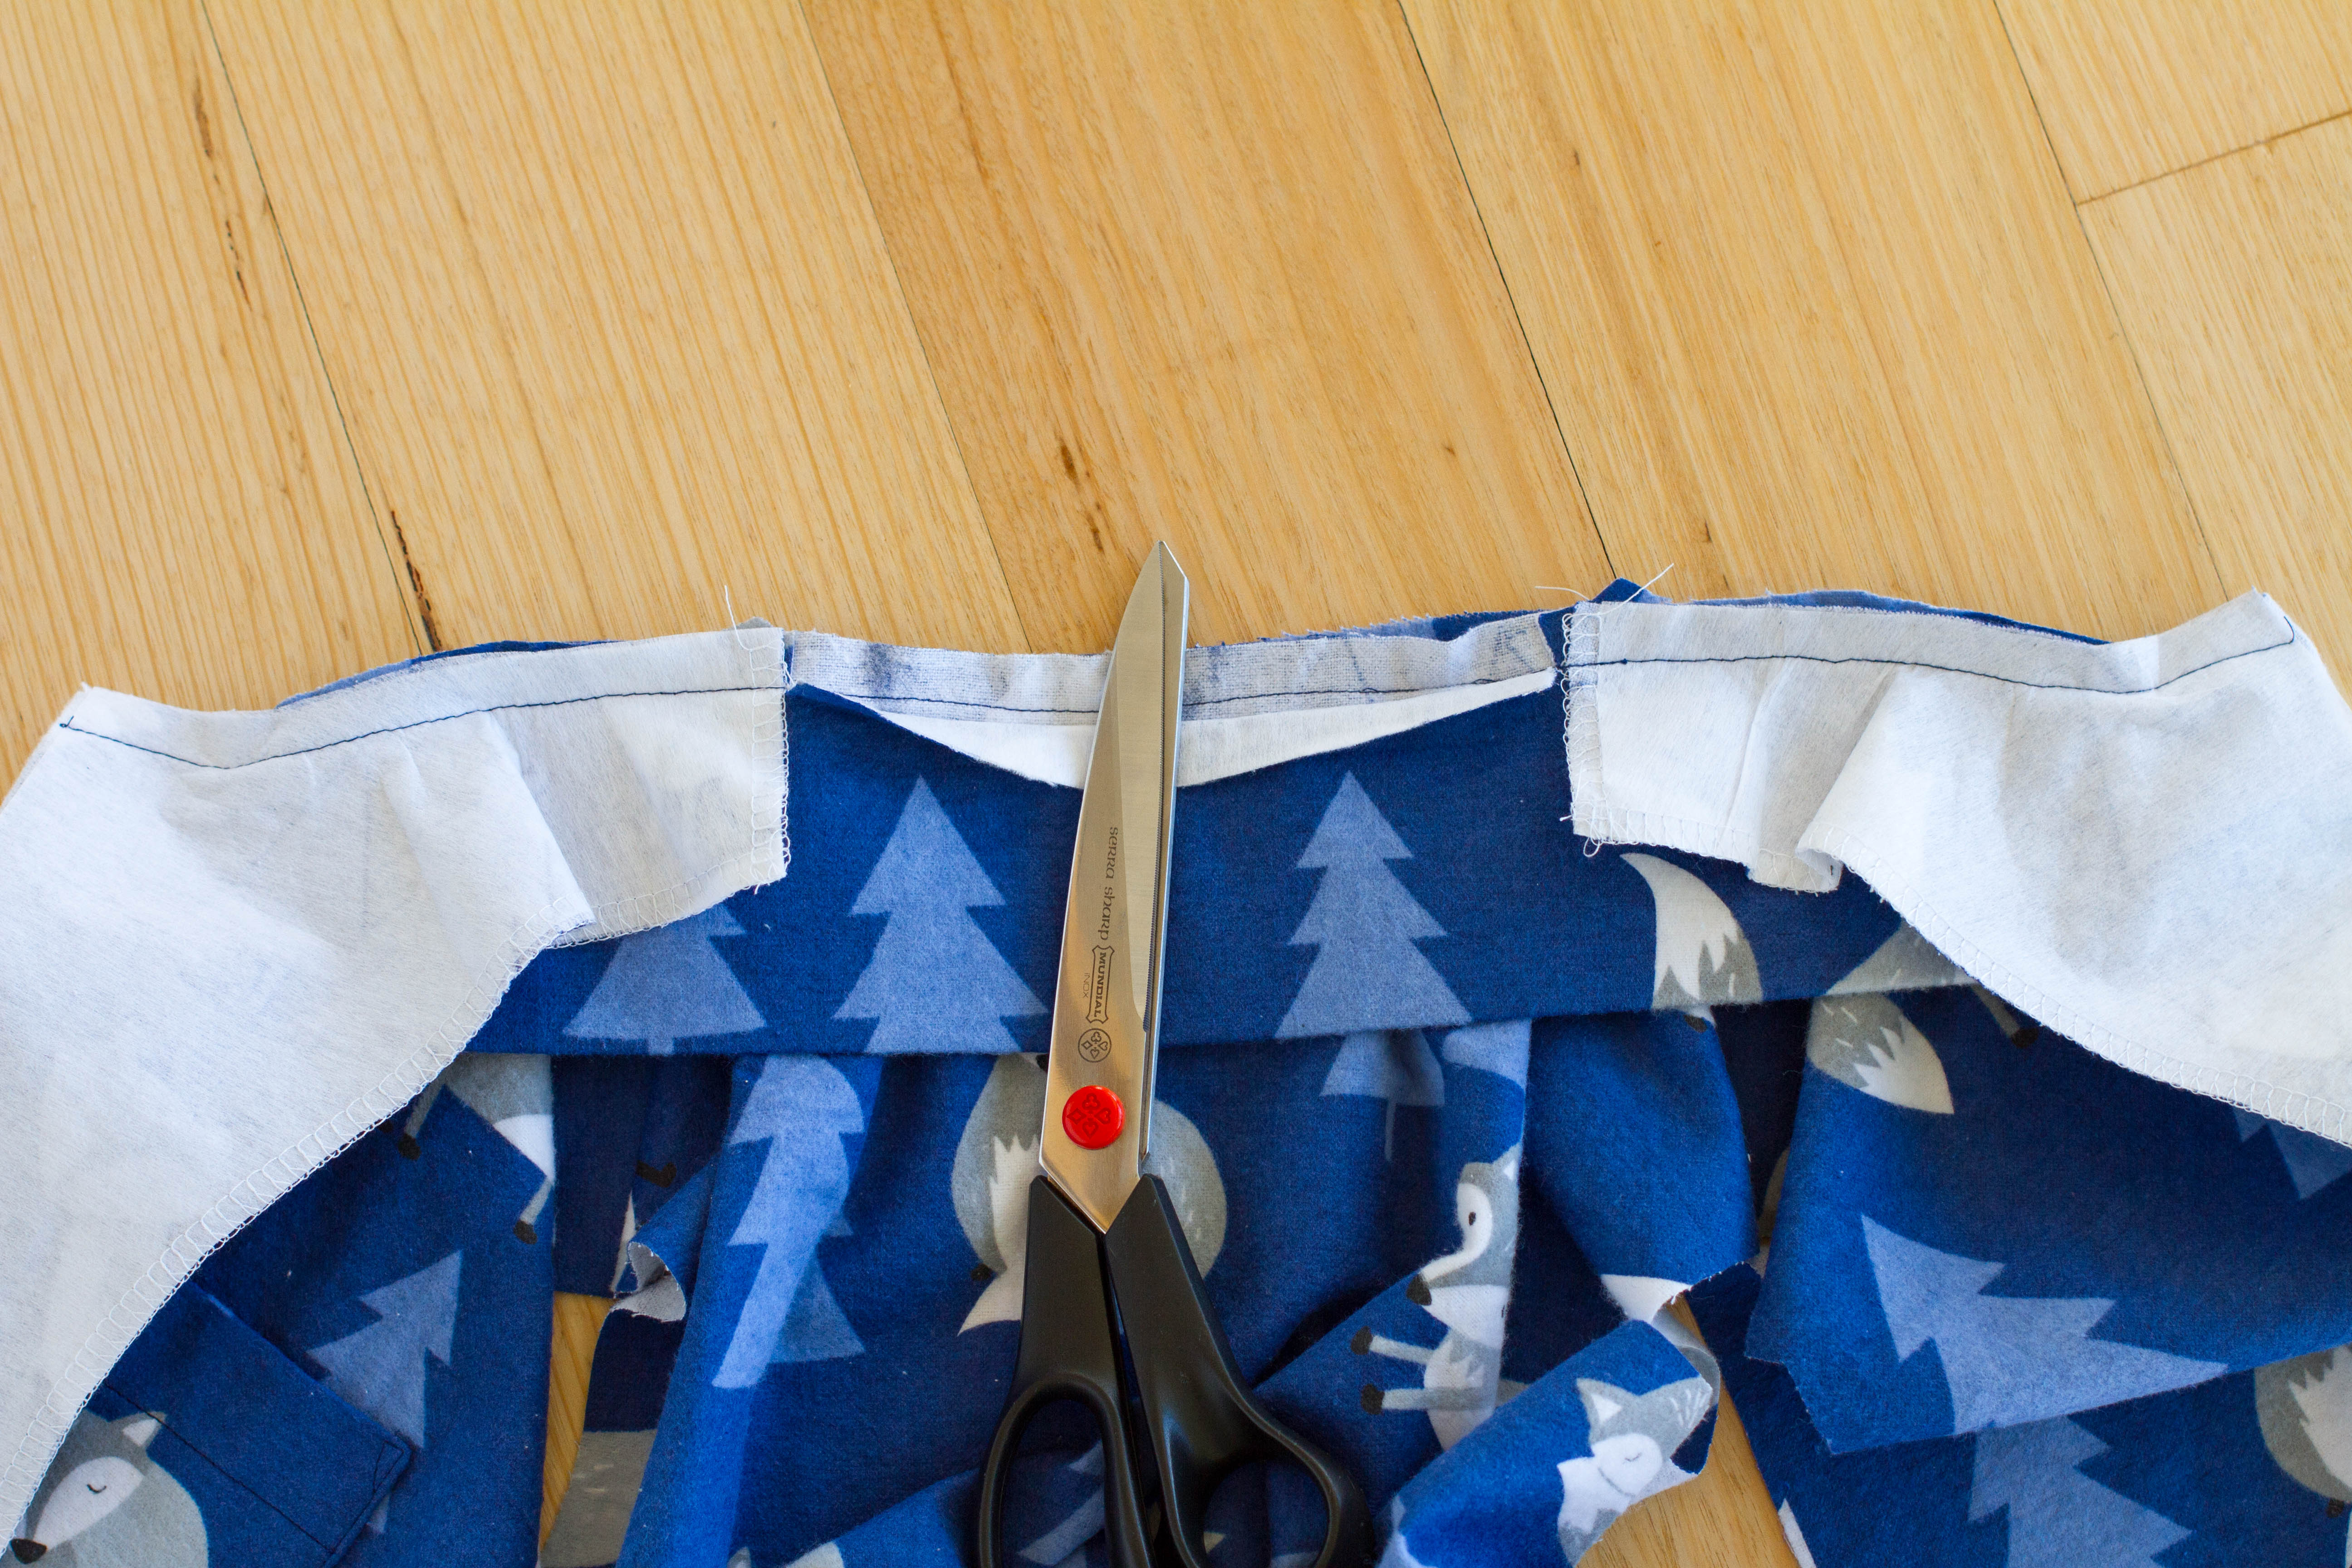
When you are ready to pin the collar to the back neckline, you need to ONLY pin the NON-INTERFACED side of the collar to the neckline. To do this, gently fold the interfaced side of the collar back out of the way. (I am using my scissors as a weight here to hold the collar down out of the way while I take the photo!)
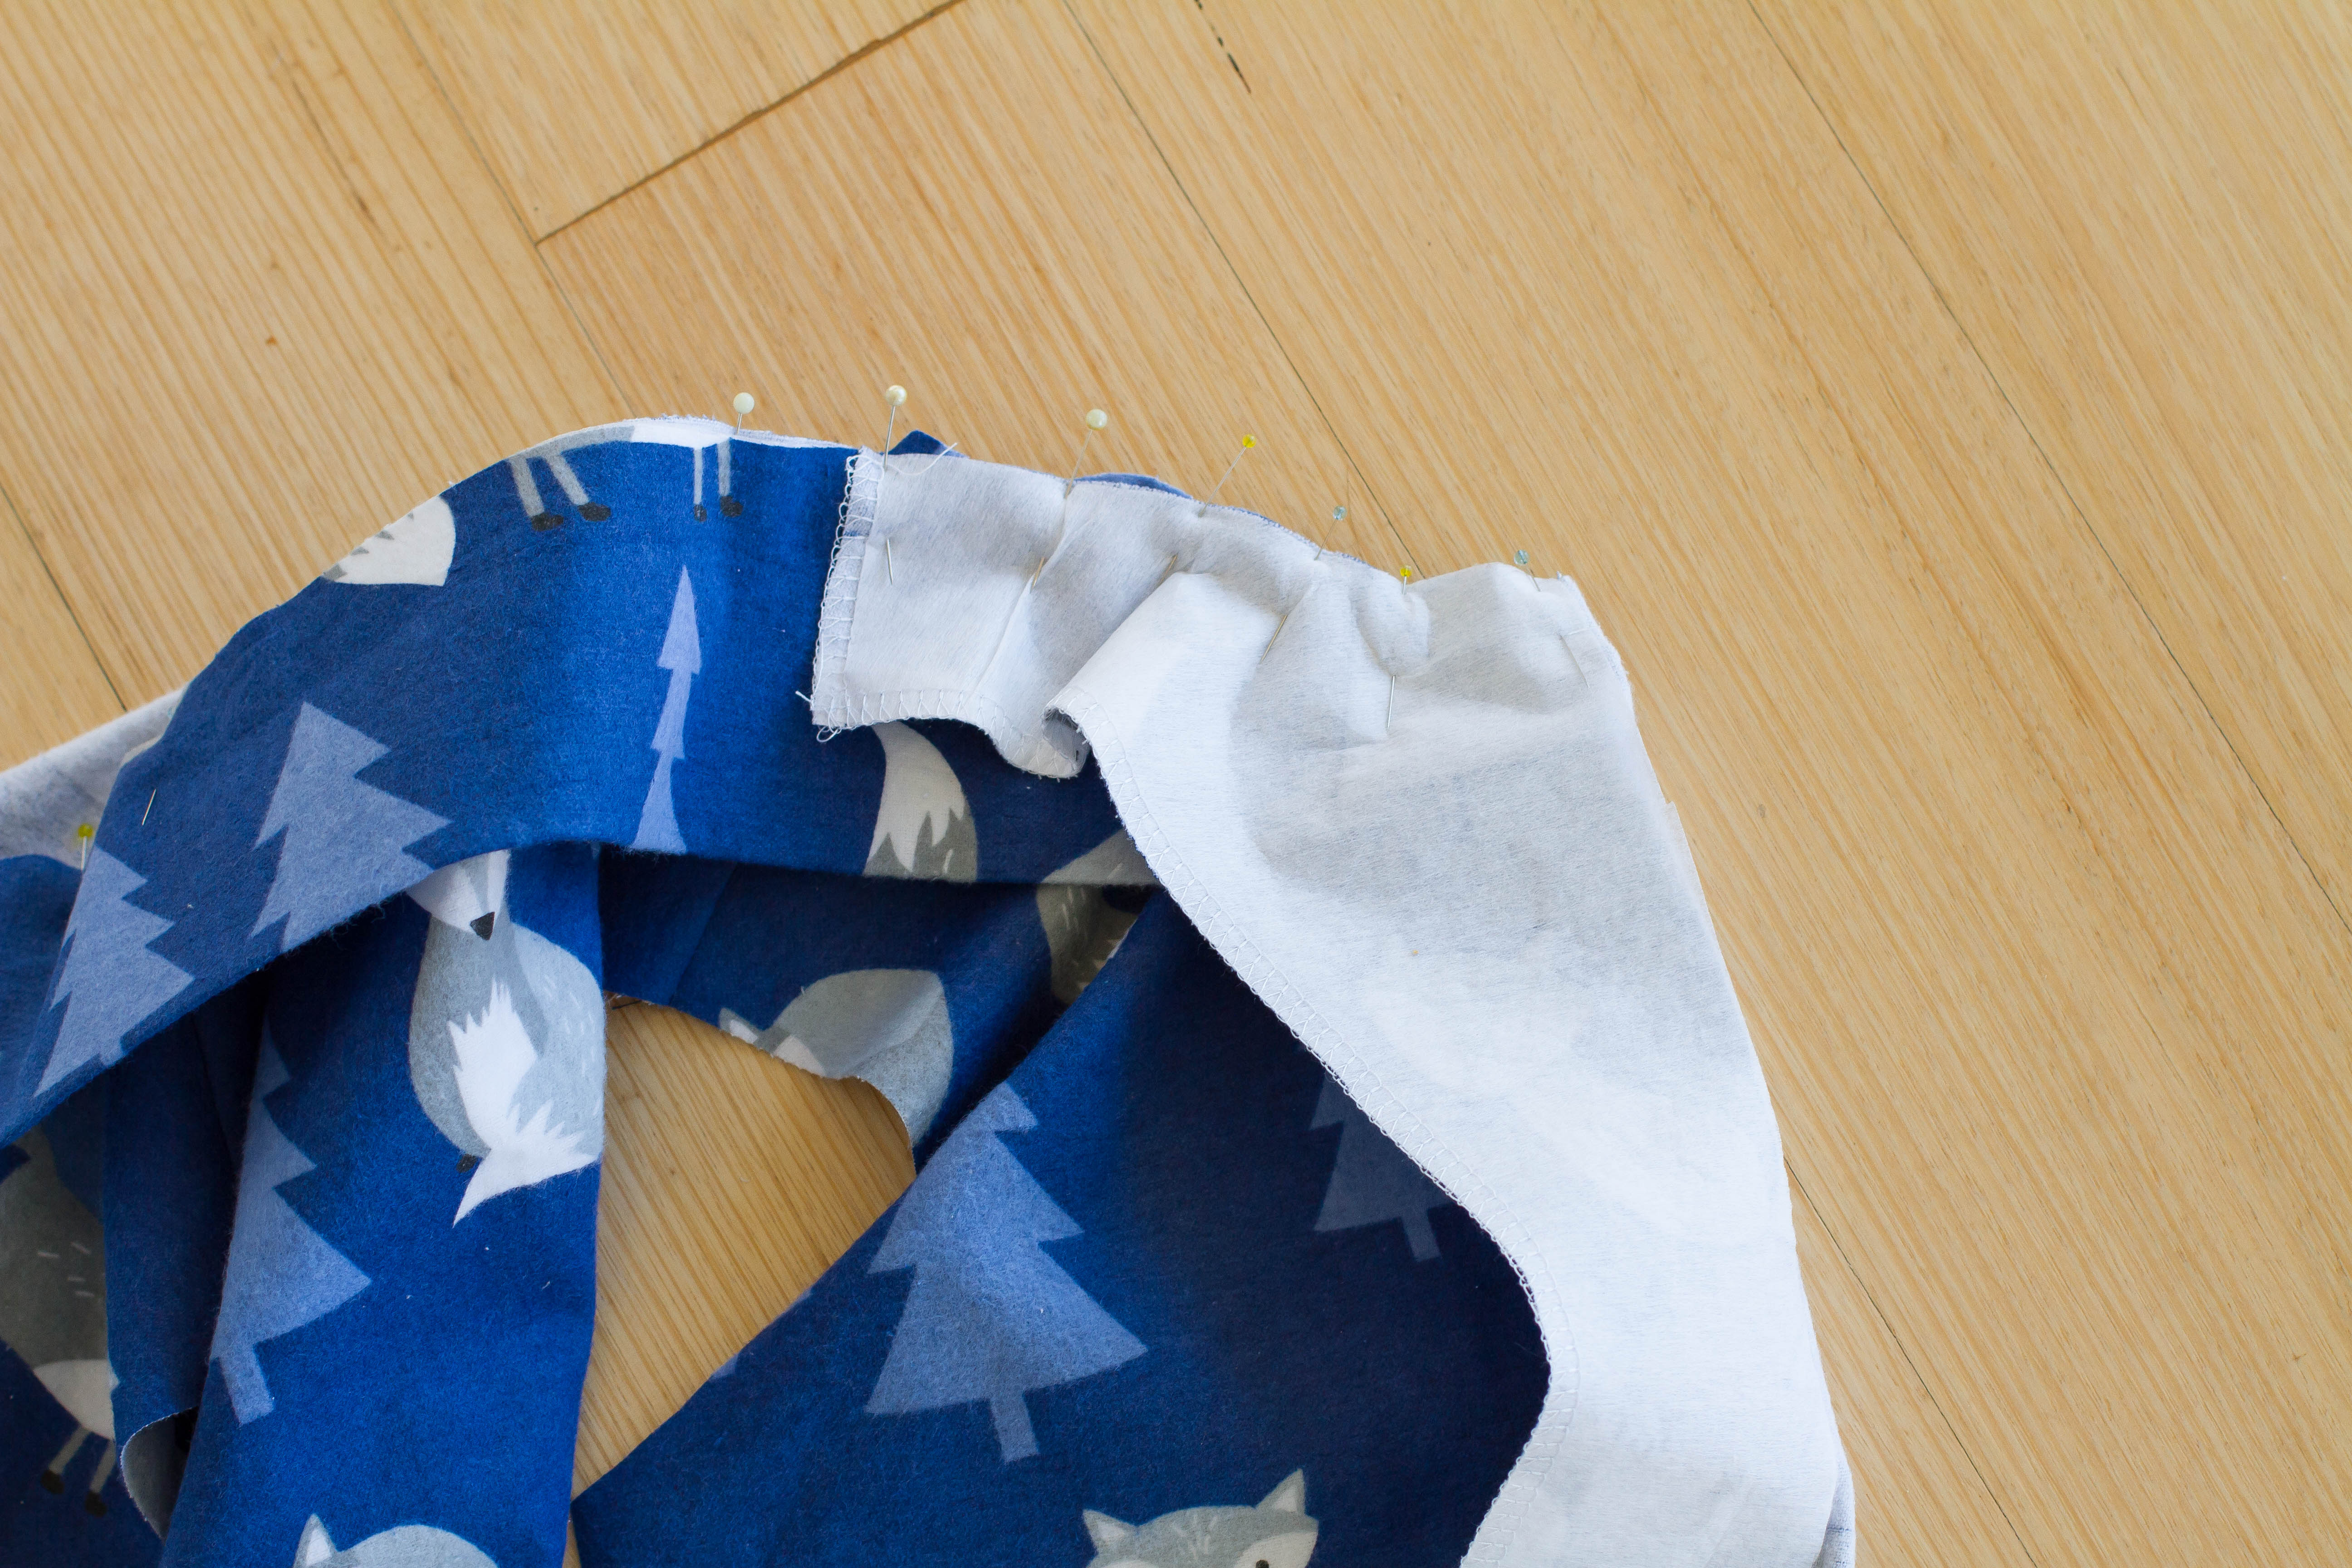
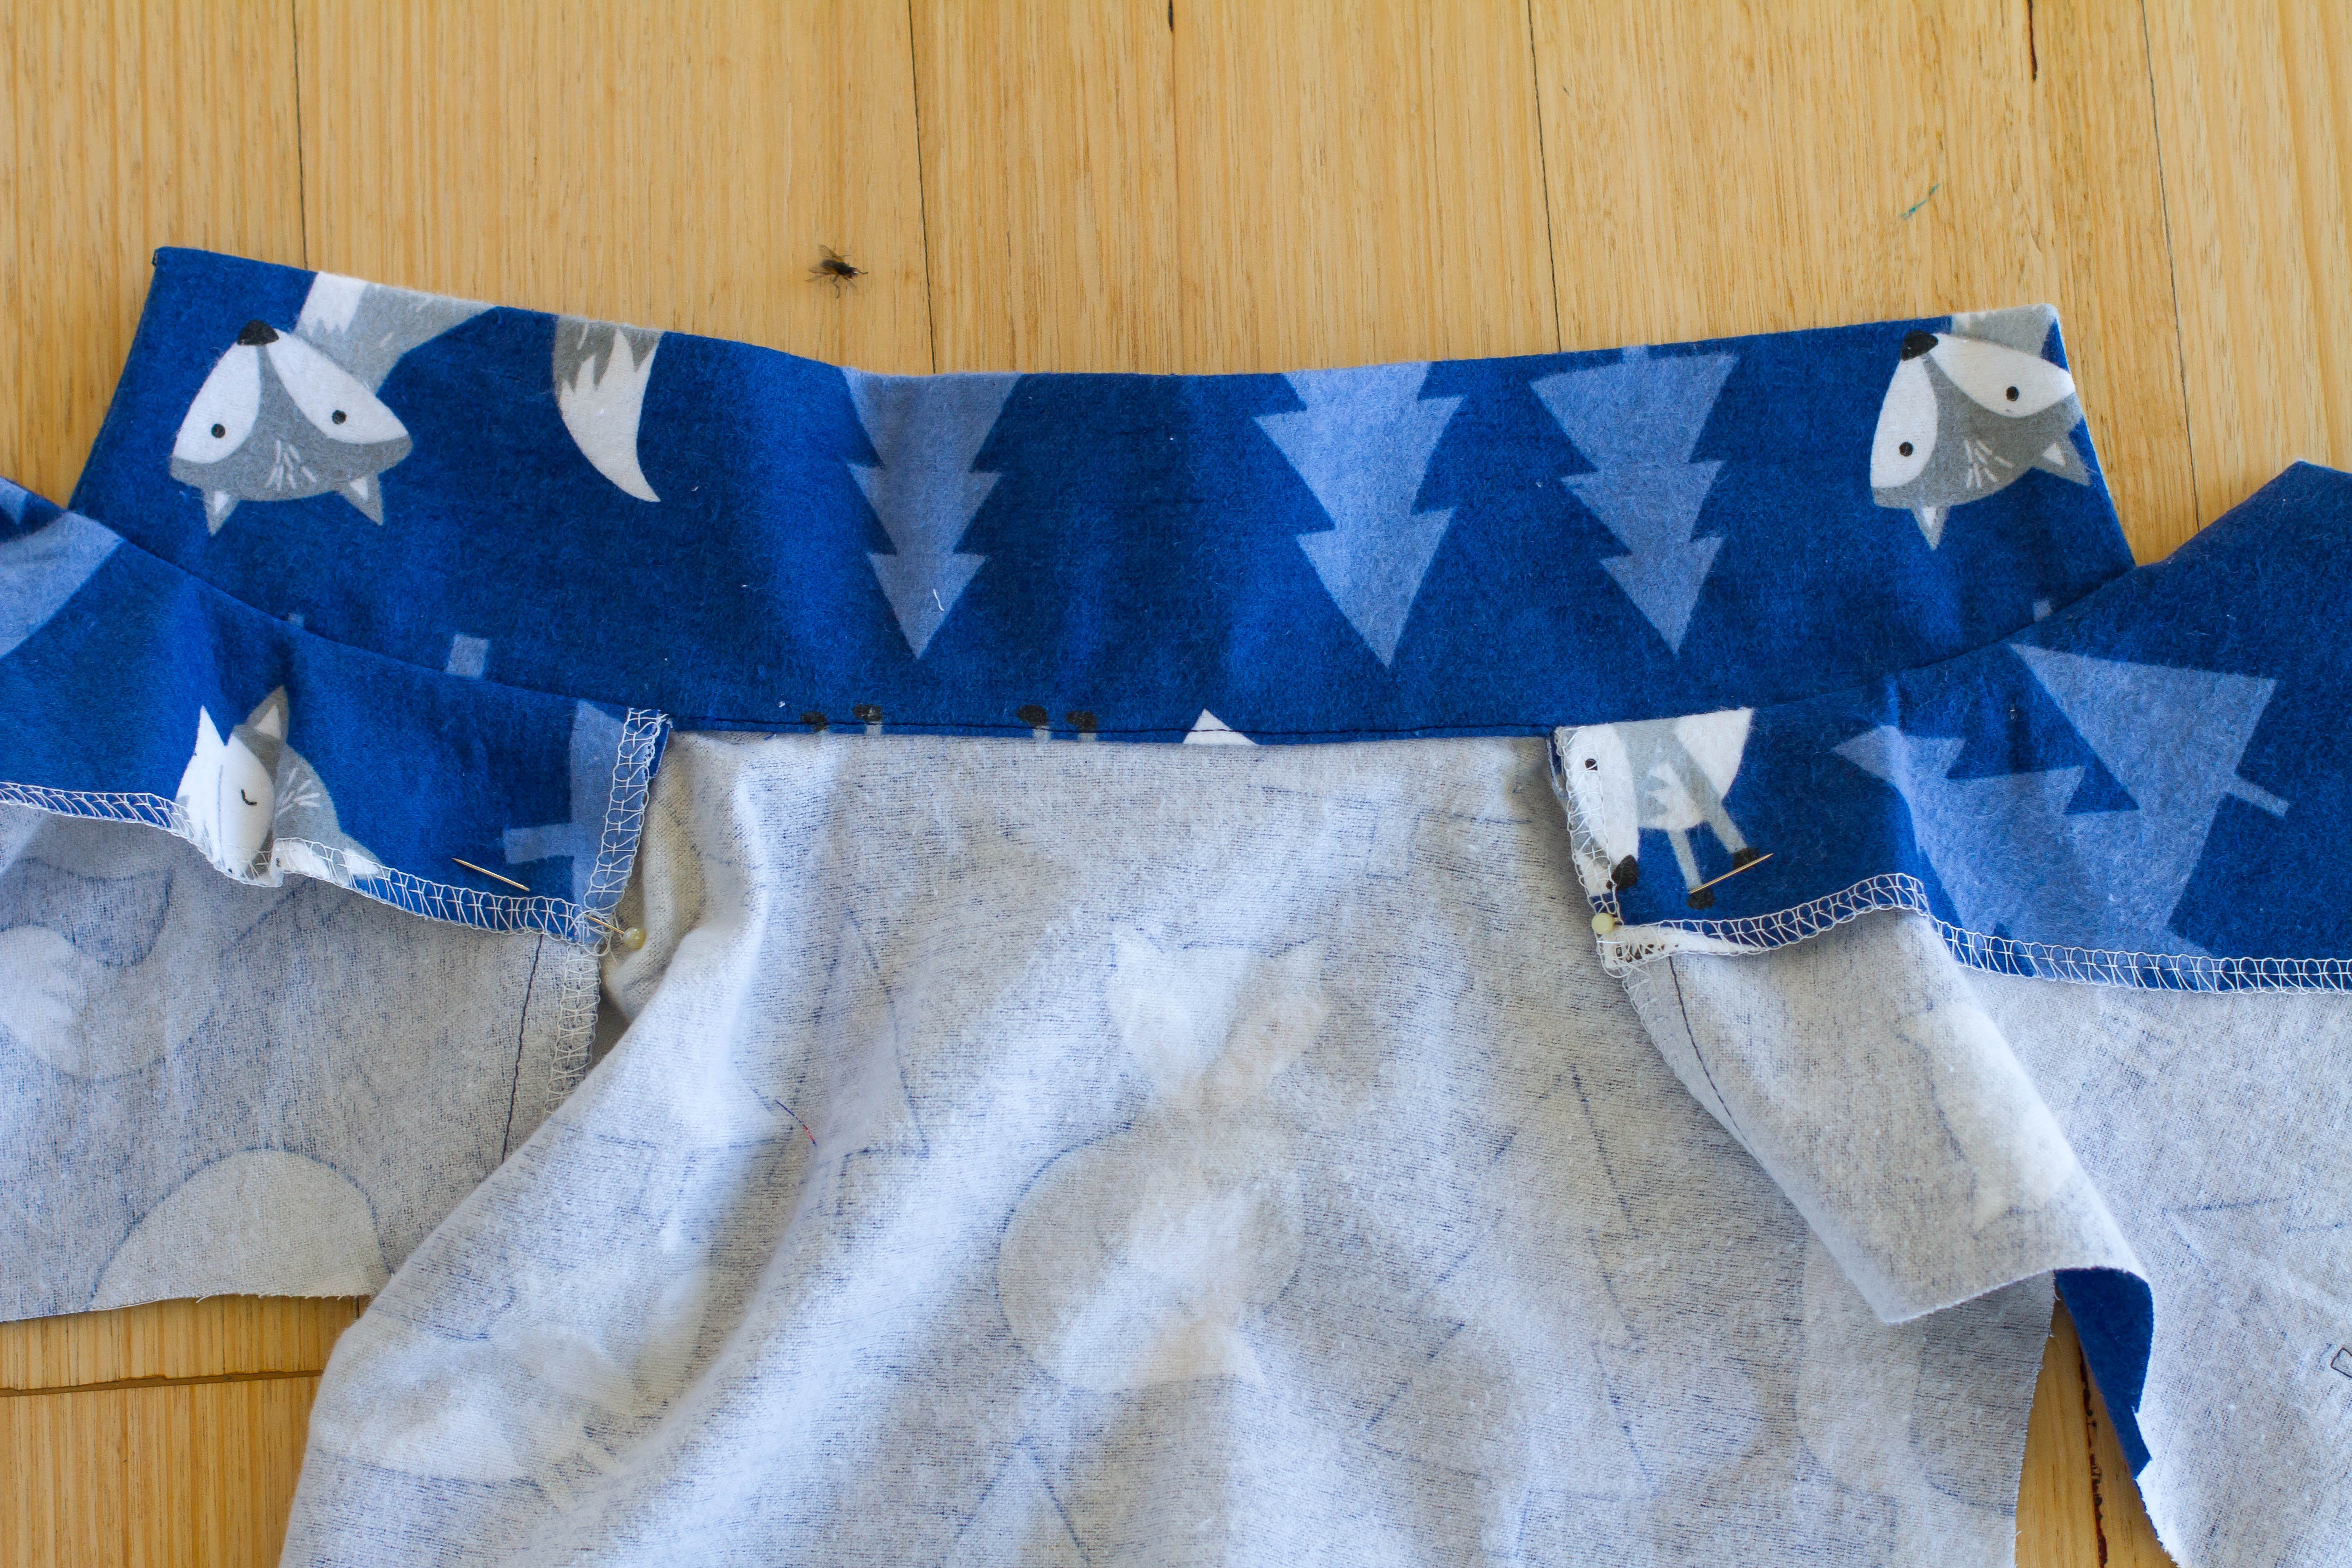
With everything pinned into place, you now need to take the front facings (interfaced parts of the front pieces) and fold them BACK over the top of the collar so that the interfacing is facing up.
The collar should be sandwiched between the front pieces and the front facings. Make sure that the ends of the facings extend about 1/4″ past the shoulder seams and collar notches.
Pin facings into place. (You can remove the pins underneath the front facings if you want to now to reduce bulk.) It is a good idea to check both sides of the neckline edge at this stage and make sure that there aren’t any puckers along the pinned edge. It can feel a bit wonky pinning everything together at the moment, but it works out in the end! If you are really struggling with puckers, try using more pins or making a few 1/4″ clips along the neckline to give you a bit of wriggle room.
To prepare the collar for sewing, make two little clips in the upper collar (interfaced side) which is just less than 1/2″ long. The clips should sit right next to the ends of the front facing. Make sure that you ONLY clip the interfaced side of the collar.
This is what the whole piece should look like now – you can see the upper collar clipped at both ends right next to the front facings.
Now it is time to sew the collar to the neckline! Sew through all the pinned layers using a 1/2″ seam. Make sure that you keep the upper collar folded back when you sew the middle section of the collar to the neckline.
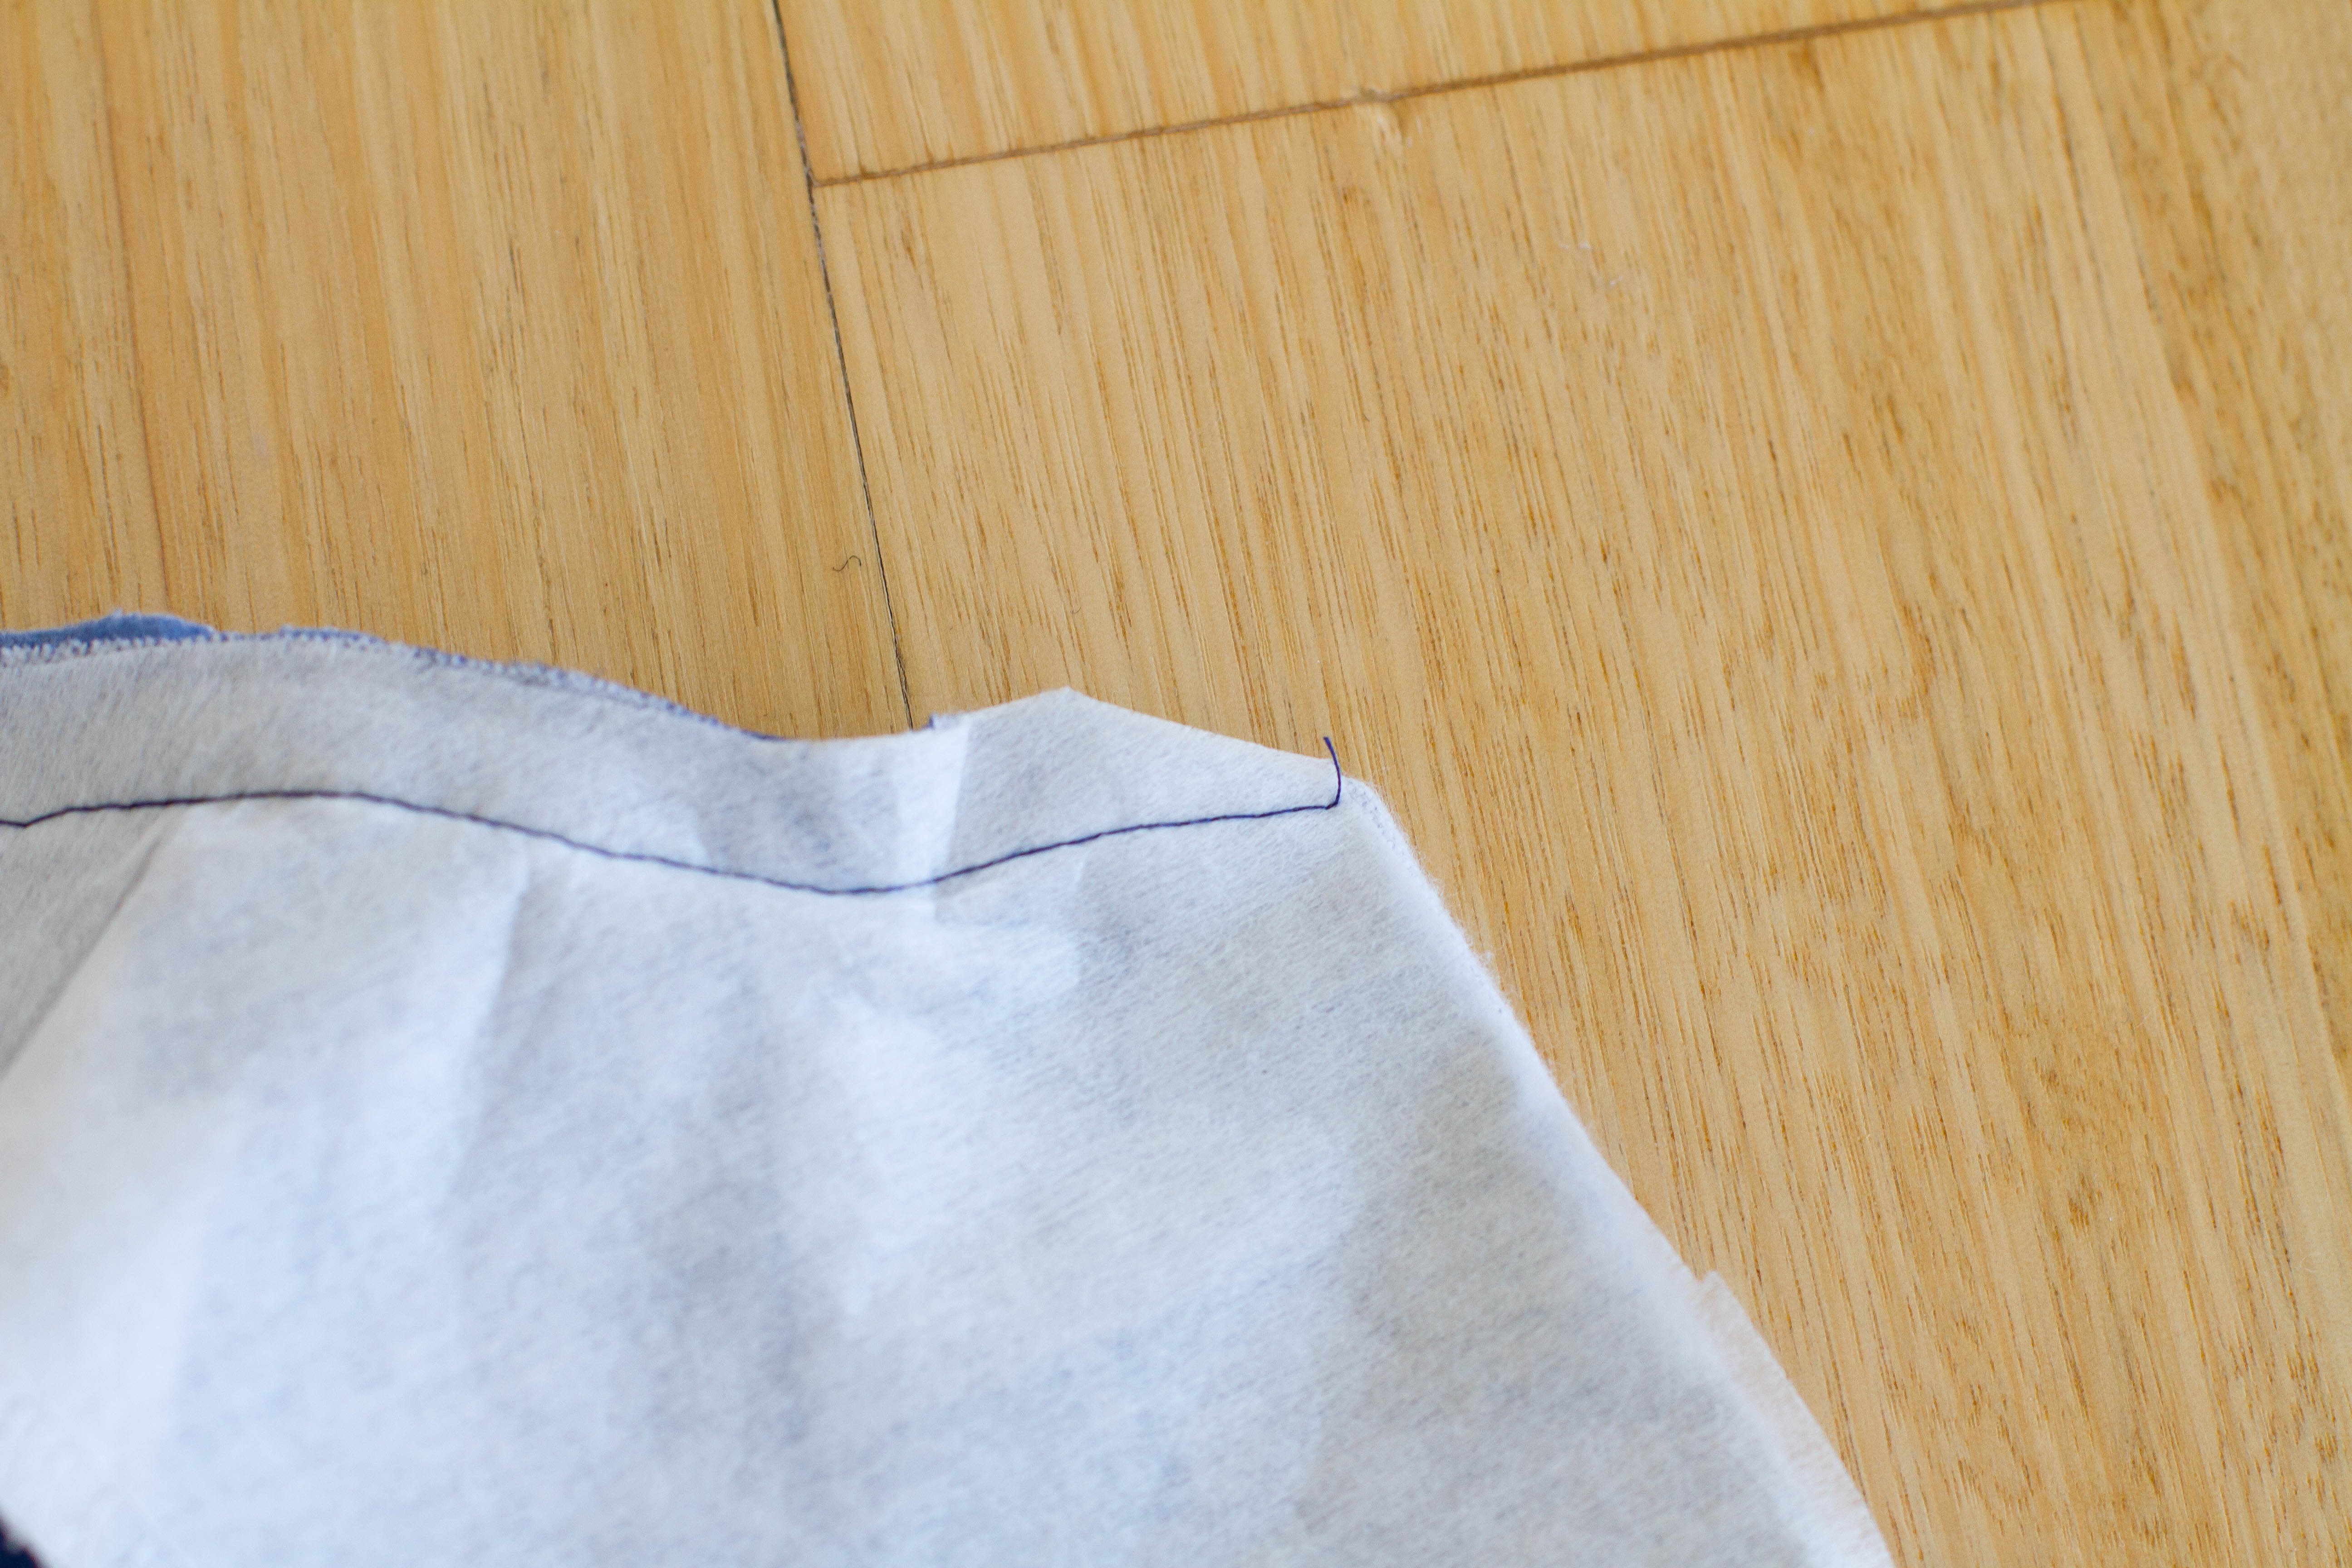
Clip the corners at both ends of the front facings.
Then turn the facings back to the wrong side of the PJ top and press into place. Use a pointy object like a pencil or the end of your closed scissors to make sharp corners at the ends of your facings
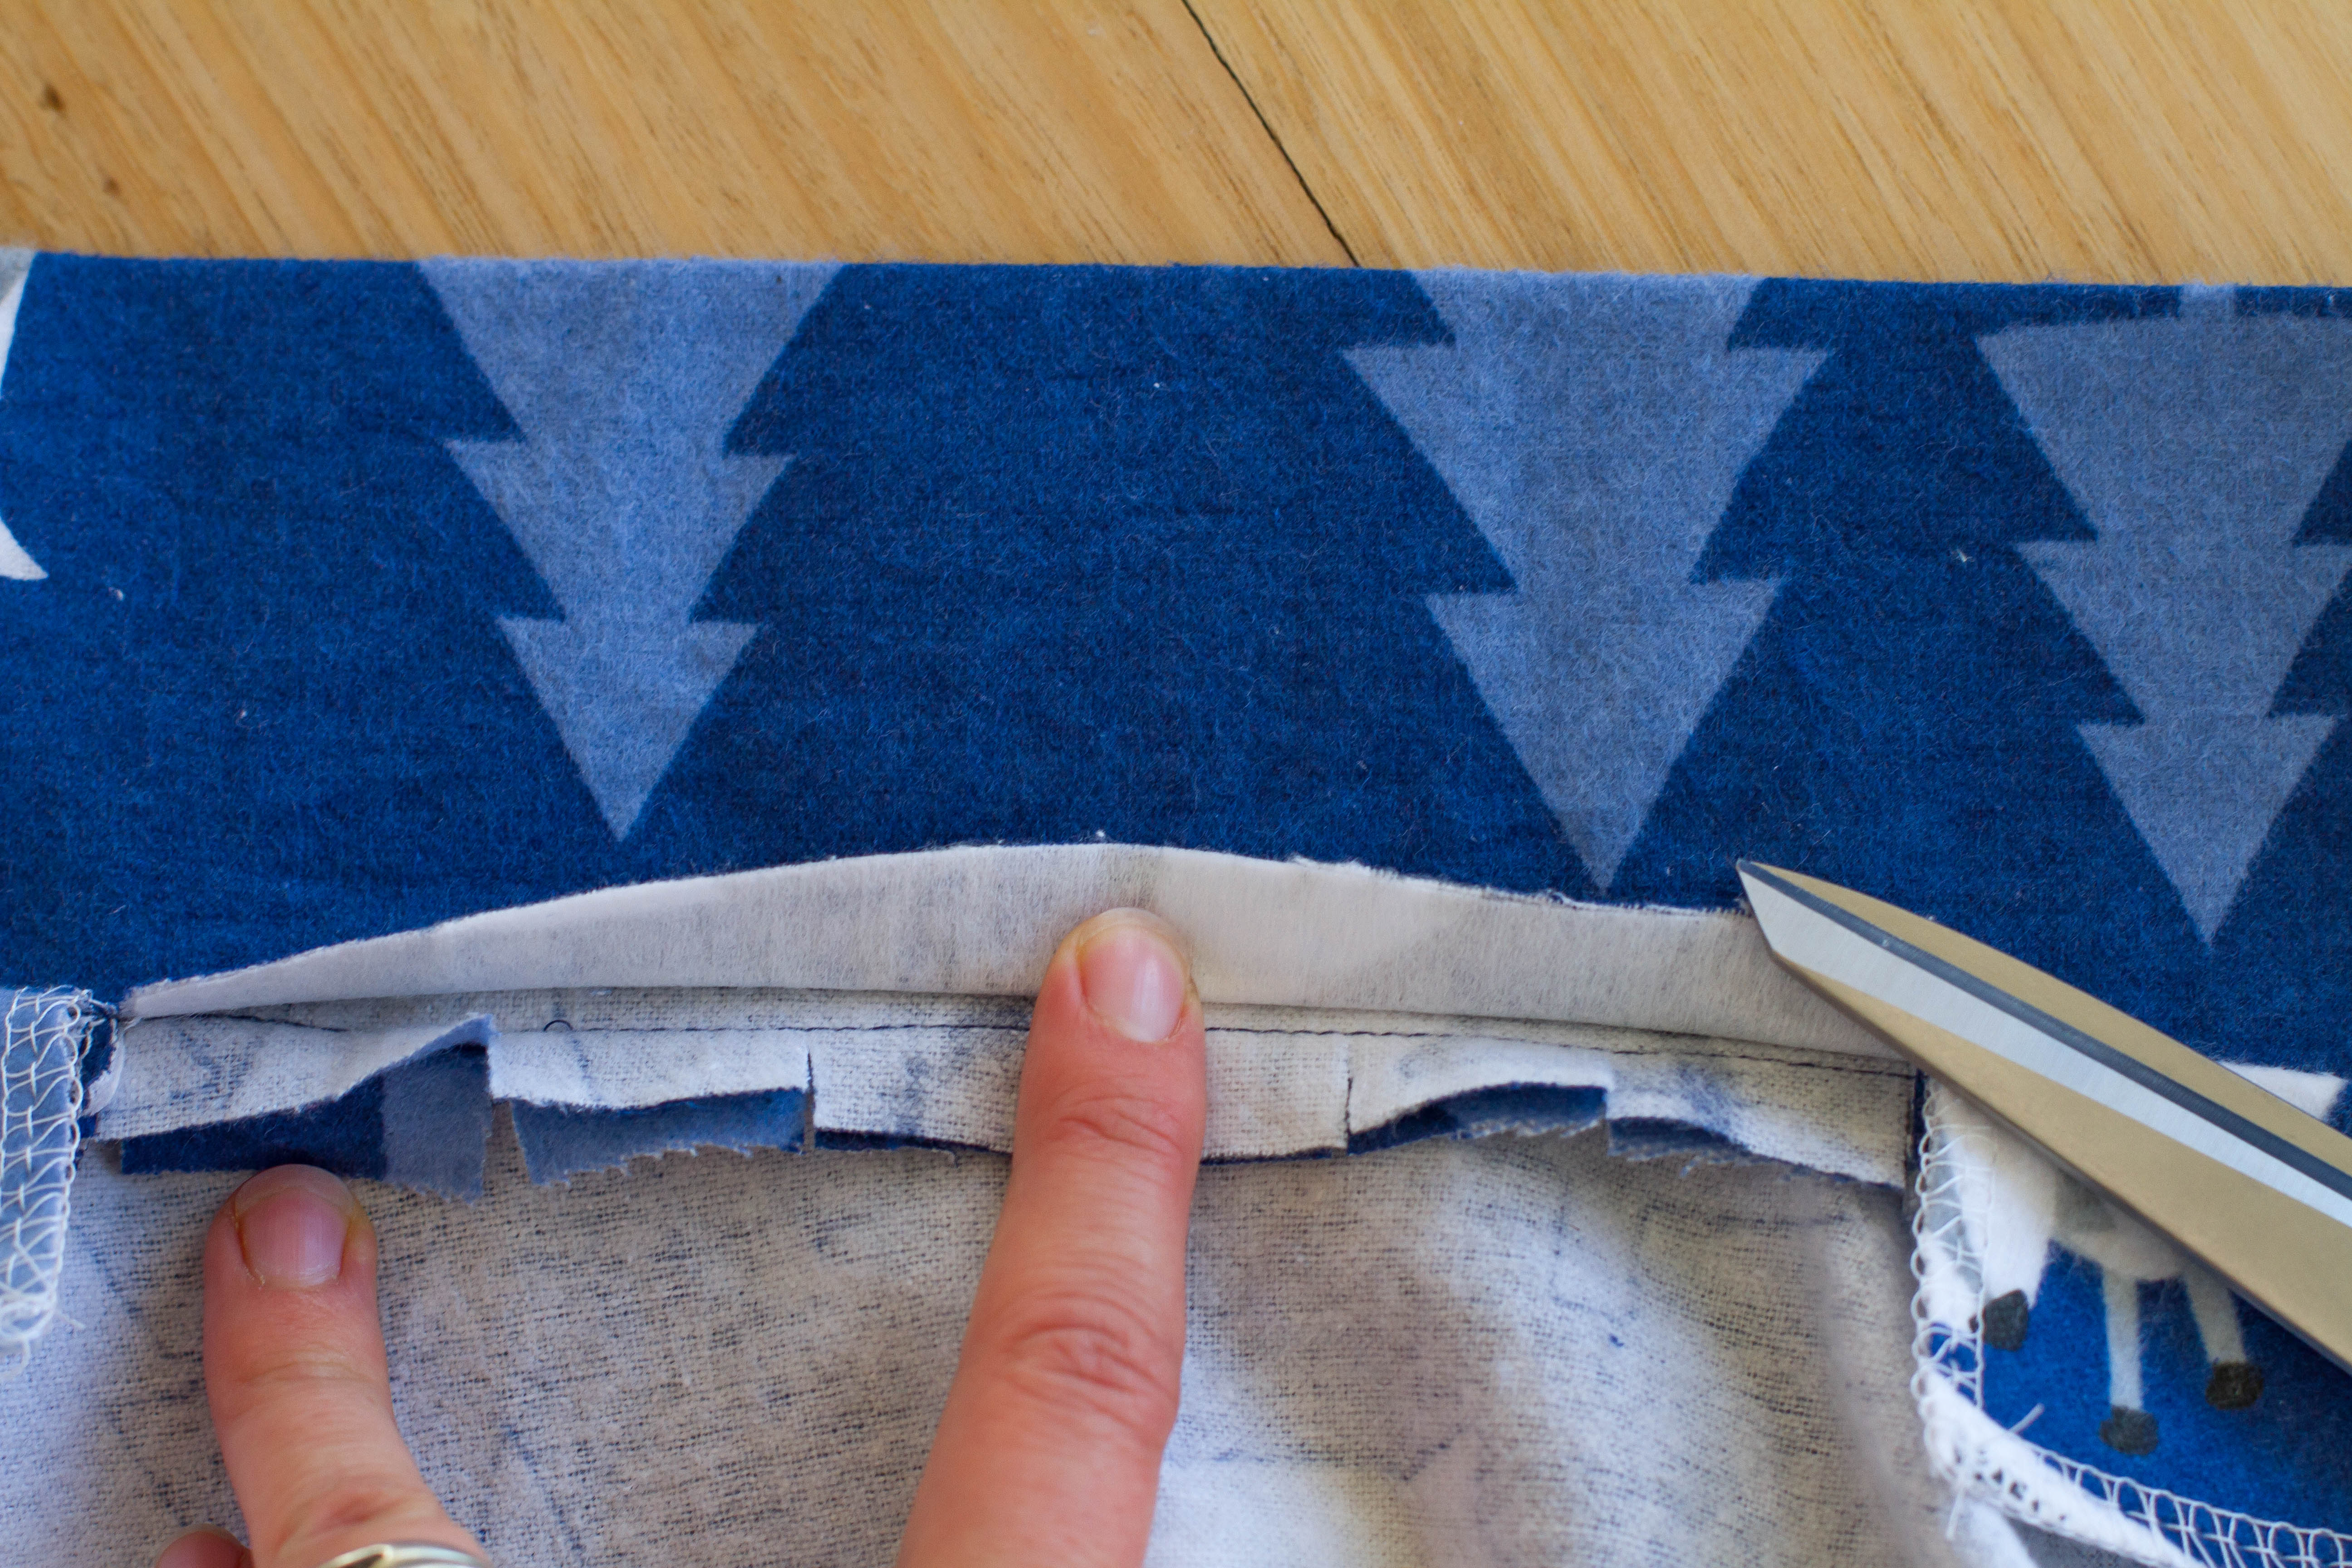
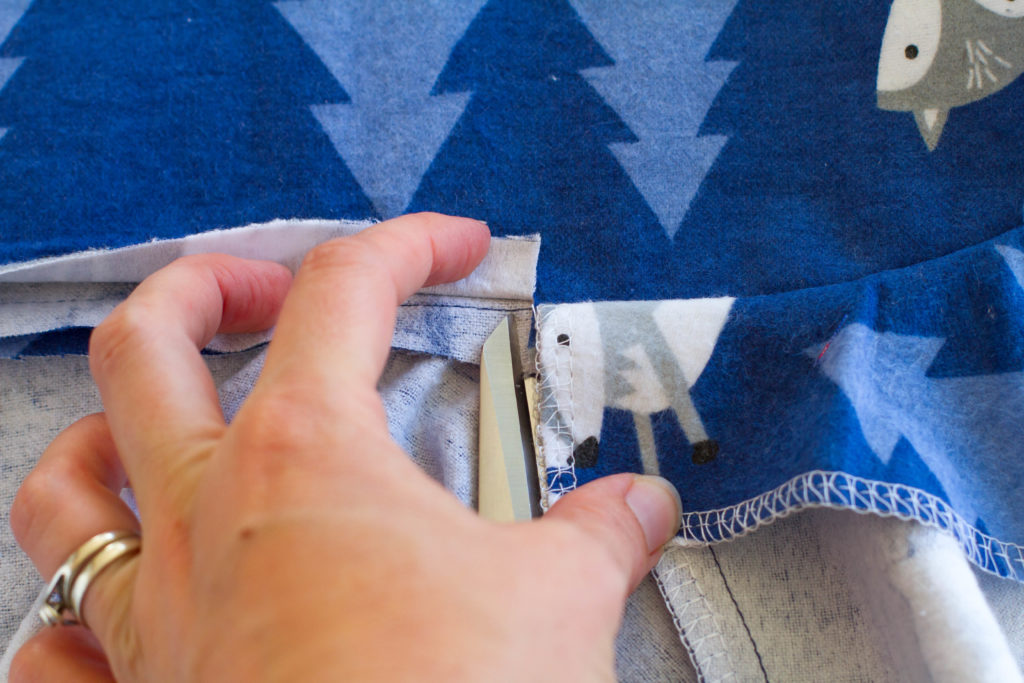
To finish attaching the collar to the neckline, clip into the seam allowance at the ends of the front facings. Don’t clip the upper collar, just the under collar and neckline seam allowance.
Then make a few small clips in the seam allowance of the neckline making sure that you don’t clip your stitching. Notice that I have only clipped into the sewn seam allowance – NOT the interfaced upper collar. Use your fingers to push the clipped seam allowance up towards the collar and tuck them underneath the upper collar. Then fold the upper collar under 1/2″ to the wrong side of the collar.
Pin the folded edge of the upper collar down. The folded edge should sit right on top of the neckline stitching that you are trying to hide. You might need to adjust folds a little bit to make it all look nice and neat.
When you are happy with how the collar looks, sew the folded edge down and you are done!
(Ready for the next step in the pattern…pinning the ends of the front facings over the shoulder seams ready to sew them down.)
I hope this helps you visualise the collar insertion and makes sewing the Catnap Pyjamas a breeze! Like I said before, this is the trickiest step so once you’ve mastered this bit the rest is easy peasy!!!
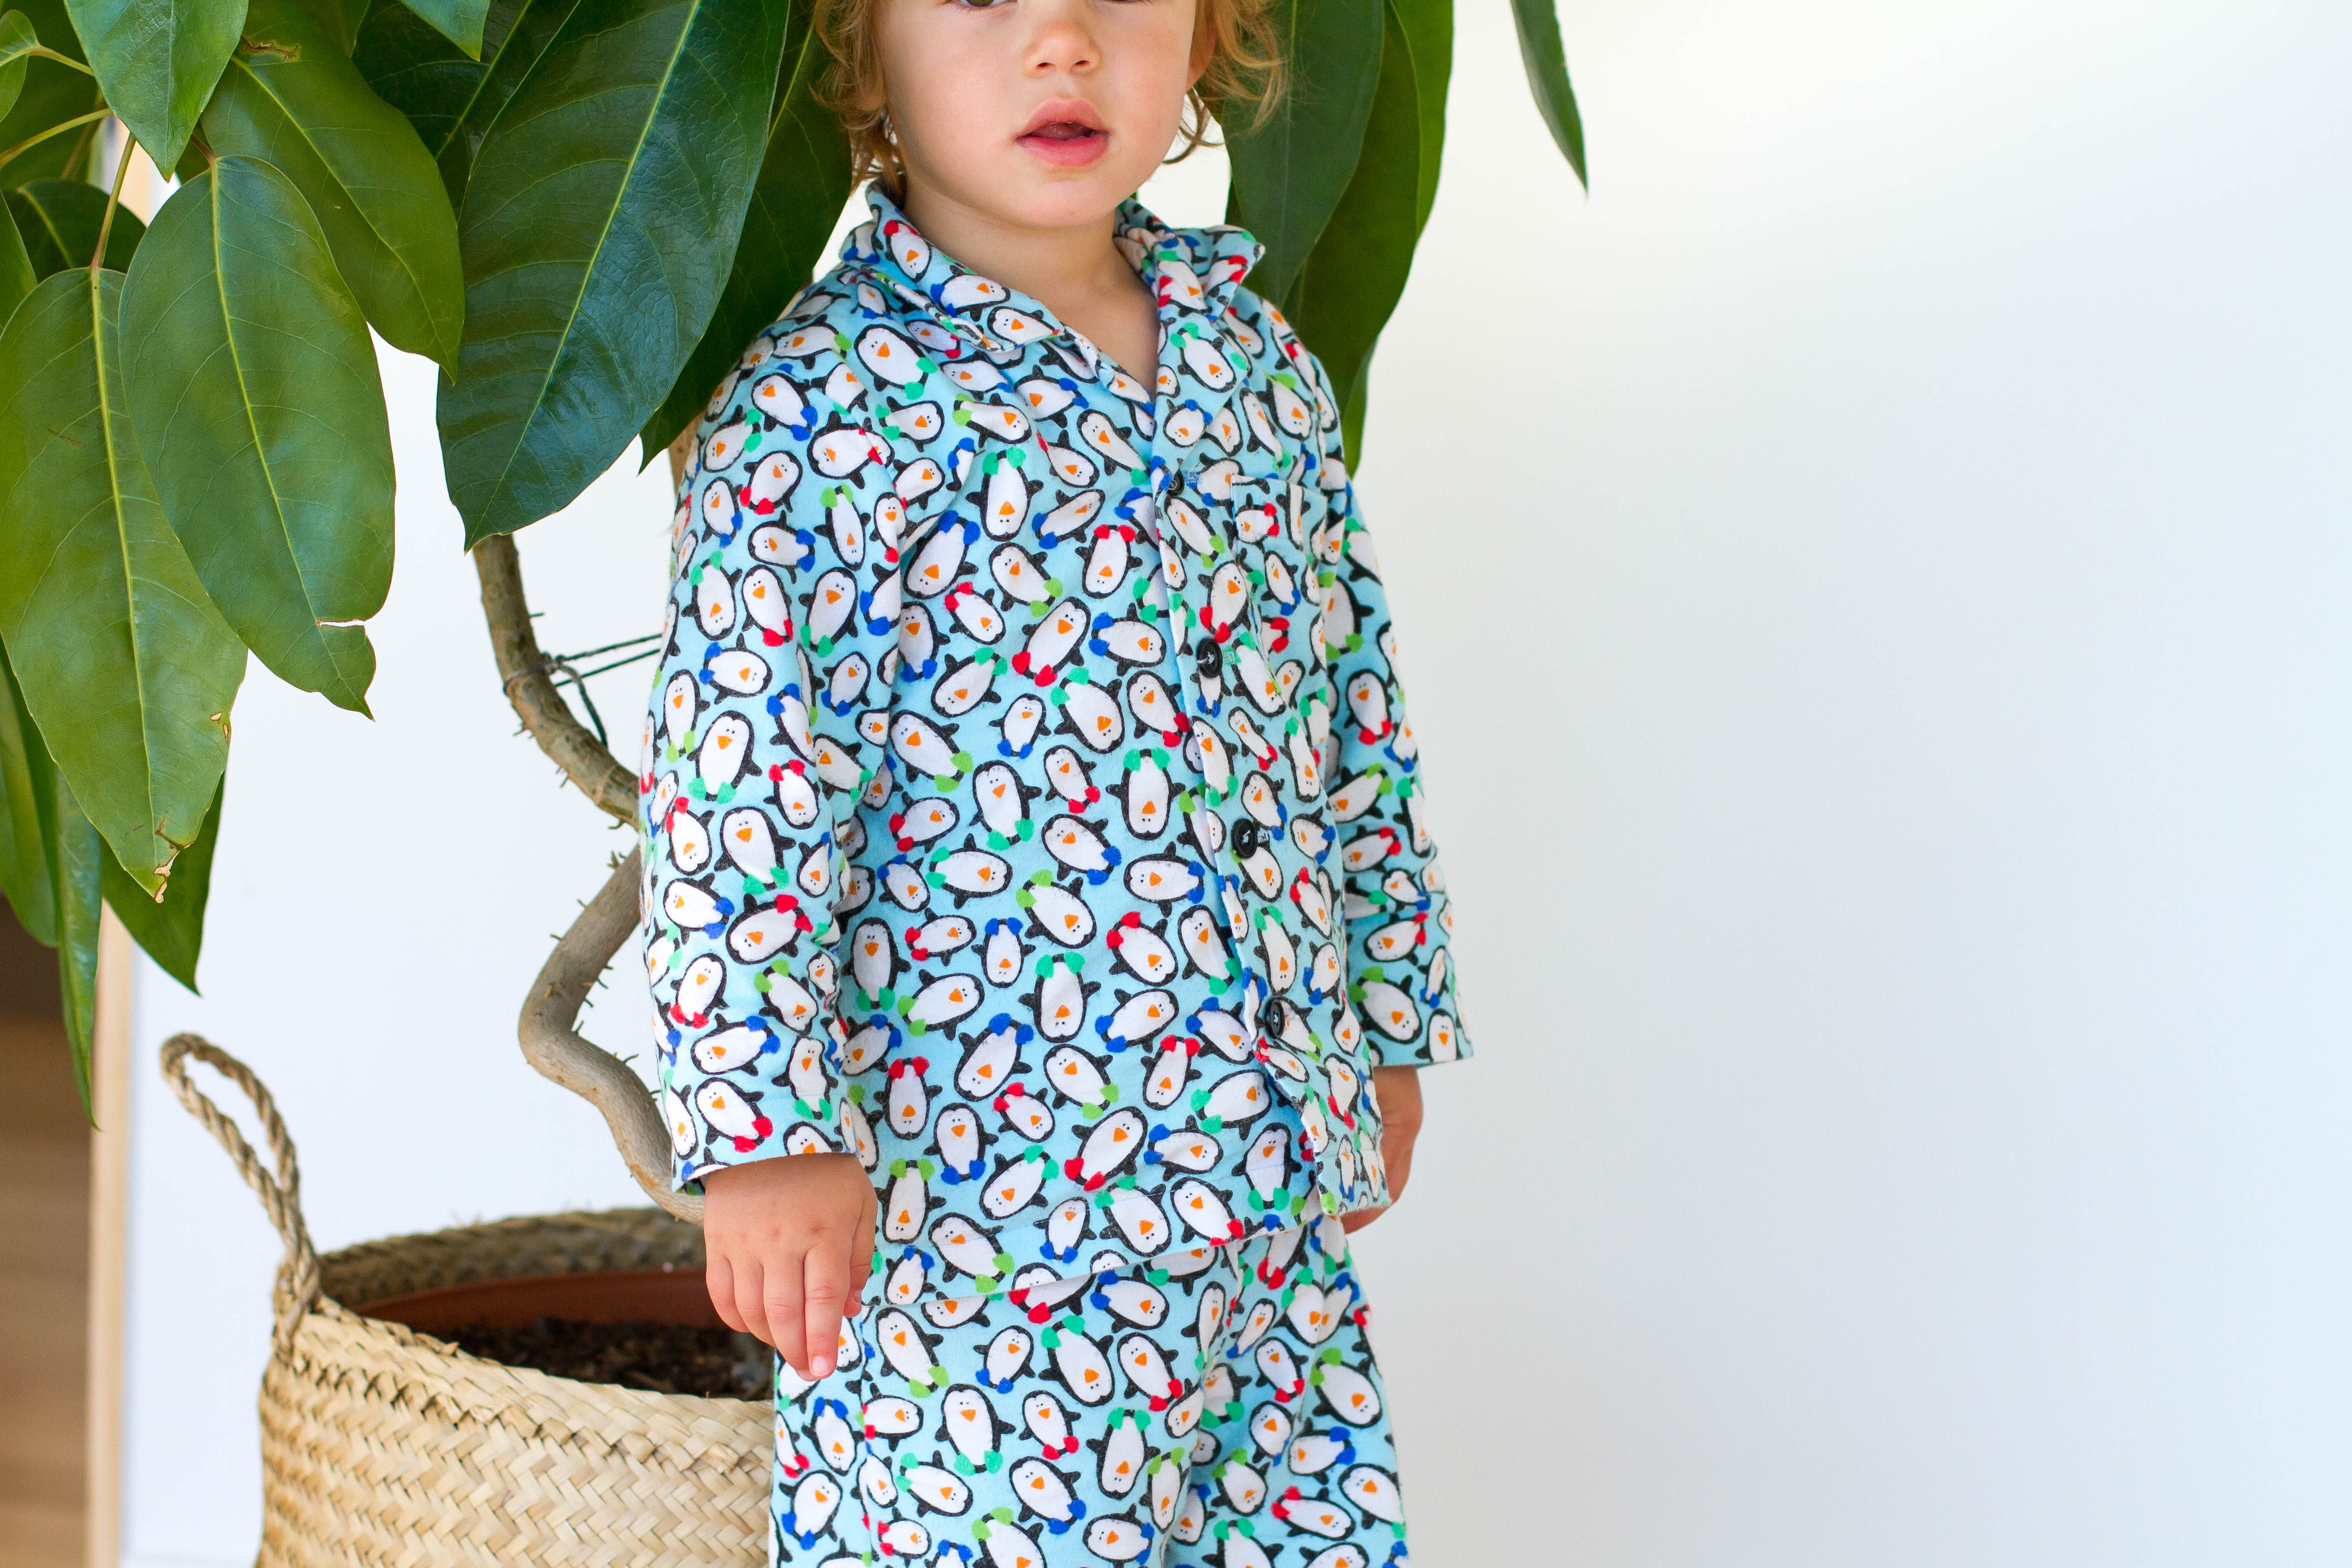
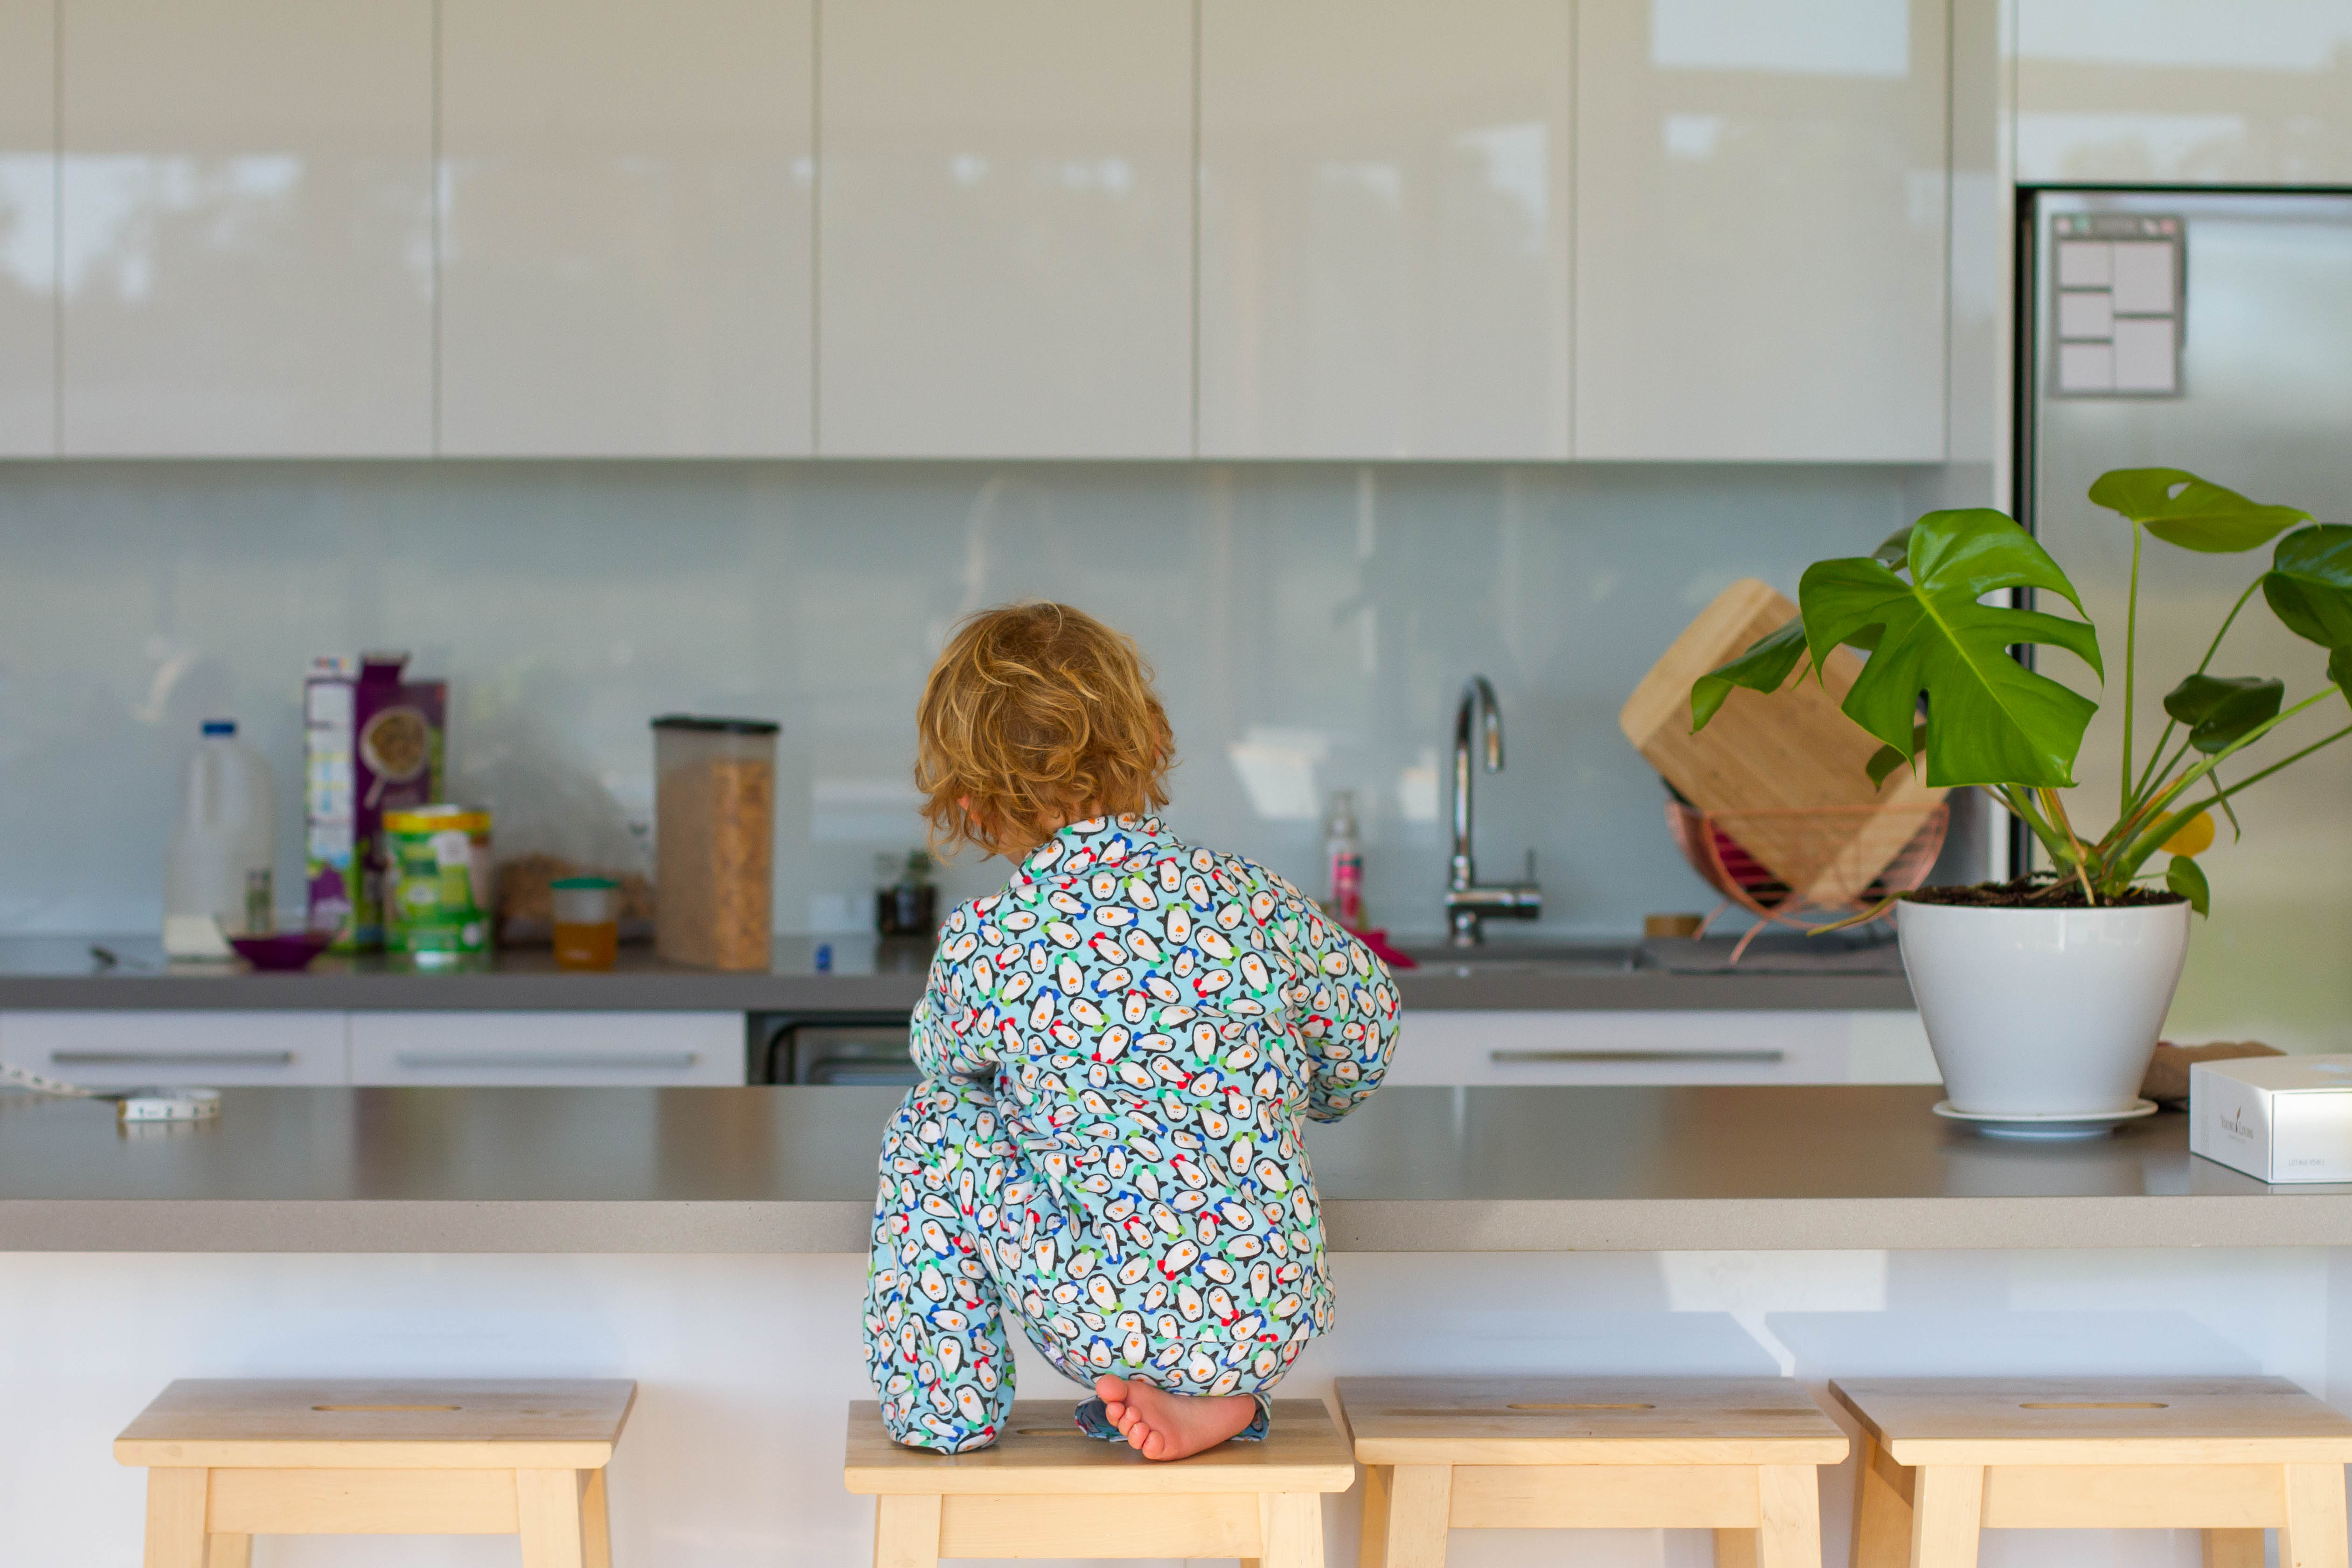
Of course Harvey had to get himself a new pair of jammies when I was working on the pattern for Catnap Pyjamas. I thought this penguin fabric would be a winner, and I was right. He absolutely loves them! But now he wants a pair with chickens…for some reason lately he has been all chicken-everything, and I’m sure I’ll come to the party and make him some more!
I sewed a size 3 for Harvey – he turns 3 in a few weeks and I am really happy with the fit. Big enough that he will easily get to wear them all Winter, but not too long or loose that they are uncomfortable or impractical to wear now.
Harvey is definitely our craziest kid…being the baby of the family, he does have a great audience and thinks that everything he does is funny! Well, I actually agree…everything he does is pretty funny for now. We might change our minds when he turns 6 though!!!
Don’t forget that the Catnap Pyjamas is on special until Thursday night. Get it 20% off now and start sewing some cute PJs for your babies.
SUPPLIES: Make It Perfect, Catnap Pyjamas pattern // Michael Miller, Penguin Toss flannel in Aqua


 First of all, you will need to unfold the front facings on the PJ front pieces. Then take your folded collar piece and place the raw edge of the collar onto the right side of the PJ top neckline. Make sure that the NON-INTERFACED side of the collar is facing the right side of the PJ top.
 With everything pinned into place, you now need to take the front facings (interfaced parts of the front pieces) and fold them BACK over the top of the collar so that the interfacing is facing up.