Browsing Category

Indie Sewing Patterns

Indie Sewing Patterns, Other

.Maai Design – See You At Six Blog Tour.

maai-blog-tour-7maai-blog-tour-3maai-blog-tour-6 maai-blog-tourmaai-blog-tour-5 maai-blog-tour-4maai-blog-tour-2

Hello, hello! The poor old blog has been totally neglected of late…I’m back to make a change to that today and have some beautiful fabric to share with you!

Today I am participating in the Maai DesignSee You At Six” Blog Tour. A couple of months ago I received an email from Maaike (owner of Maai Design) letting me know about an amazing new European fabric that she would be adding to the store soon. Now, to be honest, I’m a sucker for pretty much any European fabric! It always promises top quality and unique prints but up until now I have only really sewn with European knits. I didn’t hesitate in joining in the blog tour fun because I knew the fabric would be awesome AND I loved the new range by See You At Six. Maai Designs stocks 12 gorgeous prints in this unique 100% cotton viscose/rayon fabric – the best part is that they are all suited to sewing garments for the GROWN UPS! I do get sucked in by cutesy prints, my fabric stash is full of them and I need to start shopping more for fabric that I will wear myself. The entire See You At Six range fits this brief perfectly.

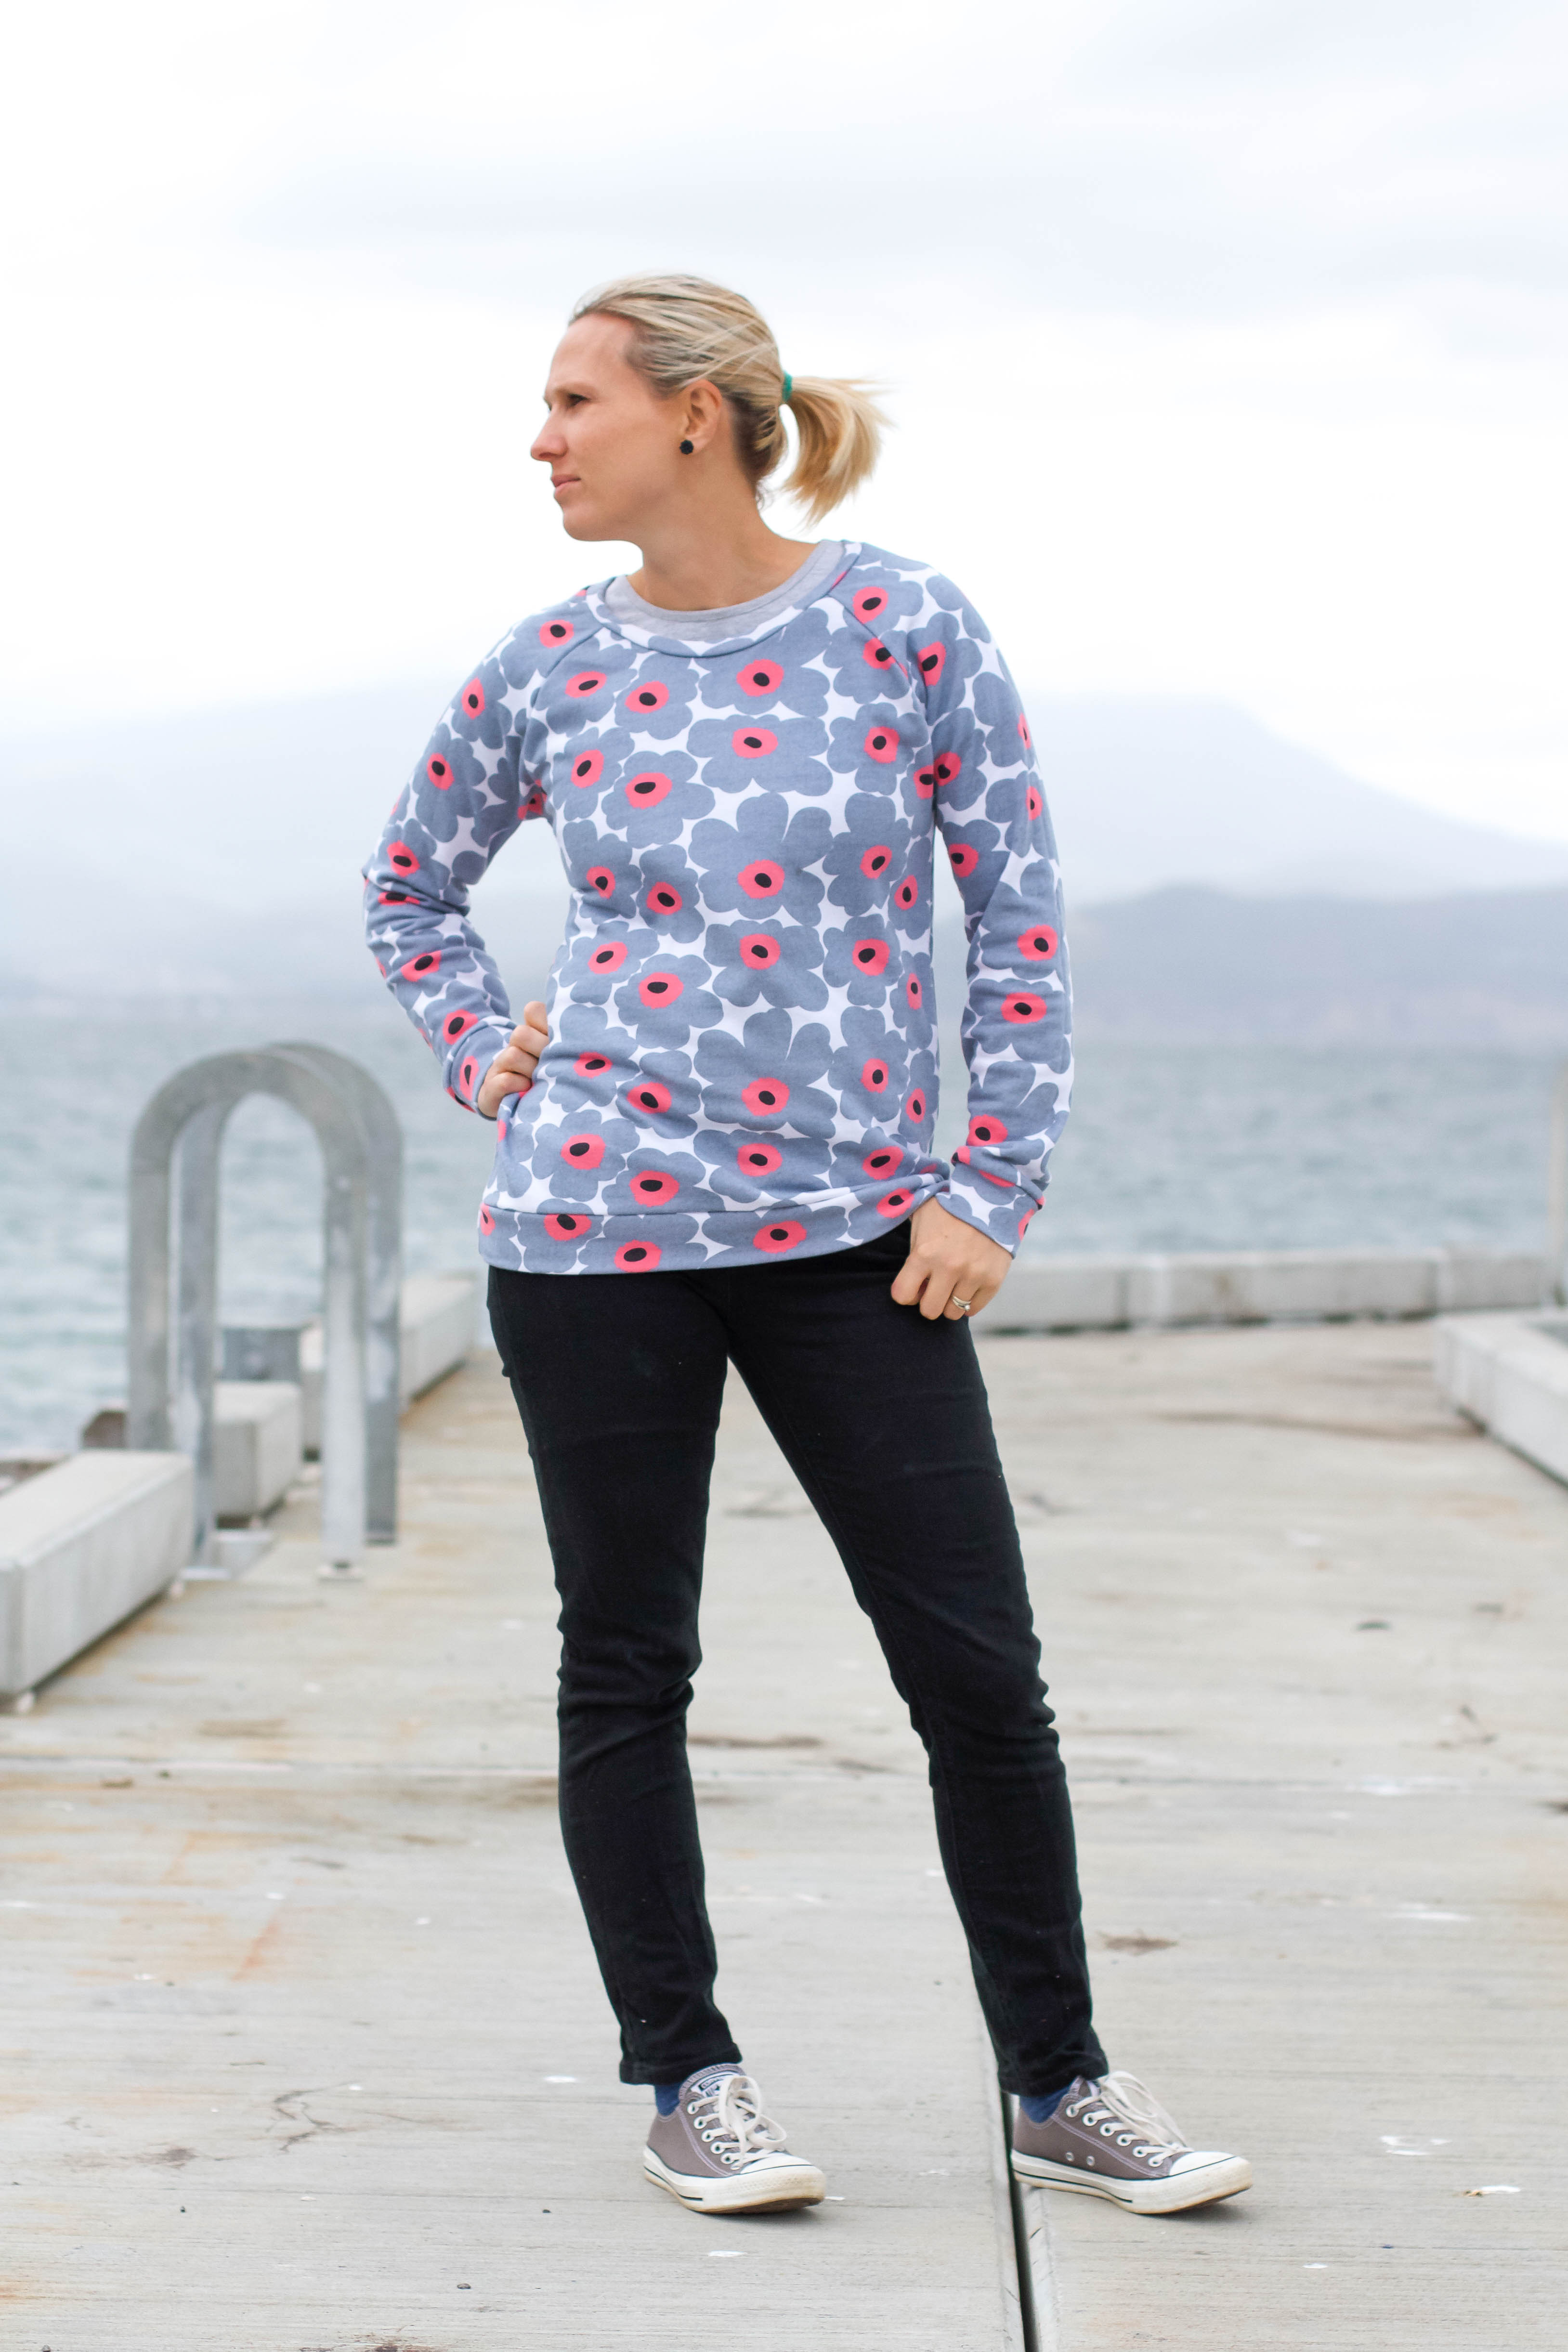
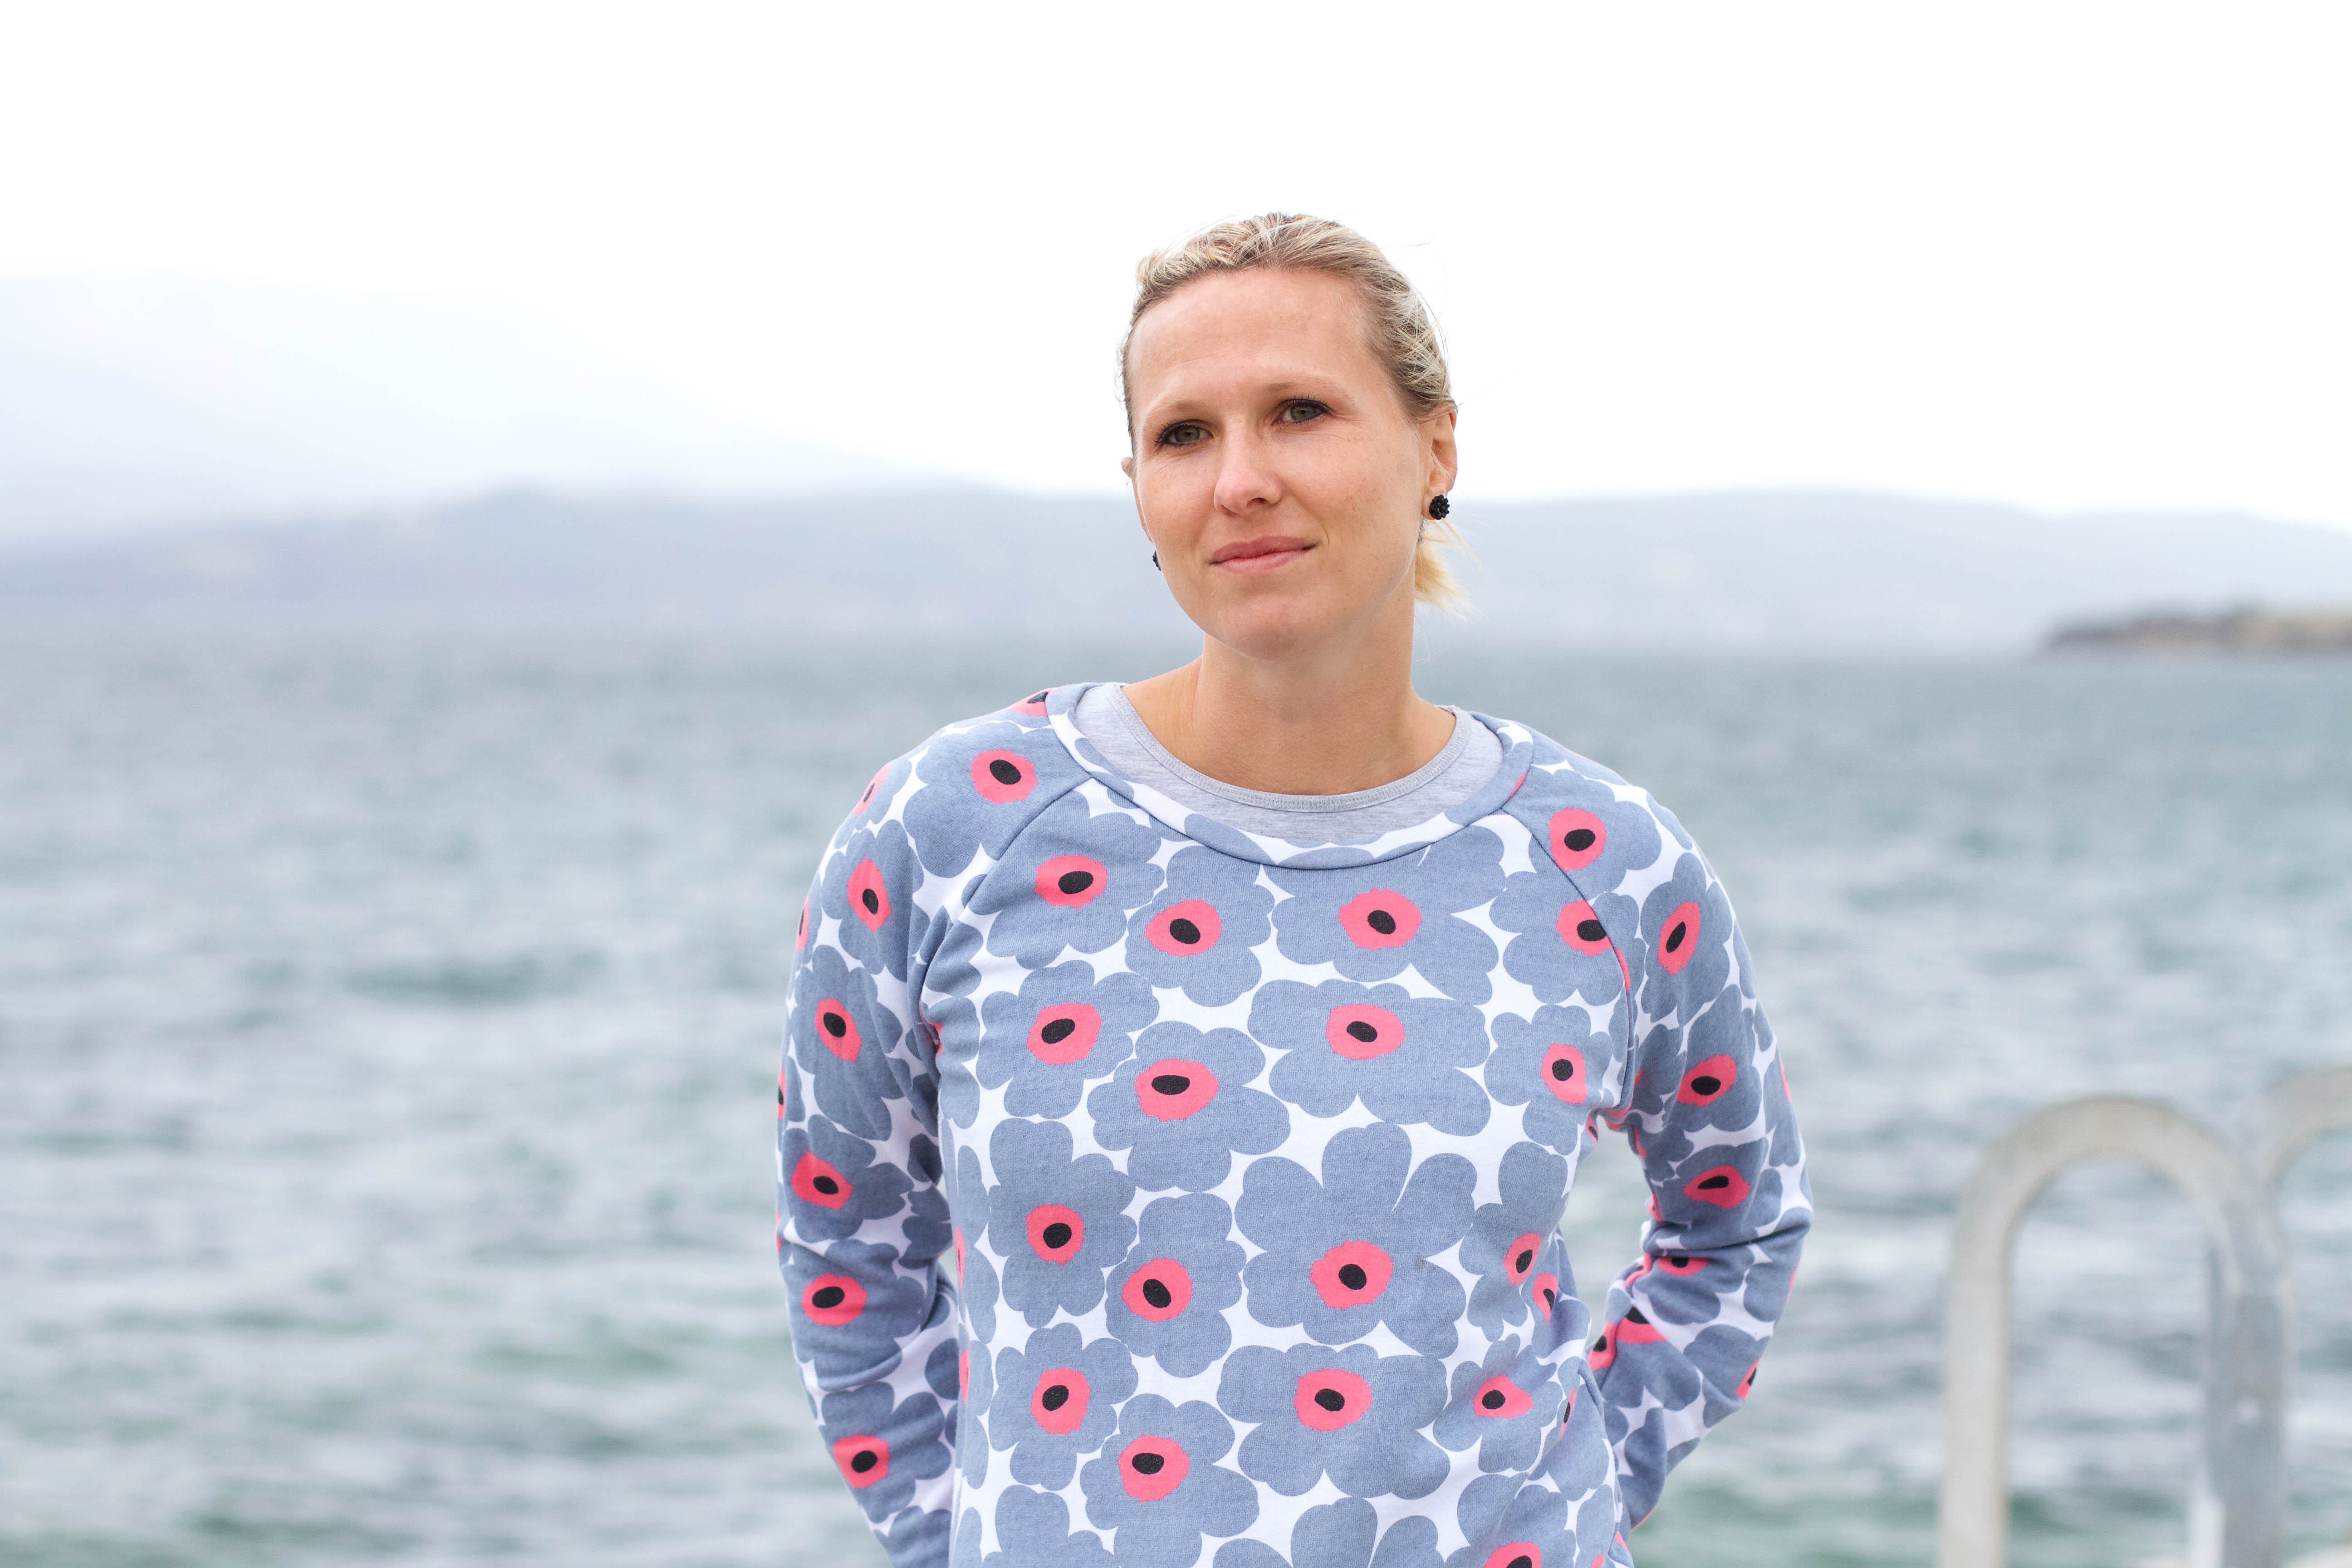
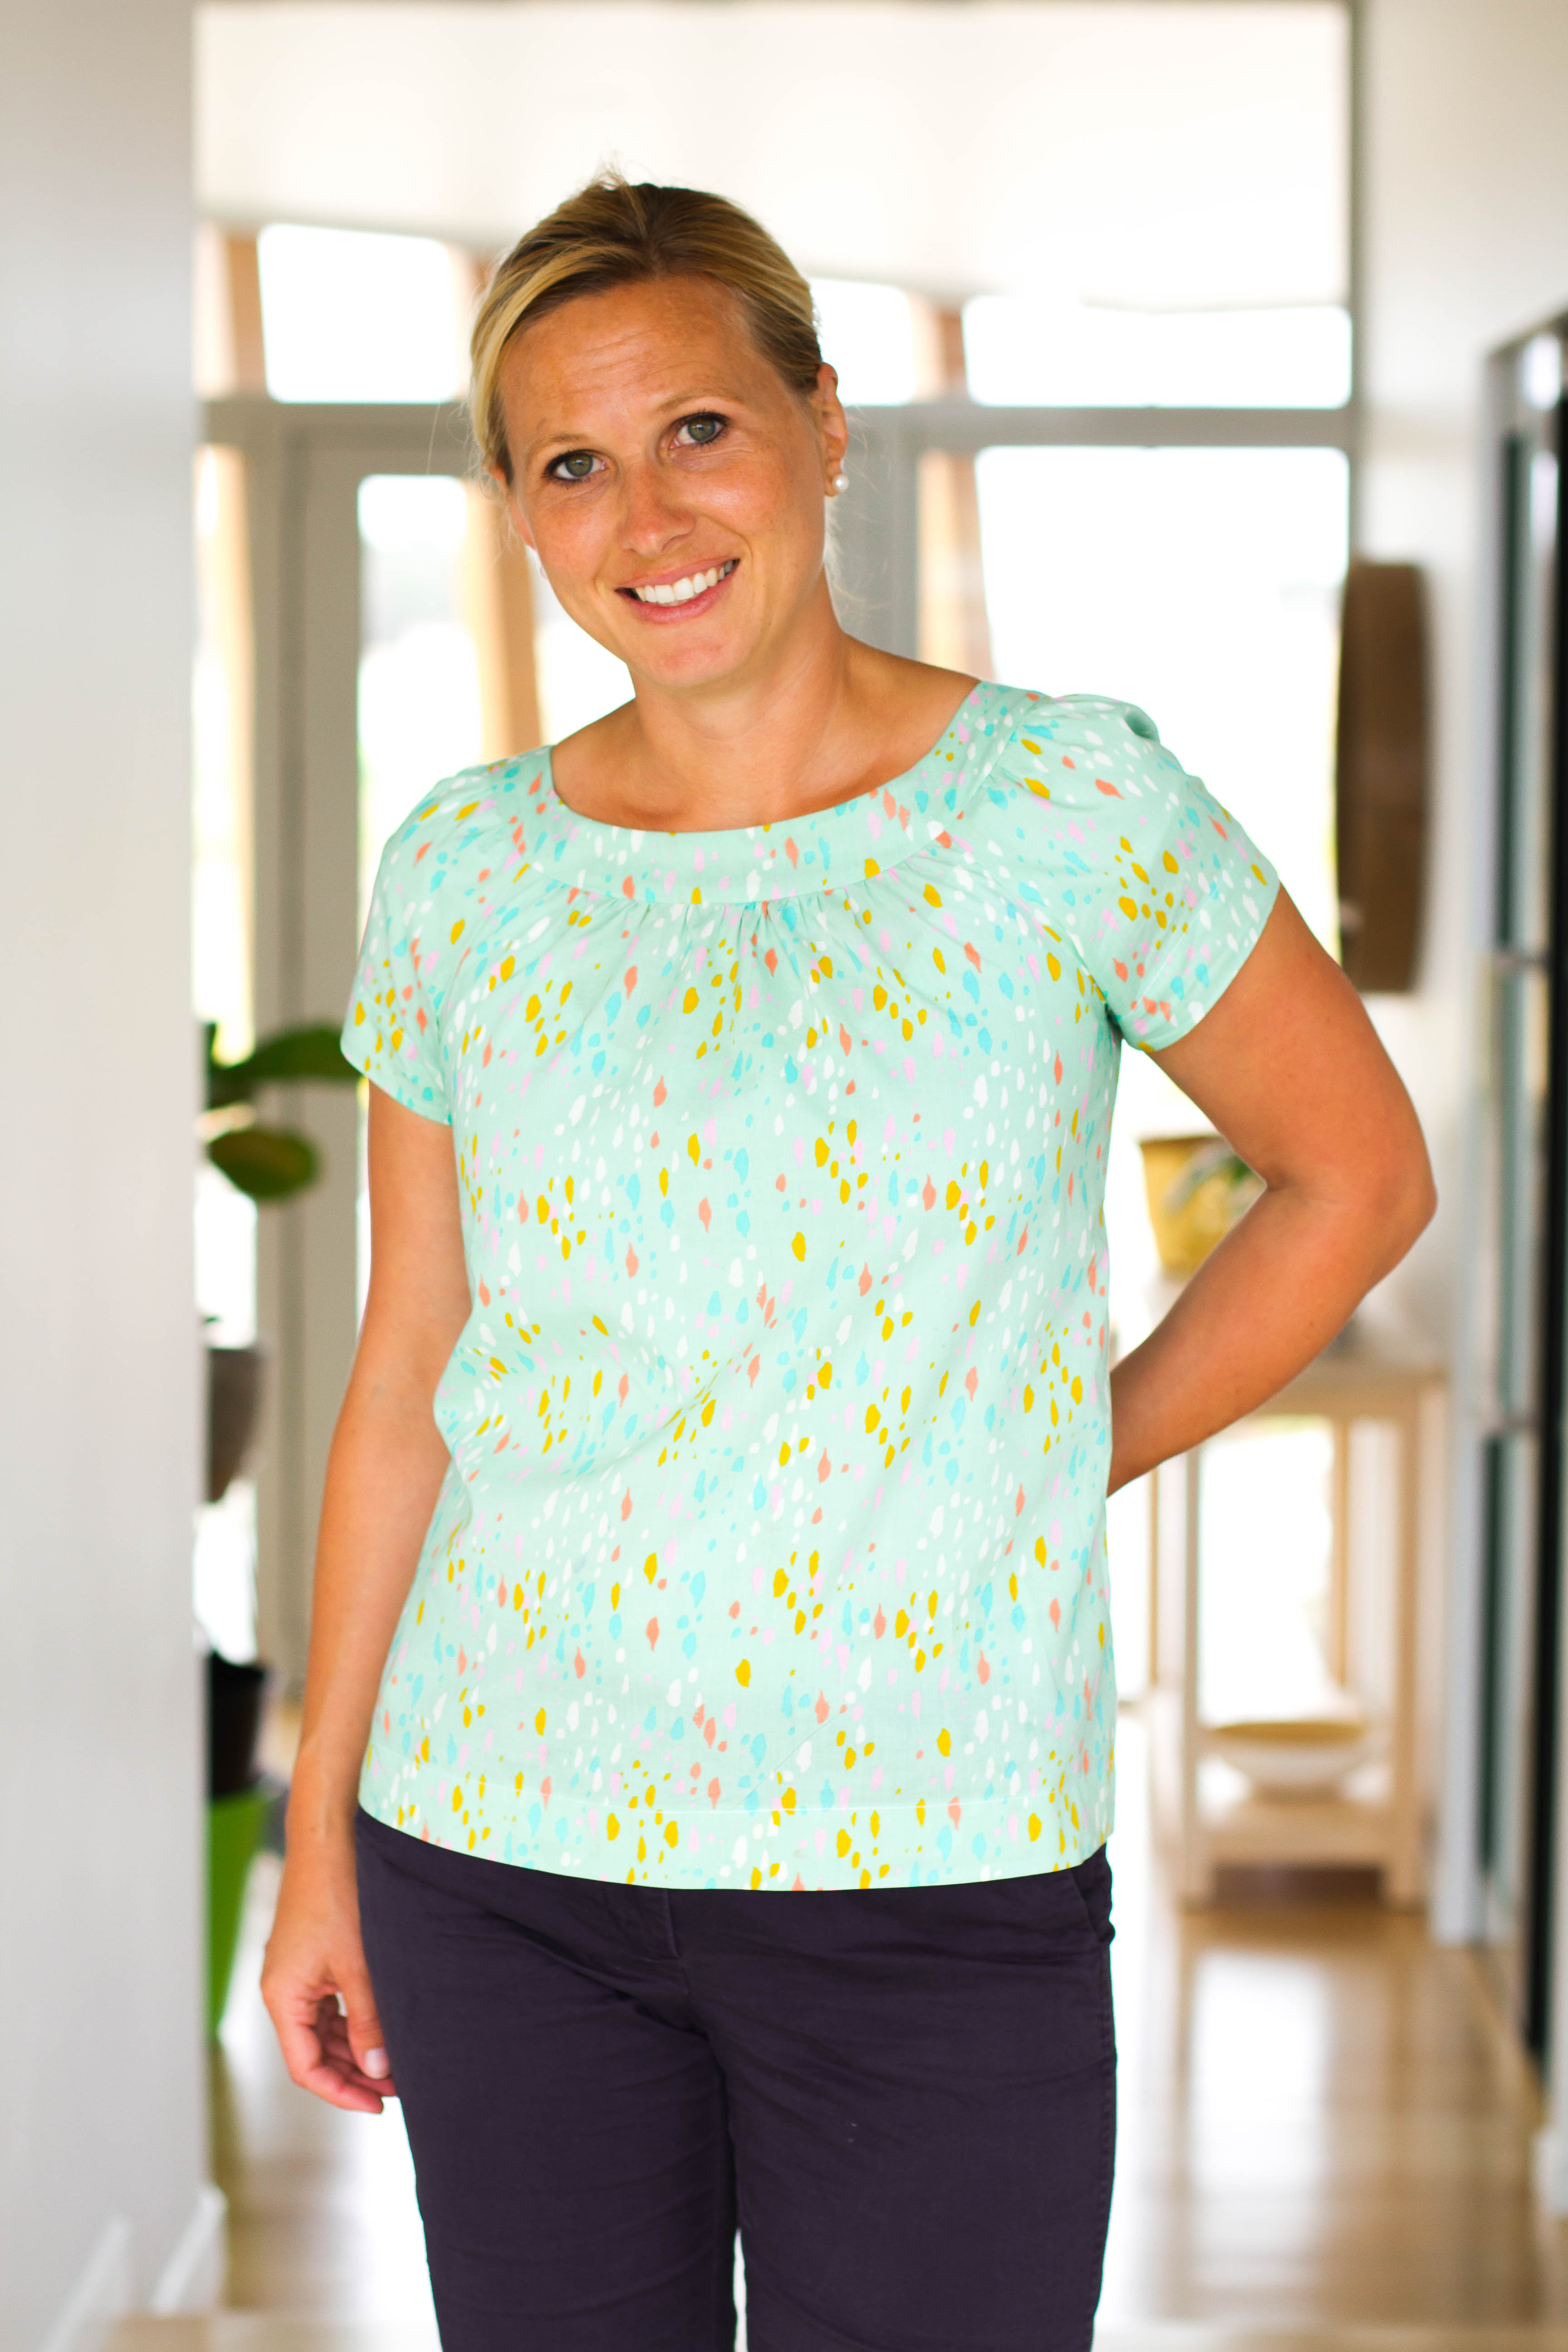
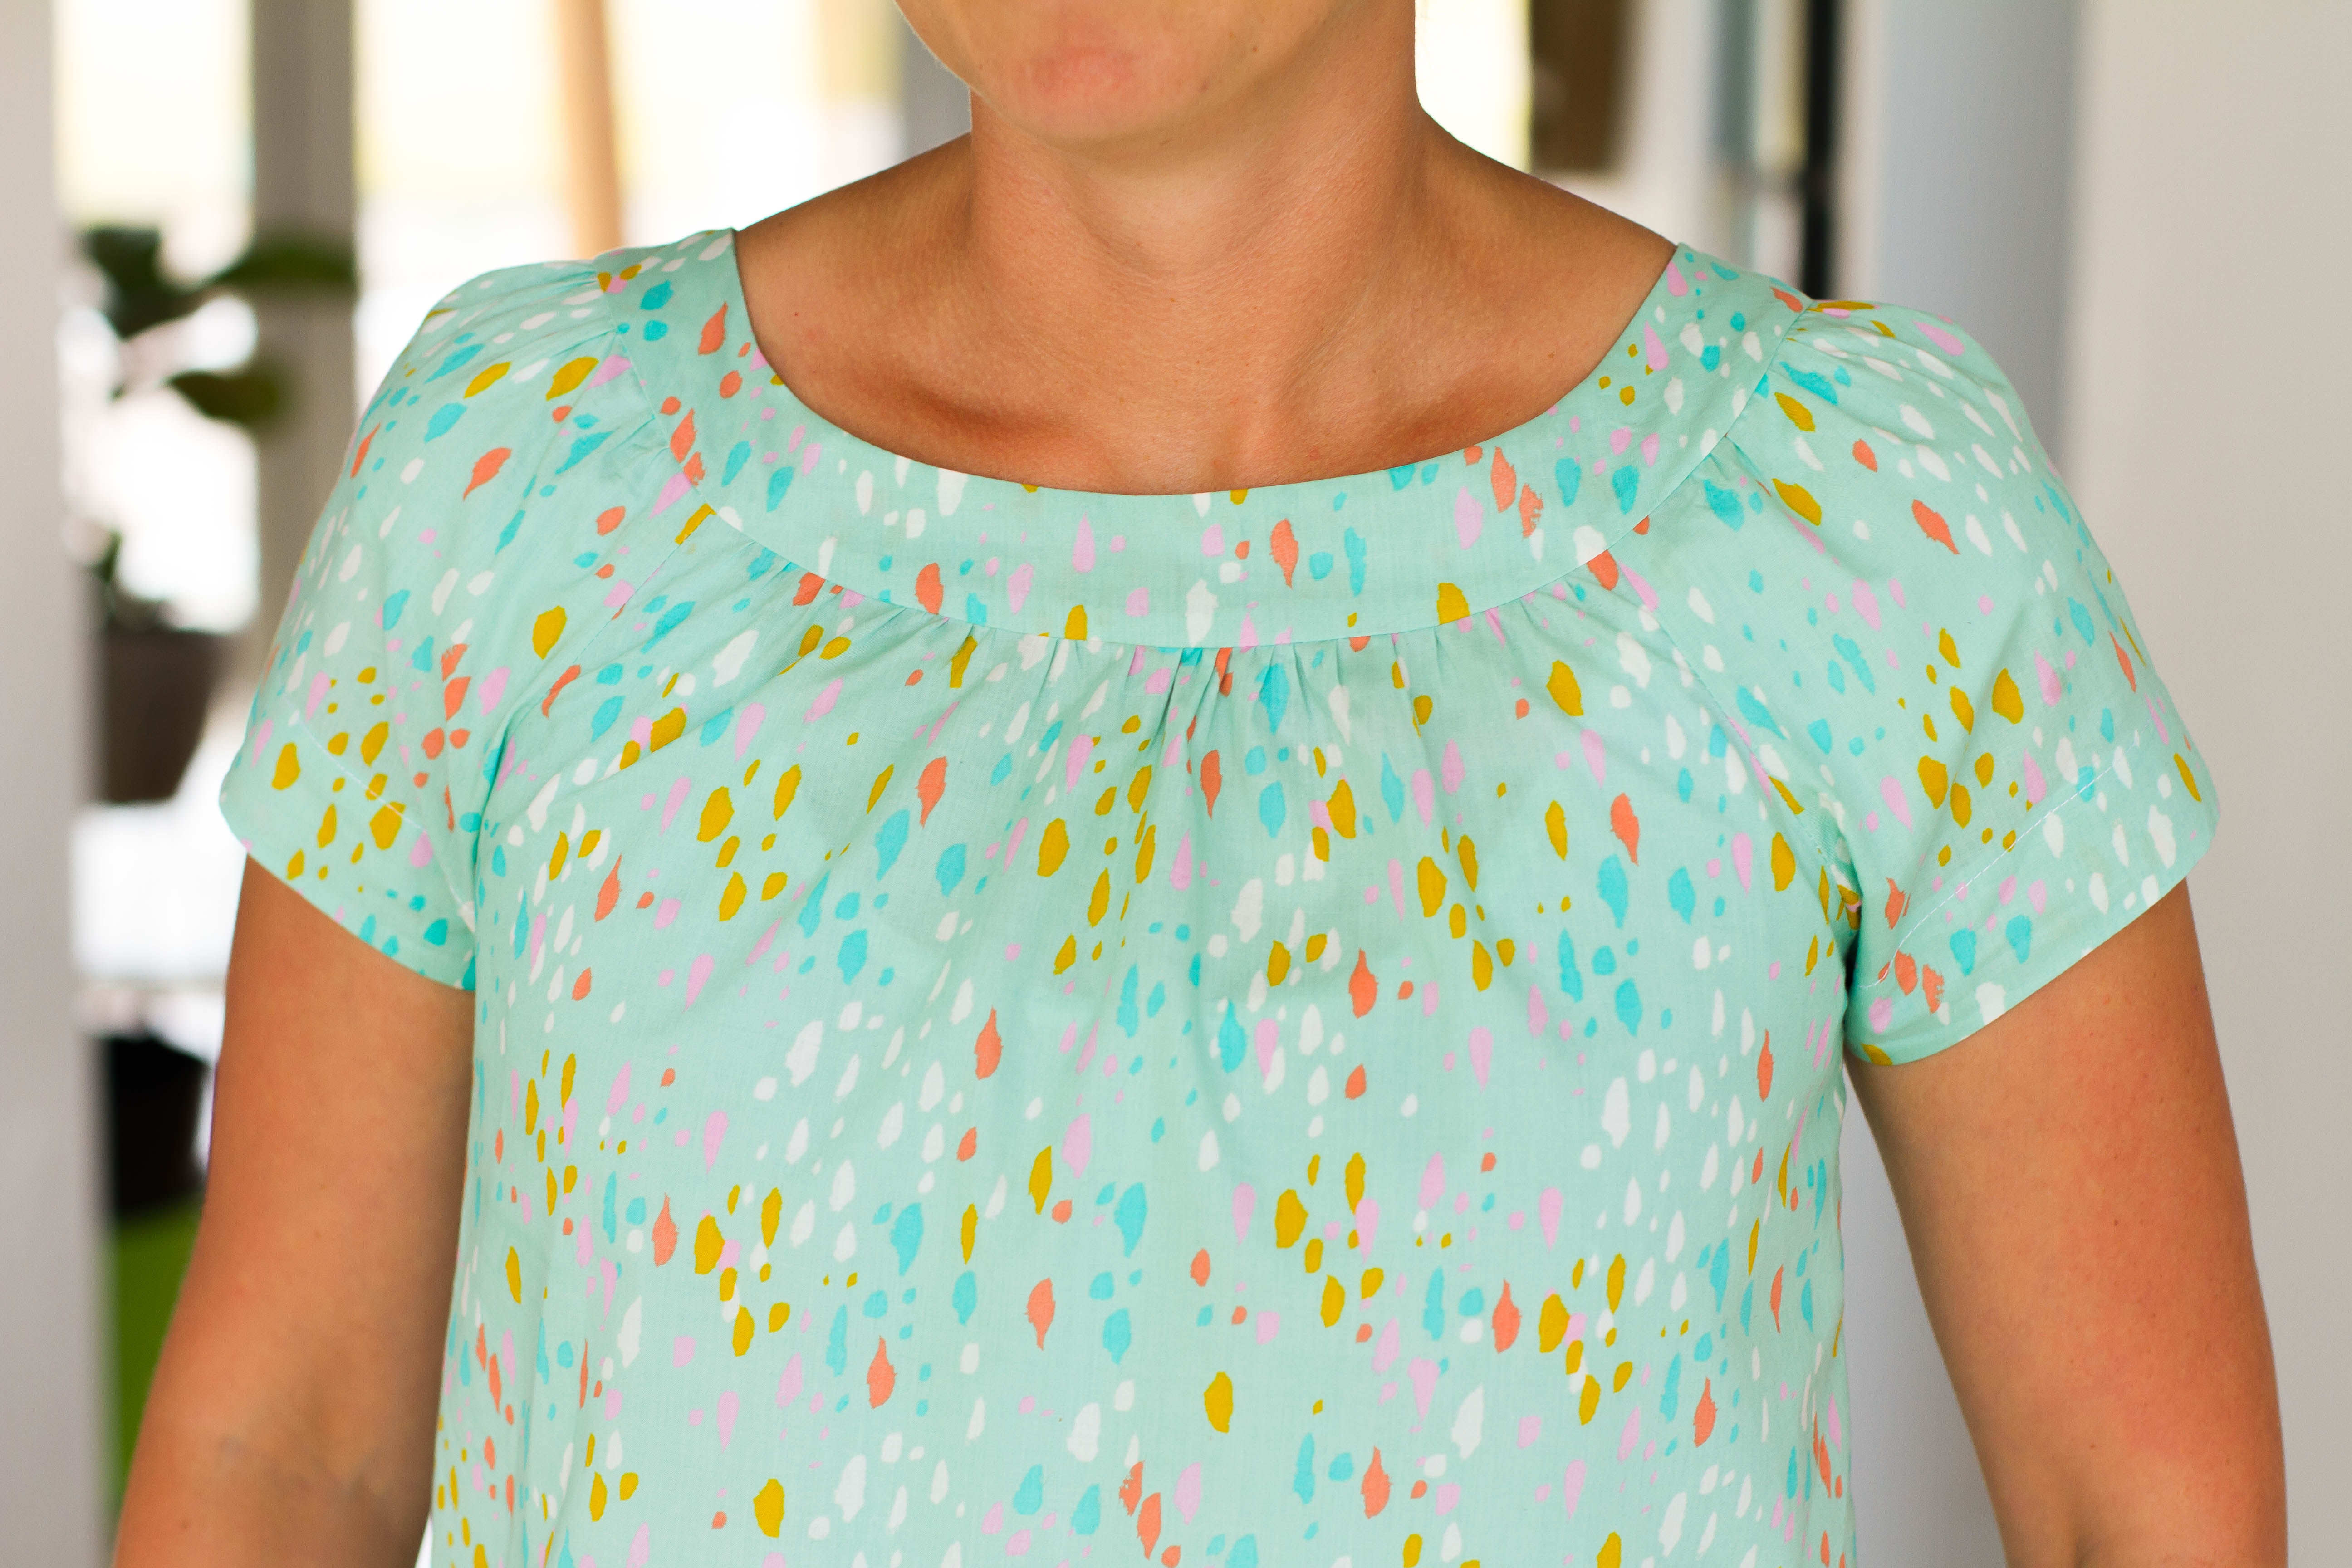
On receiving the fabric, I was 100% impressed with the quality. It has the most incredible drape and is super soft to feel with a nice, tight weave, producing a fabric that is perfect for sewing tops, skirts and dresses for women (and kids…but I personally want to keep this one all to myself!) I did pre-wash and tumble dry my fabric as instructed on the website to account for the small shrinkage factor. I’m not great at pre-washing woven fabrics, but am always happy when I do it and then dry in the dryer because I know the finished garment can be thrown into the dryer without having to worry about shrinkage in the future.

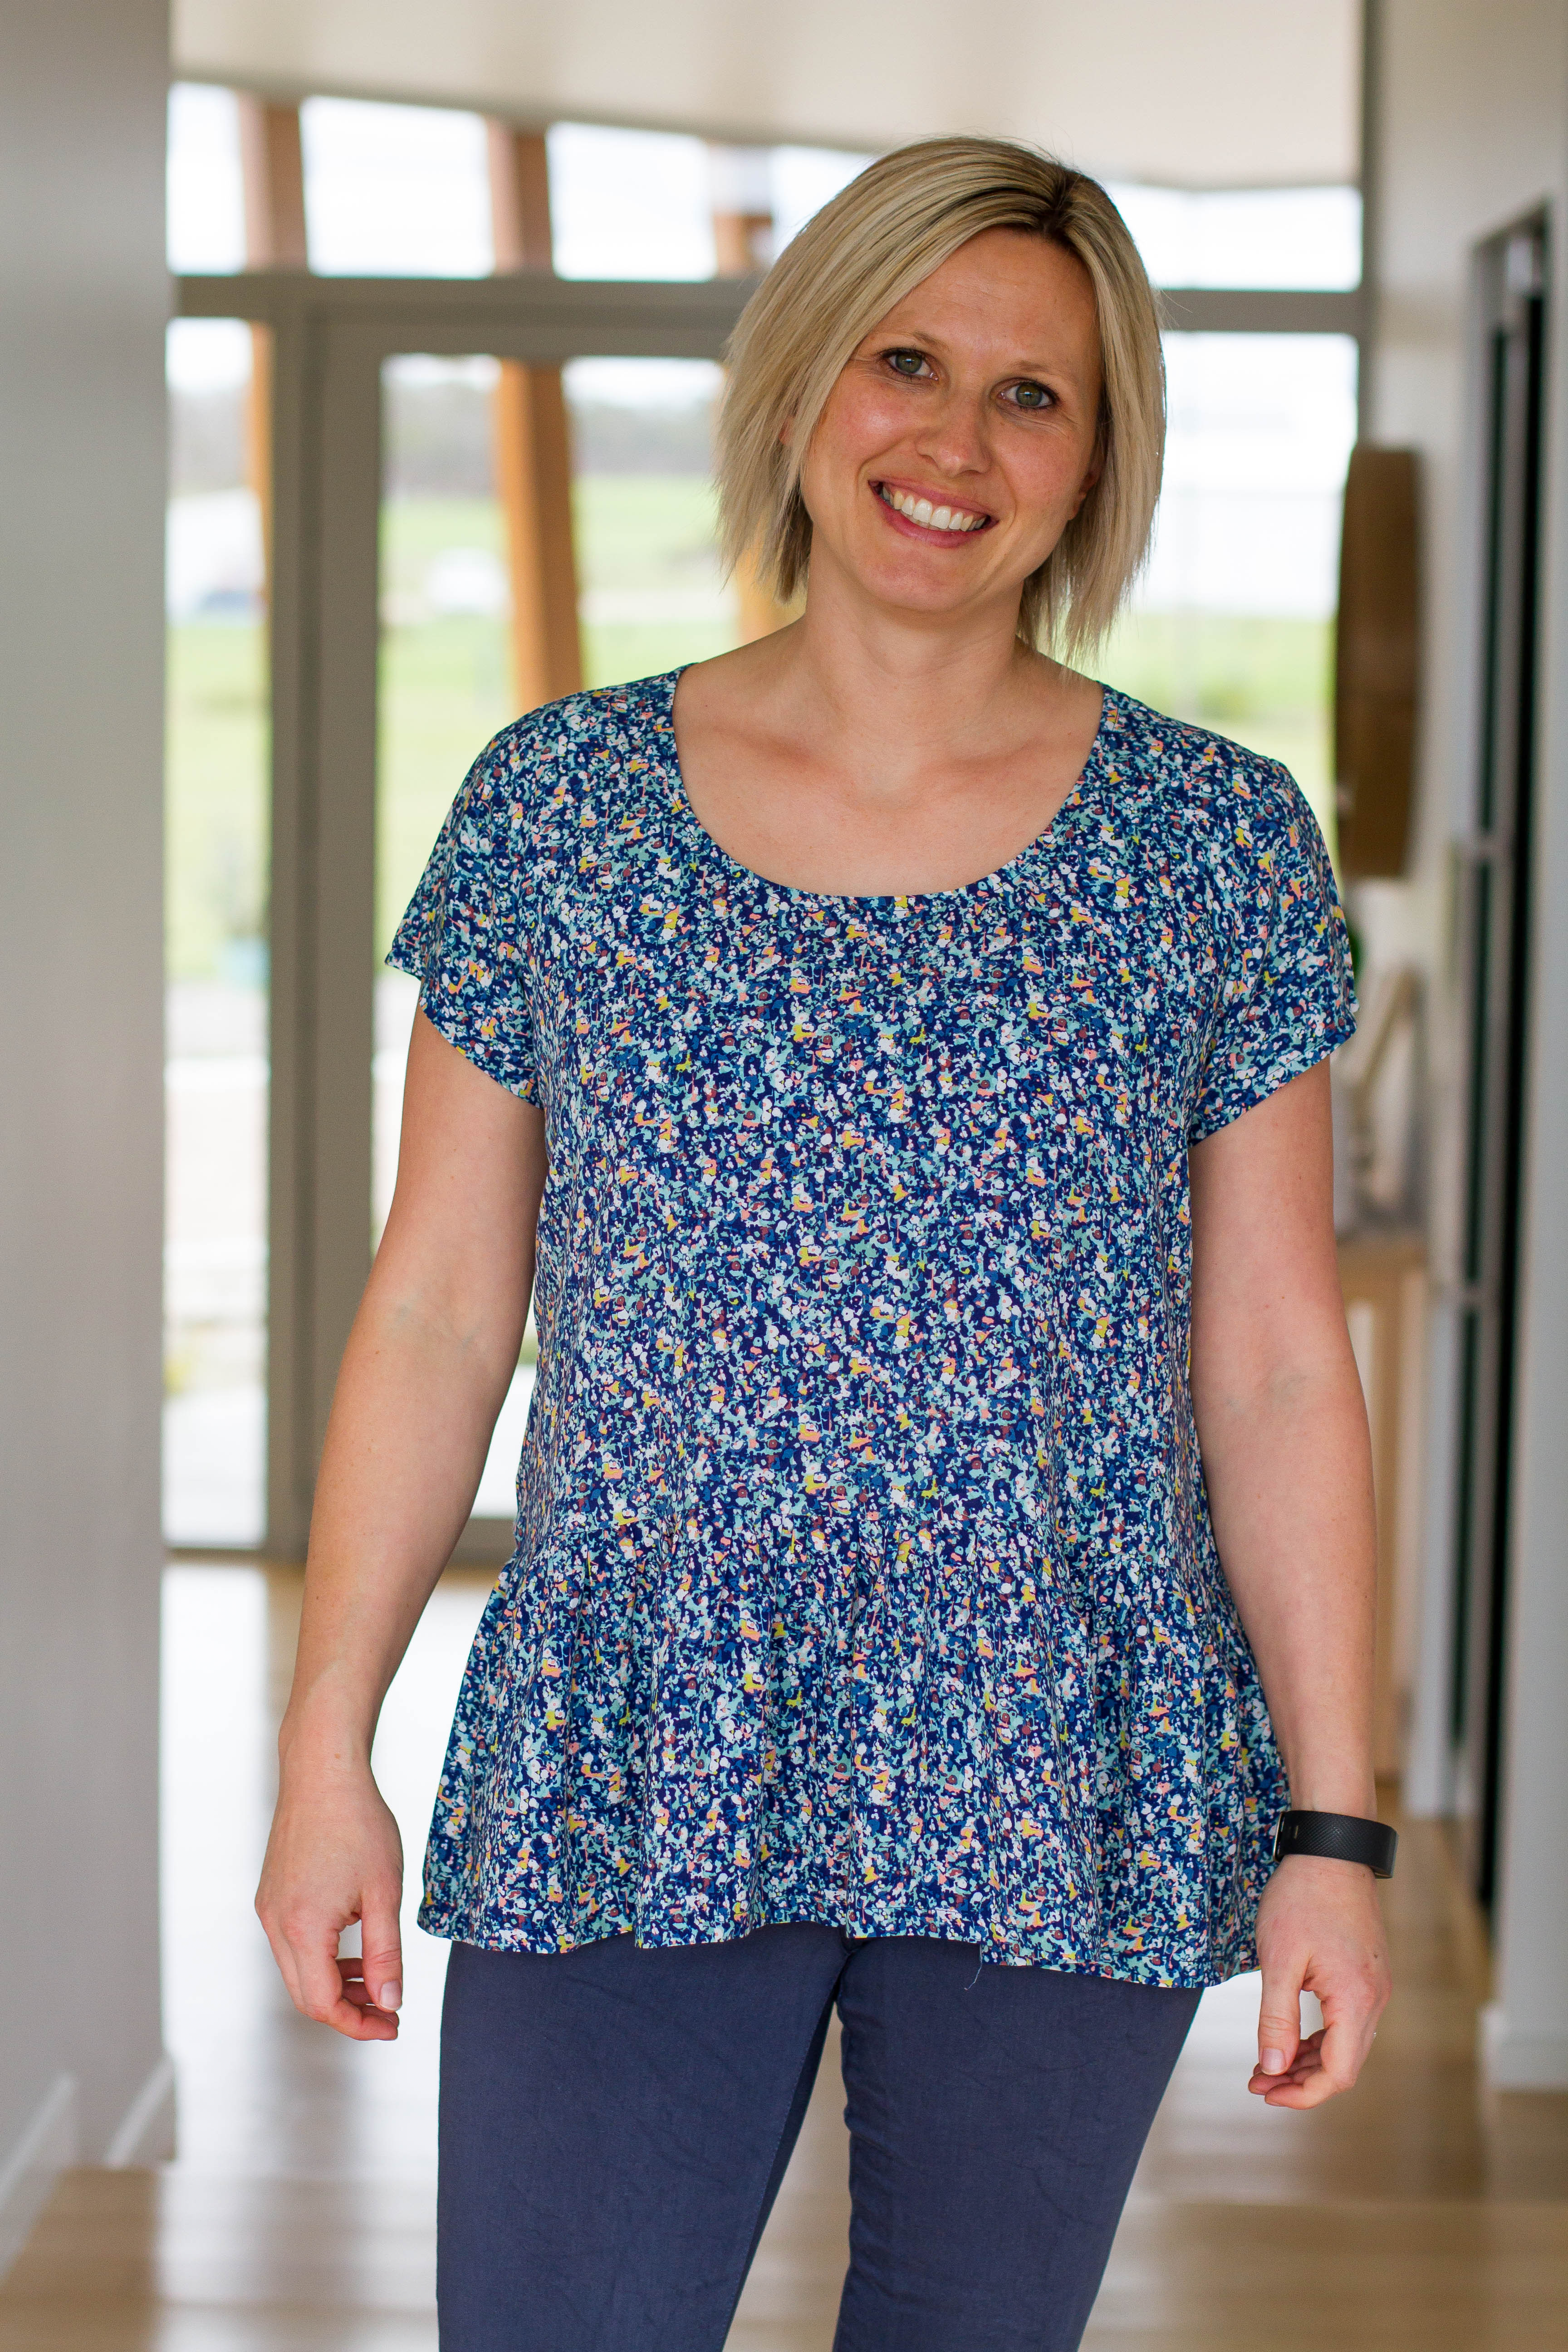
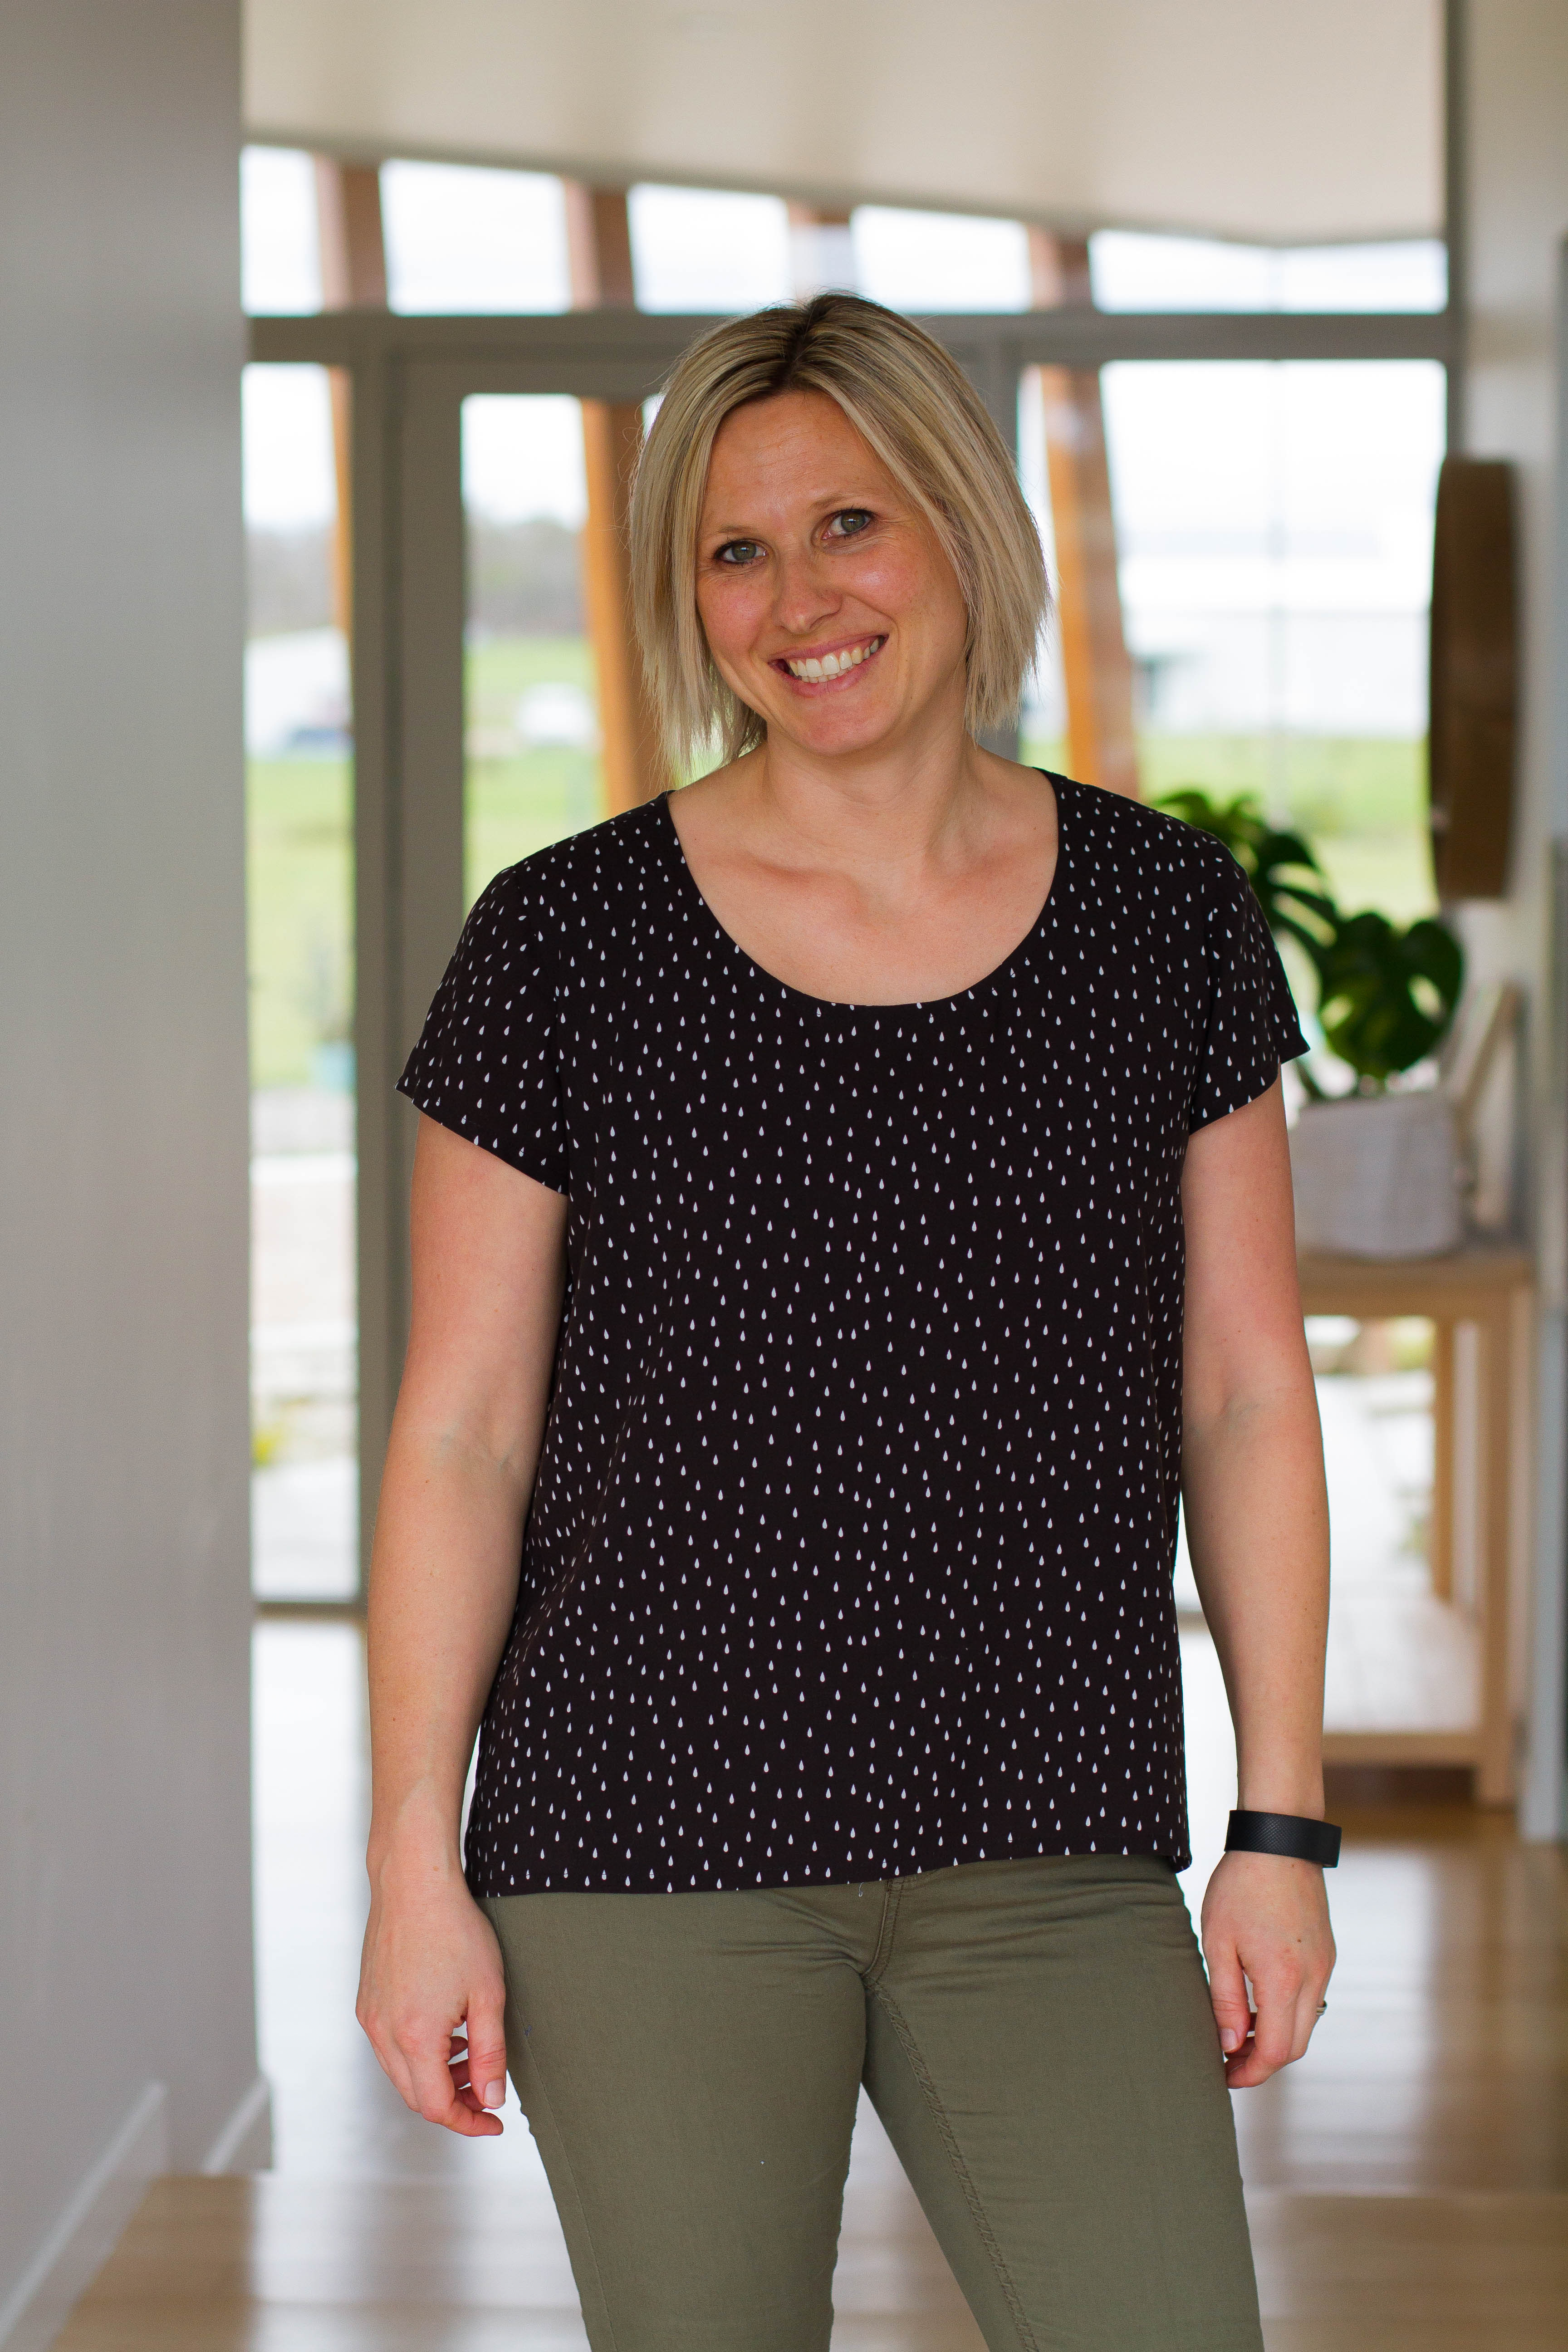
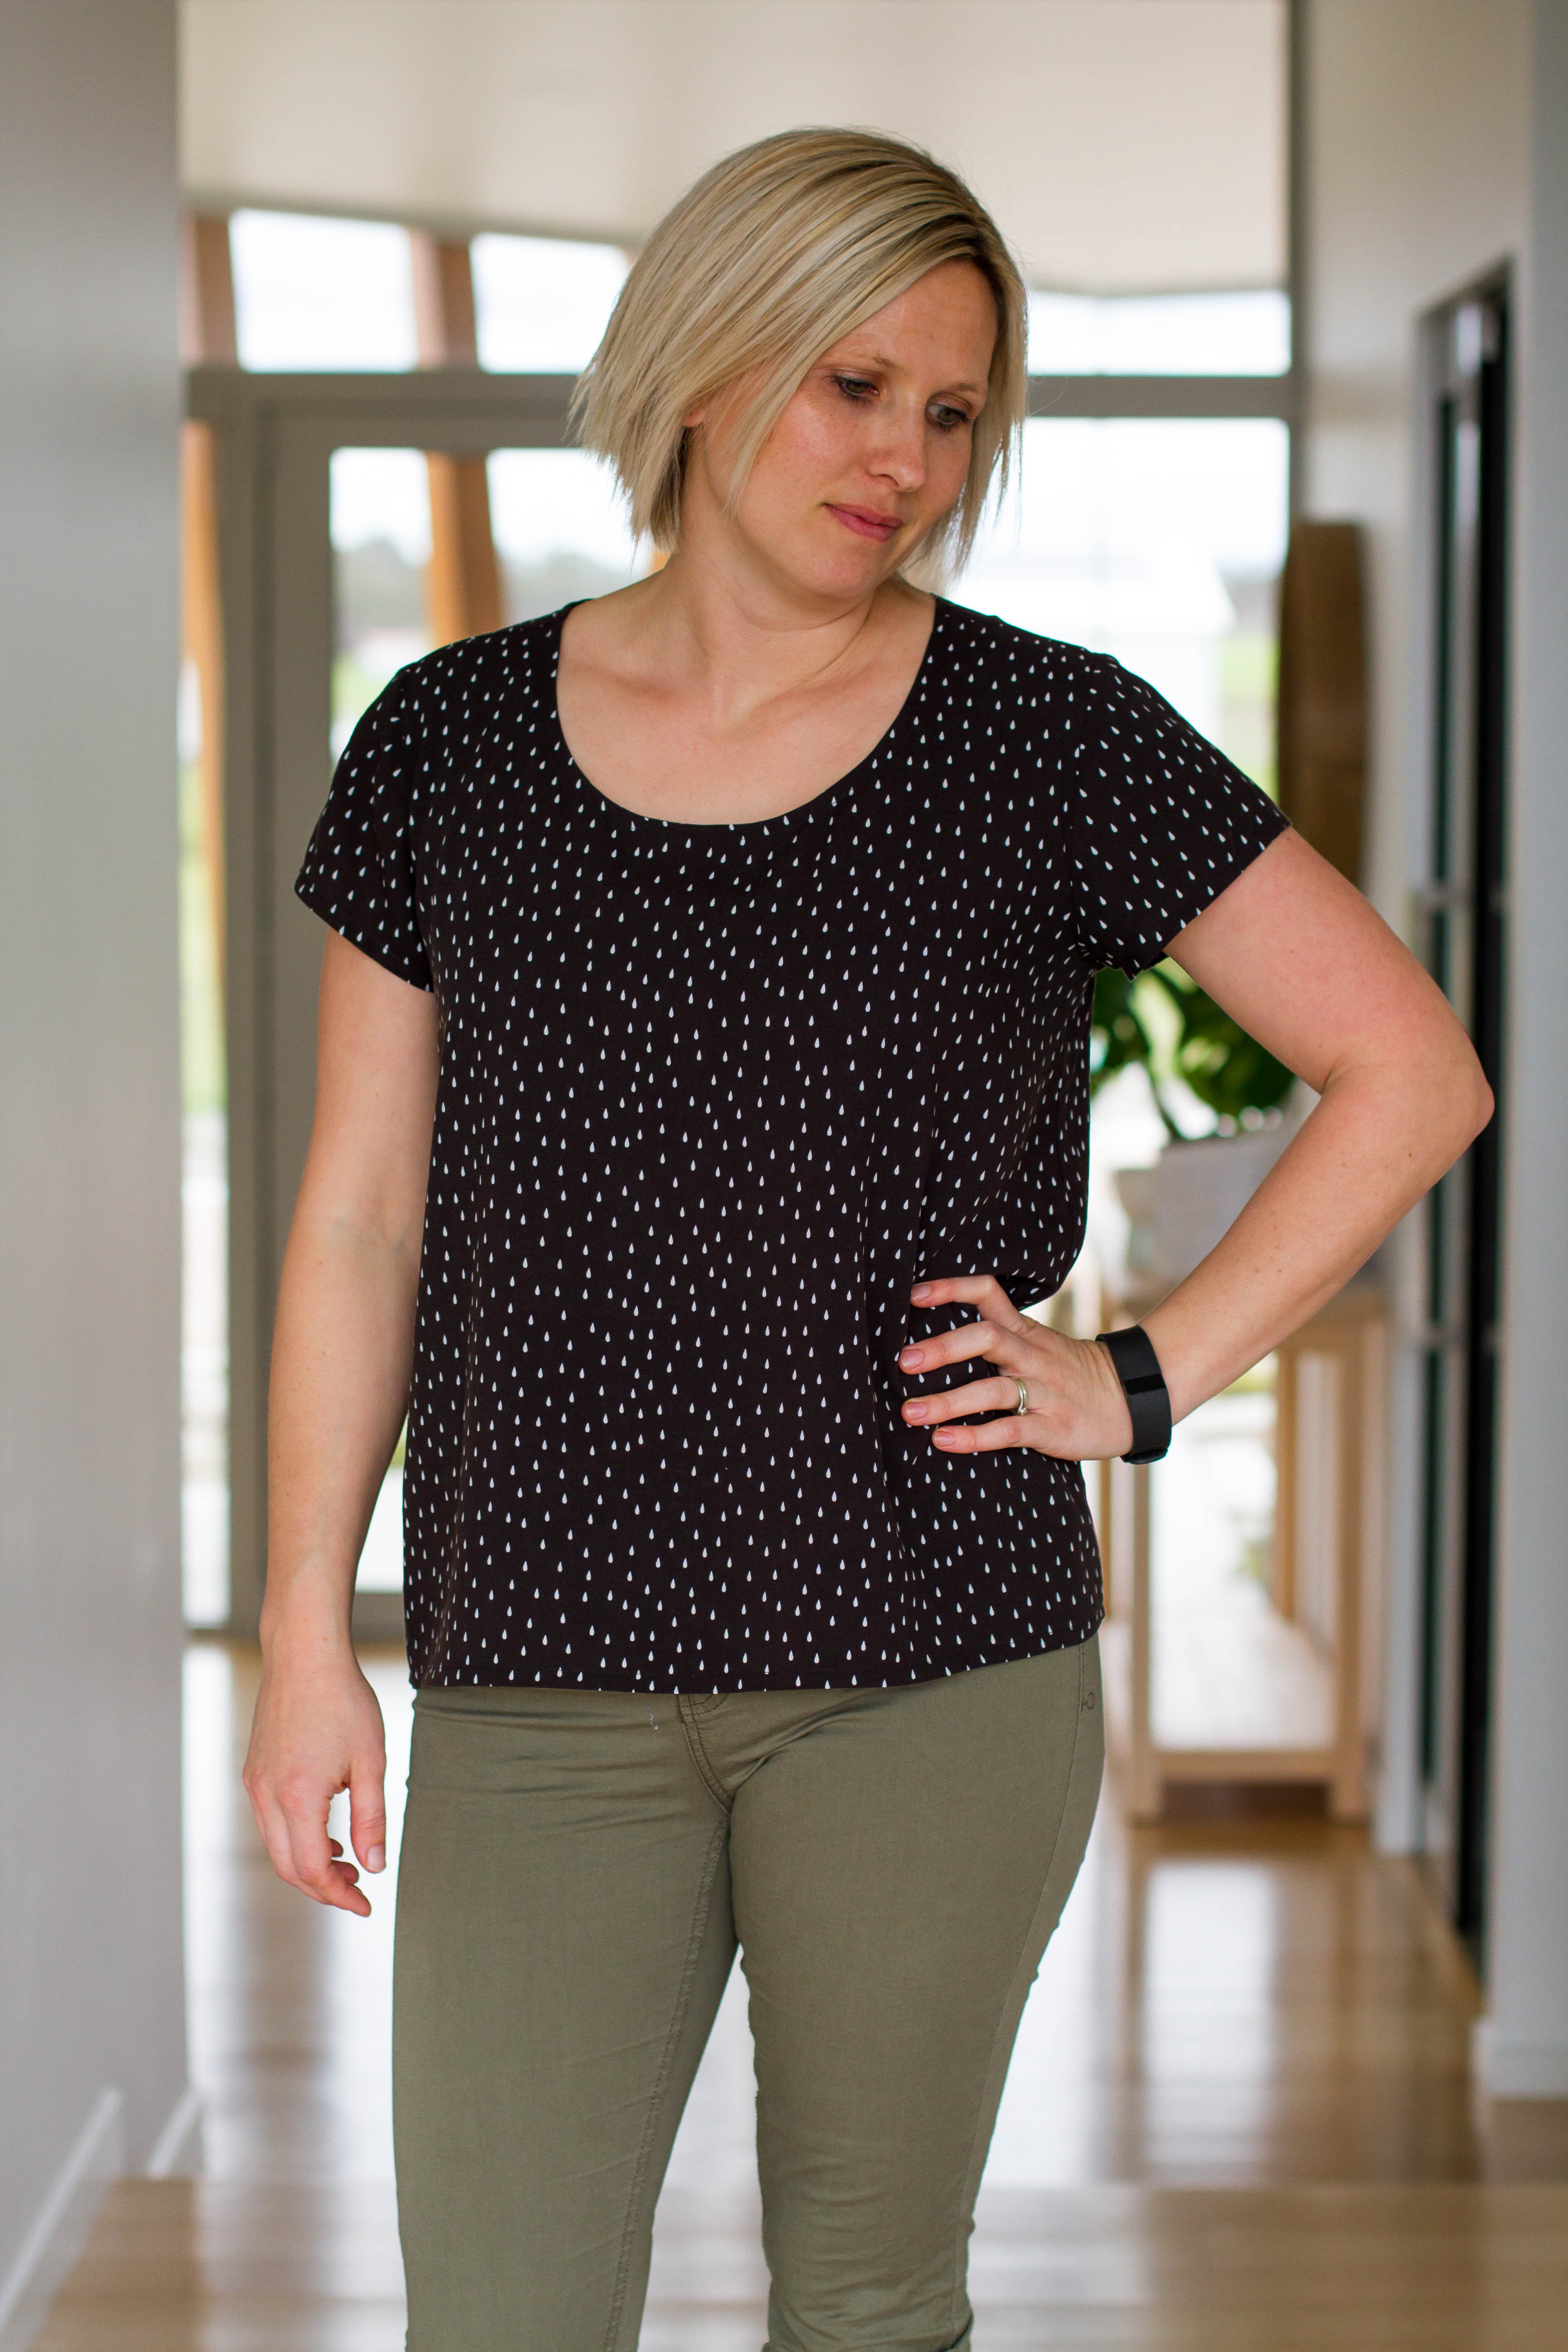
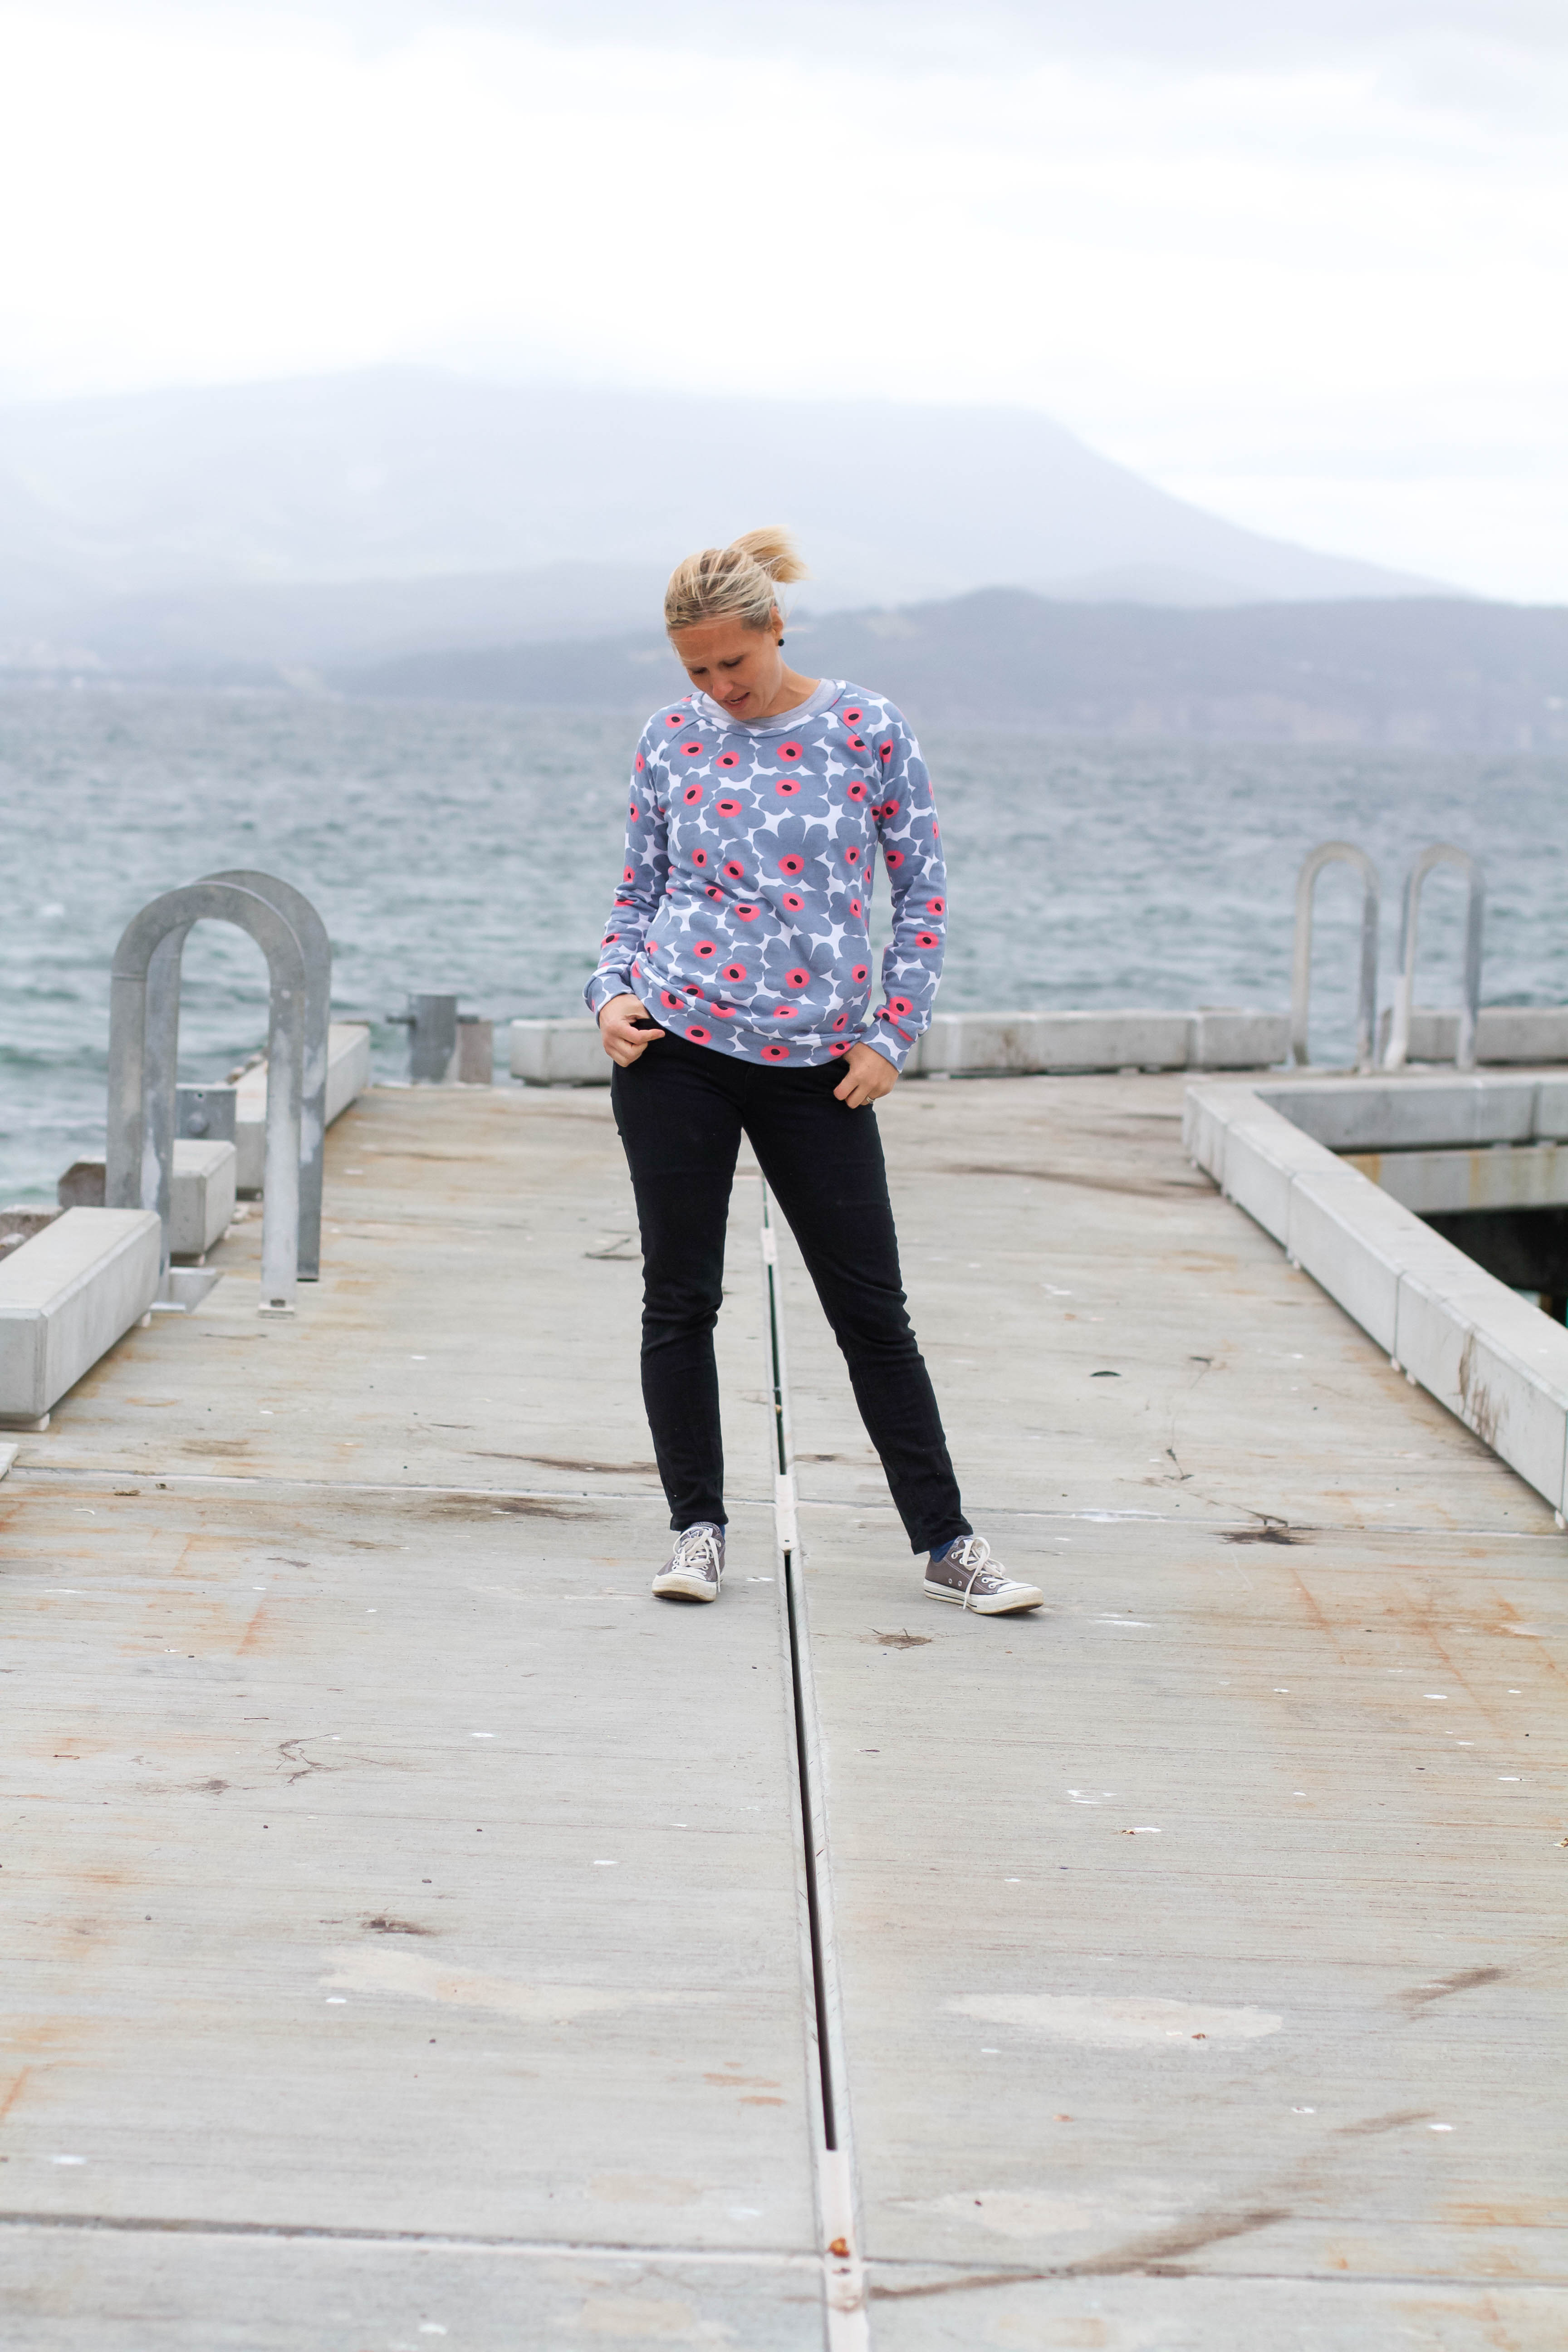
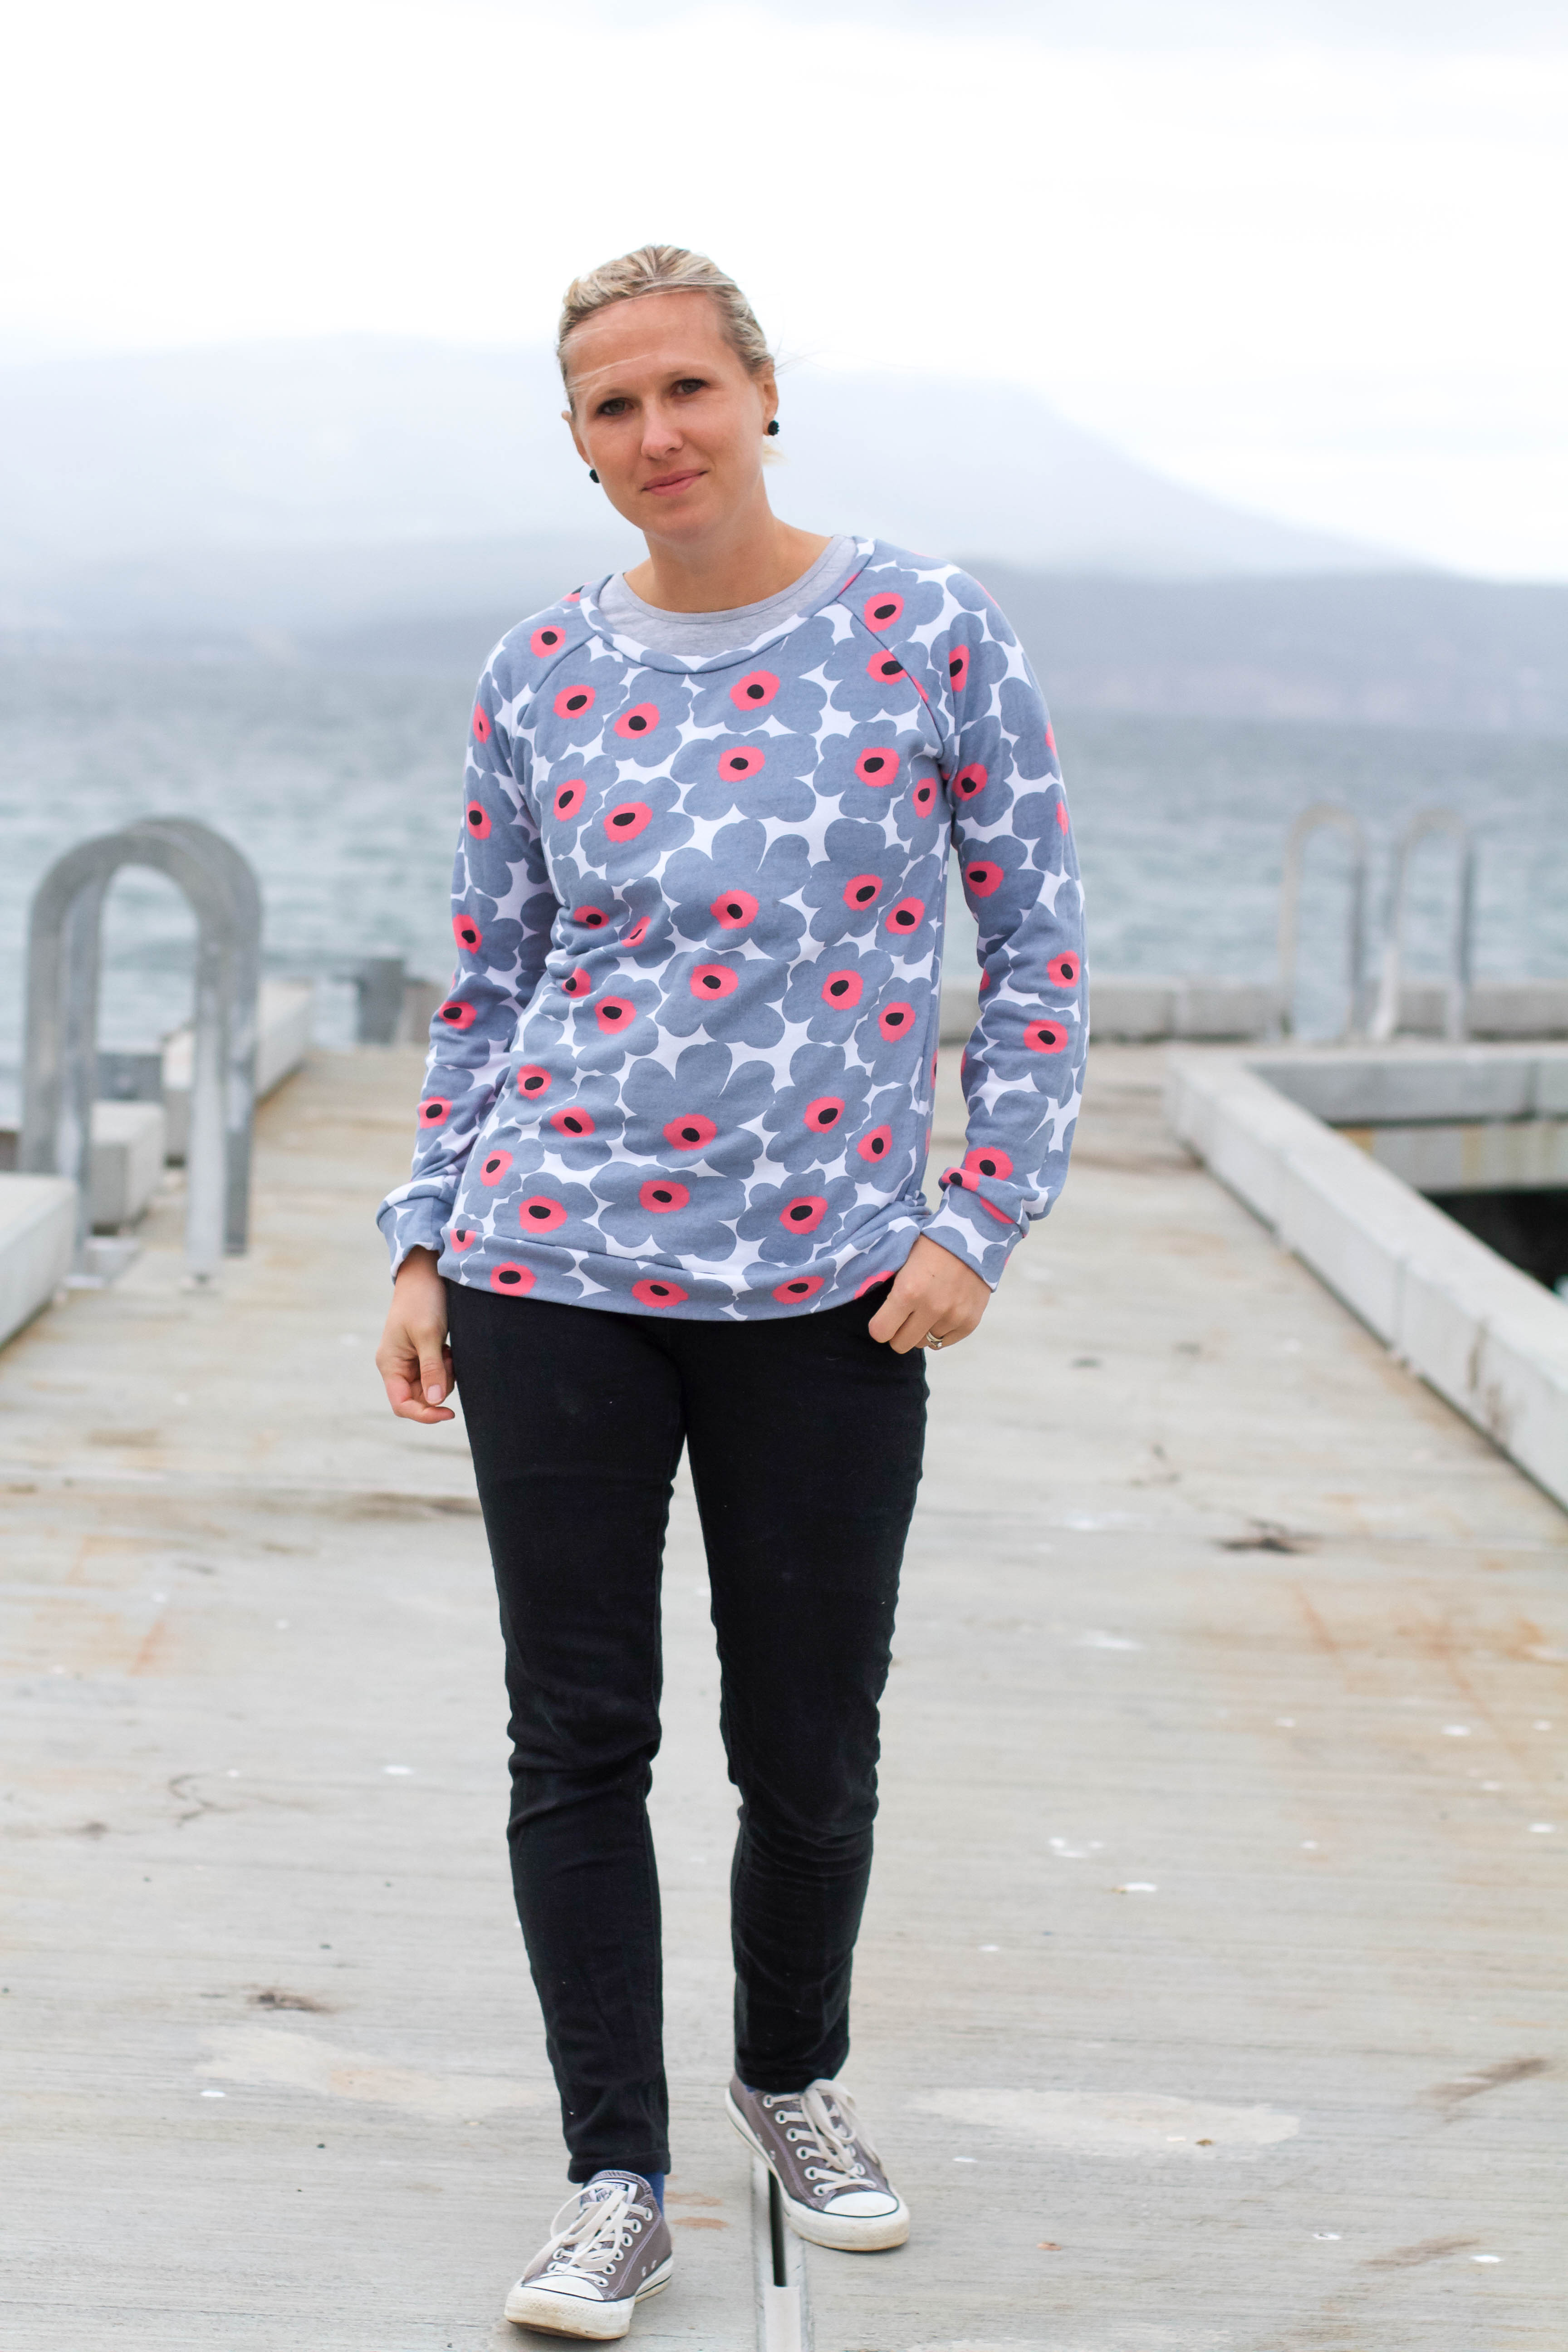
For the blog tour I choose to make myself a couple of tops using the Drops in Black & White and Flowers Blue fabrics. I love how each of these prints are busy enough to keep them interesting but subtle enough to wear without feeling like you are drawing too much attention to yourself (did I just totally contradict myself there, or what?!) I thought that I would take the opportunity to sew something different for myself and had a flick through my not-yet-used pattern stash. After a bit of thought I decided to use the Grainline Scout Tee as my base pattern. This pattern has been around forever but it wasn’t until just recently that I decided I liked it…and now that I have made a couple I have decided that I love it!! It is a super speedy sew AND is really easy and flattering to wear. 

I made the black tee first, sewing a size 6 and using the pattern without any modifications. Completely happy with the results, but then I remembered seeing a few peplum variations of the tee around and knew that the See You At Six fabric with amazing drape would work perfectly in a peplum so decided to give a peplum-hack a go. I didn’t think too much about it, just cut the main body of the tee shorter then cut a big strip of fabric for the ruffle about 1.5 times longer than the bottom hem of the shirt. I did have a little play around getting the fit right – I think I ended up grading in the side seams of the tee and ruffle because it was just a bit too wide and frumpy with all of that extra width at the bottom but other than that it was really easy. I wasn’t sure I loved the look on me to start with – I’m about 2 years late to the peplum party, this being the first I have ever made (or owned!) and my husband did ask what the heck was going on with that little skirt at the bottom of my top, haha! But after wearing it a couple of times, I am sold. And when I wore it to school last week (I’m primary school teaching now) I was complimented by a large number of skirt-loving girls, so it is a winner in the eyes of the little ones!

If you love sewing for yourself, or want to start but don’t know what to use – then I recommend this gorgeous fabric. And to make your purchase a little easier, MaaiDesign is offering you a 10% discount on the See You At Six collection until the 30th September 2016! Simply use the code: seeyouatsix


12th of September: Shelley from Bartacks and Singletrack

13th of September: Kate from Sewing With Kate

14th of September: Nicola from Create.nic

15th of September: Anna from Blogless Anna

16th of September: Caroline from Usefulbox

17th of September: Suz from Sewpony

18th of September: Allison from The Tall Mama

19th of September: Toni from Make It Perfect

20th of September: Suzanne from Dressed in Pretty Little Things

21st of September: Natalie from Sew Outnumbered

22nd of September: Jenya from While She Was Sleeping

23rd of September: Maaike from MaaiDesign

Indie Sewing Patterns

.A Mini Super Tote.

IMG_9816IMG_9860IMG_9843IMG_9853IMG_9838IMG_9829IMG_9856 IMG_9825
Lately when we are going places, Lil seems to be carrying around a little collection of things with her…drawing supplies, drink bottle, a book to read,etc. It is cute seeing her moving into a more independent phase and wanting to take care of herself a little more.

The problem is, that I was always left lugging around her belongings! Or they would end up being left in the car or scattered where ever we were visiting. Such a pain! Time for a grown-up bag? I think so!

I looked around for awhile but couldn’t find a pattern that would be good for what she needed. Nothing too fancy, just a big compartment inside, some way to close the bag up and maybe an outside pocket or two. All of the patterns that I could see were too big or too complicated or not really suitable for an 8 year old. I was actually looking for something similar to the Super Tote bag by Noodlehead that I had sewn for myself previously. Then I realised that the only problem with the Super Tote was it’s size and…duh! Shrink it!

So I did a bit of quick measuring and decided (well, crossed my fingers!) that if I printed the pattern with the scaling set to 80% (instead of 100%) it would turn out the perfect size – and it did! It was such a simple modification. The only part of the pattern I had to use my brain to work out were the handles (because there isn’t a pattern template piece for these) but that wasn’t too difficult.

By printing the bag at 80%, it ended up 12″ tall, 11″wide and 4 1/2″ deep. I cut the handles 27″ long (for future reference, or if you want to sew a mini version and don’t want to use your brain!) These measurements would actually make a nice sized smaller Super Tote for an adult (probably with longer handles though) if you like the look of the bag but don’t need it quite so big – because the original is a really big bag!

For Lil’s bag, I kept the outside pocket – not sure if she really uses it but it might come in handy one day! And I omitted all of the interior pockets because I thought it would be more functional just having one big open space inside rather than pockets that might get in the way and probably wouldn’t be used. When I was choosing fabric, I put a few different combos together for her and she made the final choice. I love the bright, cheery colours and prints she choose.

It was fun to sew a bag again, it has been awhile and I forget how much I enjoy the process and seeing it all come together. I think I need to sew a new bag for myself…mine are all getting a bit ratty, but which pattern to choose?!

SUPPLIES: Noodlehead, Super Tote pattern // Dear Stella, Bay Breeze, Watermelons in pink // Ann Kelle, Remix, Bright Crosses // Heavy weight denim

Indie Sewing Patterns

.Carry-All Pincushion.

IMG_9244 IMG_9254 IMG_9249 IMG_9246 IMG_9245When Anna’s book arrived in my letterbox last year, the first thing I wanted to make from it was a pincushion. Yep, out of all the awesome projects in the book it was the pincushion that I needed in my life – ha!

It’s nice to take a break from garment sewing once in awhile and get back to the small scraps of fabric and playing with crazy amounts of prints and patterns to create something useable. Most of the fabrics I used on the pincushion are leftovers from making big cushions for my loungeroom couches! They are mostly from Spoonflower and I only had small scraps left after making the cushions so was happy to give them another job to do.

The actual pincushion construction was nice and straight-forward. This is the mother of all pincushions, I wanted to make it because I am forever digging around in my sewing boxes looking for pencil cases and little tools floating around on their own. Now that I have this big pincushion, I can keep all of my “most-used tools” in one spot and save myself time at the sewing table. Truth be told, I actually don’t use it as a pincushion as much as a place to store needles, safety pins, rulers, markers, labels, etc. I find it a bit too big to move around with me (from the sewing machine, to the floor, to the ironing board, etc.) so still take my little pincushion with me from place to place. Which is actually falling apart so I will probably need to make something smaller to replace it soon! 

If you want to make one for yourself, check out Anna’s book, Handmade Style here (I ordered my copy from Book Depository). And there are lots of other great projects in the book too that are on my list to sew in the future!

Indie Sewing Patterns

.Lotsa Flowers Lane Raglan.

IMG_5087 IMG_5089 IMG_5104 IMG_5131

I feel kinda weird posting these photos because they were taken almost a year ago when we stayed at The House On The Hill last Easter (an awesome Airbnb by the way, if you are looking for something cool to stay!) My computer crashed a few weeks later and I lost pretty much everything on it – including thousands of photos that I had never backed up (sad and ridiculous!) but a handful of these pics we took turned out okay and I’m not sure why they haven’t made it to the blog yet?

The pattern is the famous Lane Raglan by Hey June Patterns. I made another one similar a month or so earlier and loved it (blogged here) so knew that adding another to the wardrobe would go down well. And it did. These Lane Raglans (plus one other I haven’t photographed yet) were my Winter staples last year. Comfy and cosy, I wore them with casual skirts, jeans, trackies – and even to bed sometimes! I like to dress up, but I REALLY like to be in my comfy clothes all day long – especially when it is cold outside.

The fabric is a french terry knit I bought online a long time ago. In hindsight I actually think it is a Marimekko knock-off, which I feel bad about, but it wasn’t until someone pointed it out months later that I realised. Anyway, it is pretty cool. The shop I bought it from isn’t around anymore so maybe they went under because of their dishonesty?!! I sewed a size medium again, (usually I would wear a small) because I wanted it to have more of a slouchy-sweater look. I do need to sew myself a size small Lane one of these days and see how I like it as a tee though. 

Not really much else I can add tell you about this one…the Lane Raglan is a pattern staple for me though. One that I know I will keep coming back to again and again!

Indie Sewing Patterns

.Sailor Top.

IMG_8989IMG_8991IMG_8995IMG_8996IMG_8997I’m baaaaack! Since I shared my last sewing project (that cute watermelon Joey dress) life has been busy, busy, busy! We took Tommy to Melbourne for a couple of weeks in November where he had open heart surgery. It was scary and confronting and draining but he was a little champion and is doing awesome now. Then there was end of school, Christmas, 5 weeks of visitors, and Summer holidays! We have certainly had a fun-filled, fast-paced 3 months and I had a decent break from the sewing machine. A sewing break is always good for me though, I come back ready to get stuck into things and am part-way working through a new pattern at the moment which is making me very happy!

I did manage to sew up a new top though a couple of weeks ago. A bit of selfish-sewing is good for the soul and the Sailor Top from Fancy Tiger Crafts has been patiently waiting for me. This was a good project to pick to break the sewing drought…simple enough to complete in an evening and I’ve seen it sewn many times so knew it would be a winner.

I used a cotton voile from Cotton + Steel and love the soft pastels for Summer wear. The construction of the top was very straightforward, I choose to take 1 1/2″ off the length of the top though because I wanted it a bit more cropped than the longer length the pattern comes in. I think the shorter length is a more flattering for me, longer and it would have felt a bit maternity-like. The only thing I would change next time I sew this pattern is to shape the side seams in just a bit to give my waist some definition. You can see in the second last photo above how wide the top is and the last photo I am pulling it in at the back and prefer the more fitted look. An easy fix though and it certainly won’t stop me from wearing the top I have already made, this one will looks better with more fitted skirts/pants.

All in all, the Sailor Top is a good little pattern. Easy enough for all sewing levels and makes a great Summer top that can easily be worn with a jacket or cardi when the temperature drops.

SUPPLIES: Fancy Tiger Crafts, Sailor Top pattern // Cotton + Steele cotton voile, Sarah Watts, August, Stampede in mint