
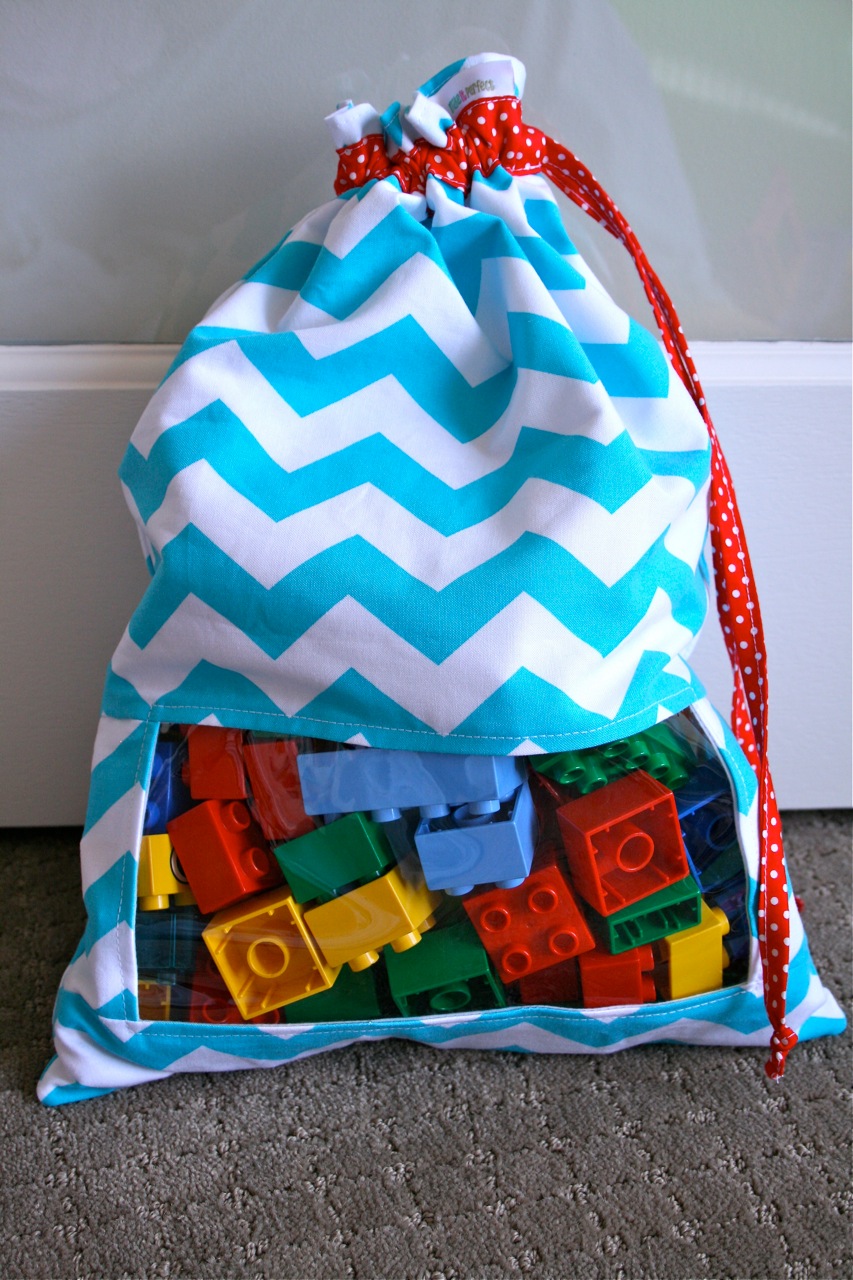
{Thanks for the Toy Sack-love 🙂 If you need an introduction to these toy sacks then read my previous post here.}
This is a long tutorial…stick with me…if you keep scrolling all the way down to the end, I’ve got a toy sack to GIVE AWAY! So if you aren’t a sewer or want a toy sack without any work, now is your chance to enter 🙂
To make a “Peek-A-Boo” Toy Sack, you will need:
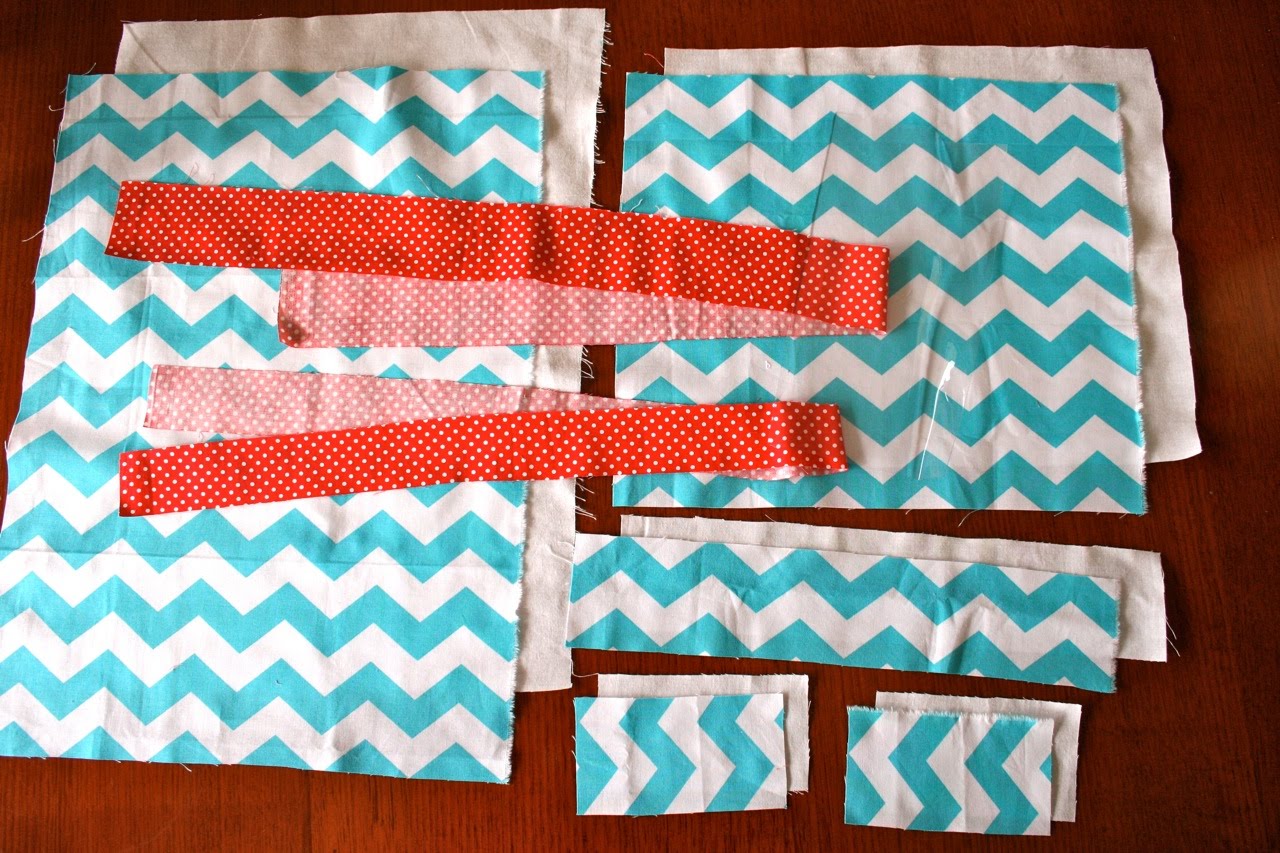
One 10 3/4″ x 12 1/2″ rectangle of fabric cut from exterior and lining for front of bag
One 2 1/2″ x 12 1/2″ rectangle of fabric cut from exterior and lining for front of bag
Two 4 1/2″ x 2 1/2″ rectangles of fabric cut from exterior and lining for front of bag
One 16 3/4″ x 12 1/2″ rectangle of fabric cut from exterior and lining for back of bag
One 4 1/2″ x 8 1/2″ rectangle cut from tablecloth plastic for window
One 1 1/2″ x width of the fabric (40″-44″) strip cut from contrast fabric for drawstring
One 2″ x width of the fabric (40″-44″) strip cut from contrast fabric for casing
FYI:
* Exterior fabric is blue/white zigzag
* Lining fabric is white
* Casing and drawstring fabric is red
* Plastic window is clear PVC “tablecloth” plastic – this comes in 3 thicknesses (from Spotlight), I use the middle thickness because it is strong but thin enough to use your regular sewing machine needle on.
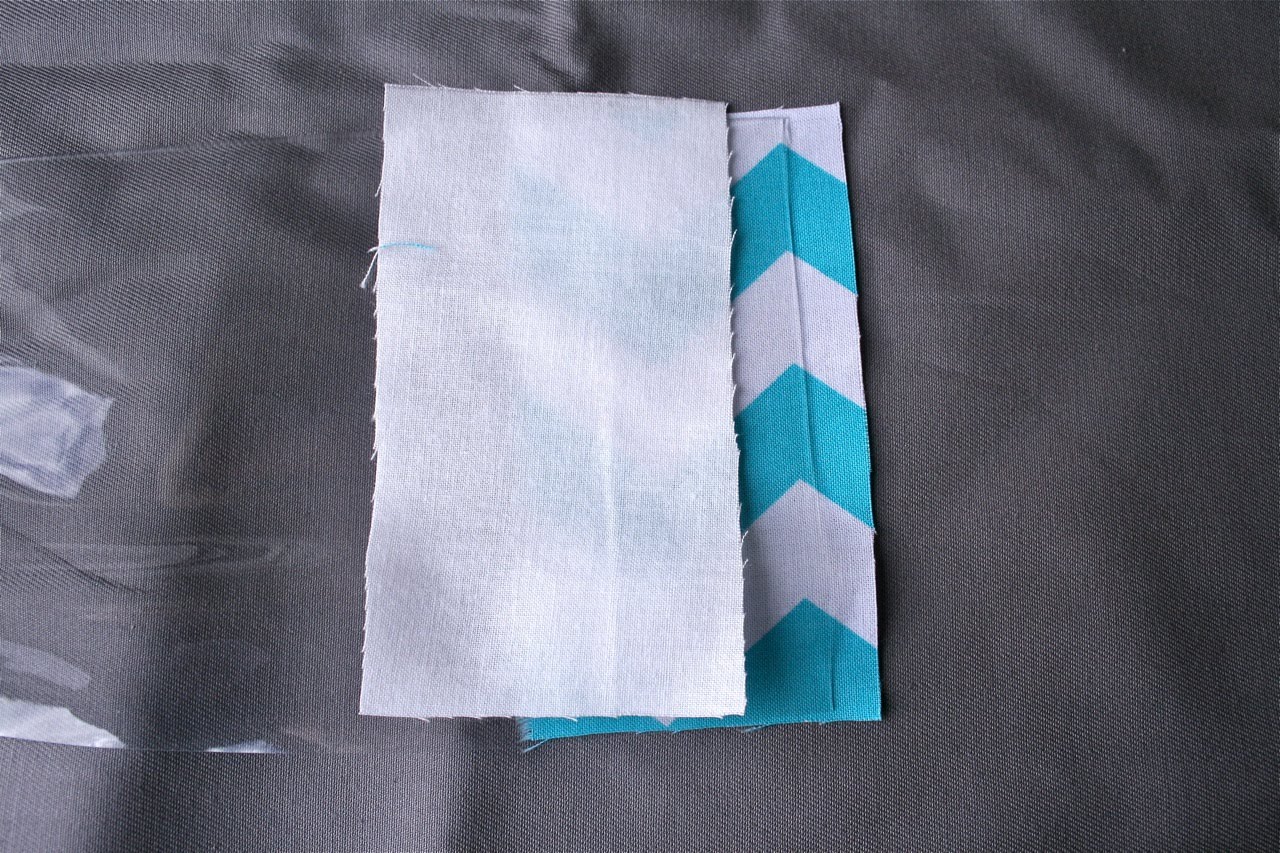
Step 1.
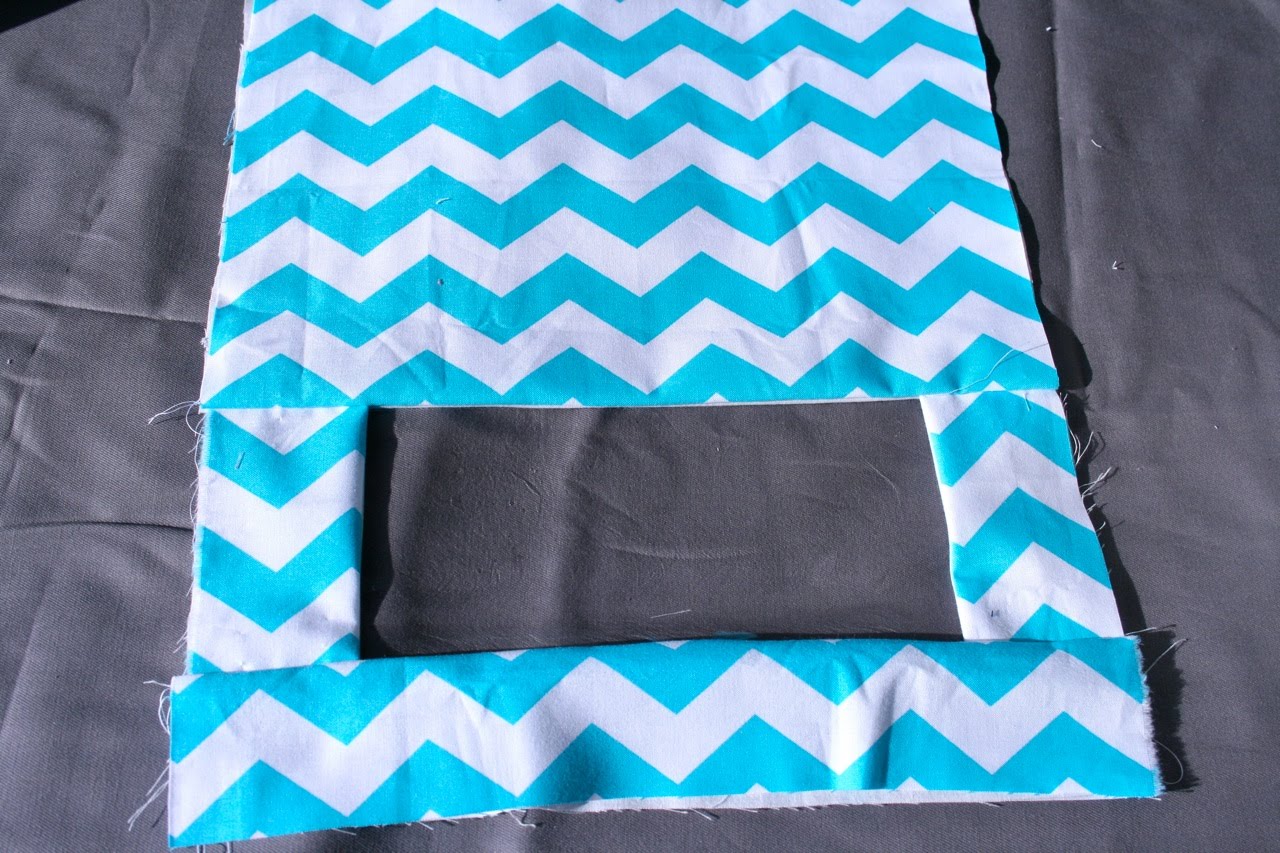
Take one of the 4 1/2″ x 2 1/2″ rectangles of fabric cut from exterior and lay on the table with right side facing up. Take your rectangle cut from plastic sheet and lay on top of exterior fabric, matching up short edge of plastic strip with long edge of exterior fabric. Take one of the 4 1/2″ x 2 1/2″ rectangles of fabric cut from lining and lay on top of the plastic sheet with right side facing down. Match up raw edges (the plastic sheet should be sandwiched between the exterior and lining fabrics). Using pins on the plastic sheet will make holes, to hold in place, use a few paper clips along the raw edge.
Sew together along paper clipped edge, using 1/4″ seam.
Repeat to attach other 4 1/2″ x 2 1/2″ rectangles of fabric cut from exterior and lining on the opposite short edge of plastic sheet. Fold fabric out so that wrong sides are touching. You can’t iron near the plastic sheet, so firmly press seams flat with your fingertips.
Step 2.
Take the 2 1/2″ x 12 1/2″ rectangles of fabric cut from exterior and lining and attach to the bottom long edge of the plastic sheet and side pieces of fabric in the same way you attached the side pieces. Match up raw edges and pin or paper clip into place. You can use pins where you are joining fabric to fabric.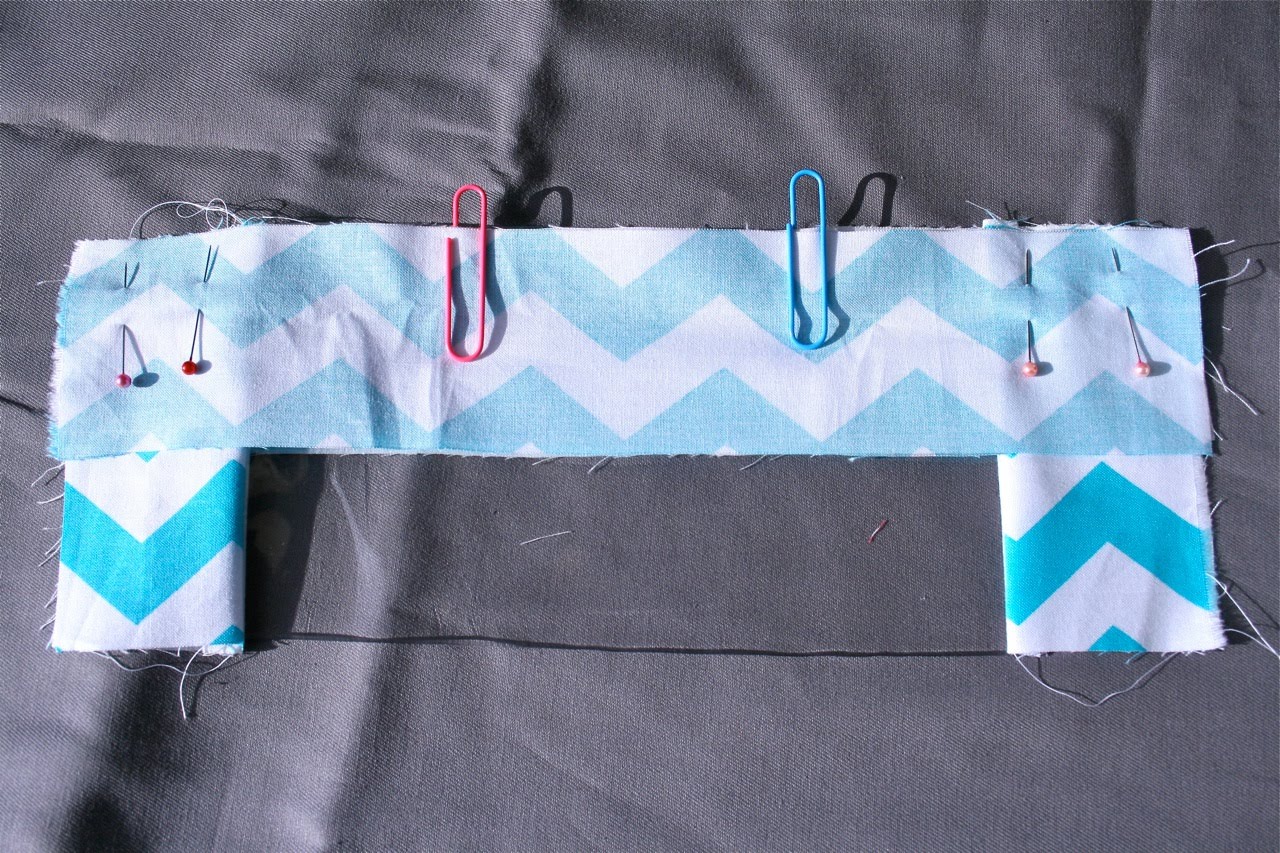
Sew along pinned/paperclipped edge using a 1/4″ seam. Open out fabric so that wrong sides are touching and firmly press seams flat using fingertips.

Step 3.
Take the 10 3/4″ x 12 1/2″ rectangles of fabric cut from exterior and lining and attach the top long edge of the plastic sheet and side pieces of fabric in the same way you attached the bottom piece. Open out fabric so that wrong sides are facing and firmly press seams flat using fingertips.
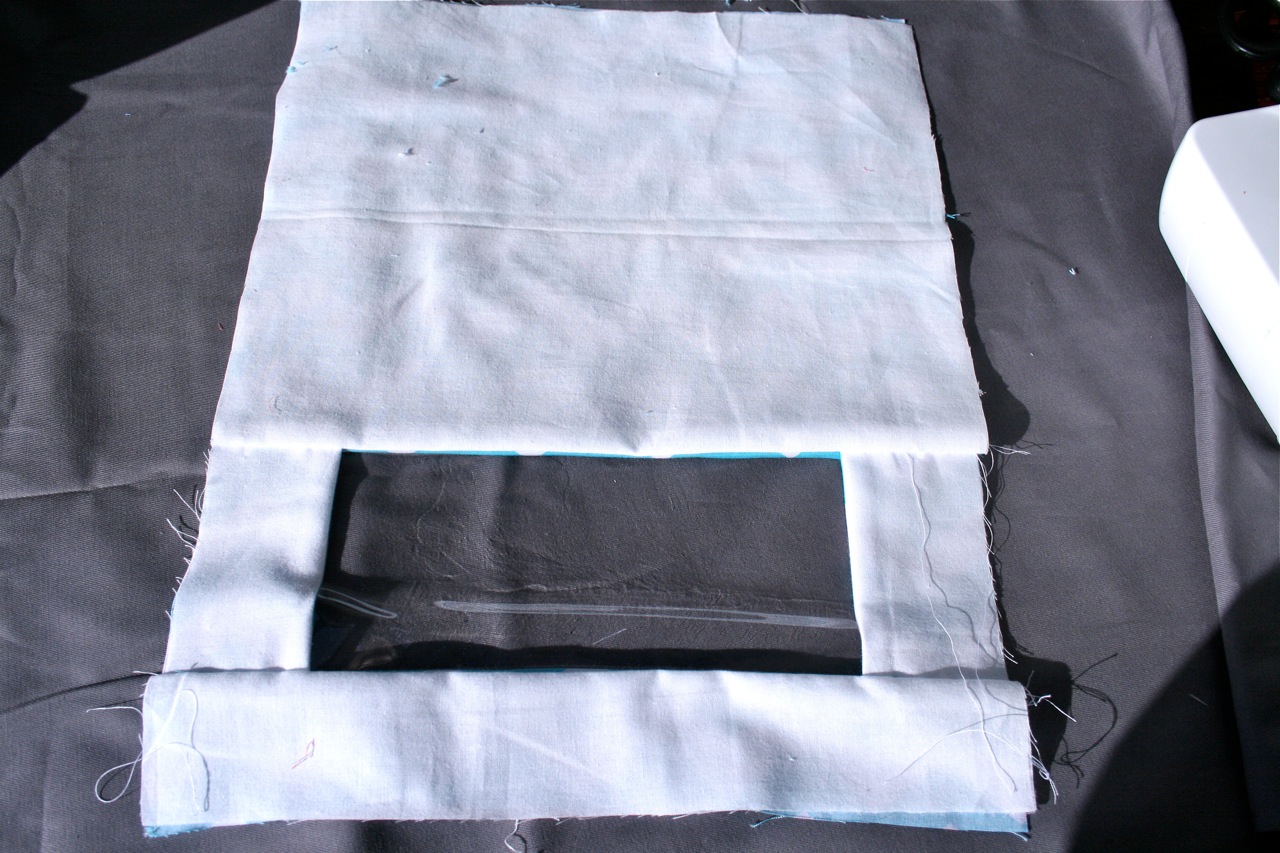
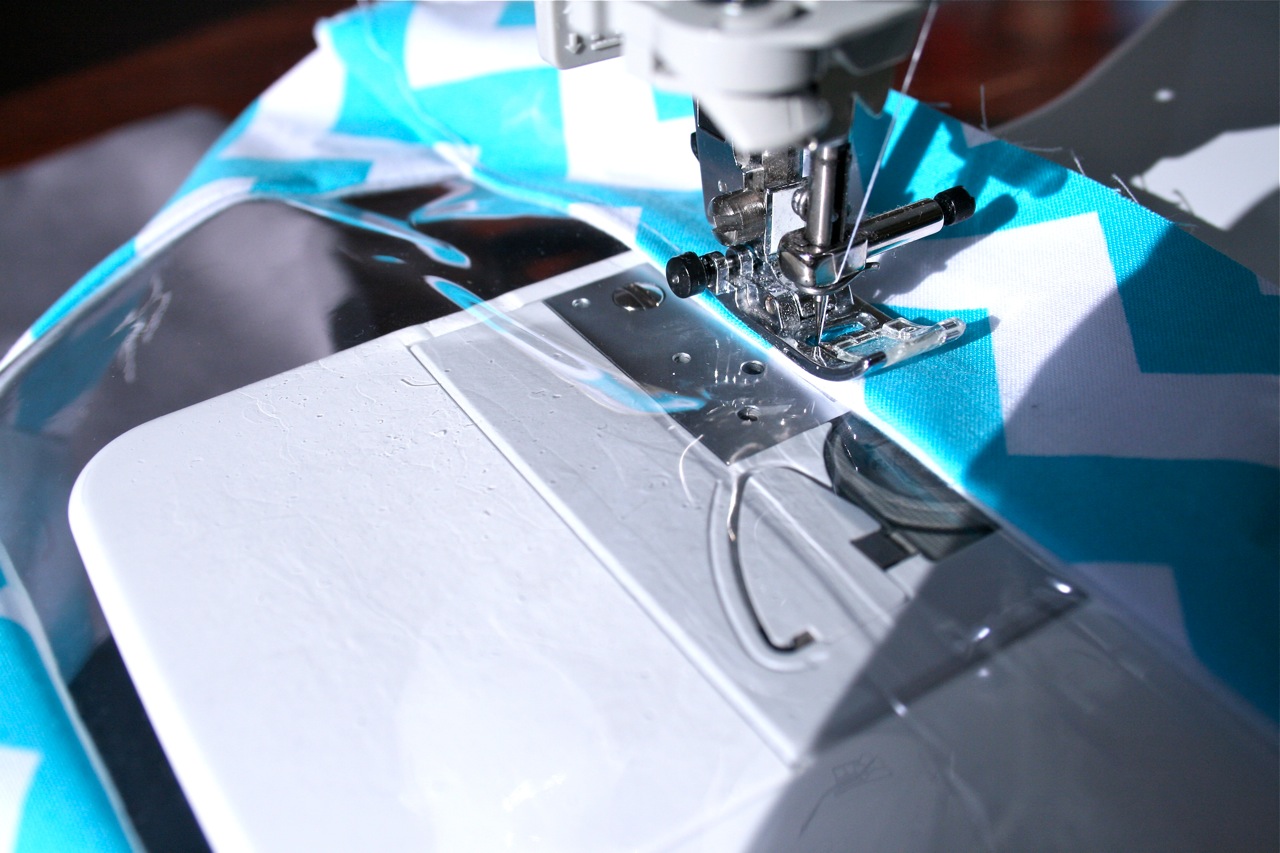
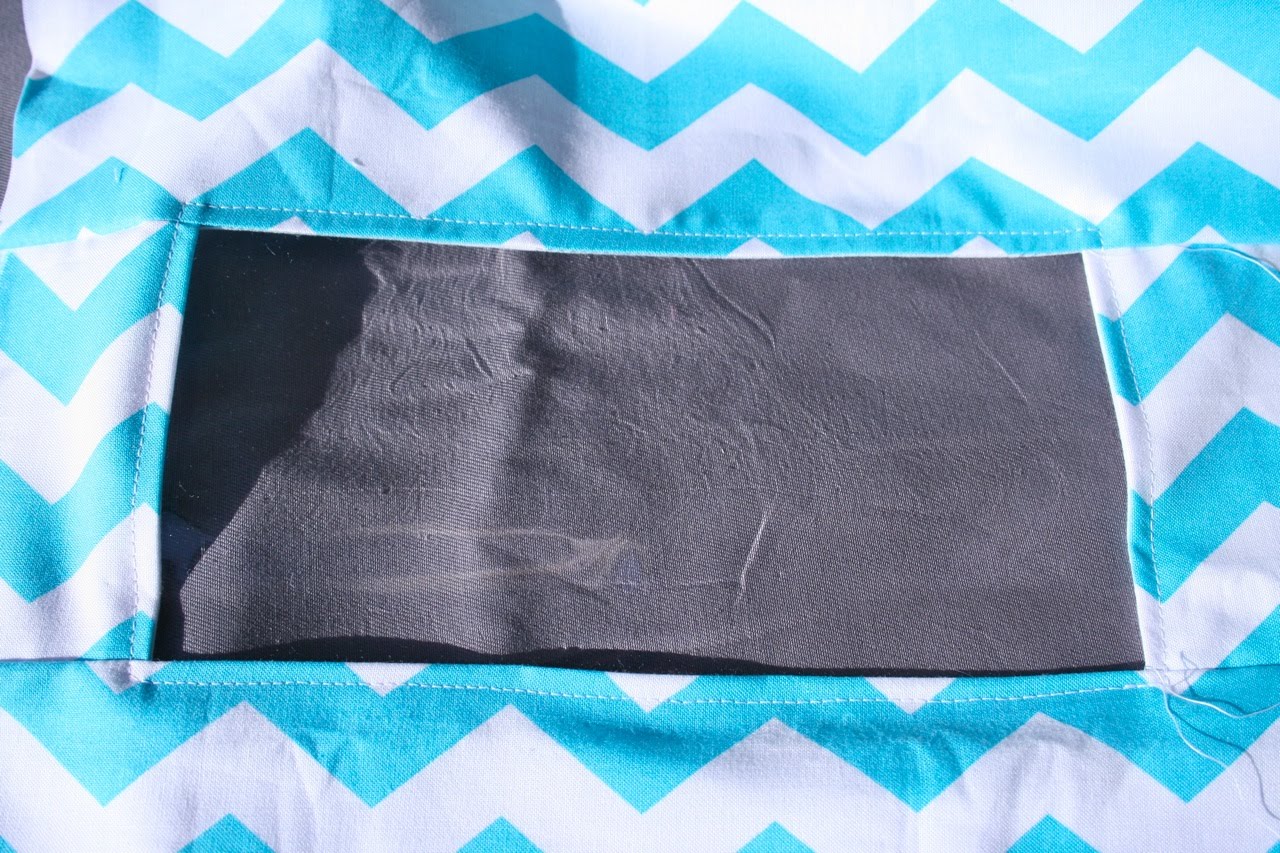
Topstitch about 1/8″ away from the edge around the entire window.
Step 4.
Make a hem at the top of the sack by taking front of sack and folding the right side of the top raw edge of exterior and lining fabrics under 1/2″. Take the 16 3/4″ x 12 1/2″ rectangles of fabric cut from exterior and lining and fold the right side of the top raw edge of both pieces of fabric under 1/2″.
Take lining back piece and lay on the table with right side facing up. Place front of sack so that exterior is facing up and front lining is facing back lining piece . Take exterior back piece and lay on top of the stack with wrong side up so that right sides of exterior fabric are facing.

Match up top folded edges of all four layers of fabric so that they are perfectly aligned (this will ensure a neat finish to the top hem of your sack.) Match up raw side and bottom edges of sack and pin into place. You should have four layers of fabric pinned together.

Sew together around pinned edge using a 1/4″ seam. Trim bottom corners off sack, making sure not to clip your stitching.
Turn bag right sides out, pushing lining fabric inside exterior. Match up top folded edge of sack and pin front exterior and lining pieces together and back exterior and lining pieces together. Sew around pinned edge, close to the folded edge of the fabric.

Step 4.
Take strips cut from contrasting fabric for casing and drawstring and make a center fold by folding in half, length ways, so that wrong sides of fabric are touching. Open out and fold both long raw edges of fabric in towards the center fold.
A much, much easier way to do this is to invest in a couple of bias binding makers…they are GREAT! Very affordable (I think about $10 each?) and make light work of making binding. The two I used for this project are made by Clover. The pink one – 18mm is used for the 1 1/2″ wide strip of fabric and is the size I use most often when making clothing. The blue one – 25mm is used for the 2″ wide strip of fabric. (Nicole Mallalieu has a great tutorial showing how to use these cool gadgets on her blog).
Set thin drawstring strip aside for now.

Step 5.
Take thicker strip for casing and fold one short raw edge under about 1/2″. Press.

Align folded edge of strip with side seam of sack. Position strip so that it is sitting about 1/2″ from top edge of sack and pin into place. Continue pinning until strip has made it’s way around the entire sack.
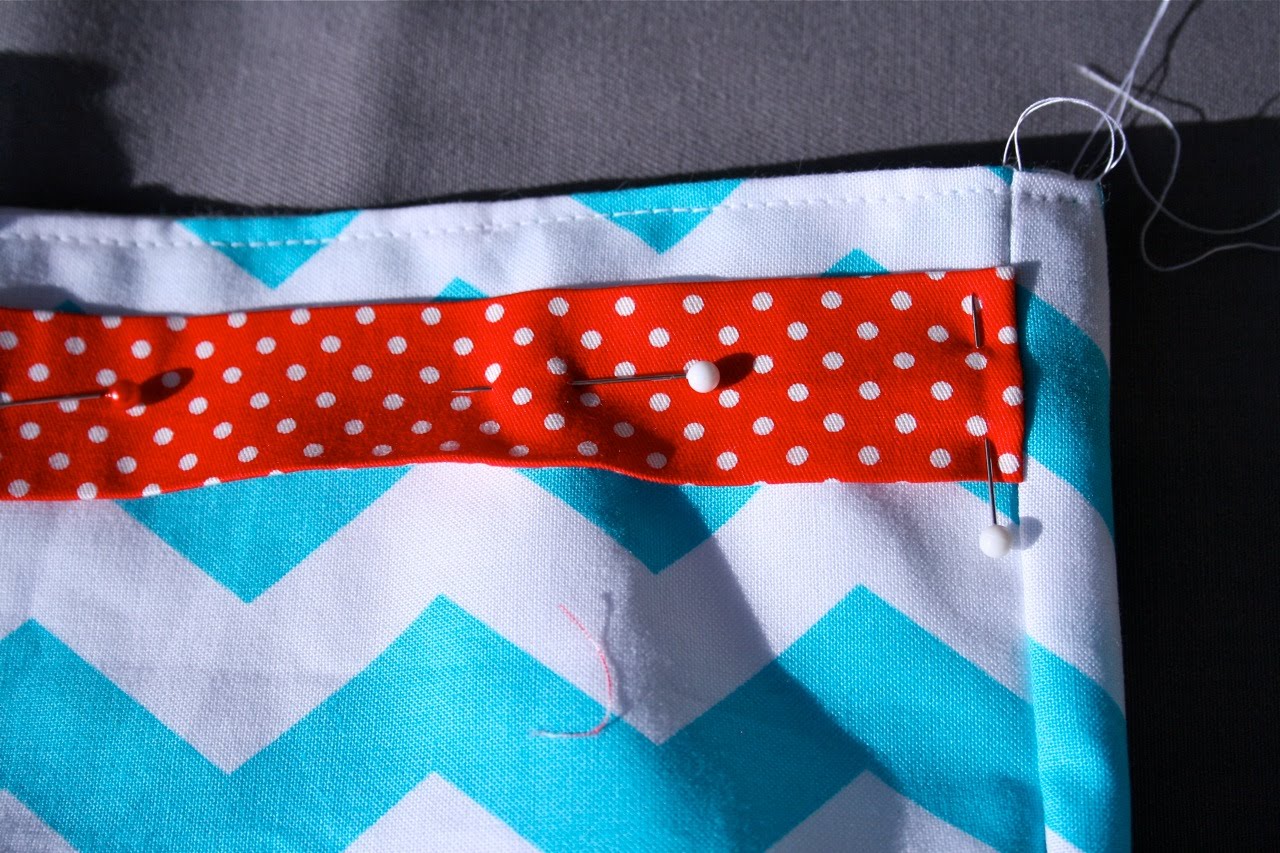
When you get back to the side seam you started at, trim the strip so that it overlaps the beginning of the strip about 1/2″, then fold short raw edge of the end of the strip under 1/2″ and align folded edge with the side seam of the sack. There should be an opening between the two folded ends of the strip, this is where you will insert your drawstring. Pin into place.
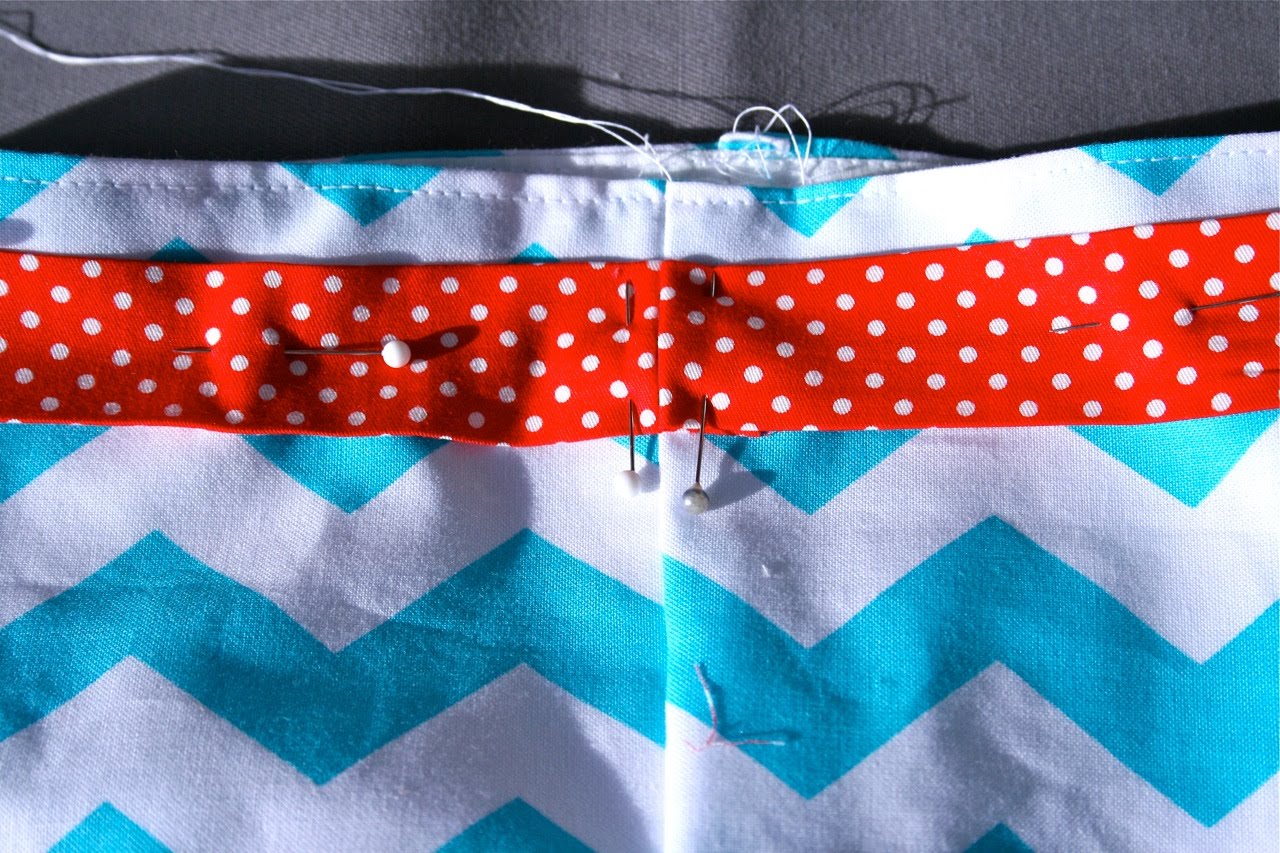
Sew around the top and bottom edges of the strip, close to the edge to secure strip into place and form casing for drawstring.

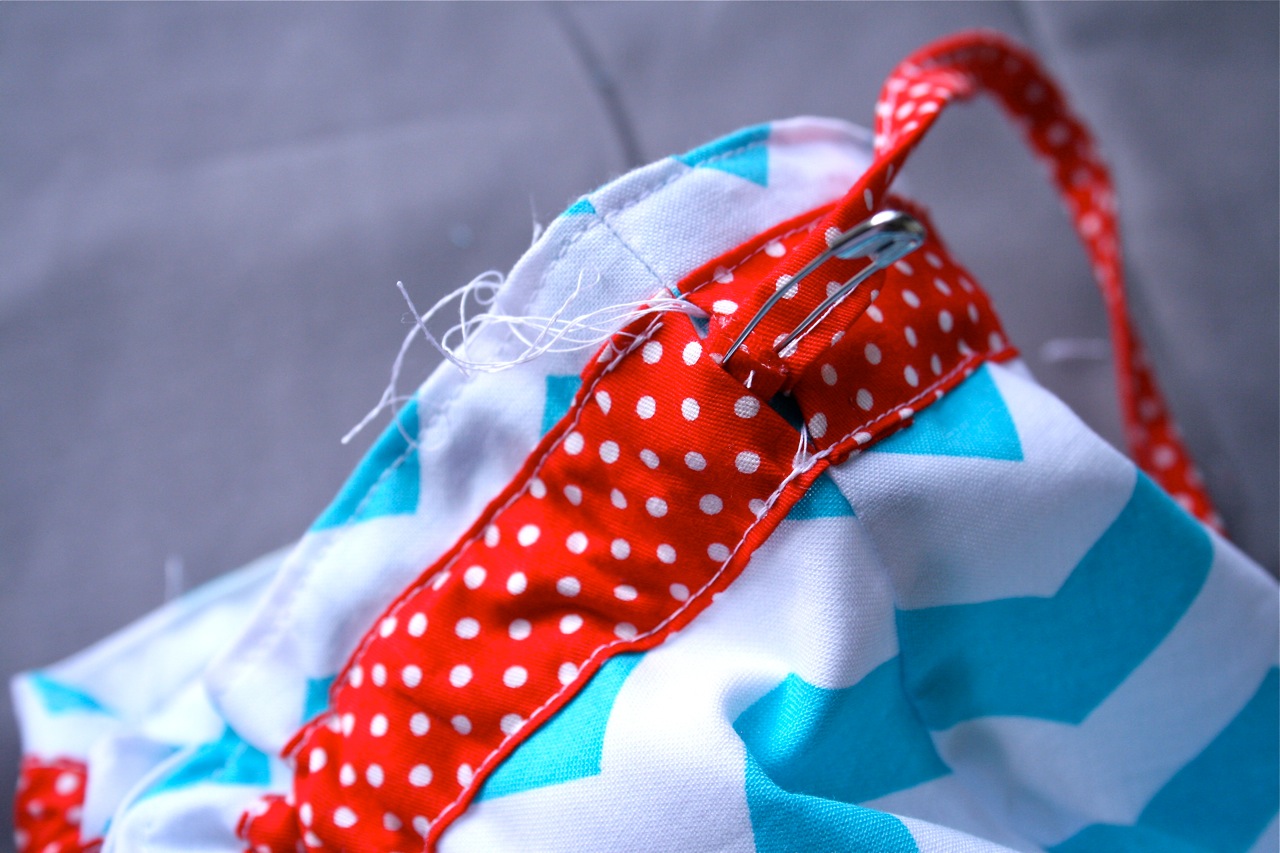
Take thin drawstring strip and fold in half, length wise once again so that raw edges of the strip are enclosed. Sew down opened edge of the strip, close to the edge to secure.

Attach a safety pin to one end of the drawstring and thread through the casing. Tie a knot at each end of the drawstring.
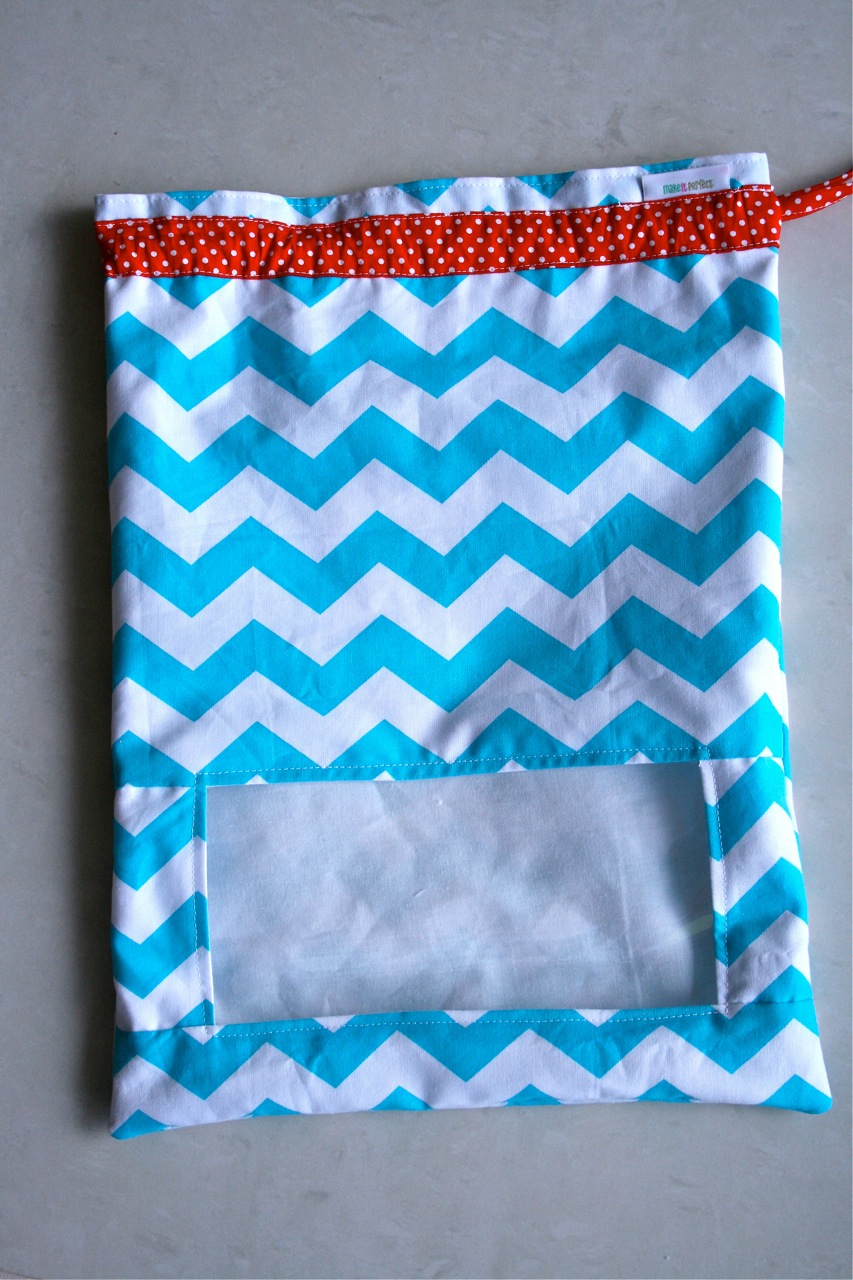
Snip stray threads and you are done!!
If you make a “Peek-A-Boo” Toy Sack, I would love to see it! Send me an email or add your photo to the Make It Perfect Flickr Group.
Okay – for the giveaway…
To win THIS “Peek-A-Boo” Toy Sack (made from Paula Prass, Summer Soiree, Chevron in Aqua) as well as eight 10″ x 12″ squares of Ta Dot fabric (used in my toy sacks) leave a comment on this blog post and share what else you could use a toy sack for besides organising toys…
For an extra entry, become a follower of my blog and leave a separate comment to tell me that you follow. If you are already a follower, leave a separate comment telling me so and you will receive an extra entry too.
The giveaway winner will be draw randomly next Monday evening, 28th June and is open to everyone 🙂


