
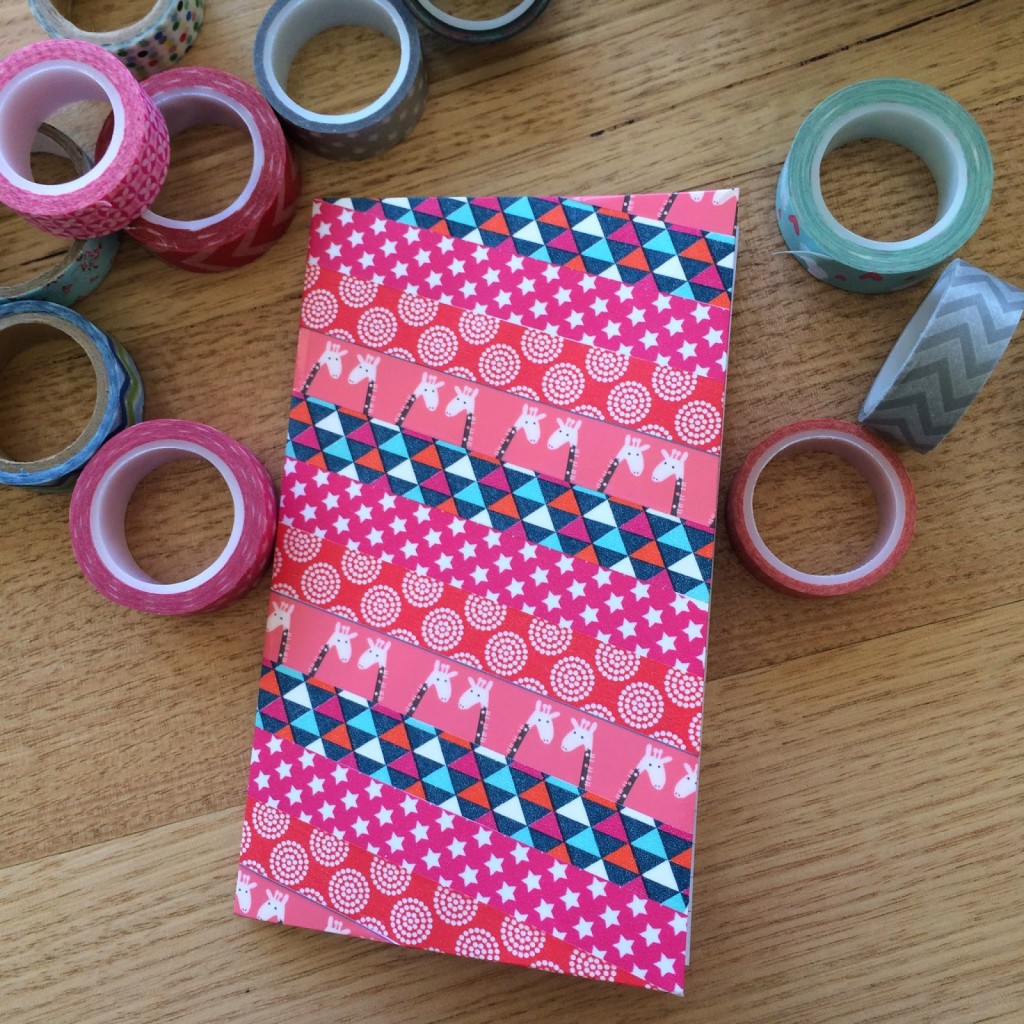
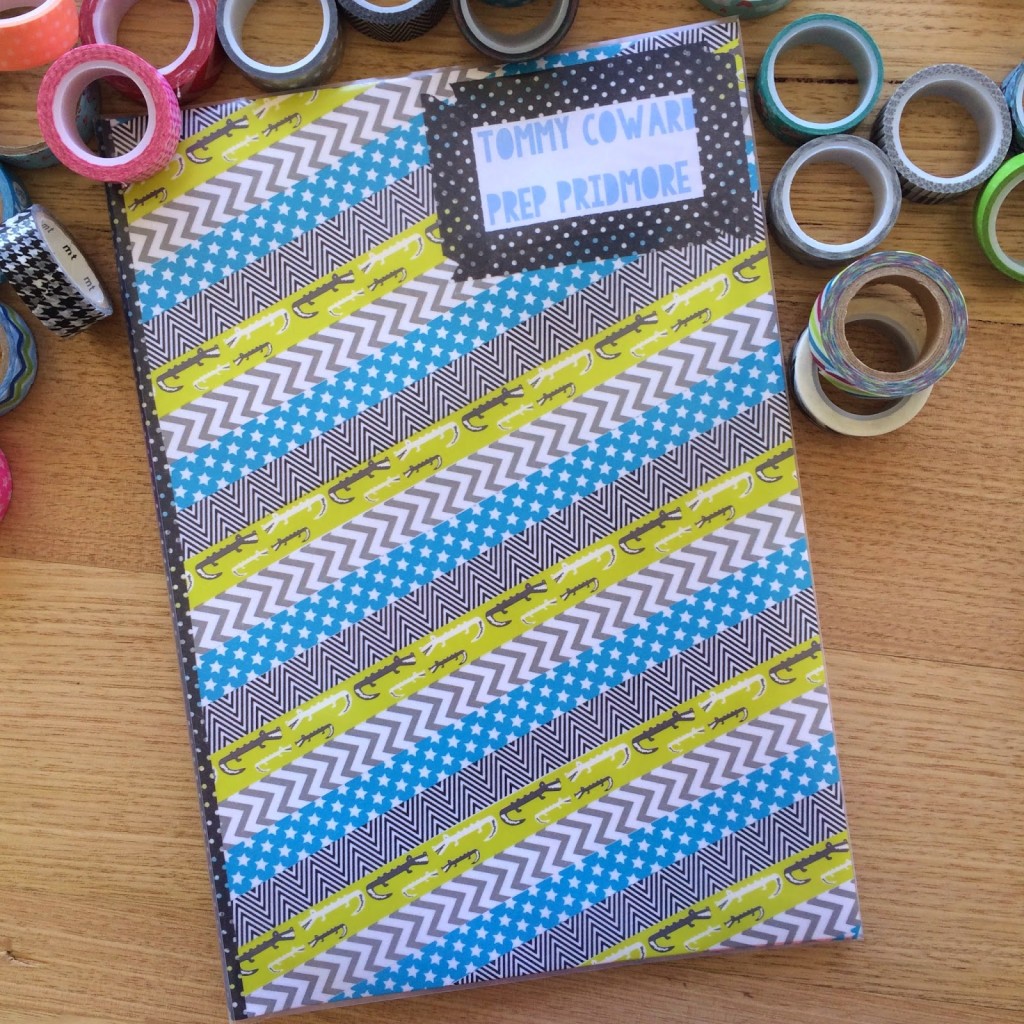
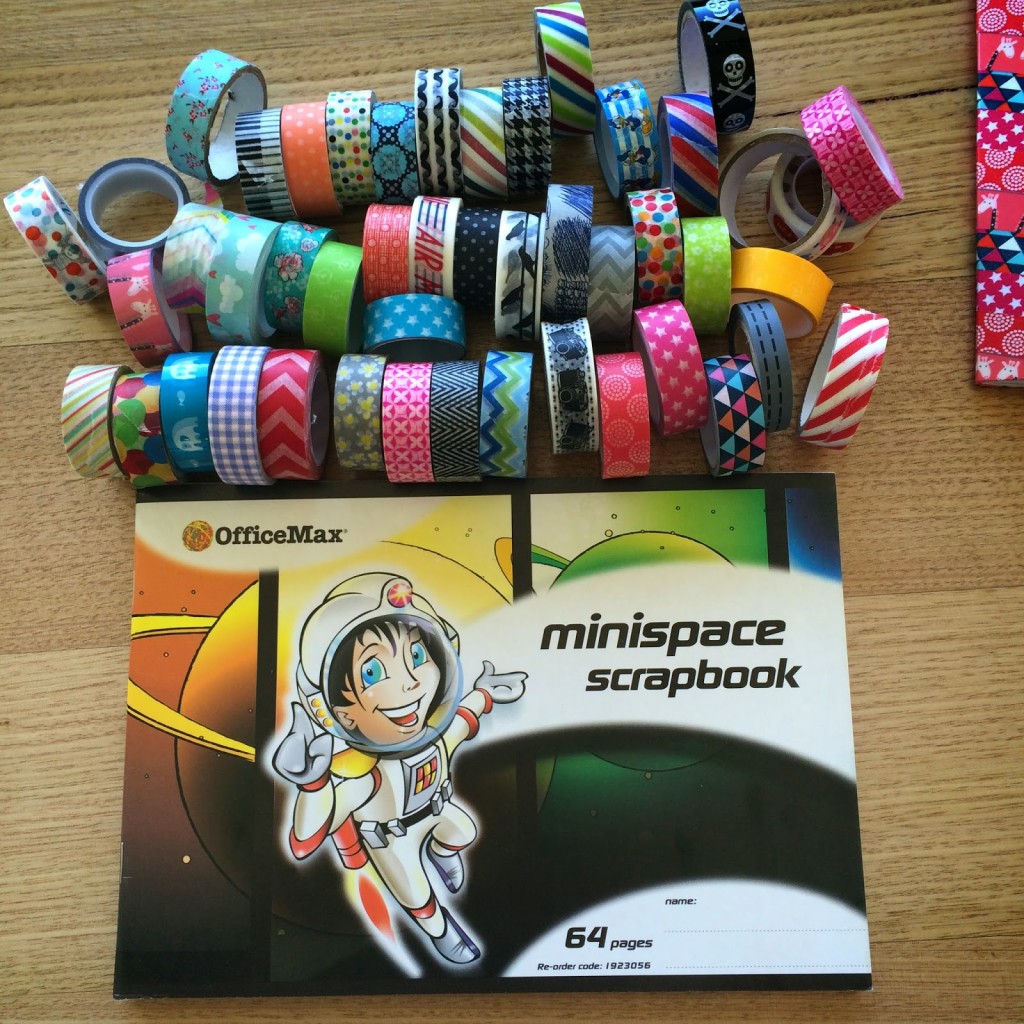
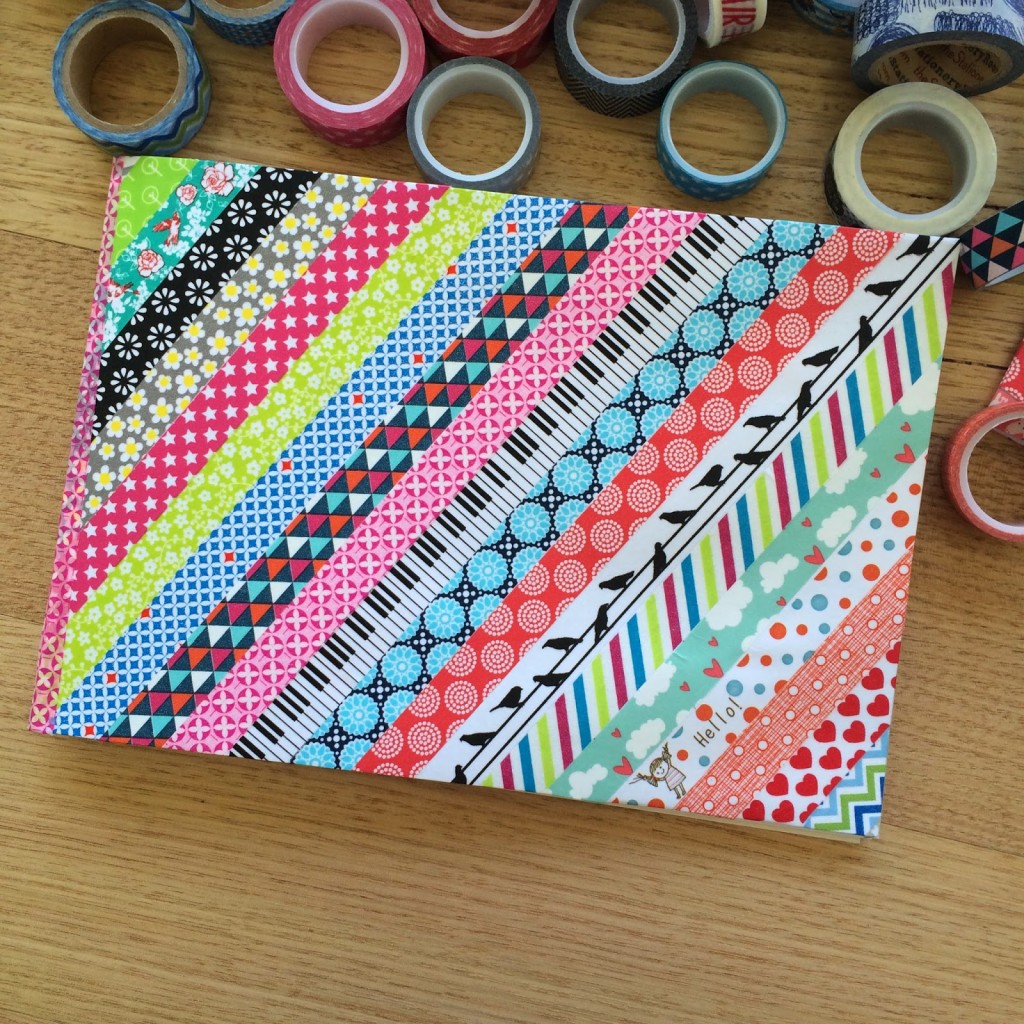
 These washi tape covered school books, however, are both boy and girl friendly, and take much less time and effort to make than they look. In fact, they are so easy to do that Oscar and Lil even covered a few books each using this method with great results! Because the washi tape can be repositioned without tearing the paper underneath, they can pull a misplaced piece of tape up and have another go at sticking it down if it ends up in the wrong spot.
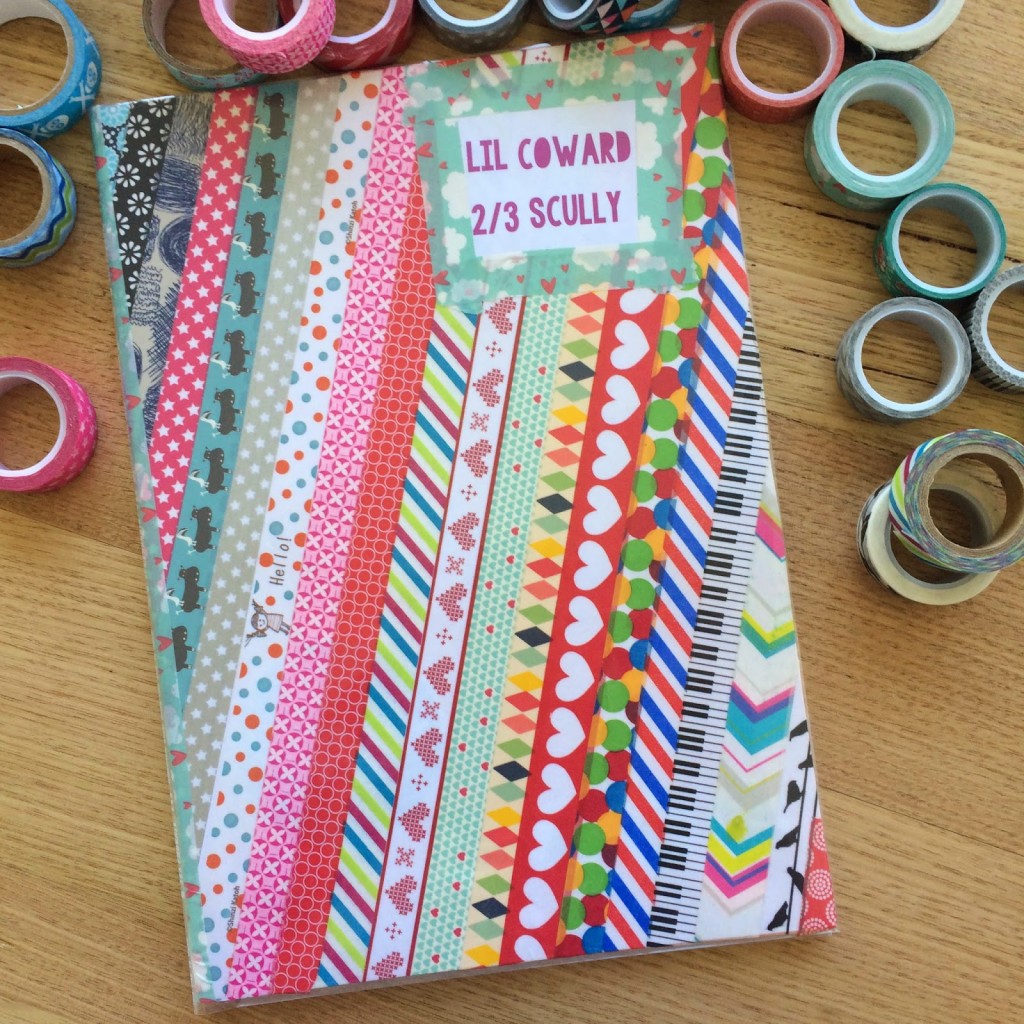
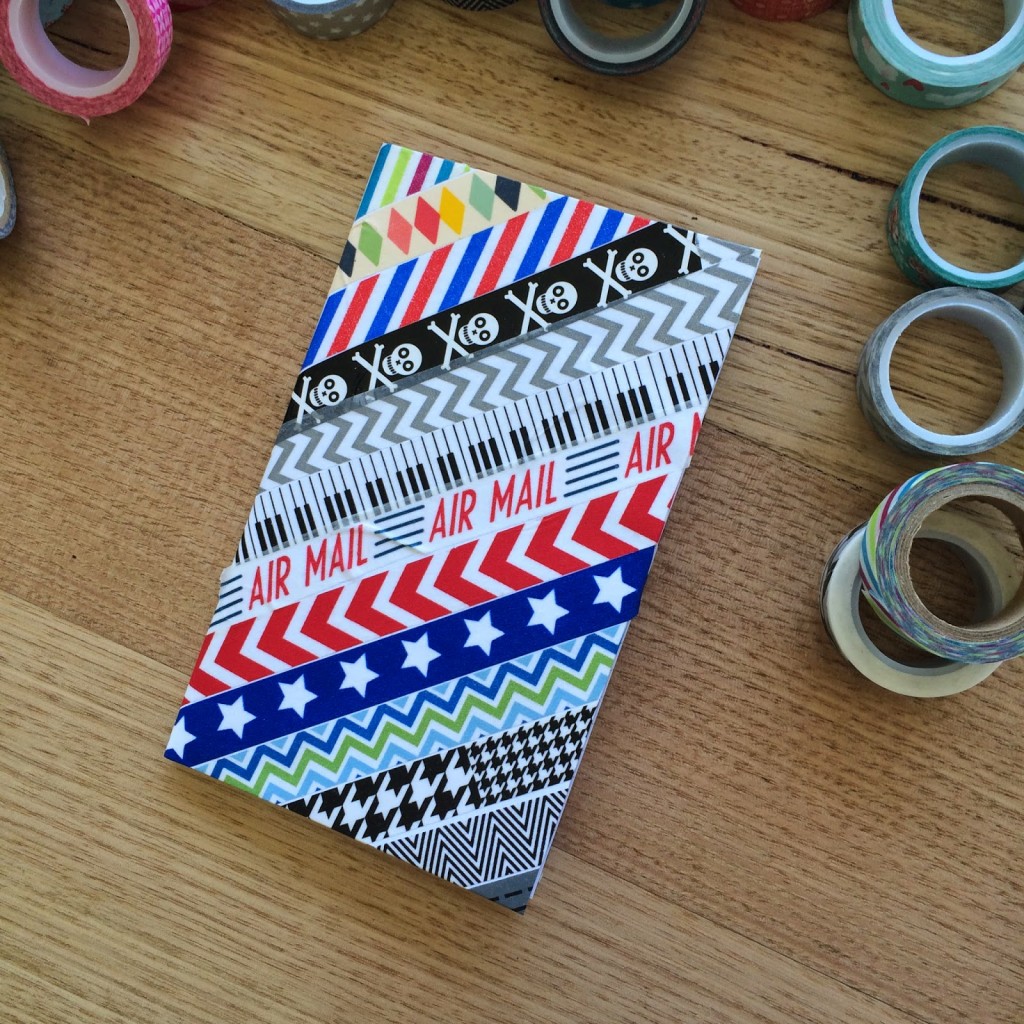
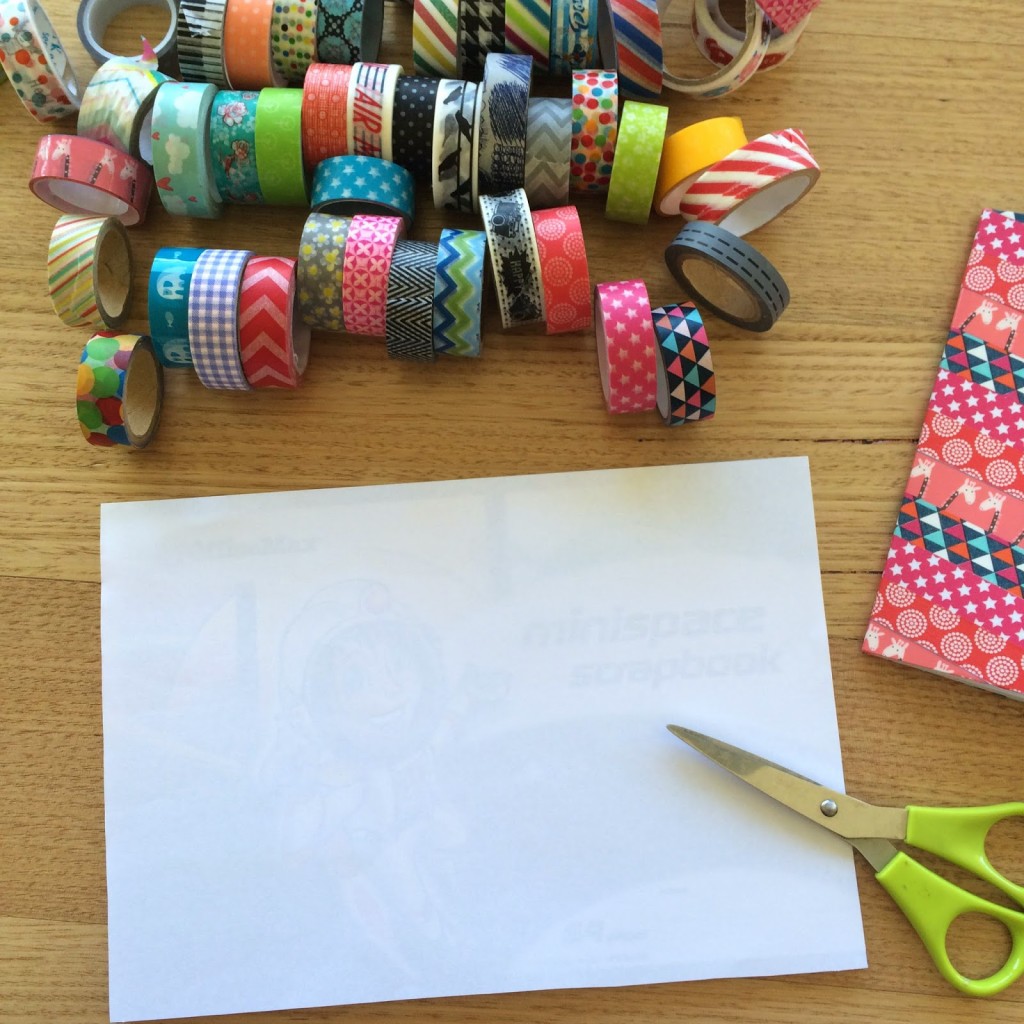
Before you start sticking down your tapes you will need to cover your book with a piece of plain copy paper. Most washi tapes have clear or opaque areas in the design, so if you don’t start with a white base you will see the colours and patterns on the cover of your book through the tapes. I just stick mine down with a couple of pieces of double sided sticky tape. For most of my books, I only cover in washi tape and then stick a patterned paper on the back. If the book is smaller though, I will cover the front and the back. Do what ever you like – but just make sure that you have white paper on any surface you want to cover.
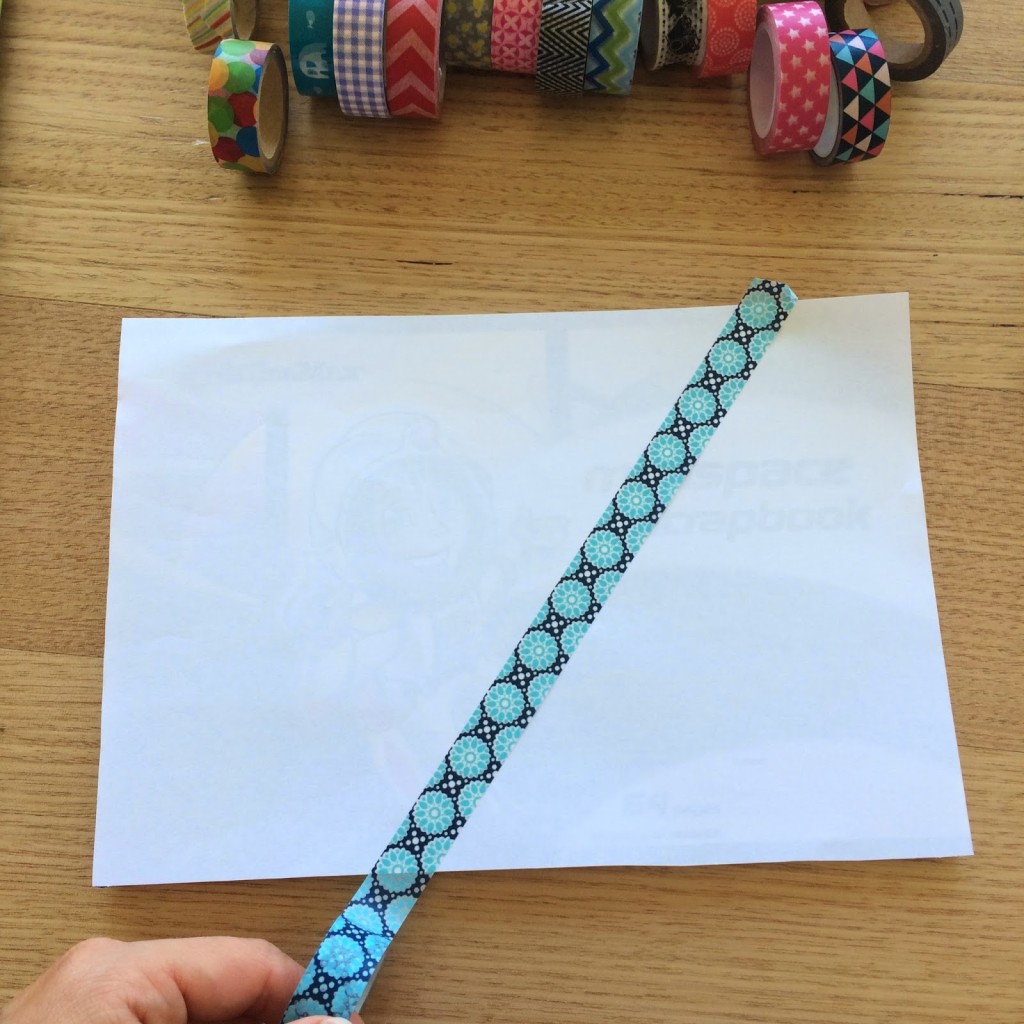
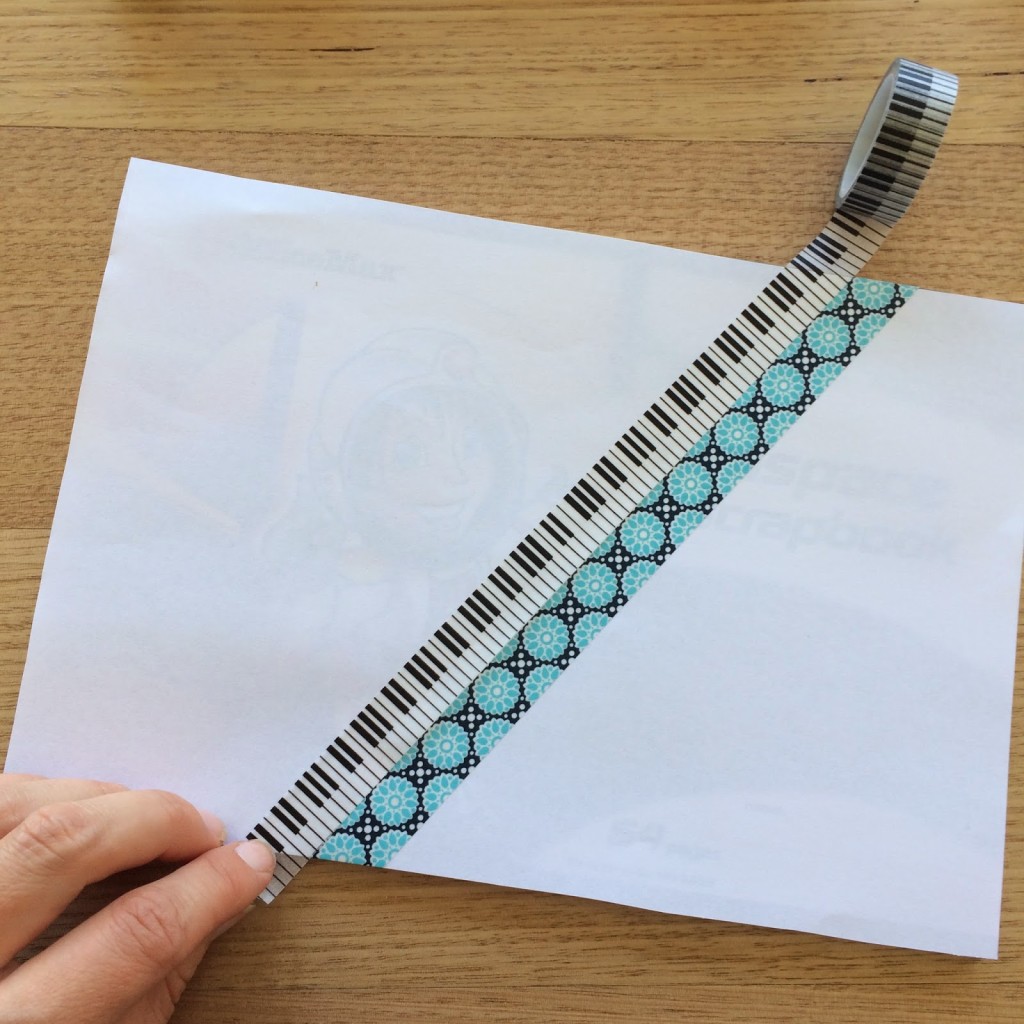
Decide on what direction you want your washi tape to run (diagonal, horizontal, vertical, etc.) and stick one of your tapes in that direction, leaving a little bit of tape hanging over each edge of the book.
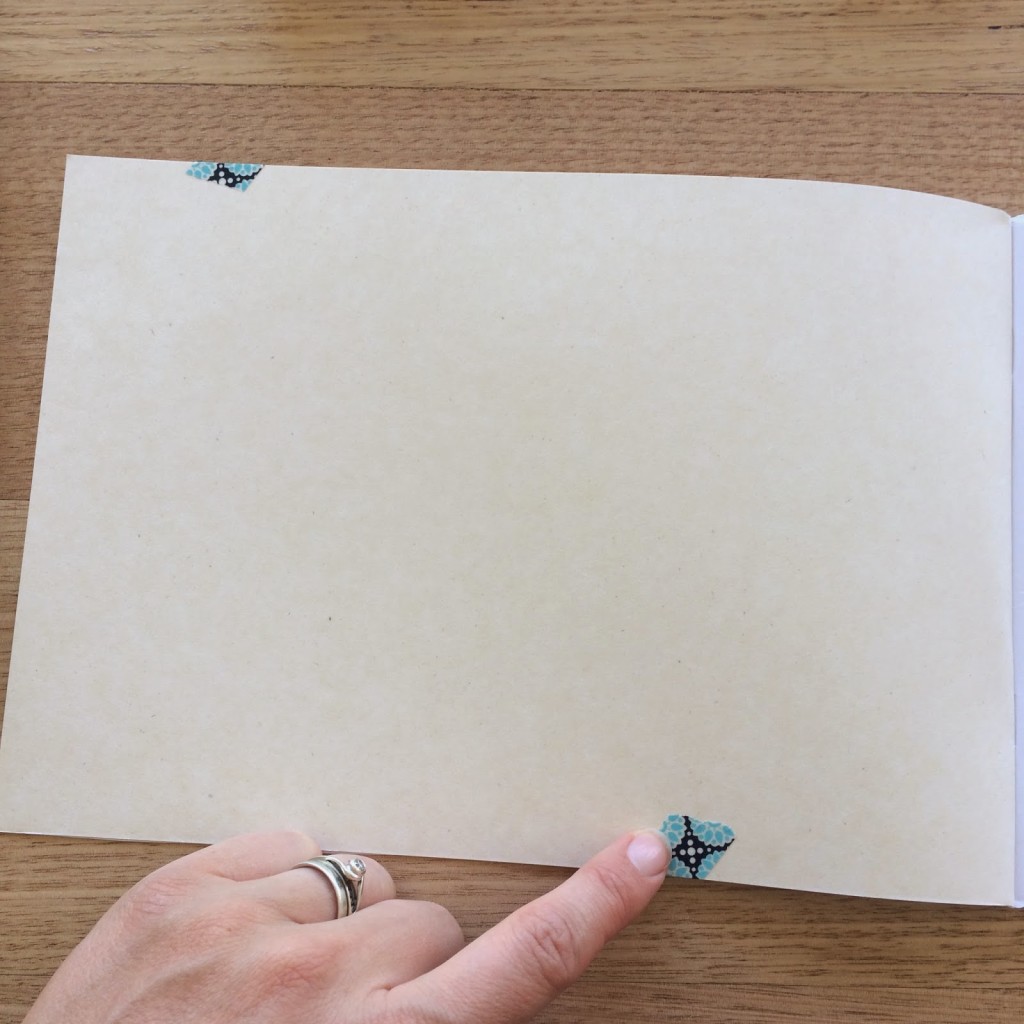
Open the cover of the book, and fold the overhanging edges of the tape to the inside cover and press down.
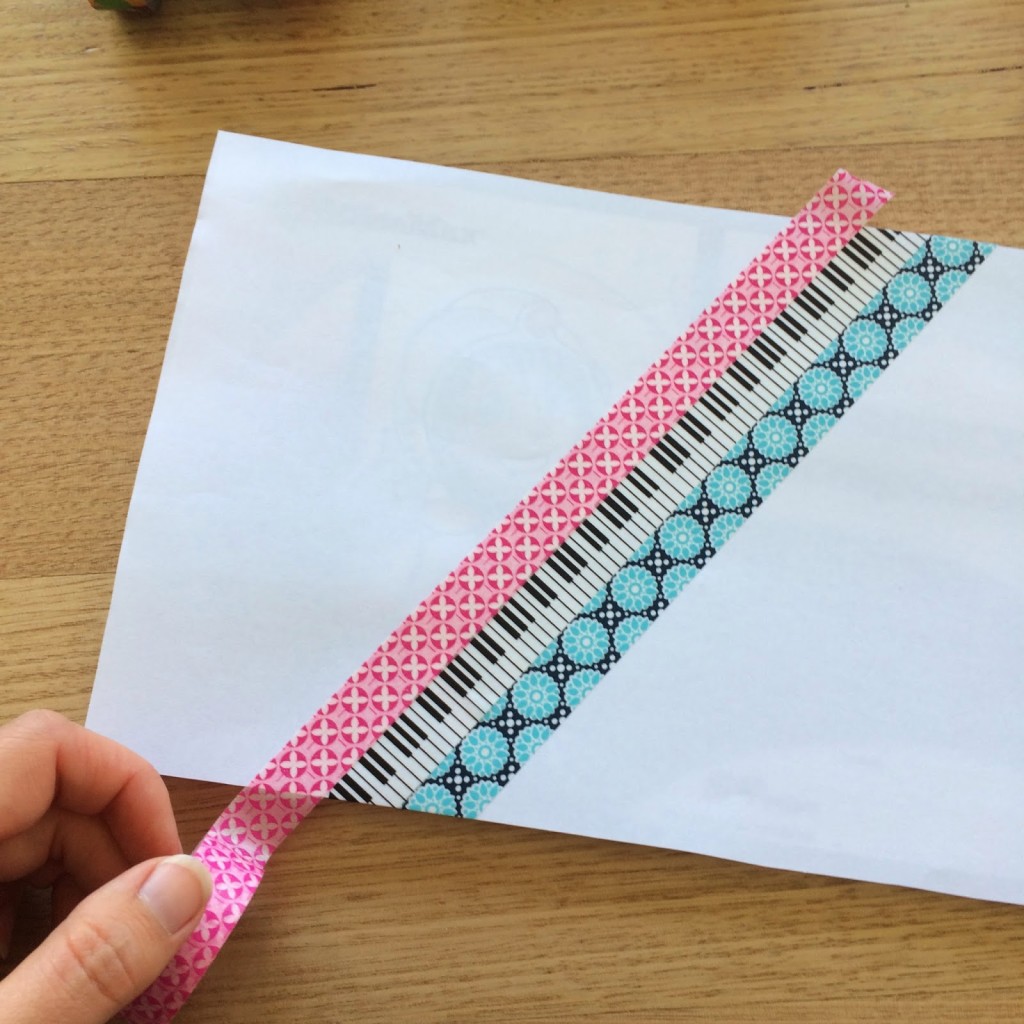
Take your second piece of tape and line up the edge with the first piece. Press down, break off and fold overhanging edges to the inside cover.
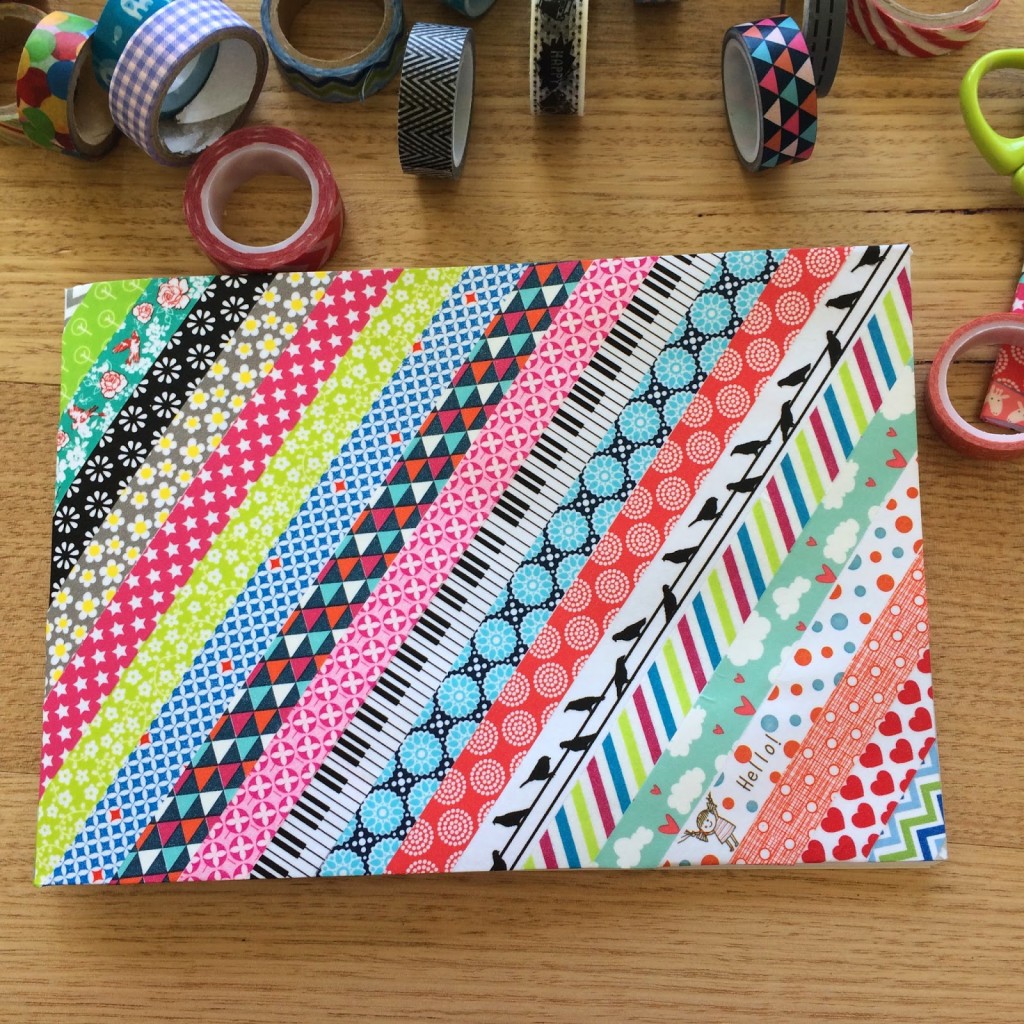
Continue adding strips of washi tape…
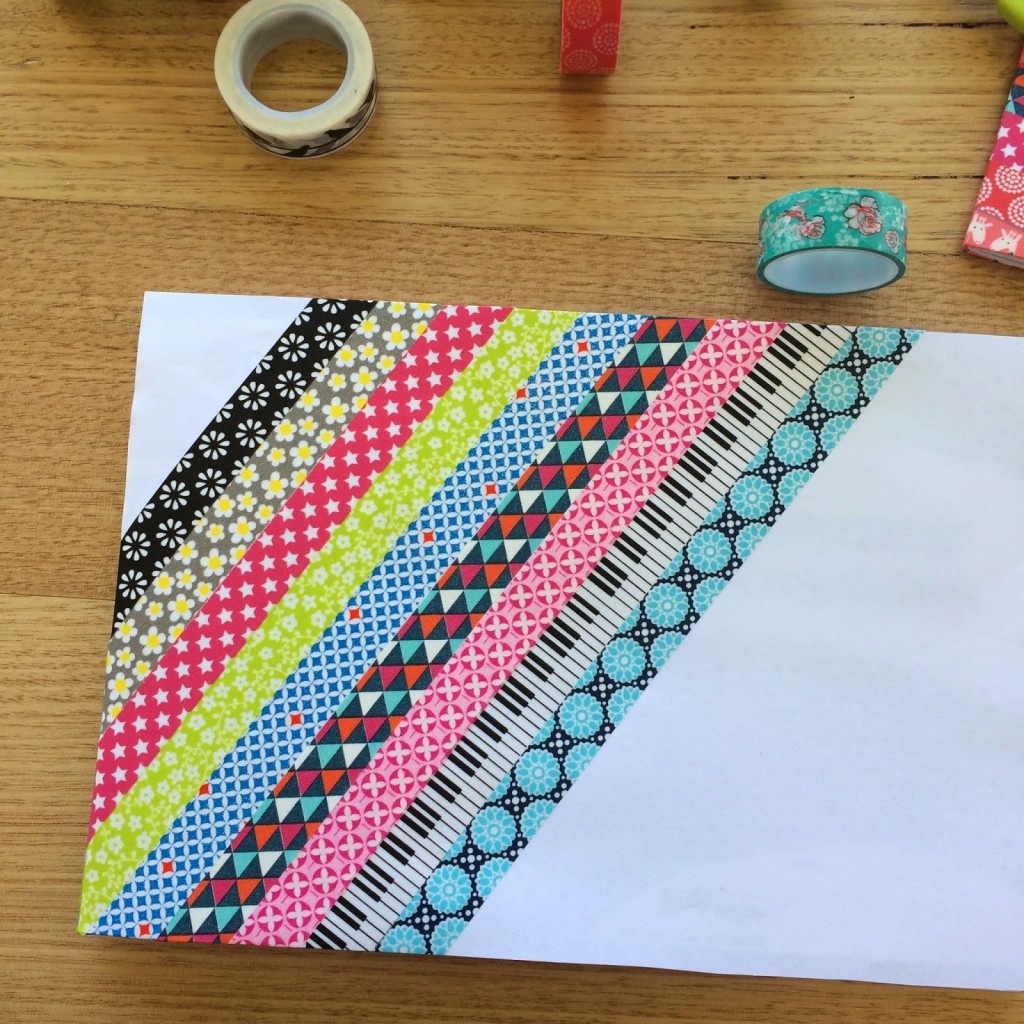
…until your book…
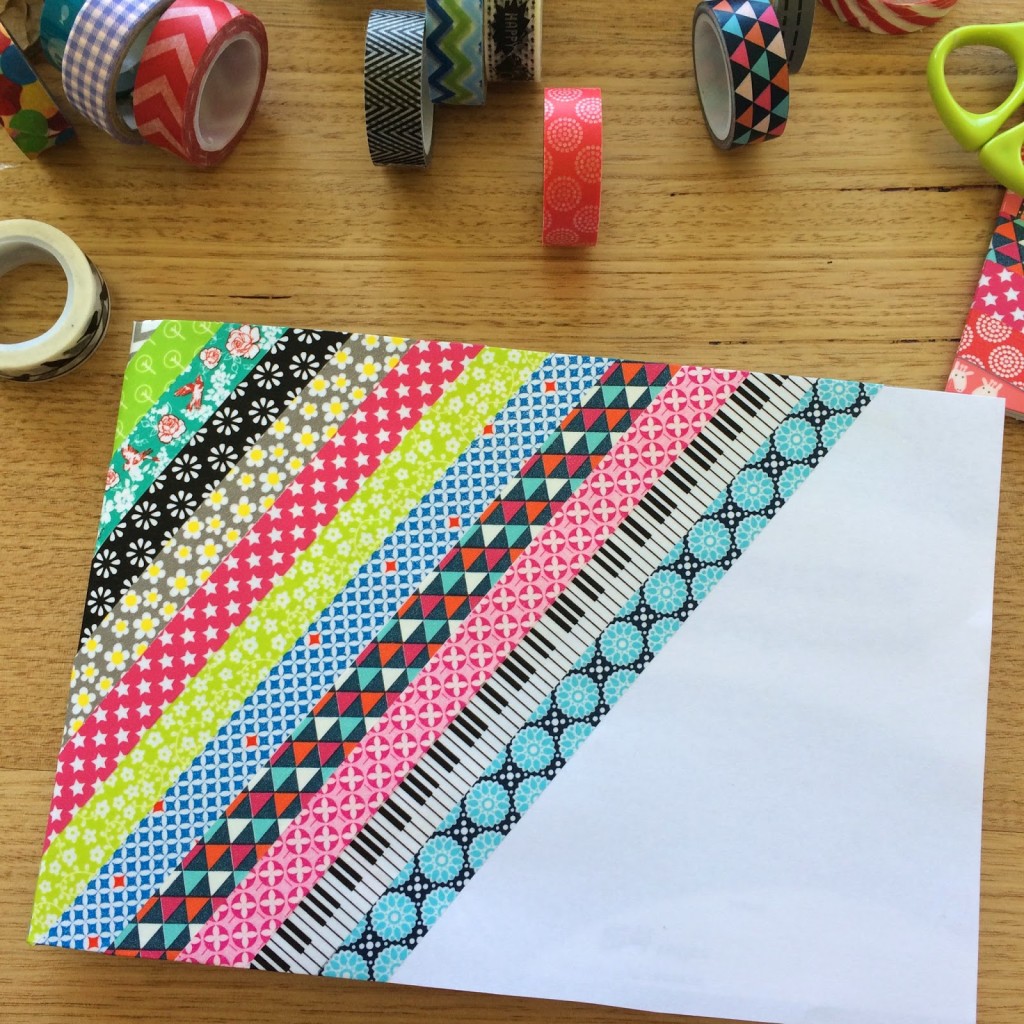

…is completely…

…covered!
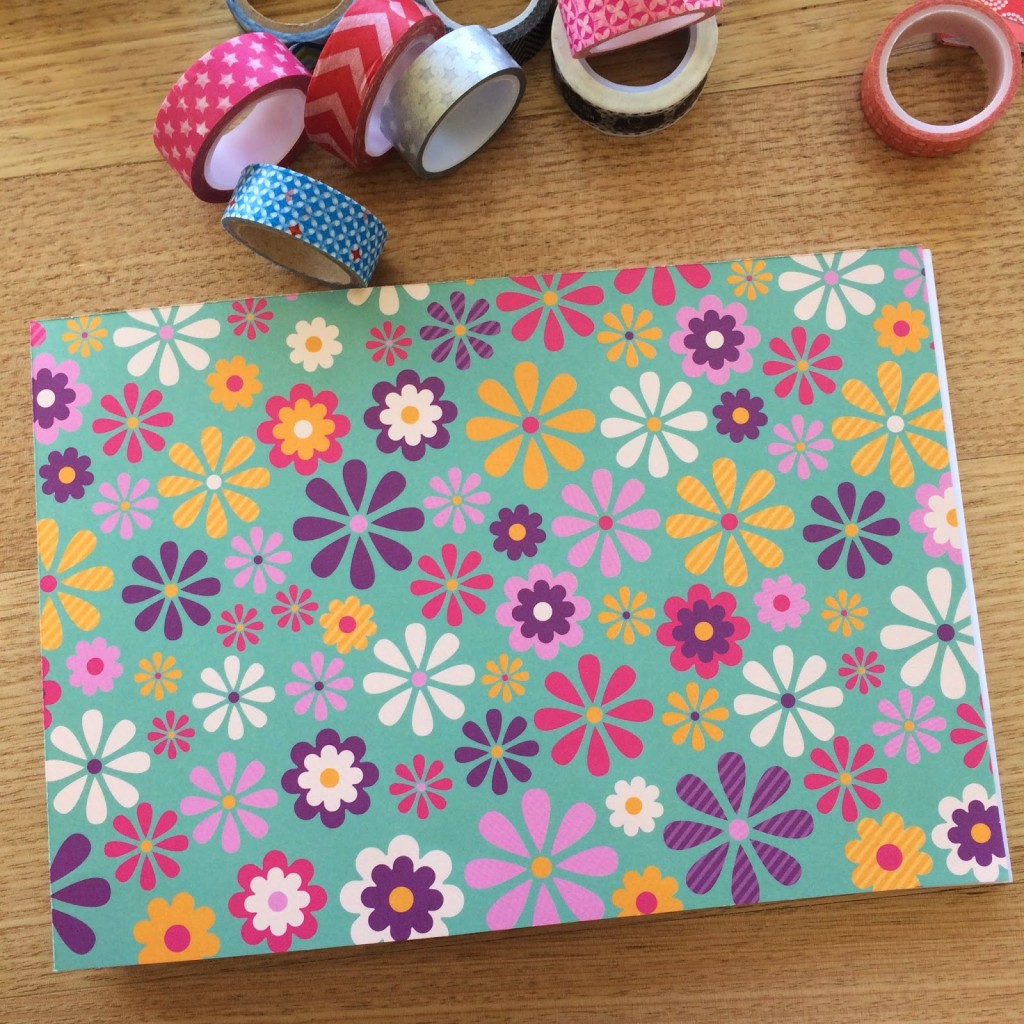
Decide what you want to put on the back cover – I mostly use scrapbook paper cut to size (yep, using up those hoarded craft supplies!) and stick it down with a few pieces of double sided sticky tape.
To keep the spine of the book nice and neat, choose a washi tape to run down the folded edge. Make sure that half of the tape is hanging over the spine…
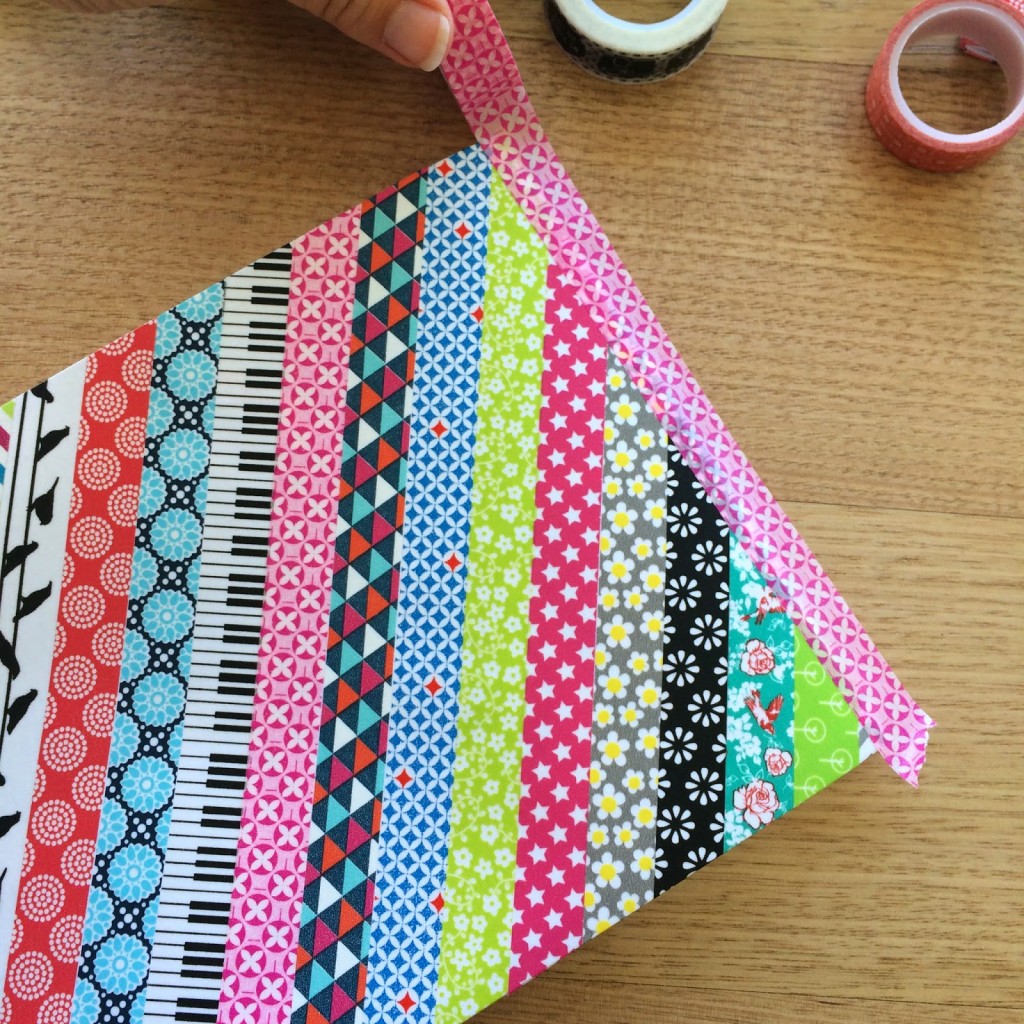
…and fold it over to the back cover of the book.
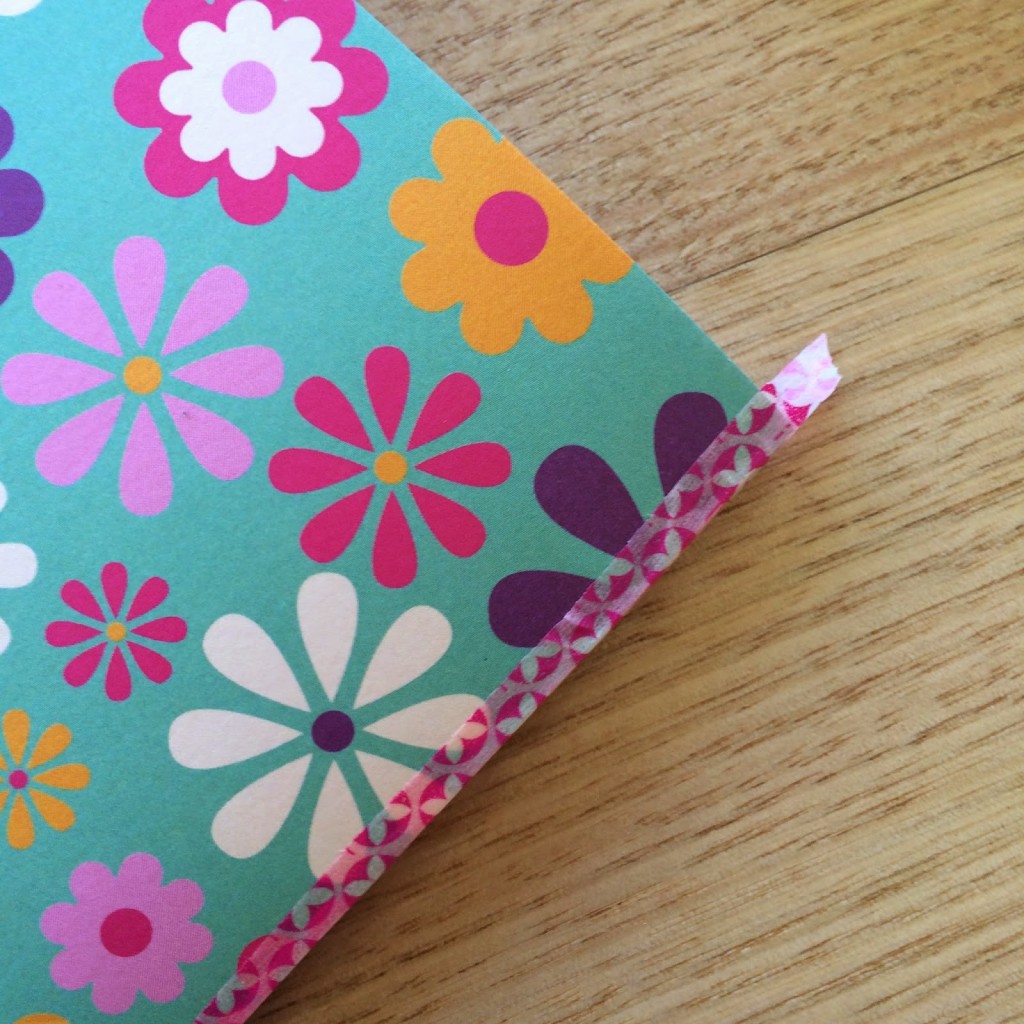
Fold the short, overhanging edges of the washi tape to the inside of the book to finish.

And there you have it! A washi-tape covered school book that is way cooler than any Disney or Minecraft character contact!!!
I like to finish my book off with some protective plastic. If the book is A4 size, I buy plastic book covers (way easier than contact!) to pop over the top. And I use clear contact on smaller or odd shaped books. If you are covering your whole book (front and back) in washi tape you could probably skip the plastic covering, I would skip it for myself, but not for the kids!
Happy covering, and here’s to using up pretty hoarded craft supplies!


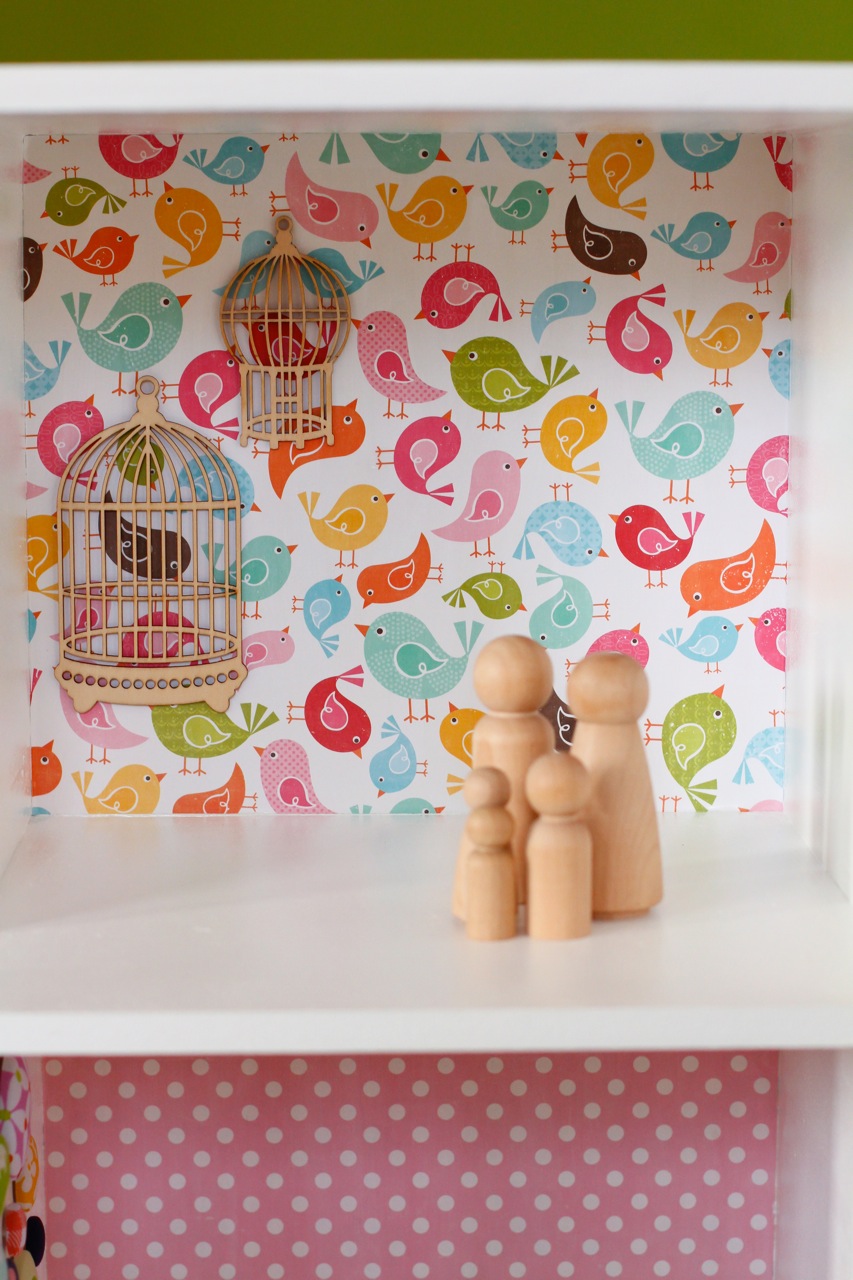

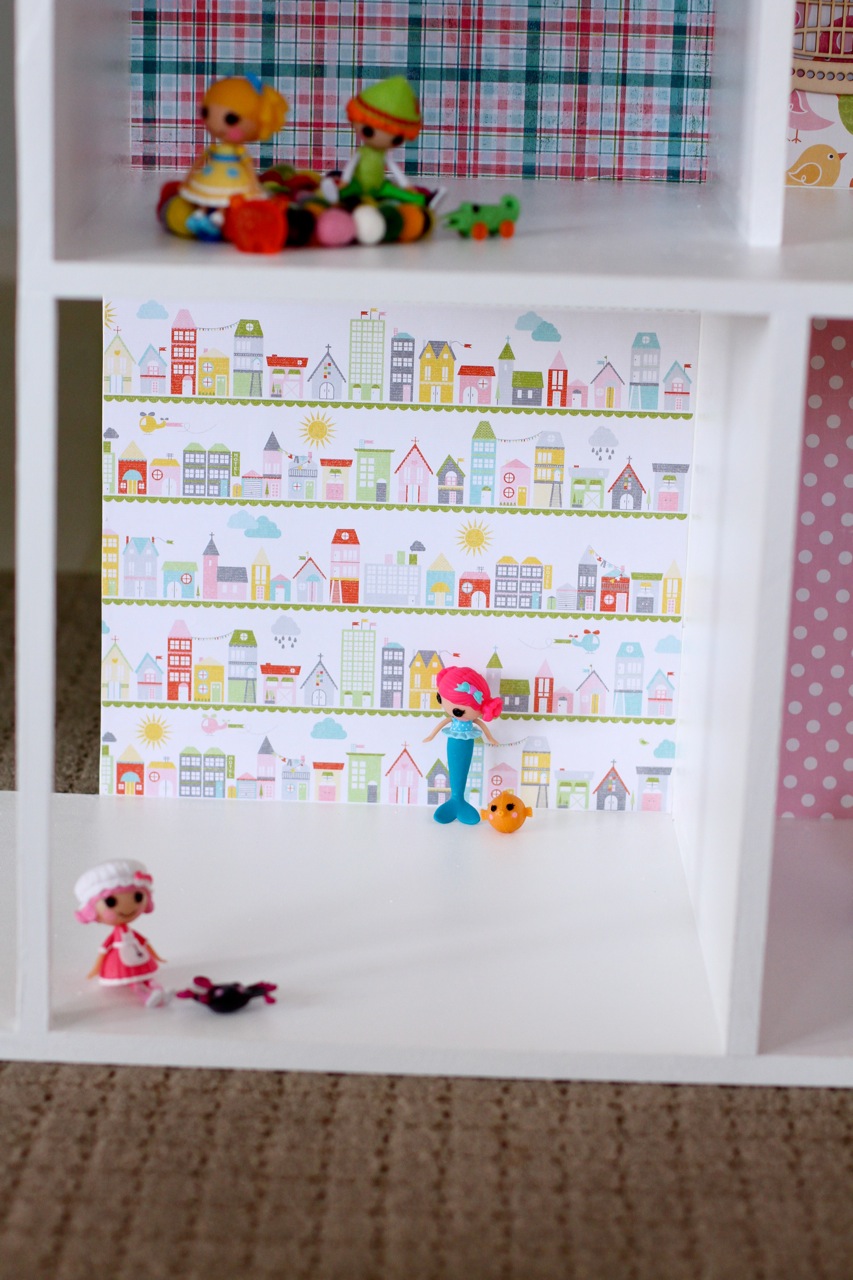


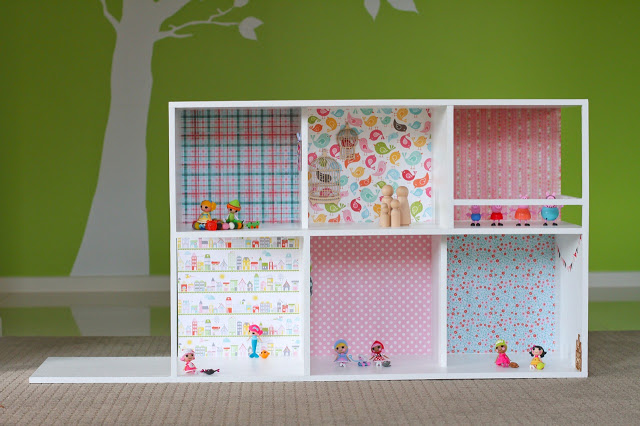
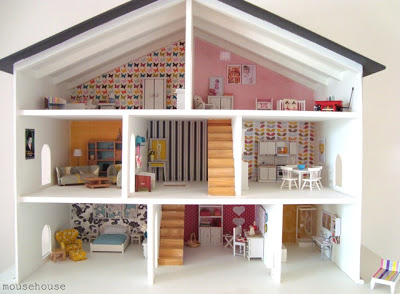

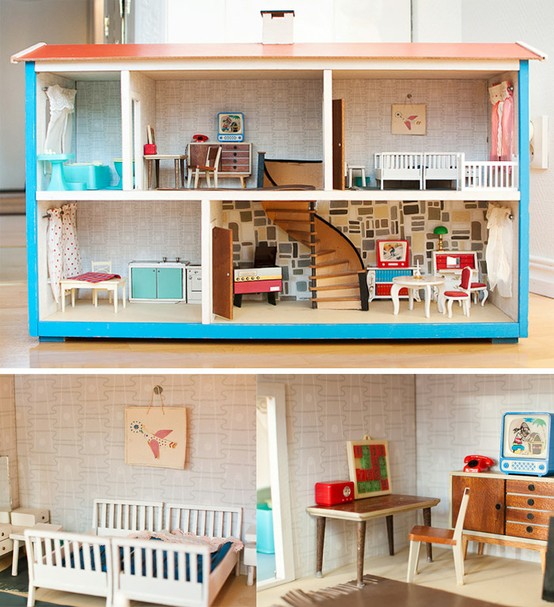


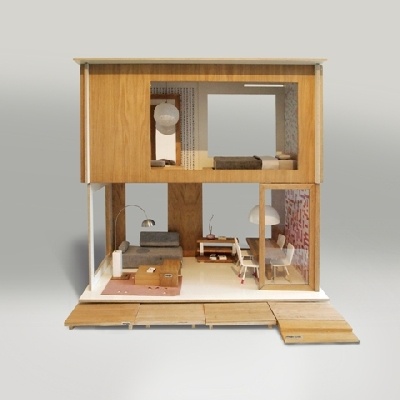


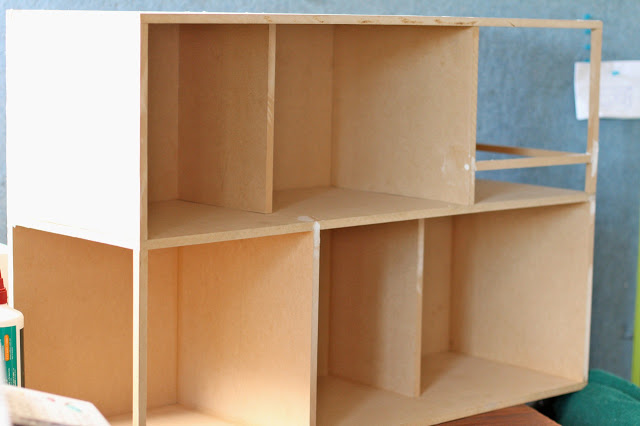 So now the building is done, it’s time for me to get painting and decorating! I’m so excited about this! I know that deep down I wanted to make this dollhouse as a fun project for me to work on – I don’t really care if the kids end up playing with it much or not!! I can’t wait to get painting and cutting and sticking – my problem is that I can’t settle on WHAT to do…so many cool ideas floating around. I can see a dollhouse interior design reno taking place in a year or two so that I can try out some new things.