My second batch of macarons = success!! I’m still not sure why I am getting the little peaks on the top of them…does any one know why? It would help them to sit flat for photographing!!!
These were raspberry flavoured. A few of my Facebook followers suggested lime, which I was very partial to, but I had no limes on hand and didn’t want to go to the shops so they will be the next ones I try!
The only thing I am not entirely satisfied with is getting an intense flavour. The macarons I have tried have a really strong flavour and I’m sure that professional macaron bakers must have access to some brilliant flavour essences! I’m sure that a google search will open my eyes to a wide range of flavourings 🙂
So, onto other news…last night I was totally spoiled and treated to a divine massage here. I decided to take the plunge and get my ears pierced straight afterwards. My Dad has never liked pierced ears, my two sisters got theirs done when they were a bit older and I have always been happy to stand alone and go piercing-free. When Dad found out that I was going to get it done, I believe he put his head in his hands and said, “Noooo!” Okay, that could be a tad dramatic but I’m sure it went something like that 🙂 Turns out he got his way as the lady who was supposed to pierce my ears had to leave work to tend to an emergency, so no pierced ears today! Should I go back and try again, or take this as a sign that it isn’t mean to be?!!
Oooohhh…and THE MOST EXCITING THING EVER JUST ARRIVED IN THE MAIL FOR ME. LIKE 2 MINUTES AGO. AND I CAN’T TELL YOU ABOUT IT JUST YET BUT I AM SO EXTREMELY EXCITED AND AM GOING TO SPEND THE REST OF THE DAY WITH A BIG SMILE ON MY FACE!
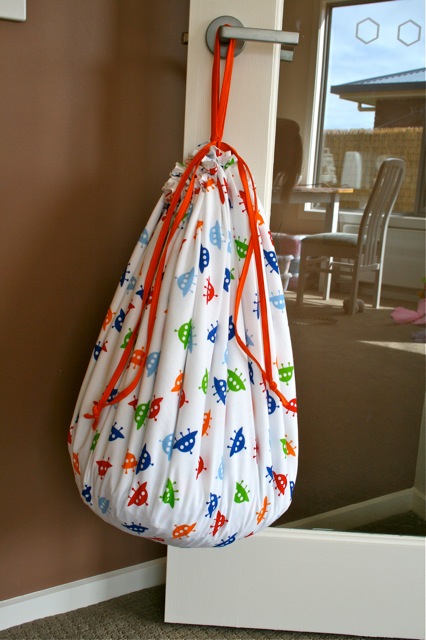
I’m revisiting the Lego Sack today and sharing the promised tutorial so that you can make one yourself! This really has been a great little bag and very helpful in playing with and packing Lego away. Read more about the first Lego Sack here.
Before I go on, I need to stress that this ingenious sack is NOT my original idea. Mothers and Grandmothers have been making these for their kids to store Lego in for years. My guess is that it originated with someone using an old sheet to keep Lego mess to a minimum, and the drawstring sack idea evolved from there. This pattern, however, is of my own workings out 🙂
LEGO SACK TUTORIAL
To make a Lego Sack, you will need:
One large piece of fabric for the exterior (at least 1 metre/1 yard square)
One large piece of fabric for the lining (same size as the exterior)
Two 1 1/2″ x 70″ strips of contrasting fabric for drawstring (or you could use rope)
Measuring tape, pencil, scissors, safety pin, sewing machine, etc.
Step 1.
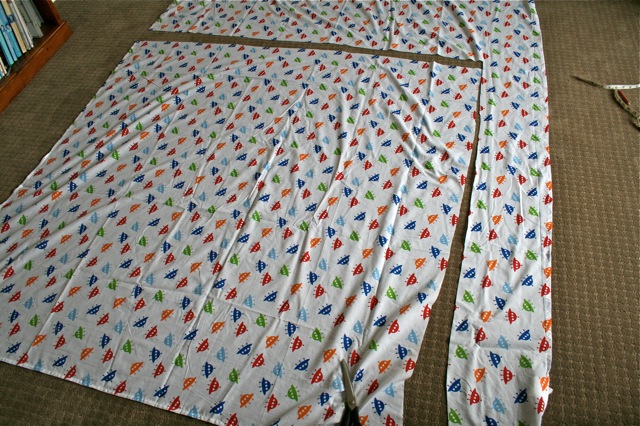
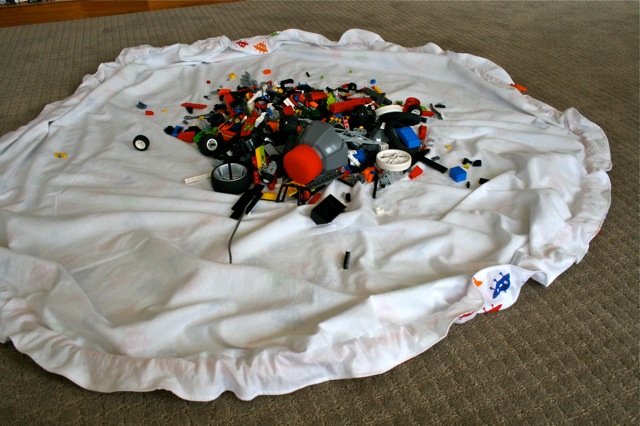
Take exterior fabric and cut into a perfect square. Obviously, the bigger the square, the bigger your sack is going to be. My original Lego Sack started with a square 1m x 1m and for the amount of lego we have, it is a tad small. I made this next one 130cm x 130cm (a present for a friend) and it is a much better size.
Fold your square into quarters.
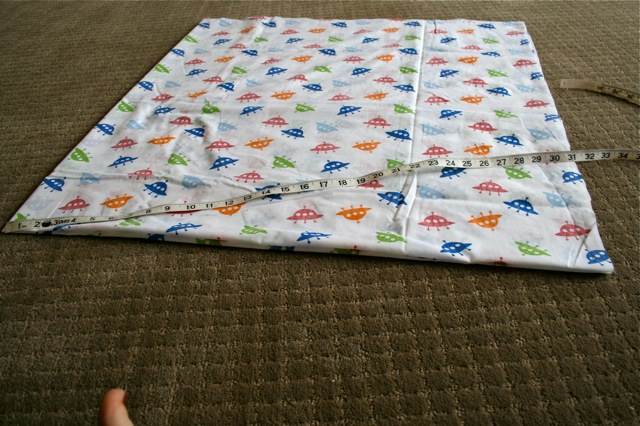
Using your measuring tape, measure from the center fold to the edge of the fabric. Mark this point with a pencil. (In my case, the point that I marked was at 29″.) Continue moving the measuring tape in an arc around the fabric until you reach the other side. Make sure that you keep the end of your measuring tape at the center fold. Draw a curved line by following the same distance (29″ for my sack) around the fabric.
Cut through all four layers of fabric along marked line. When you unfold the piece of fabric you will have a perfect circle!!
Place the circle cut from exterior fabric directly on top of the lining fabric. Use as a guide to cut a circle exactly the same size from lining fabric.
Step 2.
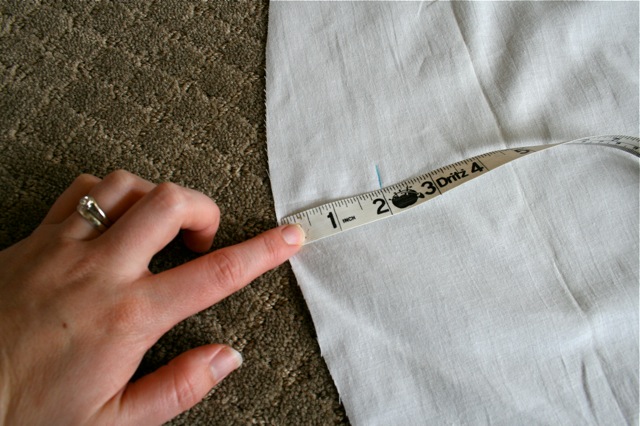
Fold lining piece in half and mark a crease with your fingers on either side of the fold. Unfold and measure 2″ from the outside edge of the circle at one crease mark. Draw a line with an erasable fabric marking pen. This will be where you sew a buttonhole. Measure 2″ from the opposite side of the circle at the other crease mark and draw another line for a second buttonhole.
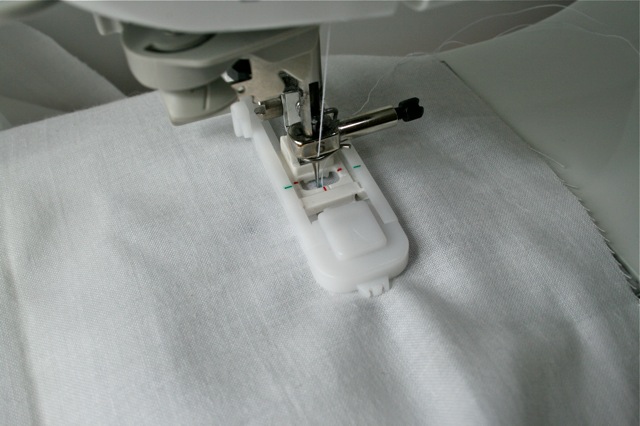
Sew a buttonhole (about 1″ long) directly on top of one of the buttonhole marks. Repeat on opposite side.
Carefully cut buttonhole open using a seam ripper.
Step 3.
With right sides together, place lining on top of exterior. Pin into place around the entire edge of the circles.
Sew around pinned edge using a 1/2″ seam. Leave a 3″ gap for turning.
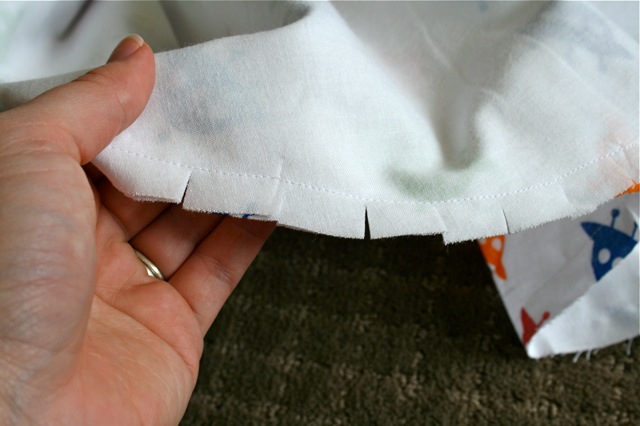
To make the curved edges of your sack sit nicely, clip into the seam allowance around the entire edge of the circle. Clips should be 1/2″ – 1″ apart. Be careful not to cut your seam!
Turn right side out through the 3″ opening. Smooth out edges and press.
Topstitch around the entire circle, about 1/8″ from the edge, stitching the opening closed.
Make casing for drawstring by stitching 2″ in from the edge of the fabric,making sure that the two buttonholes sit in between both rows of stitching.
Step 4.
Take strips cut from contrasting fabric for drawstring and make a center fold by folding in half, length ways, so that wrong sides of fabric are touching. Open out and fold both long raw edges of fabric in towards the center fold.
A much, much easier way to do this is to invest in a bias binding maker…they are GREAT! Very affordable (I think about $15 each?) and make light work of making binding. The one I used for this project is an 18mm made by Clover. The pink one – 18mm is used for the 1 1/2″ wide strip of fabric and is the size I use most often when making clothing. (Nicole Mallalieu has a great tutorial showing how to use these cool gadgets on her blog).
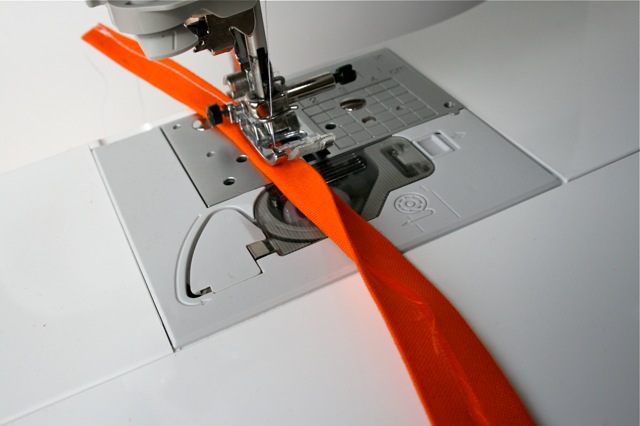
Take one drawstring strip and fold in half, length wise once again so that raw edges of the strip are enclosed. Sew down opened edge of the strip, close to the edge to secure. Repeat with second strip.
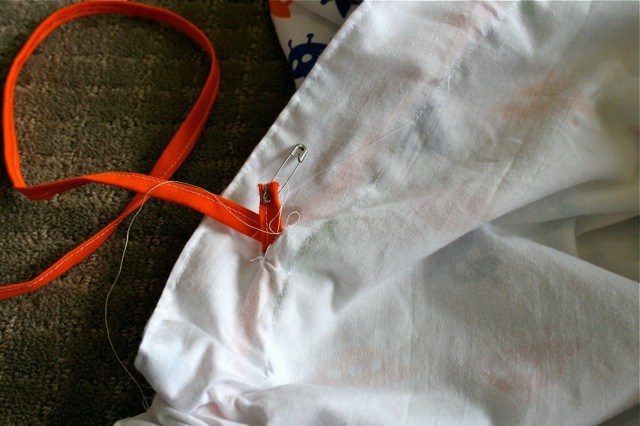
Attach a safety pin to one end of one drawstring and thread through the casing by inserting it into one of the buttonholes and threading it around half of the circle until it reaches the second buttonhole.
Take second drawstring and insert through the opposite side of the casing. There should be two ends of drawstring protruding from each buttonhole.
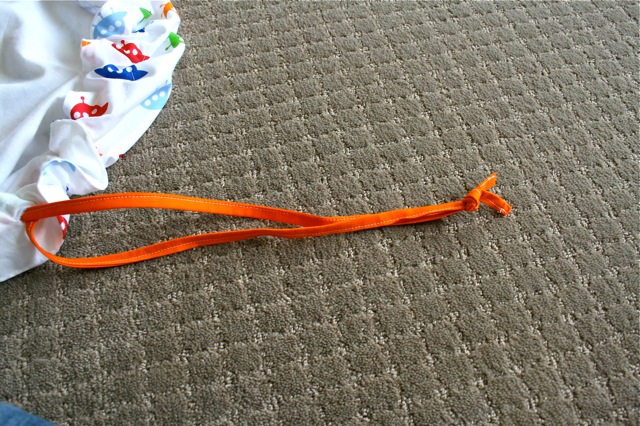
Tie the two ends of drawstring together in a knot. Repeat for other ends of drawstring.
Fill up with Lego…
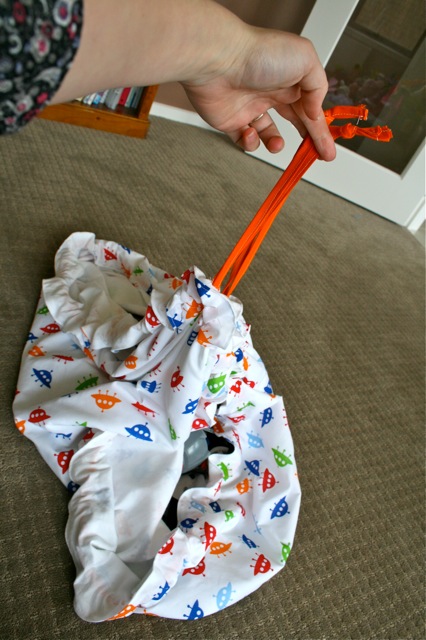
Pull the drawstrings…
Tie into a bow and hang up!
I’m sure you can think of 101 other things to store in your Lego Sack…hopefully this tutorial will be useful for someone out there and help control your Lego mess!!
I’m gradually starting to get myself ready to go to Australian Quilt Market in November and have decided that I need to sew up a some of my samples in newer fabrics to display.
Of course, this means that I am stuck with a cupboard full of samples that I really don’t need anymore. I’m not really one for holding onto something for sentimental value and find it quite refreshing to offload things that I don’t really need.
I’ve opened my Make It Perfect Etsy store and created a Make It Perfect Made It store and started stocking them with samples I don’t need anymore. Hopefully someone out there will want them and free up some cupboard space for me!! All of these samples have been used for display purposes only and have never been worn before.
This is my pretty little sister Filipa, modeling a pair of Citrus Pop earrings. Isn’t she the cutest thing ever?!
You’re going to be seeing a lot more of her in the coming weeks as these photos were taken during a Make It Perfect photoshoot. Yep, another pattern for YOU coming very soon 😉
I haven’t shared any photos of your Make It Perfect pattern creations for awhile…it still blows me away when I think about how all of this started. My local fabric store owner gave me the boost I needed to design my first few patterns and was my very first customer. She bought 5 of each of my first 3 patterns and at the time I remember thinking if that is all I ever sold, I would be totally happy!!!!
The whole reason I started designing patterns was to fund my hobby, and I can’t believe it has turned into a business for me. I really feel so blessed that I can work and contribute to our family’s income while still staying at home with my children and doing as much or as little as I have time for. I would be very ungrateful if I didn’t thank you guys for supporting me in my business and for all of the lovely feedback I receive about my patterns.
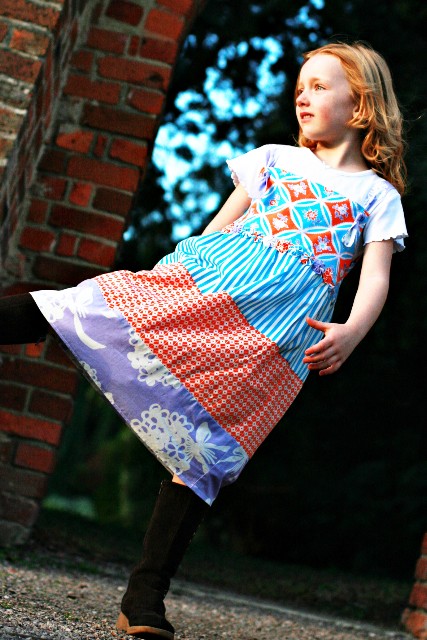
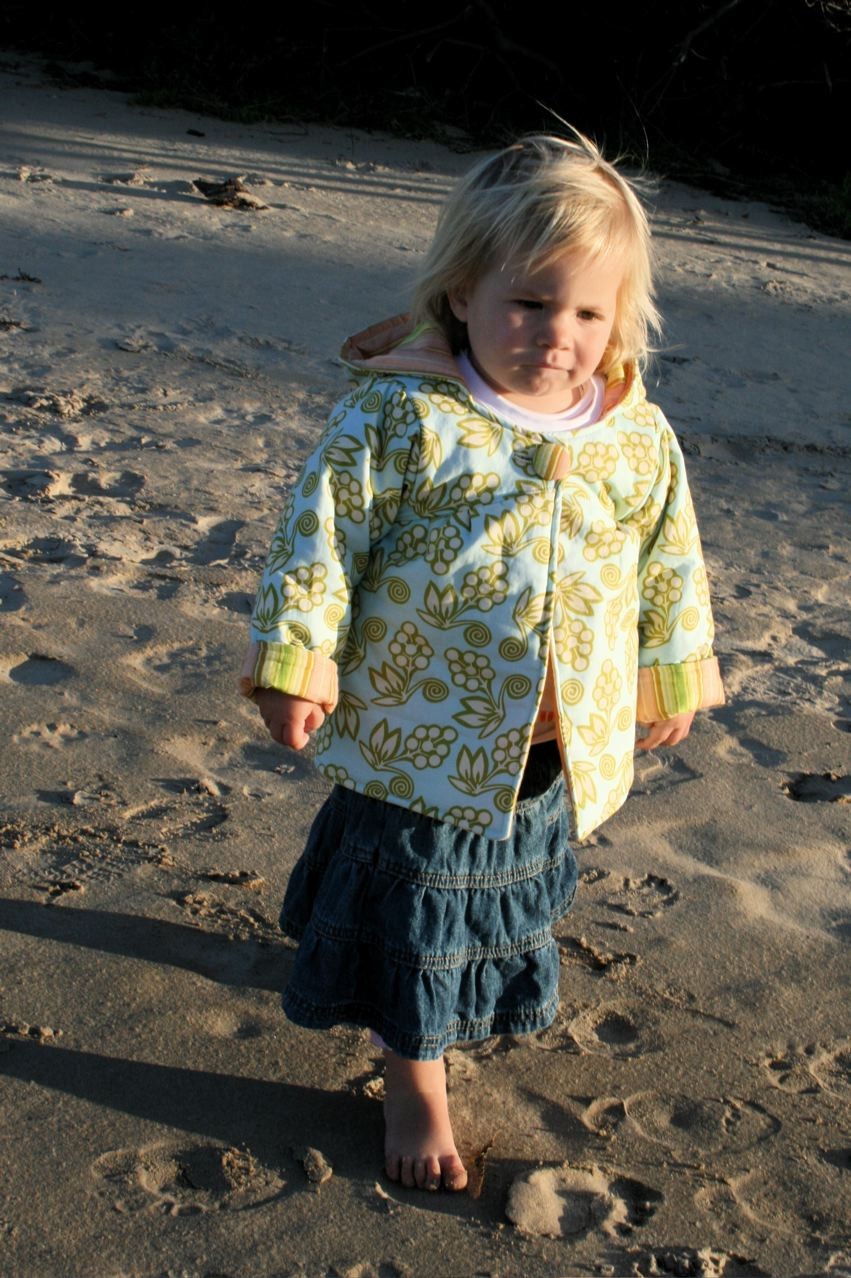
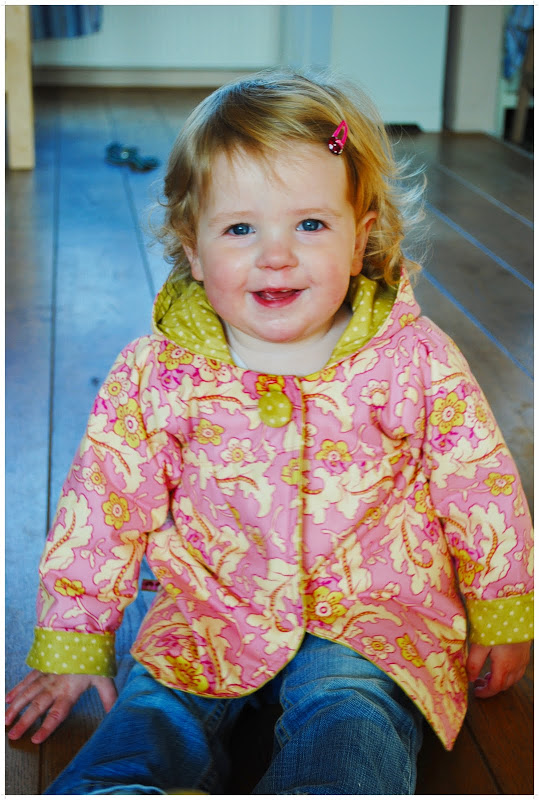
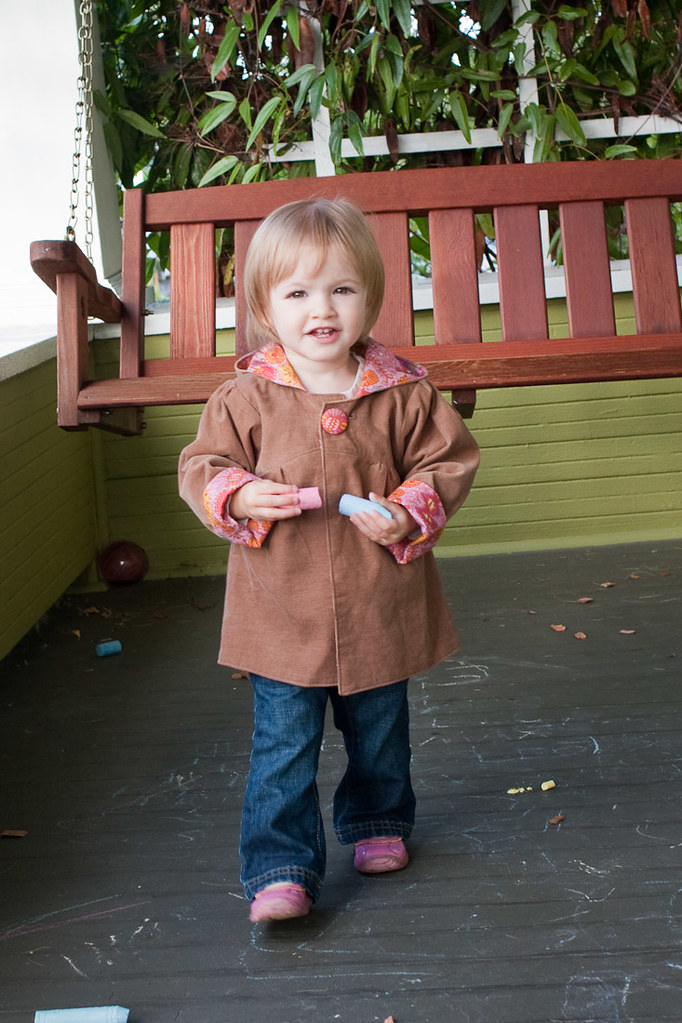
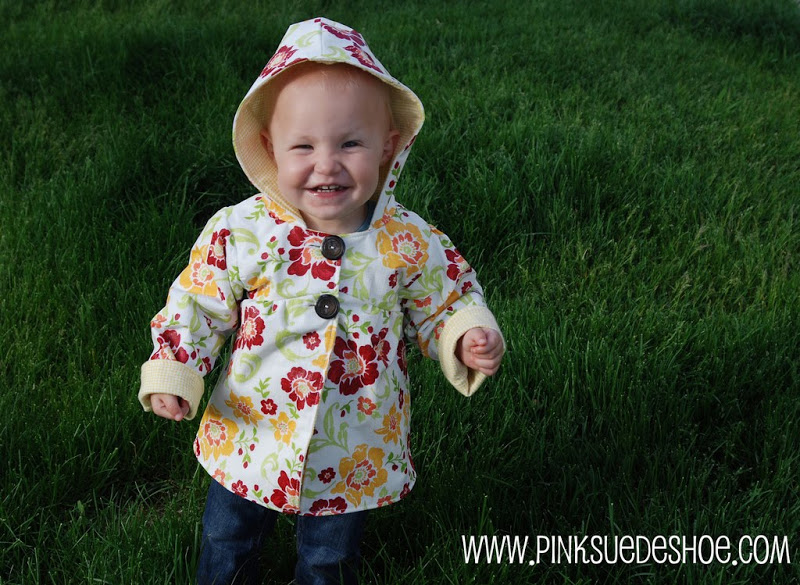
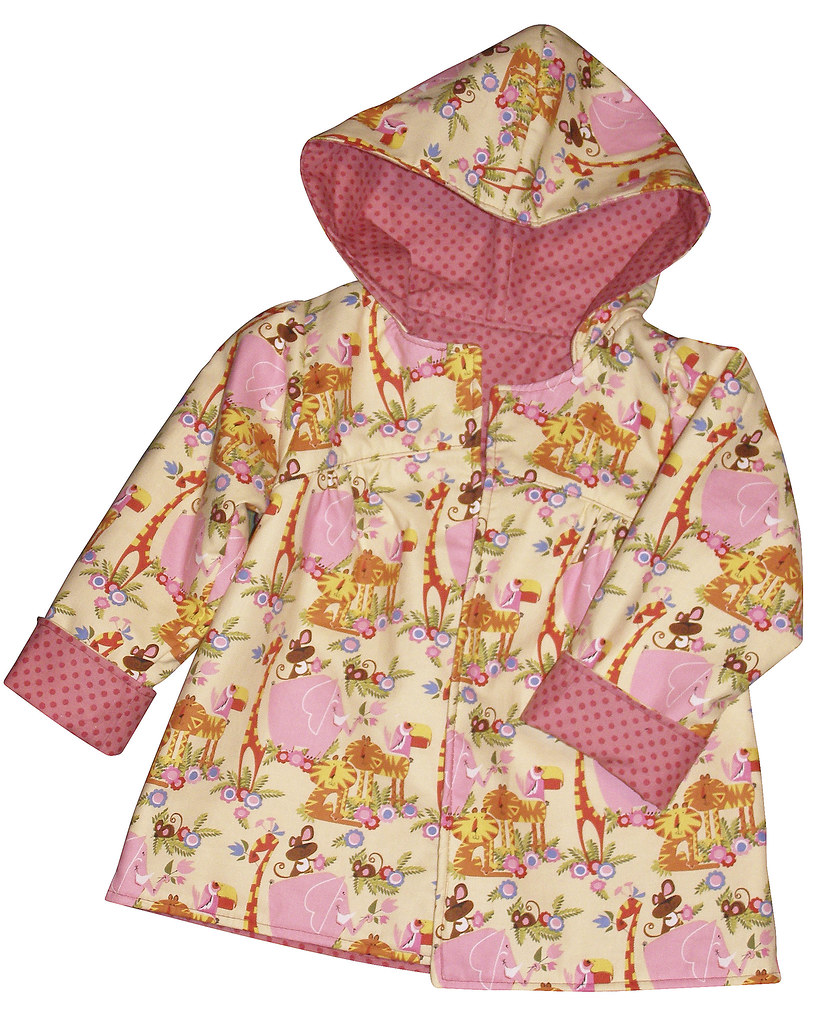
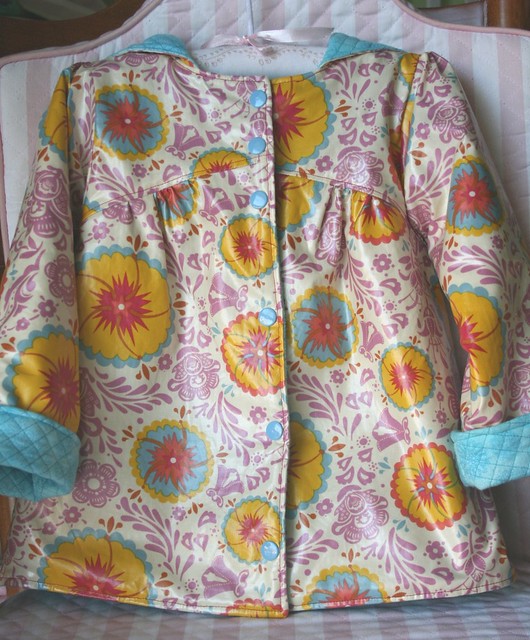
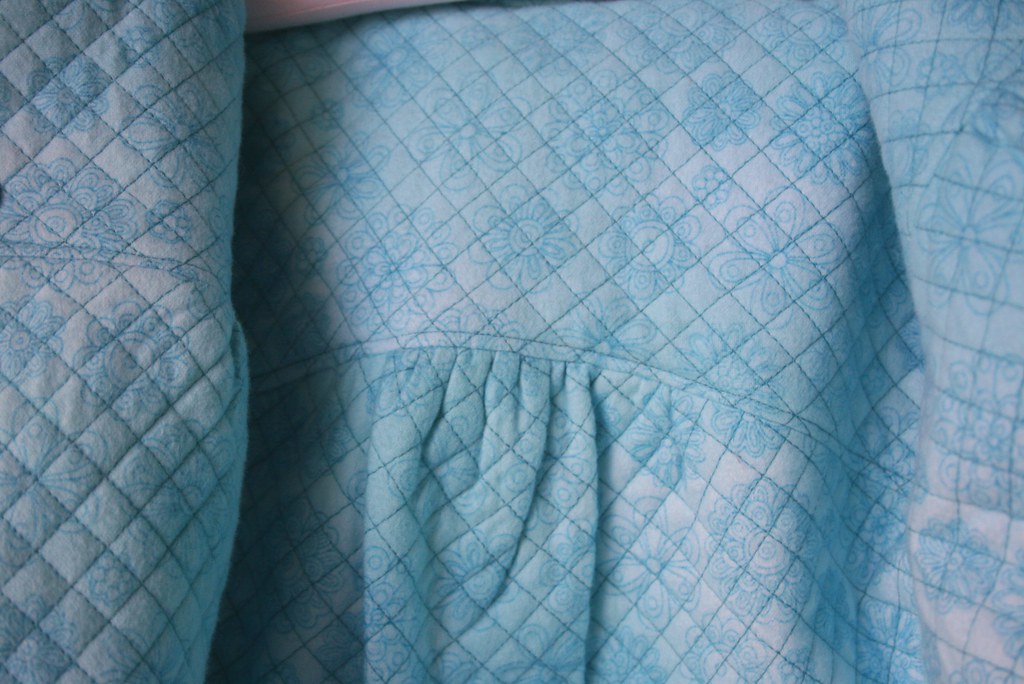
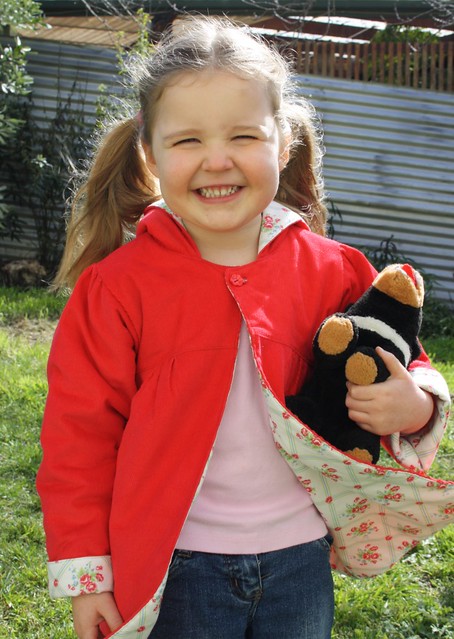
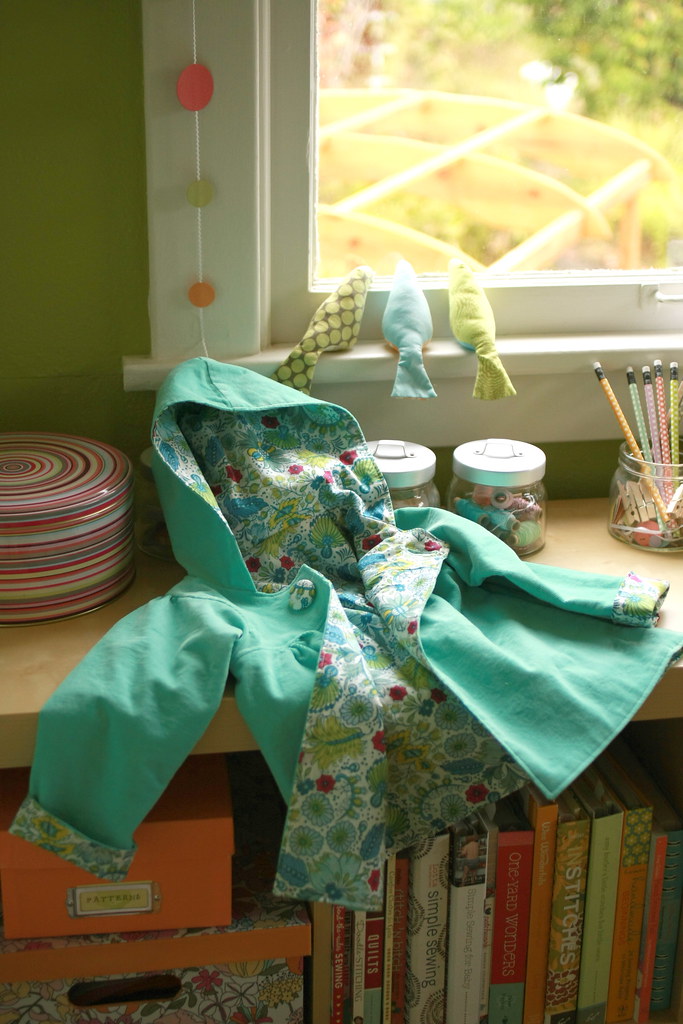
Of course, one of the best things about it all is receiving photos of your finished garments. I love seeing your fabric choices and different twists you put on my designs. Here are some Uptown Girl photos that have been shared with me via the Make It Perfect Flickr group or your blogs…