Indie Sewing Patterns

.The first Tova.

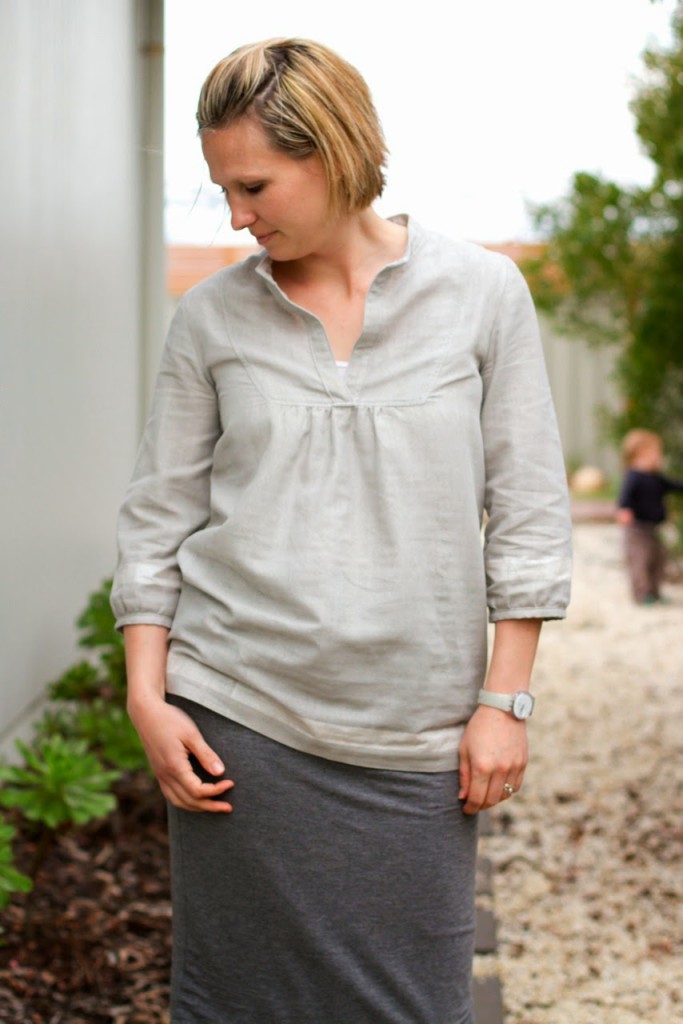
The Tova. 


This pattern has been sitting in my “to sew” pile for years. I know I am probably one of the last people on the earth to make this top, but sometimes I like to wait until the fad has passed so that I can have a good look at what everyone else has made – read reviews, suss out fabric choices, etc. The blogging world is great like that, usually before I start sewing any pattern I’ll do a few searches (Google, Flickr, Pinterest, Kollabora) for others who have made it, it really helps when choosing fabrics and making alterations.


So, a couple of weeks ago I started to have wardrobe crisis. Wardrobe crisis seems to happen with the change of every season, doesn’t it? Everything seems old and boring and you just want to freshen things up a bit. I used to turn to the shops when wardrobe crisis crept in, but now I turn to my sewing room! I haven’t bought new clothes forever and I like it like that (kind of helps to justify my fabric buying addiction!)

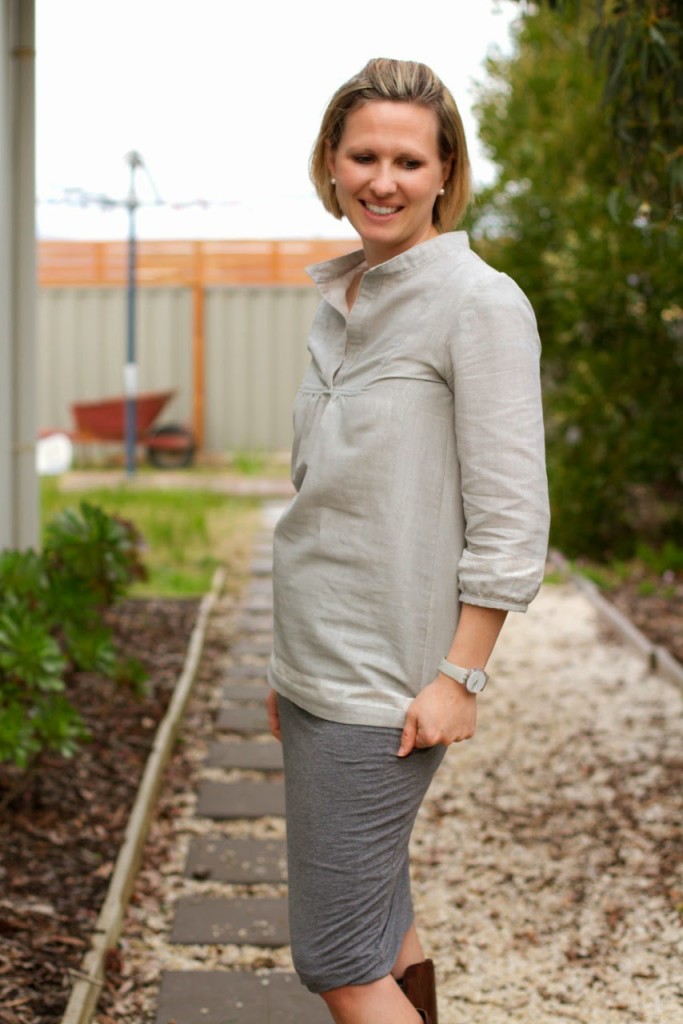
We are starting to have some warmer days (just a few, but enough to give hope for Summer’s arrival!) and I knew that the Tova would be great for in between seasons. The cropped sleeves and open neckline are just right for those warmish-coolish days when you’re not sure if you should be wearing a tshirt or cardi.

My measurements placed me exactly in a size small for everything, so I pulled out some of my favourite Nani IRO and got sewing. The Tova was a lovely sew, quite fast and easy and everything came together beautifully…

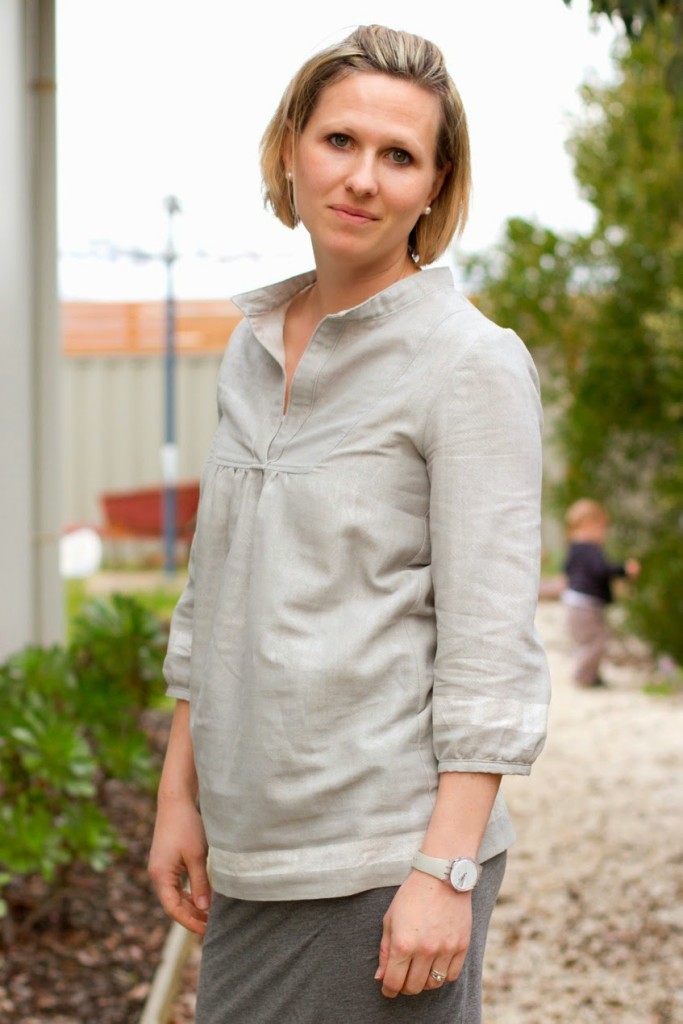
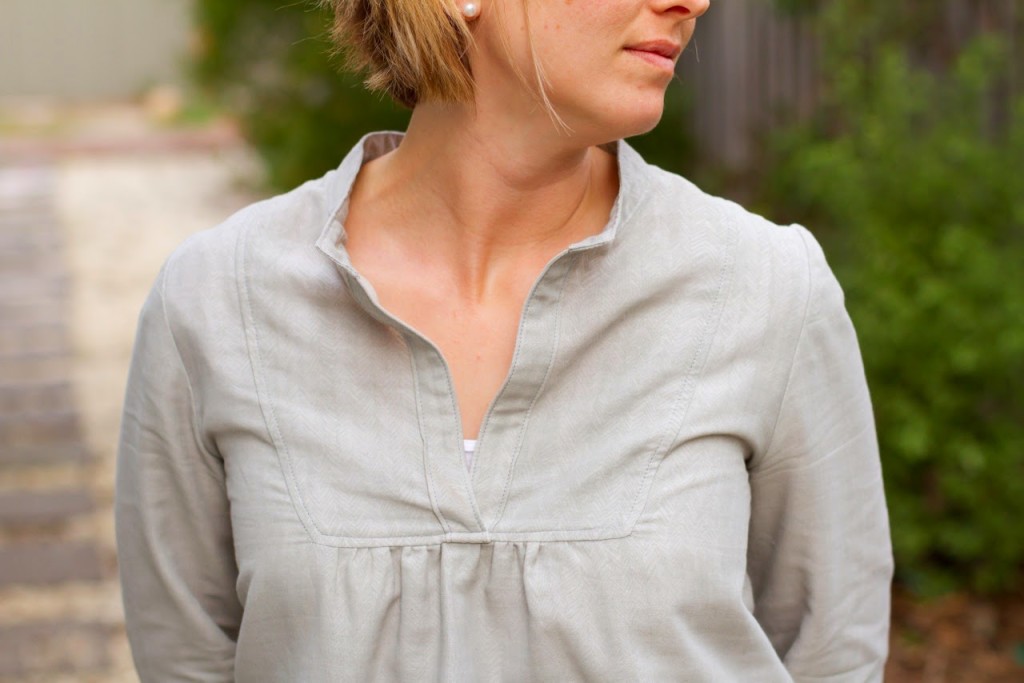
…but the fit is not good on me! I don’t think these photos really give a great indication of how tight the top is across my bust and upper back, but it is…really tight…like so uncomfortable that I only wore the top for a morning and then had to take it off because my underarms were so sore!! I haven’t read of other people having this problem before though, and I do have wide shoulders (thanks Dad!), so think that the fit issue is probably just unfortunate for me that my body shape doesn’t quite suit this particular pattern. And that’s the beauty about sewing for yourself, you can chop and change and alter away until you have something you are completely happy with!

You can see how tight the fabric is pulling from my underarm to bust in the photos below:
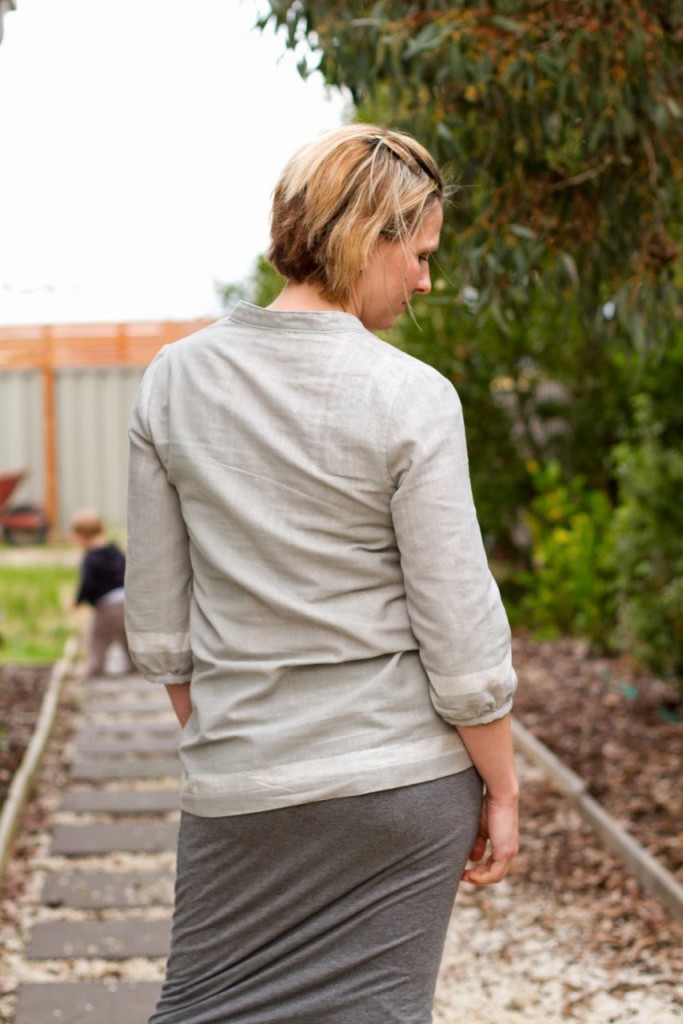
And across the back, when I stand up straight, there actually isn’t any bagginess across the upper back like you can see below:
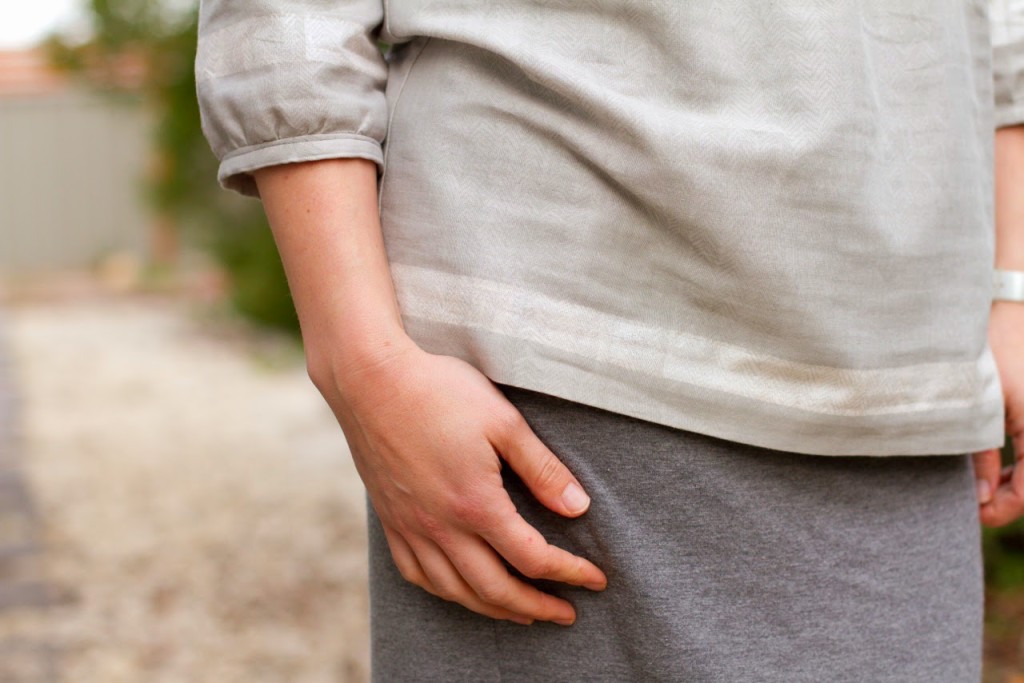
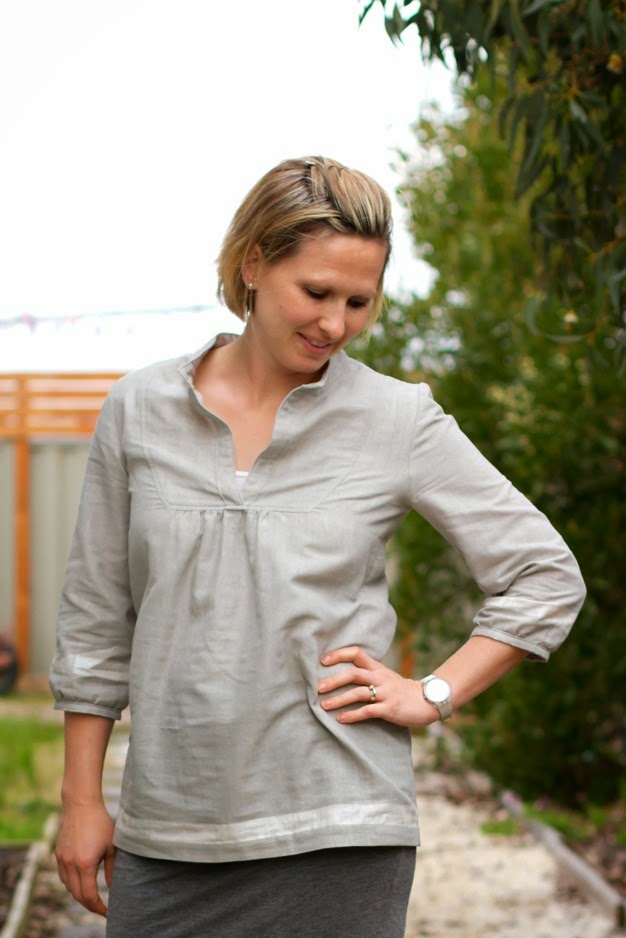
Fit issues aside, let’s talk a bit about this amazing fabric though. I’m a little bit sad that it has ended up being used on a top that I will rarely wear but it is just gorgeous, isn’t it? This Nani IRO double gauze is a lovely silvery grey with a subtle pencil stroke herringbone print all over it. The fabric had a metallic pearl border strip that I placed on the hems of top and sleeves – and I managed to cut the whole thing out of 1.5m of fabric with just a few little scraps to spare!

As much as I love everything about it, I’m sad to say that this top will probably be given to one of the sisters with narrower shoulders in the future – when I am ready to part with it! After all this I was determined to make a Tova that actually fit me so next I made a muslin (yep, should have done that first!) – will be back to share that soon!

SUPPLIES:
Wiksten Tova sewing pattern
Nani IRO double gauze, Herring Bone Pencil in Feather purchased from Miss Matatabi

Joey, Make It Perfect, Skippy

.Skippy & Joey Hop.

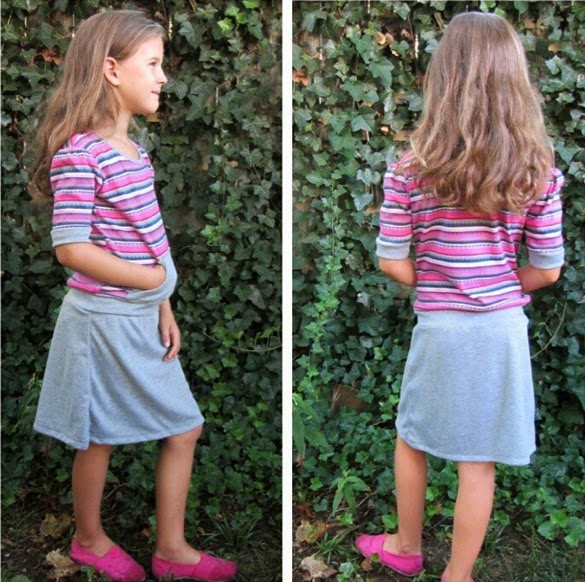
I’m back with some more great dresses (and a top!) in the Skippy & Joey Hop! 
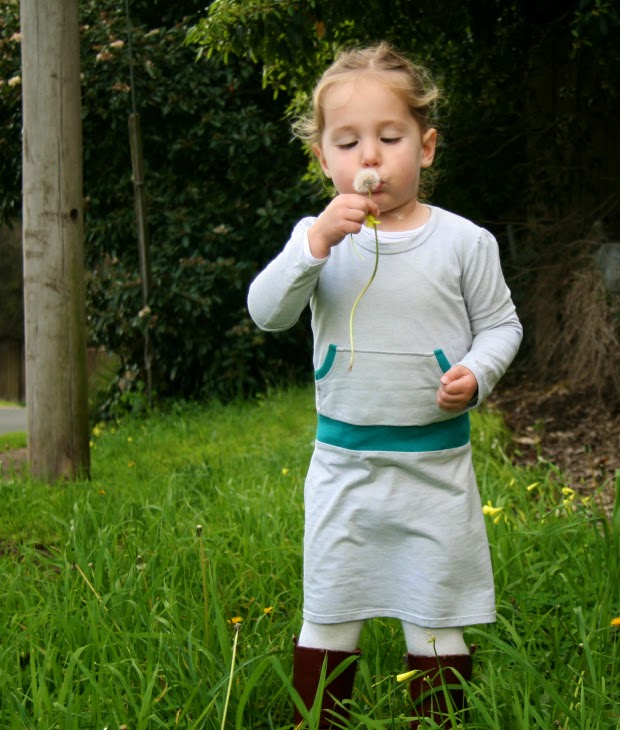
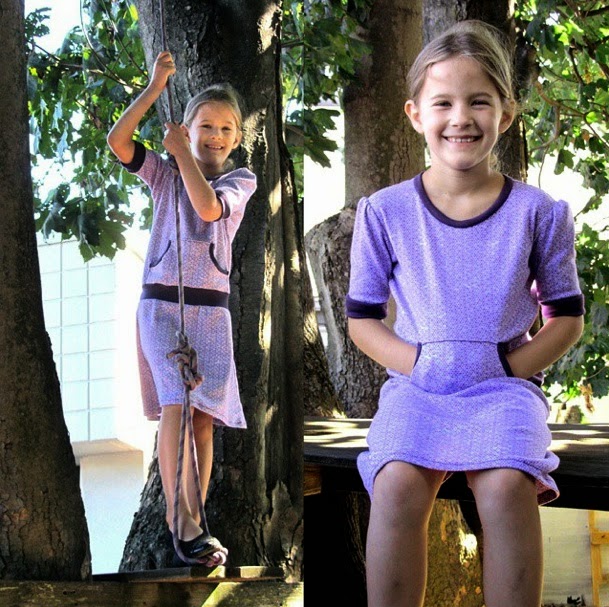
Renee from Nearest the Pin was one of my pattern testers and I love the simplicity of the grey with emerald green trim she used in her daughter’s Joey dress.

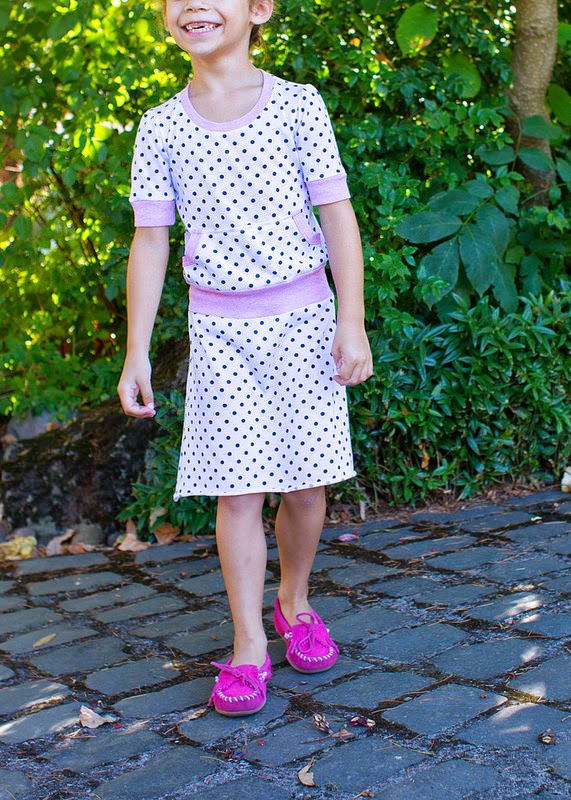
Kirsten from Skirt As Top sewed her little cutie a Joey dress to wear to her first day at school! The polka dots are pretty awesome and you can’t help but feeling happy when you see her daughter’s crazy funniness in the photoshoot!

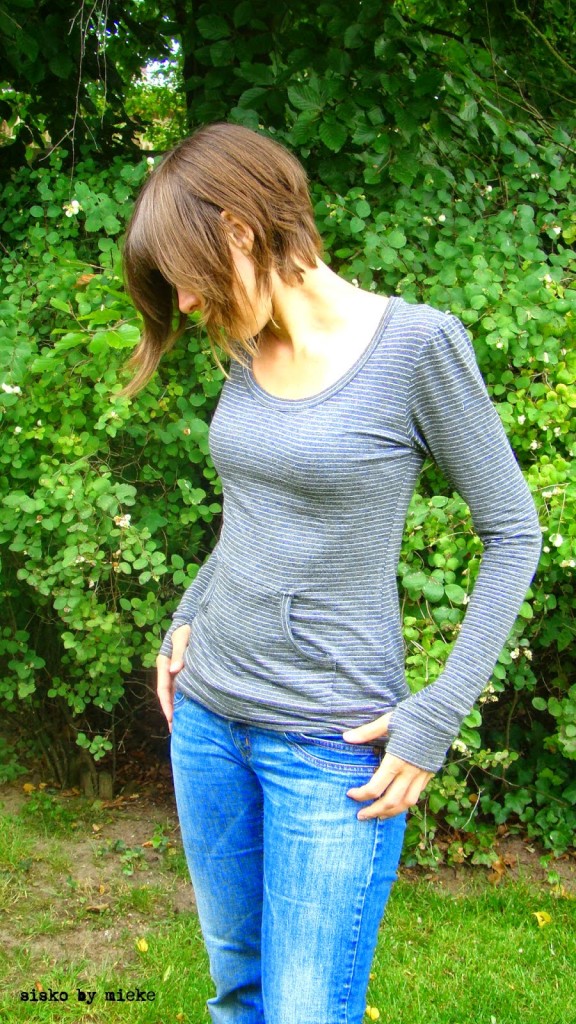
Sisko by Mieke made herself a Skippy top. She started out sewing a dress, but ended up leaving the skirt part off and I’m feeling inspired to do the same! Oh, and the cool thumb holes in the sleeves – awesome!

And I came across these little beauties from Kaya’s Kloset on Instagram and just had to share. When Johanna isn’t sewing clothes for herself and her daughter she keeps herself busy making the cutest baby shoes and slippers.

I hope you are feeling inspired! I’ll be back with more soon and in the
meantime, if you would like sew these dresses for yourself you can
purchase them here:


{For more inspiration, visit the first Hop post here!}
Other

.Sew Box Subscriptions.

My postie knows me pretty well…he seems to drop in every couple of days, beeping his horn as he pulls into the driveway, with a parcel to drop off. I’m a massive online shopper, actually I can’t remember the last time I went to the shops just for a look around. It could have something to do with where I live and the lack of a big shopping centre, but I have become so accustomed to shopping online – the convenience of shopping around from store to store at any time of the day or night and having my orders delivered to my door.
Usually when the postie arrives I know exactly what is going to be inside the box, but last week a mysterious box arrived in the mail and I was so excited to see what was inside!

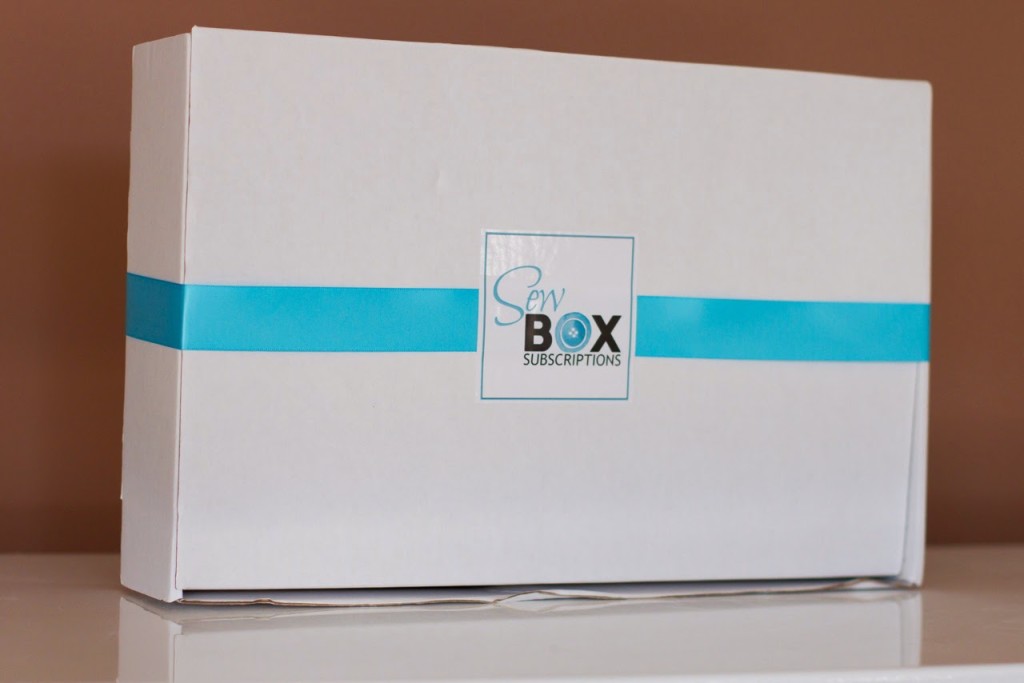
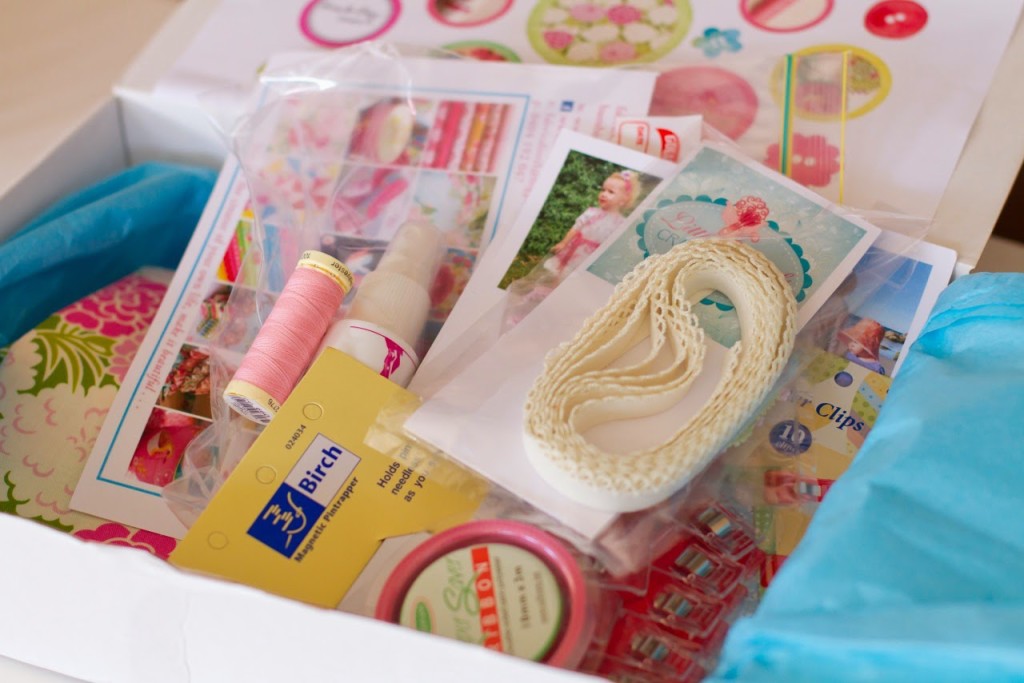
Leesa from Sew Box Subscriptions recently contacted me to see if I would like to receive an exclusive preview Sew Box in the mail before the first official box is sent out – yes please! And it did not disappoint…the box was beautifully packaged and choc-a-block full of a fantastic assortment of sewing products and vouchers.
When you subscribe to Sew Box Subscriptions you will receive a monthly box full of unique and interesting sewing products for you to add to your collection and try out. The box is not a kit to make a specific project, but more a selection of hand-picked products for you to sample that can be incorporated into your sewing time. You can read more about what to expect in your box here, as well as a list of everything included in the preview box I received.
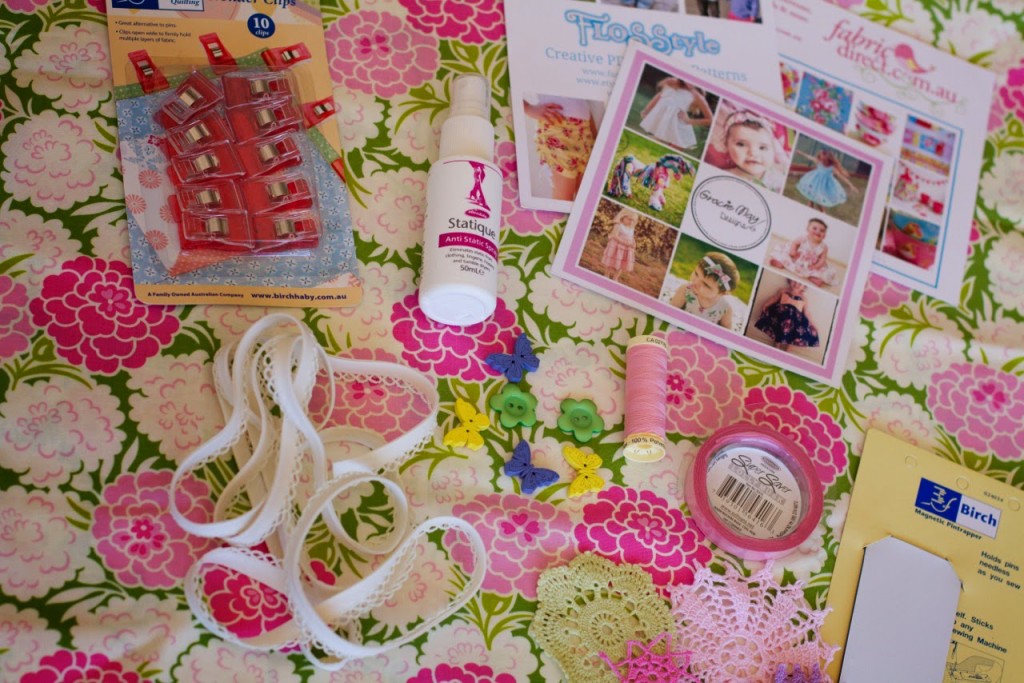
Whether you are new to the world of sewing and looking for a way to increase your supplies or simply want to be inspired by something new each month, Sew Box Subscriptions is the perfect way to get motivated to do some sewing! 
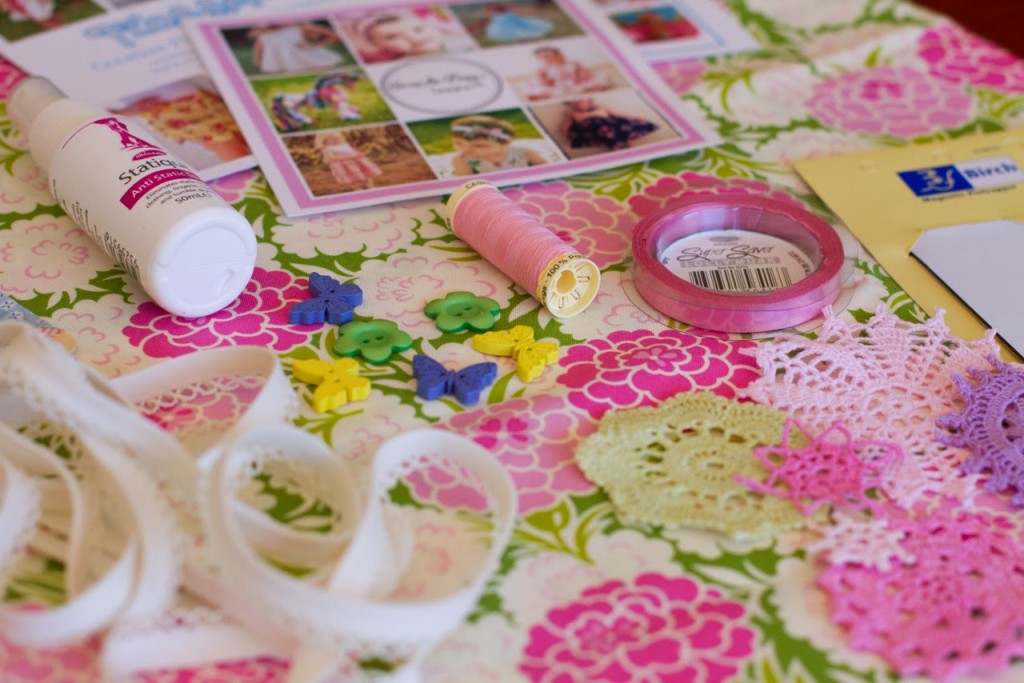
To take out a subscription to Sew Box Subscriptions, go here and sign yourself up – you won’t be disappointed! 
Indie Sewing Patterns

.Three Zippered Pouches.

I’m a mega list-maker…I’ve got lists of things to do today, this week, this month, lists of dinner ideas, lists of things to sew, lists of things to blog about…you name it, I’ve got a list for it! One of my most useful lists though is a list of presents to give people for their birthdays. Family members each have their own lists, but I also keep a list of ideas for presents to give to friends. It helps with the last minute “not sure what to get them” rush as I have lots of ideas at my fingertips…

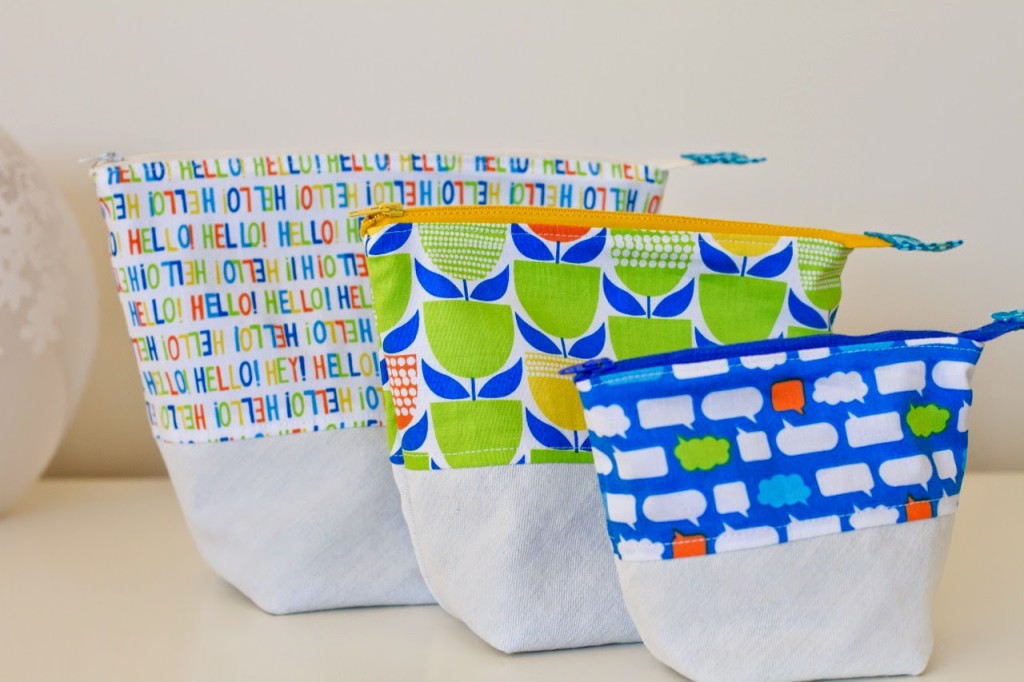
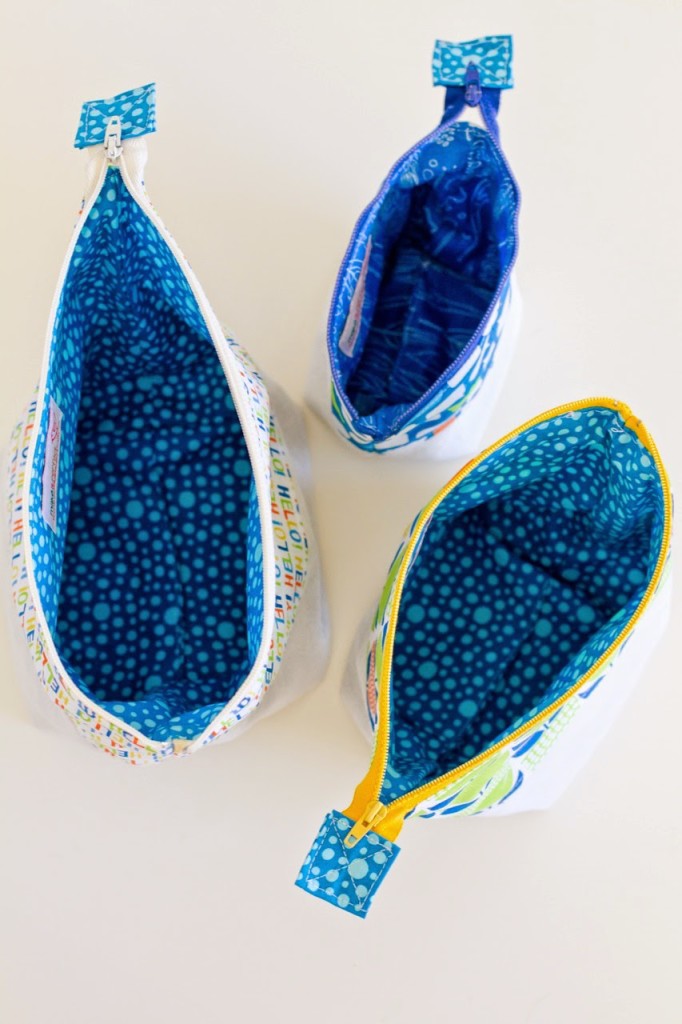
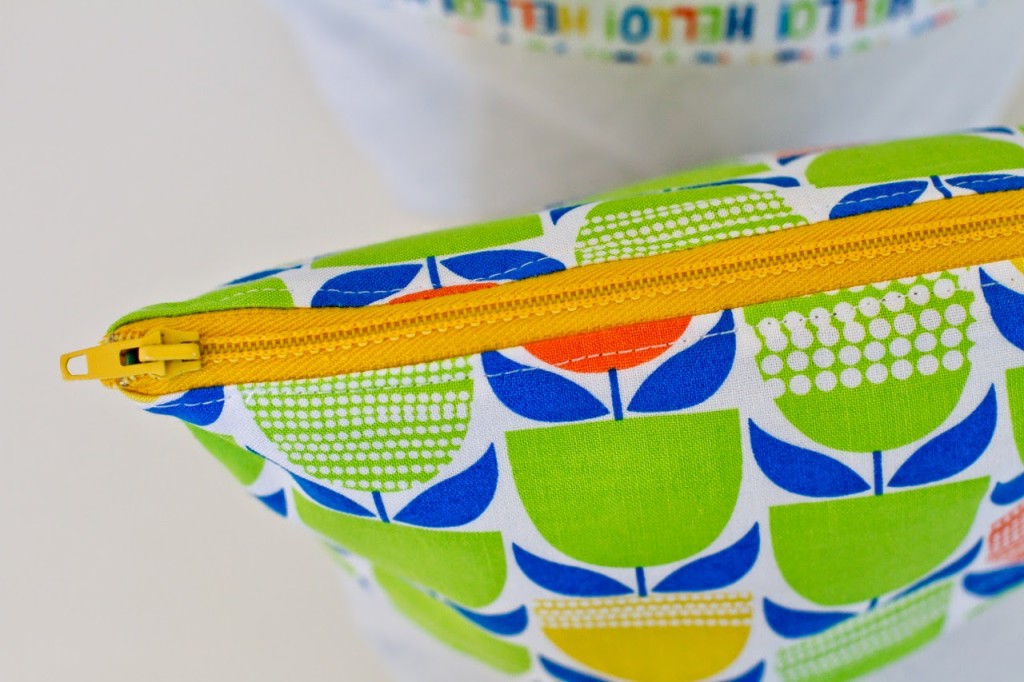
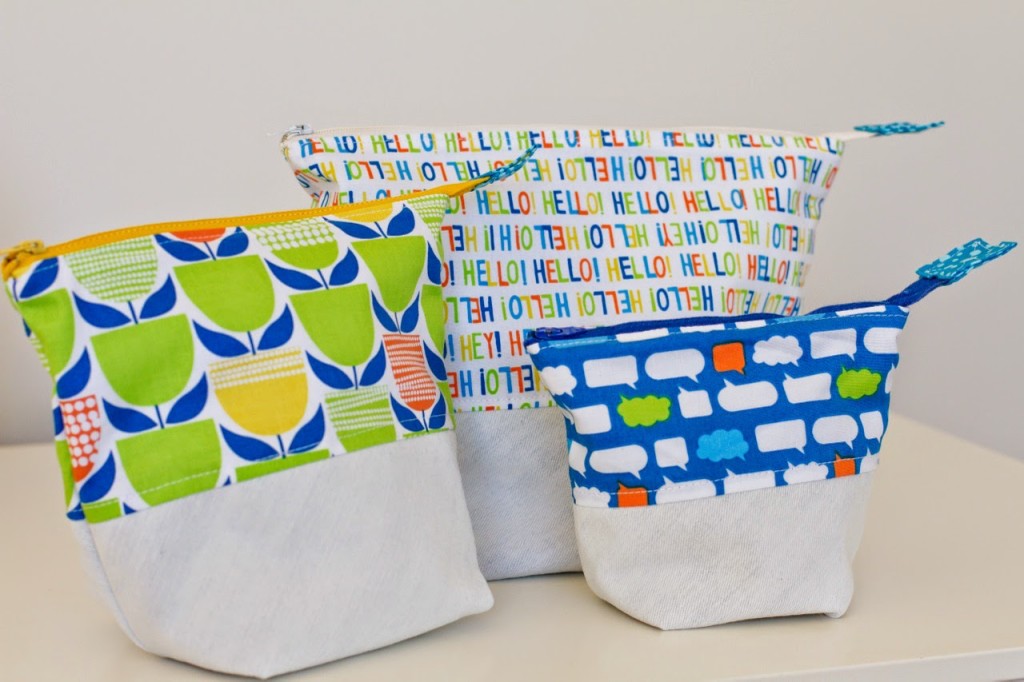
…Like these Open-Wide Zip Pouches (a free tutorial from Anna of Noodlehead.) I hadn’t made Anna’s Zip Pouches before, but have seen them made dozens of times so knew they would be perfect as a handmade gift for friends. I accompanied these pouches with a bag full of gourmet homemade trail mix (with lots of yummy treaty bits mixed through!)

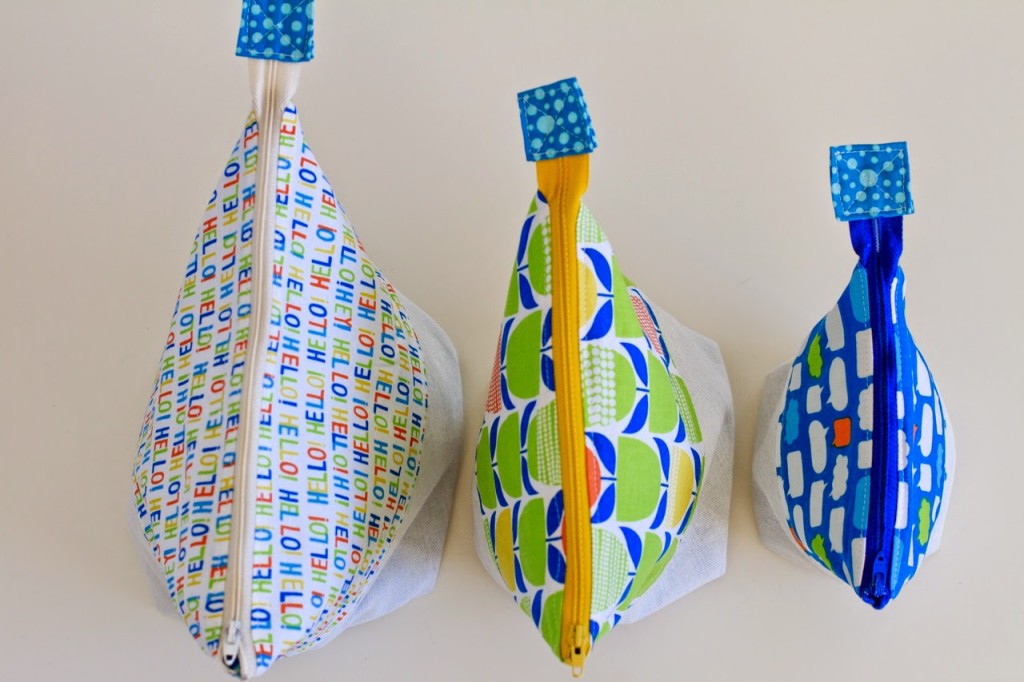
There are three different sizes given in the tutorial (although you could easily adjust the dimensions to suit yourself) and I knew that a trio of pouches would look great together. I actually stuffed up the dimensions a little so the finished pouches ended up a little taller and not as wide as they are supposed to be, no big deal though!

 
I really like the two-toned zippered pouches, on the bottom part of mine I cut up an old denim skirt that I haven’t worn for ages. Its a really light, washed denim and looks lovely paired with the bright coloured fabrics. I think I’ve come up with a use for all of the old pairs of jeans I have saved up for repurposing now!

 It was fun digging through my big stash of quilting cotton and choosing some fun prints. Now that most of my clothing sewing is using knit fabric and there are so many more apparel fabrics avaliable I don’t turn to my quilting cottons as much anymore. I forgot how fun they are!

 SUPPLIES:
Noodlehead, Open-Wide Zippered Pouch tutorial
Repurposed denim skirt
Erin McMorris, Moxie Talk Talk in Grass
Erin McMorris, Moxie Buttercup in Grass
Erin McMorris, Moxie Chatroom in Royal

Cooking, Thermomix

.Thermomix Cooking: Birdseed Bars with NO refined sugar.

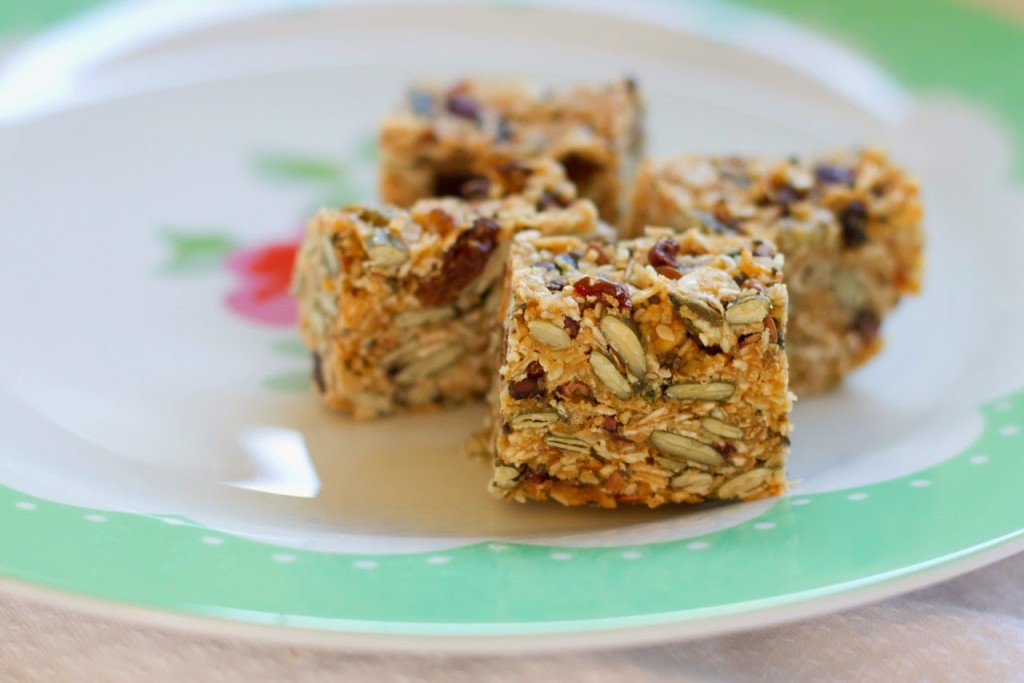
Sharing a recipe for Birdseed Bars today – with no refined sugar! And they can be nut, dairy and gluten free too if you make some simple changes. These homemade muesli bars are sweet and chewy with tonnes of flavour. I can even manage to get my pickiest kids to have a little piece with afternoon tea so that makes it an instant winner in my books! 

There are lots of recipes for homemade muesli bars out there, but most of them are laden with sugar, honey and peanut butter. Probably better than a store-bought bar, but still not ideal. These are much tastier and filling than anything you will buy in a box! The best thing about them is that you can make them with pretty much any dry ingredient you have around or want to add in…leave the oats out and replace with lots of chopped nuts, increase or decrease quantities of seeds, etc. Work with what you like to eat and what you have in the pantry!

This recipe is for Thermomix cooking, but you can easily make it on the stove too by toasting the dry ingredients in a dry pan (stir often and check that it doesn’t burn!) and then bring the wet ingredients to boil for 4 or 5 minutes in another pan.

Birdseed Bars
100g rolled oats
60g sunflower seeds
60g pumpkin seeds
40g sesame seeds
20g chia seeds
80g coconut
40g wheatgerm
120g butter or coconut oil
120g rice malt syrup
160g dried fruit, chopped (sultanas, apricots, dates, cranberries, goji berries, etc.)

Place dry ingredients (not fruit) into Thermomix bowl and toast for 5 minutes on varoma temperature, reverse speed 1. Remove from bowl and set aside.
Place butter or oil and rice malt syrup into Thermomix bowl and cook for 6 minutes on varoma temperature, speed 4.
Add toasted dry ingredients and dried fruit into bowl. Mix together for 20 seconds, reverse speed 3.
Spread mixture into a square cake tin lined with baking paper. Press down firmly.
Place in the fridge to set and cool completely. Slice. 
Best kept stored in a container in the fridge.

VARIATIONS:
To make gluten-free, leave out the oats and replace with more seeds, nuts, puffed rice, quinoa flakes, etc.
As long as your dry ingredients measure about 400g, you can pretty much add anything you like to the mix!
A small handful of cacao nibs are a delicious addition.