What started out as a lovely Sunday afternoon family stroll with little ones zooming around the streets on their bikes… …ended in tragedy.
Wilsy, wilsy, wilsy. What are we going to do with you, poor little girl with a smashed up face. You won’t eat, drink or sleep because it is sore. What are the chances of this happening when we had a photo shoot planned up with Miss Fiona later on next week. I know she is a whiz but I don’t know that her photoshopping skills can make this look okay!!!
(Thanks for the GREAT feedback in the last blog post and lots of emails that I have received regarding pattern sizing…I’ve got lots to think about now and need to make some decisions. Will let you know when I have worked it all out, I am excited about catering for older children though!)
Getting there with the house pics! Looking at these photos makes me realise how bare our walls are! I didn’t mind so much when we first moved in, but am ready to start some serious decorating now 🙂
Starting at the front door…it opens into a loooong hallway that goes all the way to the other end of the house. (Check out how dirty the grey weather boards are – that’s what happens when you have no grass outside! We should be getting topsoil down and start planting some grass in the next couple of weeks and then we can give the outside of the house a good clean.)
And looking back down the hallway from the dining room. We contemplated painting the inside of the door pink too but thought it would make the end of the hallway too dark. The door to the left goes into the garage/laundry and the break in the wall to the right to the lounge room. What to hang on the green wall? I’ve been thinking of a collection of fabric covered canvases all in different dark brown prints…any other thoughts?
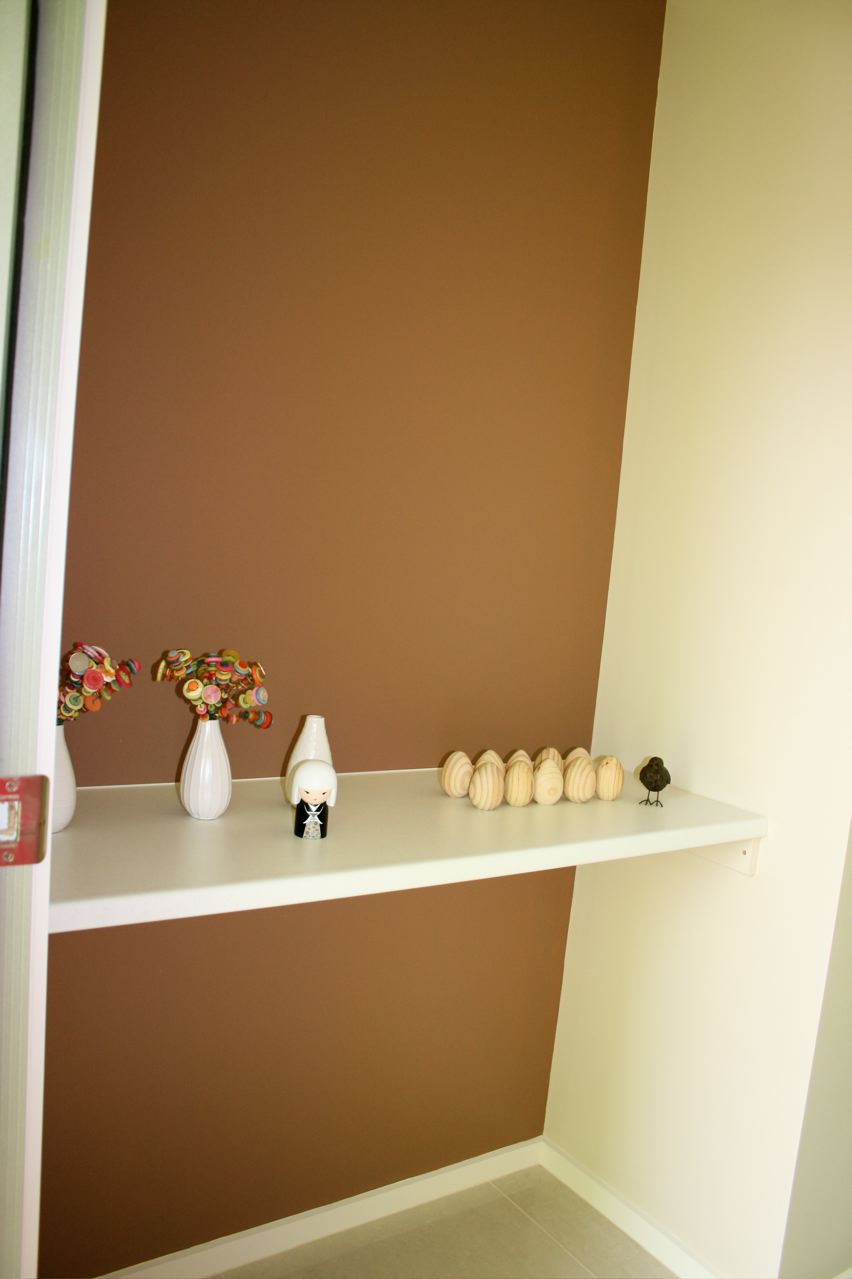
Just as you walk through the front door there is an alcove in the wall with a built in bench. This is going to be a “pretty” area 🙂 I am on the look out for a BIG ornate frame that I can paint a solid colour and hang on the wall. Also going to find some nice baskets to sit on the floor to hold shoes.
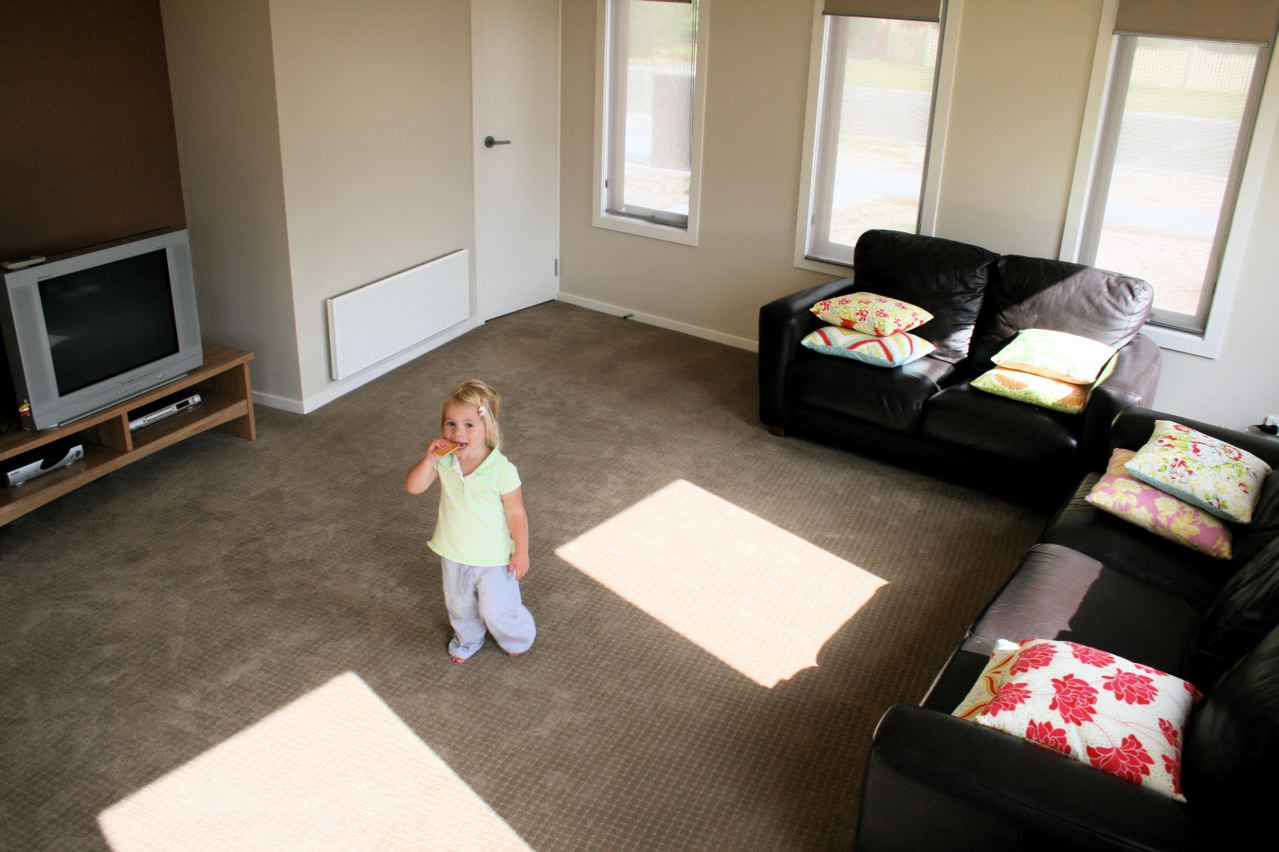
Into the lounge room…see what I mean about being able to keep an eye on the kids playing on the deck from here?!
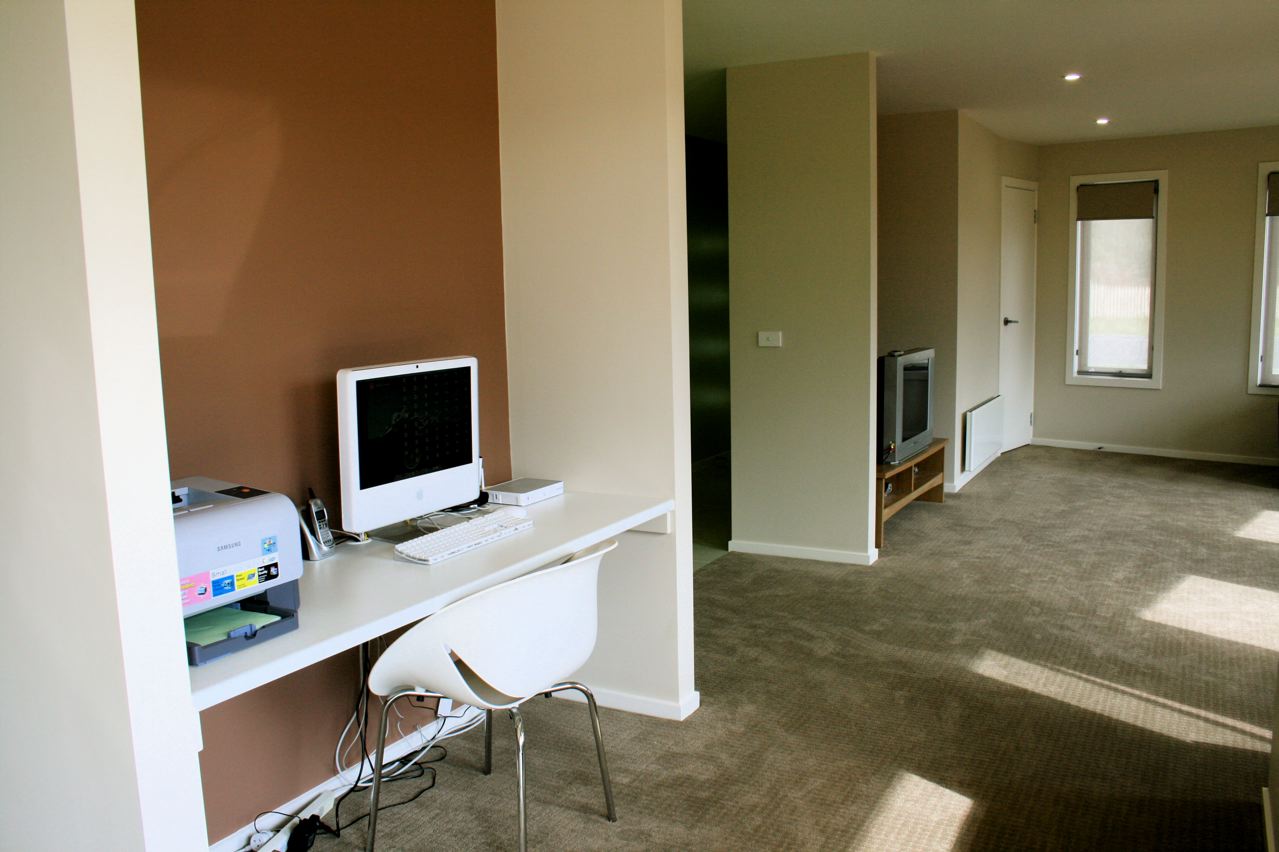
And this is our little computer nook. It sits in the wall between the loungeroom and the dining room. We installed a built in bench here too (same as in the front entry) so that we didn’t have to worry about a computer desk. Currently on the lookout for a little filing cabinet or drawer system to pop underneath and hide the cords – this is Tommy’s FAVOURITE place to play at the moment so we need to hurry up and find something that we like! And there you have it! I think all I have to share now is the studio…might be awhile because it is NEVER clean 😉
I’ve been thinking about Make It Perfect kids pattern sizes. Currently my kids patterns come in sizes 6 months – 5 years. From time to time I get requests from people to make the pattern sizes bigger and I’m trying to decide what to do about this.
The best way for me to do this would be to release a second series of the pattern, with sizes 6 years – 9 years. I’m more than happy to explore this option further, but want to know what YOU want.
If I were to release larger sized kids patterns, what size would you like to see the patterns go up to and which patterns would you like to see in larger sizes? Leave a comment or send me an email if you have any feedback to share!
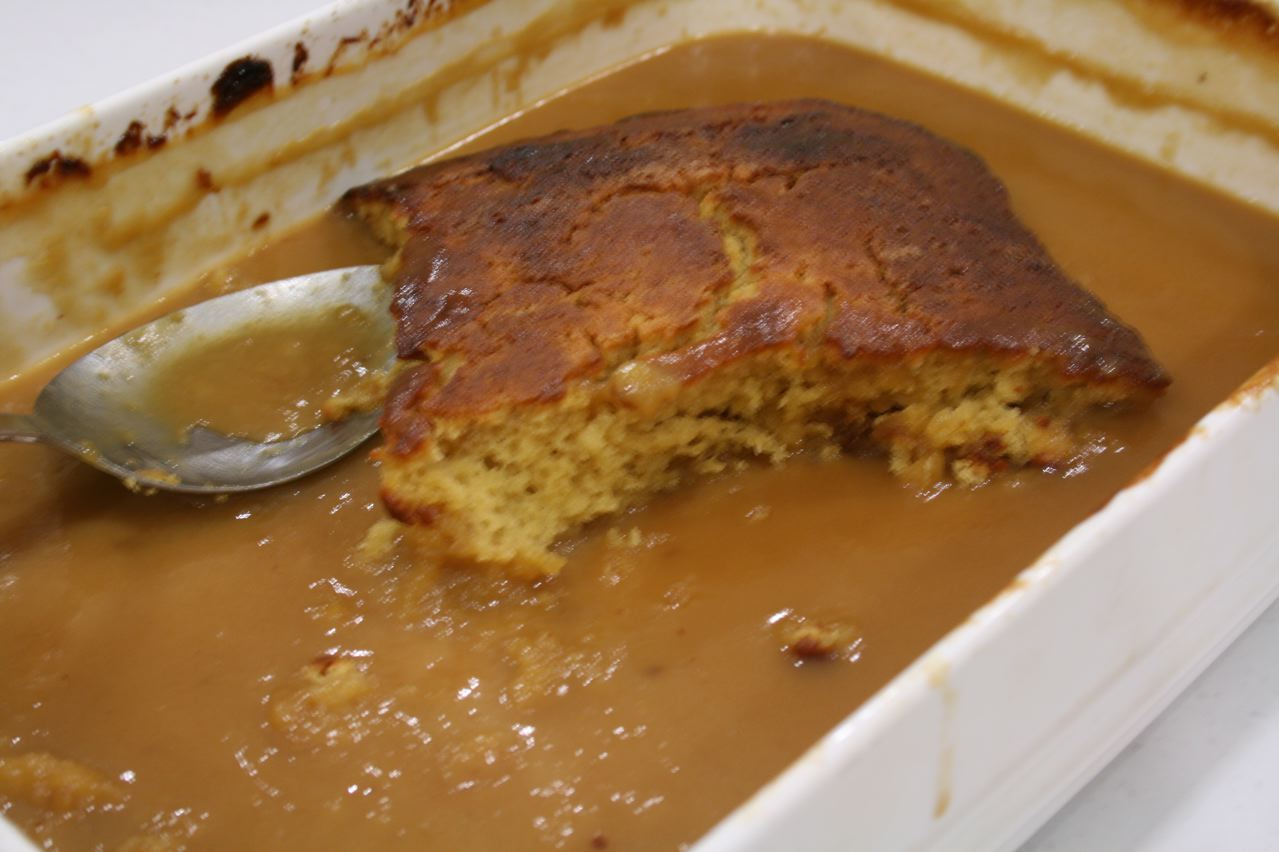
We had friends over for dinner on the weekend and I made this pudding which I haven’t made for years…forgot how good it tastes and simple it is to make. The pic shows the remains of the pudding after everyone had gone home (I think they would have thought I was a little weird if I started snapping photos of dessert while they were trying to dish up!!)
Butterscotch Self-Saucing Pudding
1 1/4 cup self-raising flour 1/2 cup firmly packed brown sugar 100g butter, melted 1/2 cup milk 1 egg 1 tsp vanilla essence Extra 1 cup loosley packed brown sugar 1/3 cup malted milk drinking powder 1 Tbs cornflour 1 1/2 cups boiling water 1/2 cup cream
Place flour and brown sugar into a mixing bowl and mix with a wooden spoon to combine. Pour butter, milk, egg and vanilla essence into a jug and beat with a fork until combined. Make a well in the centre of the dry ingredients. Pour in the combined milk mixture and beat with a wooden spoon until the mixture is smooth and well combined. Spoon the mixture into a greased 1.25L ovenproof dish. Put extra brown sugar, malted milk powder and cornflour in a small bowl and mix with a fork until well combined. Sprinkle this mixture evenly over the pudding mixture. Place the boiling water in a jug, add the cream and stir to combine. Carefully pour the cream mixture over the back of a large metal spoon onto the brown sugar mixture. Bake in moderate oven for 45-50 minutes.
I said I made two skirts for myself on Friday night…here is the second one.
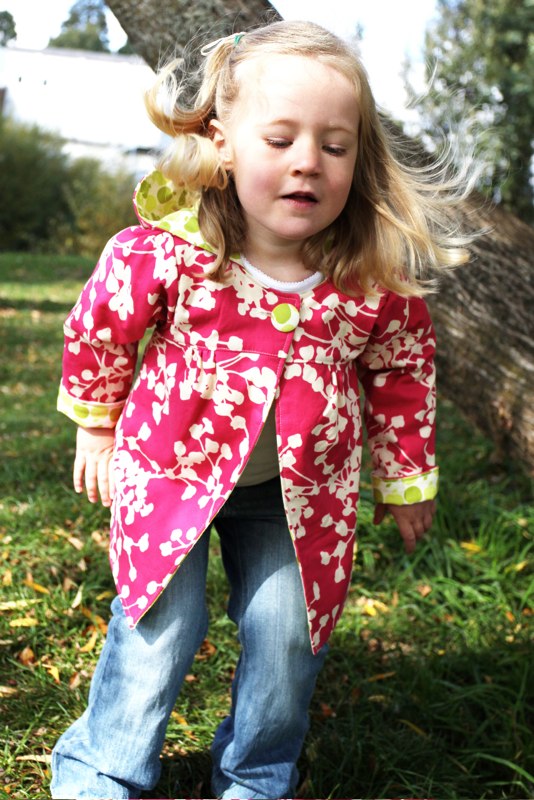
Have you seen Riley Blake’s Rainy Days & Mondays line? I saw it and then was smitten, imagining cute little Uptown Girl jackets for rainy winter days! So I ordered some (maybe more than some) and when it arrived I decided that Mum’s can wear green umbrellas too so settled on a new skirt for myself 🙂 I think its about time little girls start sharing the fun prints with grown ups!
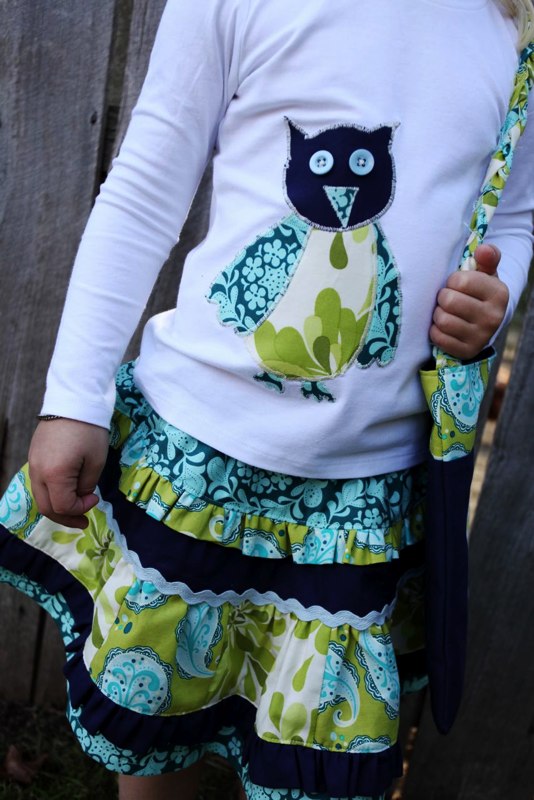
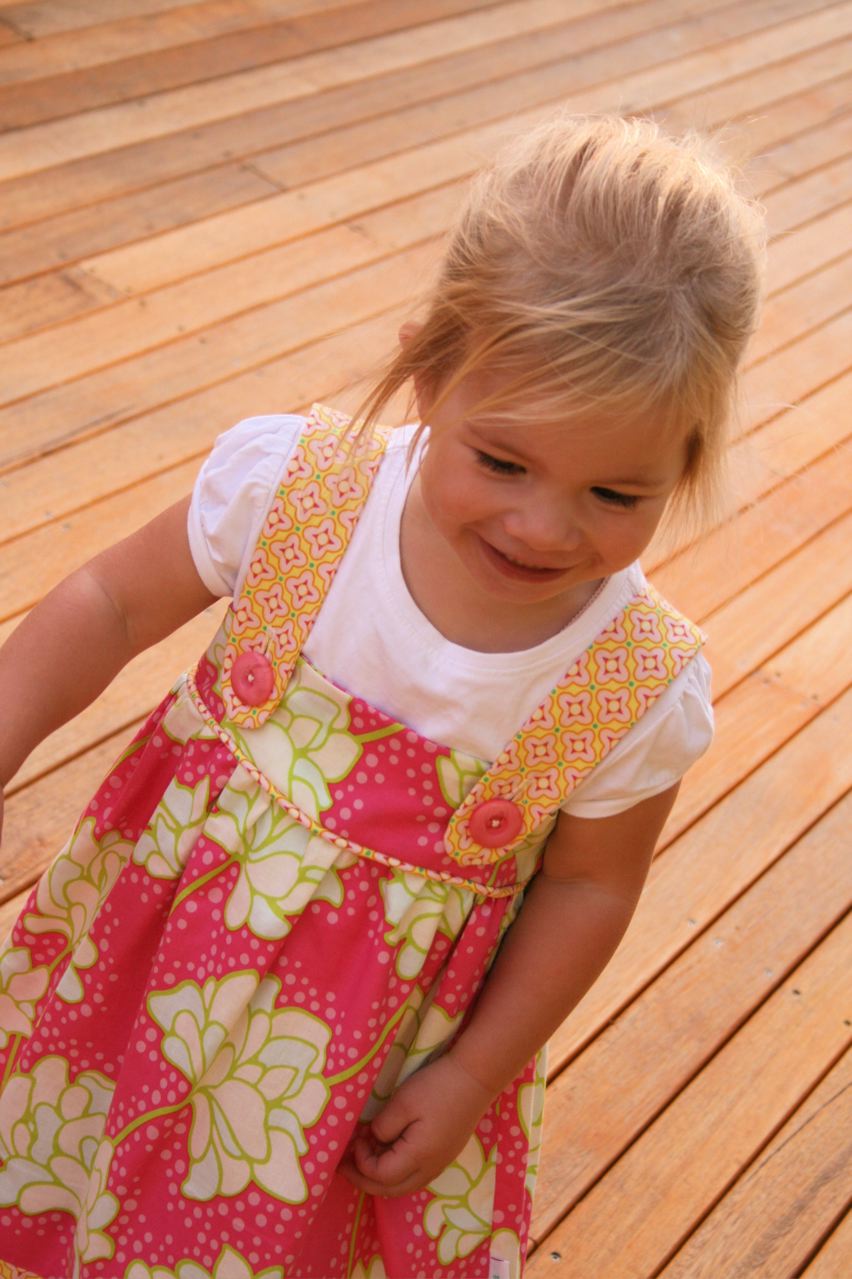
When we were getting ready for church this morning I was feeling over Lil’s current skirts and dresses so headed to the samples cupboard (yes, I have a whole cupboard full of Make It Perfect samples…thinking of opening an Etsy store and selling some of them off soon – would anyone be interested in purchasing?) and we chose this Party Girl Dress made from the Fab Frocks pattern.
She put it on and declared that I needed to take a photo of her…how could I resist??!
Gotta love a new dress and skirt!!
SUPPLIES: Riley Blake, Rainy Days & Mondays, Retro Umbrellas in Green Heather Bailey, Nicey Jane, Swing Toss in Pink Heather Bailey, Pop Garden, Peonies in Rose Heather Bailey, Bijoux, Tiled Primrose in Yellow