Browsing Category

Cooking

Cooking

.Clean eating homemade Weis Bars.

IMG_9228 IMG_9224 IMG_9223 IMG_9221

After the festivities and indulgent eating of December and January (because we all know holiday celebrations go on and on and on, right?!) I declared February sugar-free month.

Which is a big deal for me. I am a self-declared chocolate lover. I blame my Mum, and I she blames her Dad. In my 34 years of life, never have I once been able to go sugar-free for a long period of time. I think 7 days has been my max previously and it was hard. I was determined to give it a good crack this time though as I’ve dabbled in the Whole 30 and general paleo eating from time to time and know how amazing I feel after eliminating junk foods from my diet. It is just really, really hard to get started!

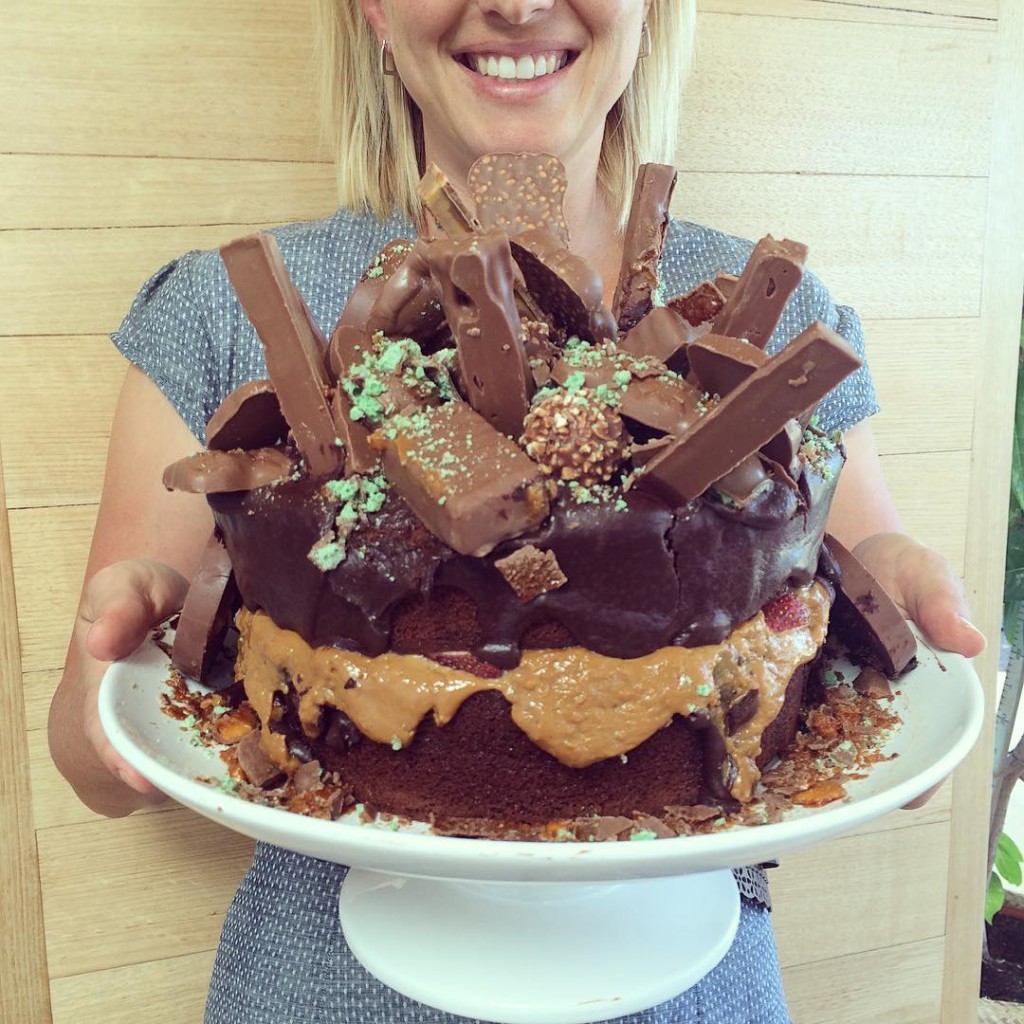
February is also my birthday month (the 9th) so I allowed myself a cheat day on my birthday and made sure it was worth every single delicious, chocolate overloaded bite! I made a chocolate mud cake and bought a heap of my favourite chocolates and let the kids go crazy with the decorating. It was good. And bad. And I experienced my first “sugar hangover” afterwards which was interesting as I have never been so affected by it before but obviously after just a week of eliminating it, I felt a difference when I introduced it again. It was good that I felt so rotten after though because I was encouraged to jump back on the sugar-free bandwagon again.

Another big incentive for me was the fact that I was to be a bridesmaid in my sister-in-law’s wedding and I wanted to be feeling good before the big day!

12819012_1043165815740273_1019891024_n

I know you are all hanging out for the results of Sugar-Free Feb, right?! I always scroll to the end of a post like this to see if it was worth it or not!! Haha! Well, firstly I’ll admit that I didn’t make it for the whole month. Just over 3 weeks. I’m determined to do another sugar-free month again soon though so that I can prove to myself I can handle 4 whole weeks! But by the end of my sugar-free time, I felt amazing. Funnily enough, I didn’t realise I felt good until I started eating sugar again and then when I ate it I realised how quickly I lost energy and started to feel puffy and flat. I was a bit disappointed that I didn’t lose much weight though – just 1kg! But my clothes did feel much more comfortable and I noticed that I had lost a lot of bloating and flabbiness around my tummy – my problem area. The difference was good enough that I wasn’t worried about what the scales said, I felt and looked different and that was good enough for me to feel happy about! 

People asked me how strict I was with all of the sugar-free rules. Basically, if I was eating processed/packaged food I tried to stay under 4g of sugar per 100g. As for adding sugar myself, I was happy to use a bit of rice malt syrup, pure maple syrup or natvia. If I was REALLY struggling, I treated myself to square of Pana Chocolate (this is my favourite flavour) – it isn’t technically sugar-free, but I felt good about eating a little piece a couple of times a week. They felt like easy enough to follow guidelines for me and I didn’t want to make it tricky or it would be too hard to follow through. 

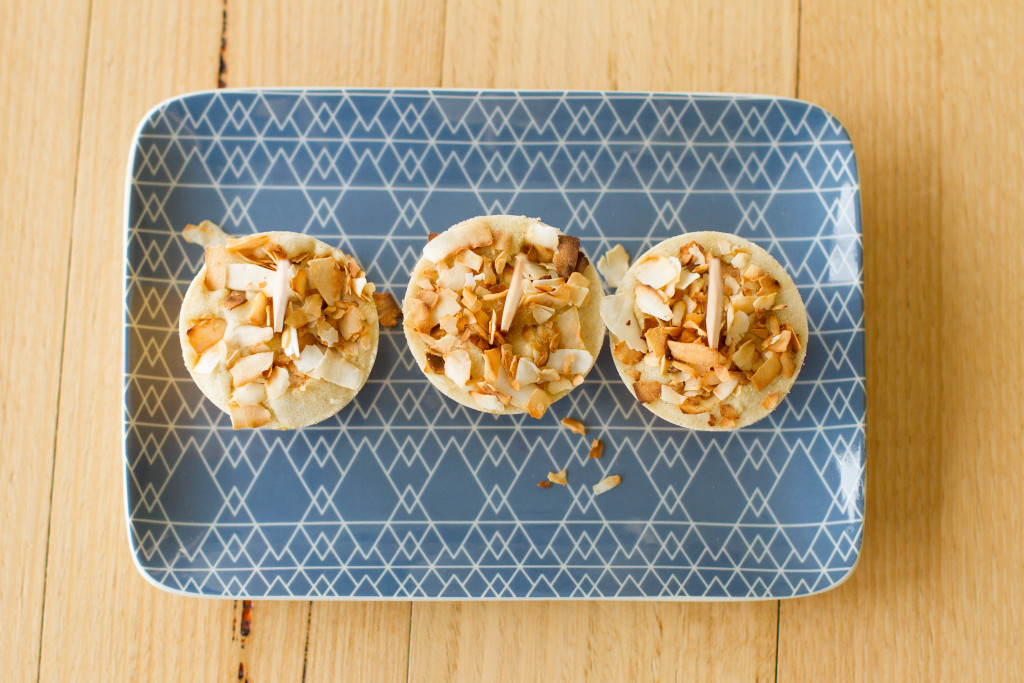
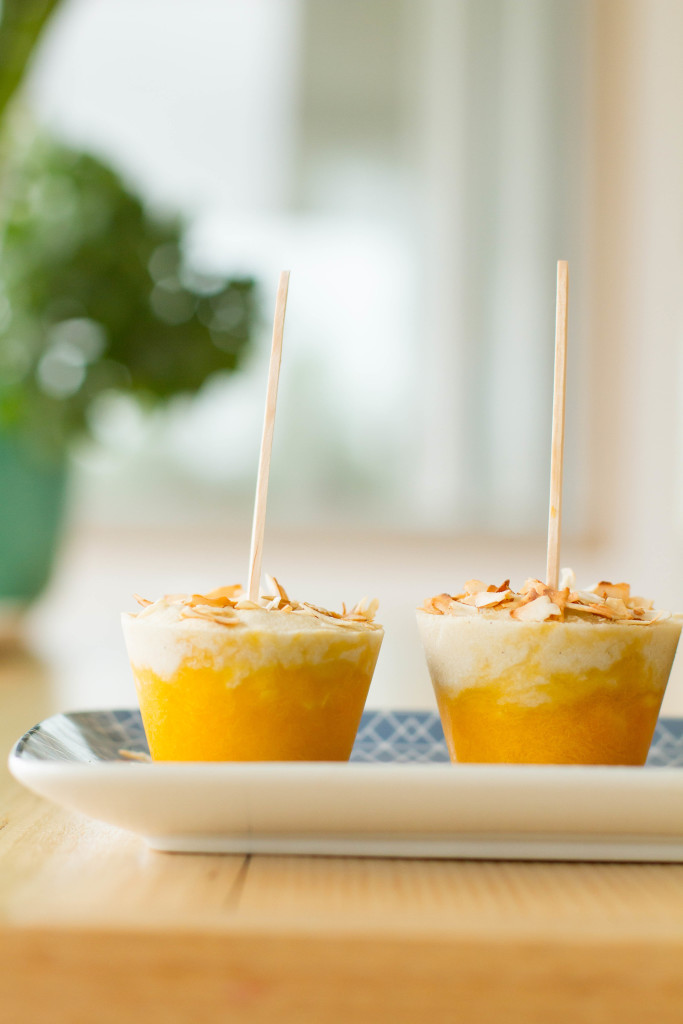
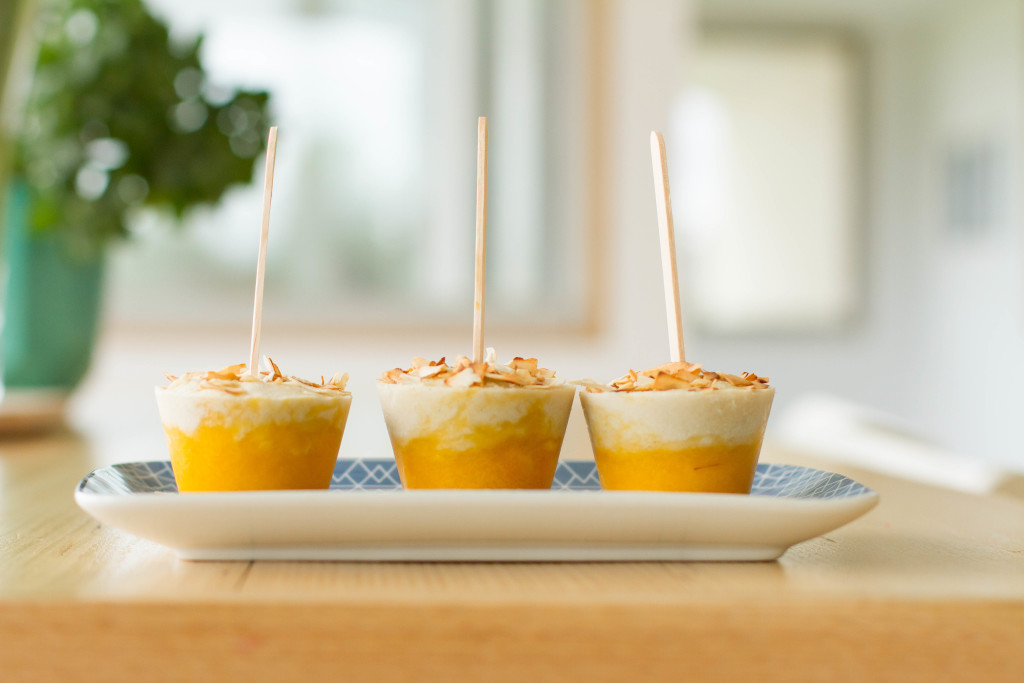
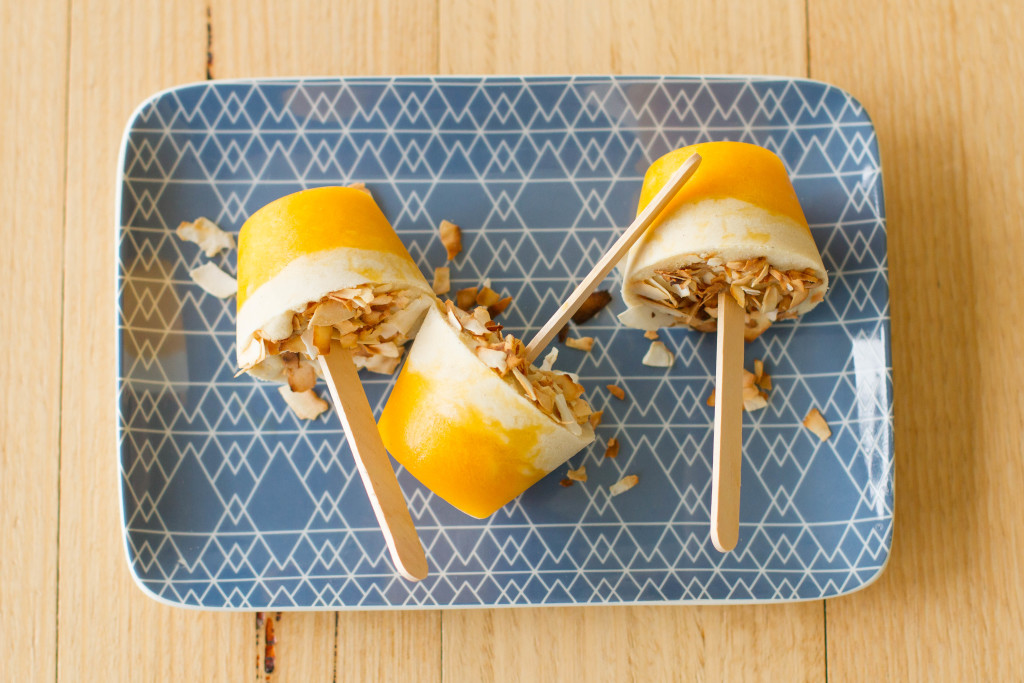
So, to keep myself sane, I managed to cook a few nice sugar-free treats to look forward to while I was on the cleanse. One of them was my homemade version of Mango & Macadamia Weis Bars. I think I must have been craving something cold and tasty as a post-dinner treat and these satisfied nicely. I sweetened them slightly with rice malt syrup, but the mango was lovely and sweet to start with the coconut cream has a sweetness to it anyway so I didn’t need to add much. The layers in these clean-eating Weis Bars are great – from fresh and fruity to smooth and creamy with crunchy macadamias and crisp toasted coconut throughout. Yum! If you are looking for a healthy, easy sweet-treat to make yourself then these are perfect to make up and pop into individual snap-lock bags in the freezer.


CLEAN EATING HOMEMADE WEIS BARS

2 fresh, ripe mangoes, mashed

1/4c toasted macadamia nuts, coarsely chopped 

1 tin coconut cream

2 tsp vanilla bean paste 

rice malt syrup (or maple syrup)

2 Tbs coconut flakes, toasted

Combine mango and macadamia nuts. Spoon mixture into ice cream moulds. (I used a deep, silicone muffin tin – but you can use anything you like. Or even make into a big slab and cut into bars when you are ready to eat.) Freeze mango mixture until it starts to firm up.

Mix coconut cream with vanilla and enough rice malt syrup to taste as sweet as you desire. (When I made my weis bars, I just mixed this together by hand. It was fine, but a little grainy so if you want a super smooth mix you might want to blend it in a processor first or even heat the coconut cream slightly so that all of the lumps disappear.) Pour over the top of the mango mixture in moulds. 

Sprinkle top of  coconut cream with coconut flakes. When mixture starts to harden but is still soft, stick ice cream sticks into the middle of the moulds. Freeze until completely firm. Remove from moulds and store in individual snap-lock bags in the freezer.

Cooking, Thermomix

.A Healthy Chocolate Thickshake.

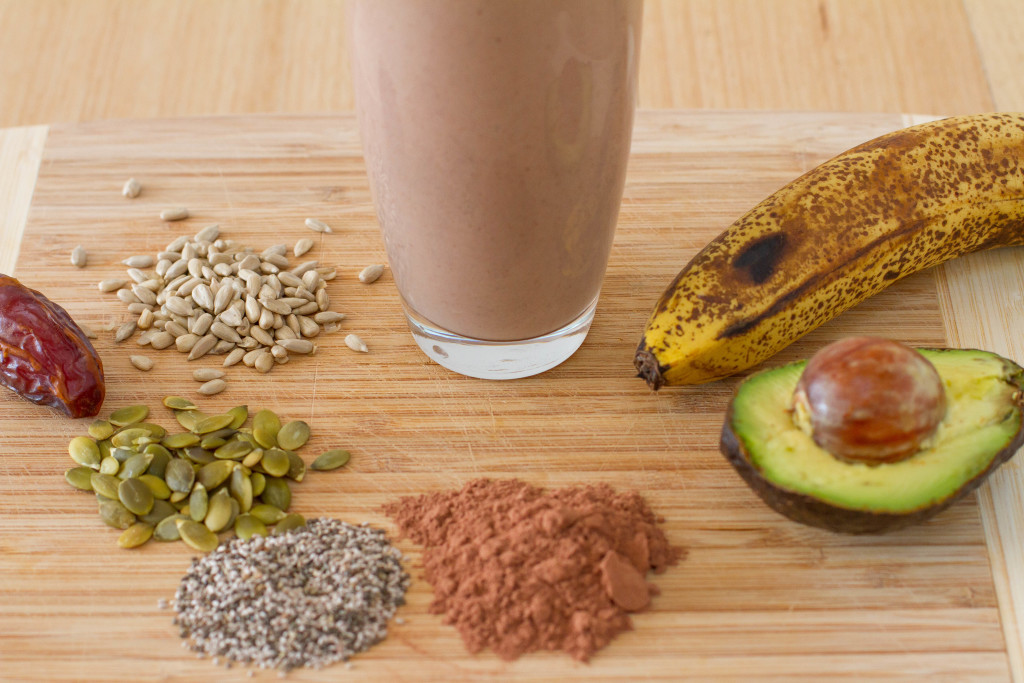
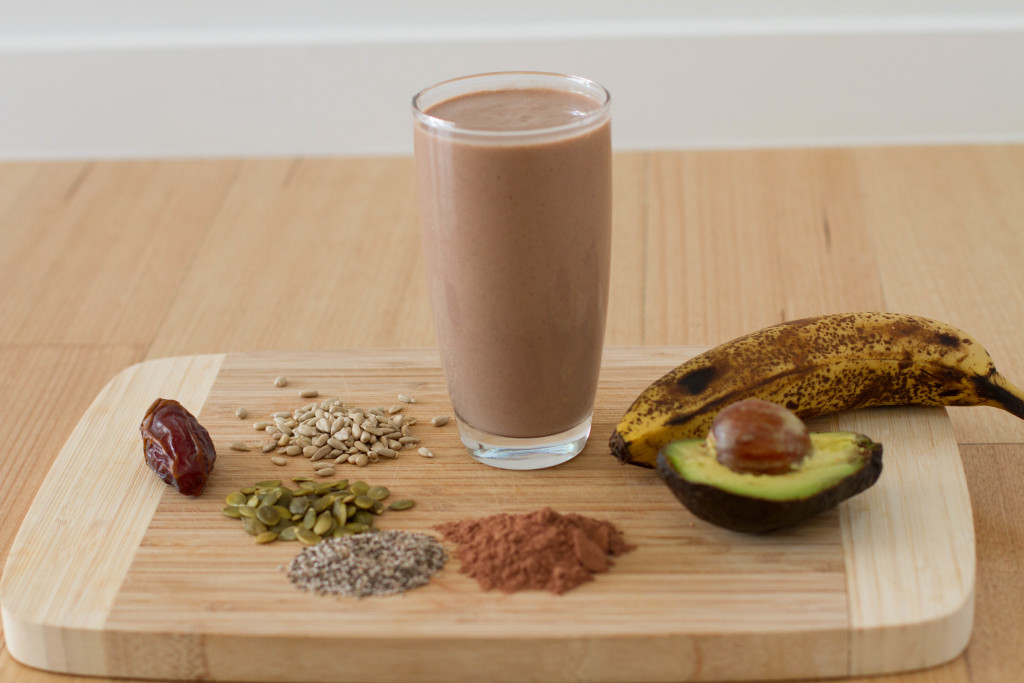
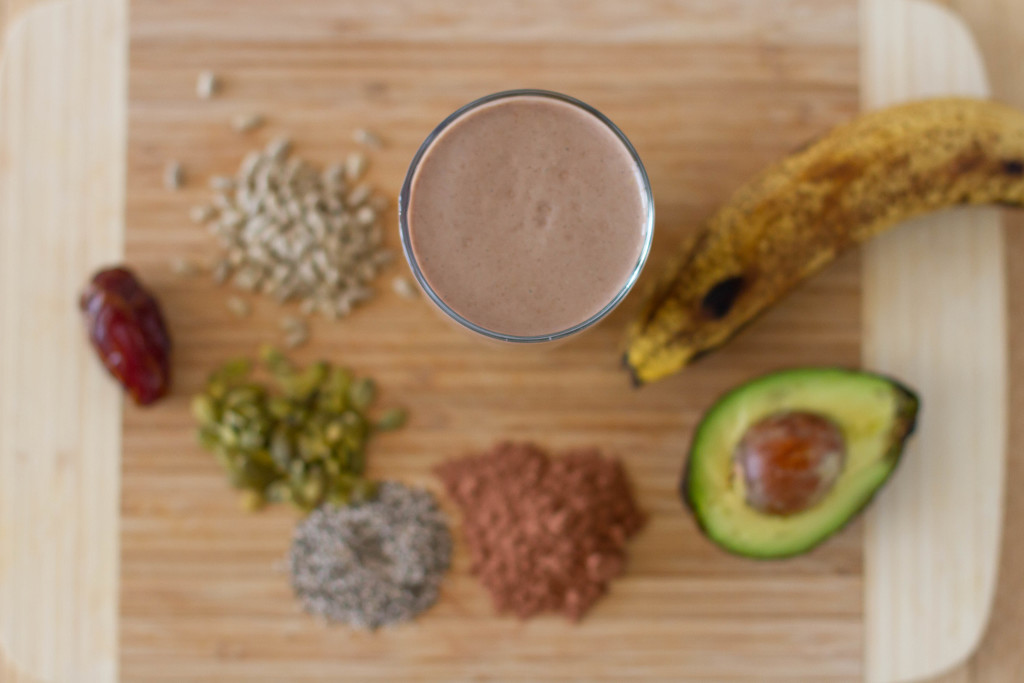
IMG_6584 IMG_6579 IMG_6575 IMG_6572

What’s this? She’s sharing a recipe?! Why yes, I am! 

Remember back in the day when I would post recipes weekly? That was fun! These days I actually don’t cook as much as did back then though. I still love to cook and bake, but I try and stick to healthier eats (well, 80% of the time!) because all of those tasty treats aren’t doing anyone in the family much good! 

Last year my sister-in-law shared this awesome smoothie combo with me and it has been my go-to ever since. I love it for a quick breakfast, it is the best way to combat that 3pm, energy slump, and awesome when you have a chocolate craving to put to rest. It also makes a great smoothie bowl base…thick and creamy ready to decorate with your favourite smoothie bowl toppings – fresh berries, coconut, buckwheat, LSA, goji berries, etc. YUM!

In the past, I have had a few bad experiences with using avocado in sweet, chocolatey dishes. I once made one of those chocolate avocado mousse dishes and it was pretty rank. Maybe there are better versions around, but this one was really bad and turned me off the avocado + chocolate combo. Until I tried this smoothie…this one is really good! 

You can play around with ingredient quantities to make the smoothie just how you like it if you want, but the recipe below is what works for me…and if you want to leave the avocado out altogether, it will still be delicious. I accidentally left it out when I made myself a smoothie today, it just meant that the smoothie wasn’t thick and creamy – more like a milkshake!


HEALTHY CHOCOLATE THICKSHAKE 

(I call it a thickshake because then the kids think there’s something special in it – like icecream…and drink it without questioning what I am trying to hide in their “smoothie”!!)

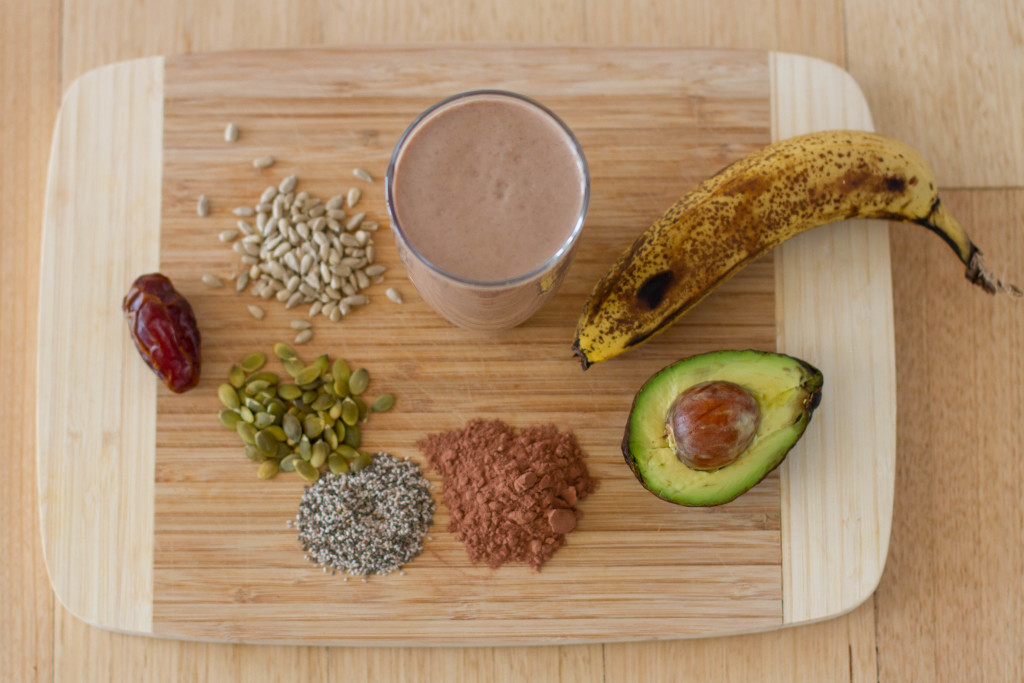
1 ripe banana (fresh or frozen…if using fresh, pop a few ice cubes in to keep the drink cold)

1/4 small avocado (I keep a bag of frozen avocado pieces in the freezer so that I can make this even when I don’t have fresh avos around)

2 Tbs cacao

1 tsp chia seeds

1 tsp sunflower seeds

1 tsp pumpkin seeds

sweetner of choice (if desired…I usually add a fresh date or 1 tsp natvia. If using dried dates, soak them in boiling water for 10 minutes first. Maple syrup and rice malt syrup are other good options)

200 grams (mls) liquid of choice (milk – any kind, water, coconut water…I usually use 100ml full-cream milk + 100ml water or 200ml almond or coconut milk)


Pop all ingredients into thermomix blender and process on speed 10 for 1 minute or until thick, smooth and creamy.

Cooking, Thermomix

.Thermomix Cooking: Birdseed Bars with NO refined sugar.

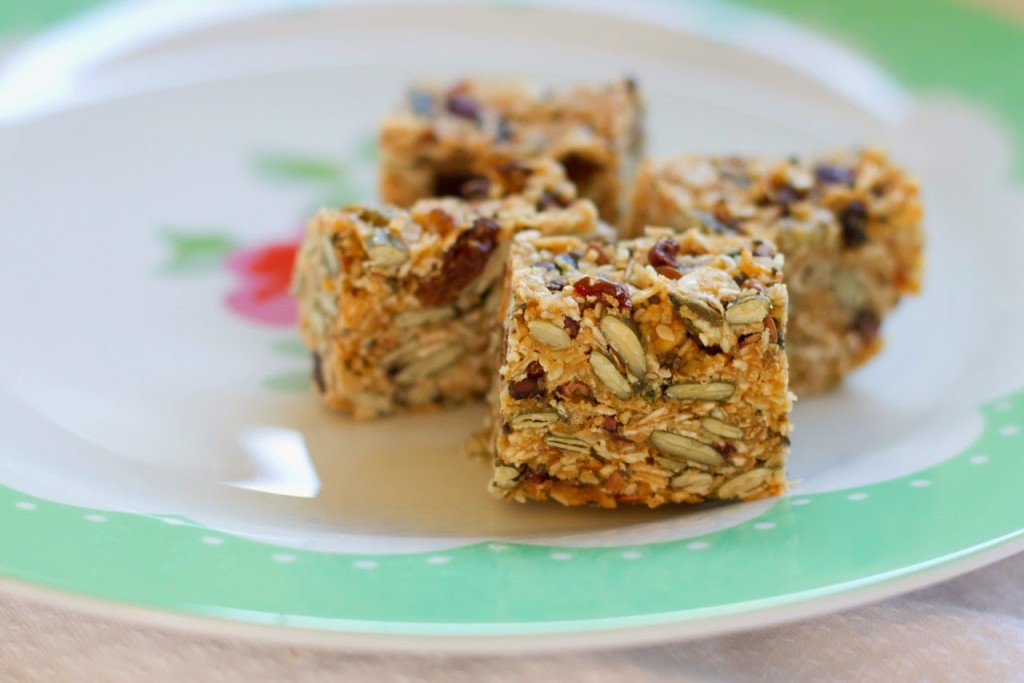
Sharing a recipe for Birdseed Bars today – with no refined sugar! And they can be nut, dairy and gluten free too if you make some simple changes. These homemade muesli bars are sweet and chewy with tonnes of flavour. I can even manage to get my pickiest kids to have a little piece with afternoon tea so that makes it an instant winner in my books! 

There are lots of recipes for homemade muesli bars out there, but most of them are laden with sugar, honey and peanut butter. Probably better than a store-bought bar, but still not ideal. These are much tastier and filling than anything you will buy in a box! The best thing about them is that you can make them with pretty much any dry ingredient you have around or want to add in…leave the oats out and replace with lots of chopped nuts, increase or decrease quantities of seeds, etc. Work with what you like to eat and what you have in the pantry!

This recipe is for Thermomix cooking, but you can easily make it on the stove too by toasting the dry ingredients in a dry pan (stir often and check that it doesn’t burn!) and then bring the wet ingredients to boil for 4 or 5 minutes in another pan.

Birdseed Bars
100g rolled oats
60g sunflower seeds
60g pumpkin seeds
40g sesame seeds
20g chia seeds
80g coconut
40g wheatgerm
120g butter or coconut oil
120g rice malt syrup
160g dried fruit, chopped (sultanas, apricots, dates, cranberries, goji berries, etc.)

Place dry ingredients (not fruit) into Thermomix bowl and toast for 5 minutes on varoma temperature, reverse speed 1. Remove from bowl and set aside.
Place butter or oil and rice malt syrup into Thermomix bowl and cook for 6 minutes on varoma temperature, speed 4.
Add toasted dry ingredients and dried fruit into bowl. Mix together for 20 seconds, reverse speed 3.
Spread mixture into a square cake tin lined with baking paper. Press down firmly.
Place in the fridge to set and cool completely. Slice. 
Best kept stored in a container in the fridge.

VARIATIONS:
To make gluten-free, leave out the oats and replace with more seeds, nuts, puffed rice, quinoa flakes, etc.
As long as your dry ingredients measure about 400g, you can pretty much add anything you like to the mix!
A small handful of cacao nibs are a delicious addition.

Cooking

.Wholefood Simply – the cookbook.

Wholefood Simply – the cookbook. If you are interested in healthy eating without feeling like you are missing out on “treats” then this cookbook is for you.
I’ve been a reader of the Wholefood Simply blog for awhile now and have tried many of their recipes. Recently I received a copy of the new Wholefood Simply cookbook to review and it is awesome. Bianca Slade is the author and creator of Wholefood Simply and she is doing all the right things. Providing us with super simple, easy to cook recipes that focus on eating whole foods (not processed junk) yet still taste great. Wholefood Simply has really taken off in the last year or so, ticking all the boxes for people dealing with allergies and food intolerance as well as for people who simply want to make healthier eating choices. I’m the first to admit that I have a sugar addiction and love my sweet treats, when ever I get on a sugar-free kick I always turn to Wholefood Simply to provide me with some alternative snack and sweet foods that will satisfy my sweet cravings!

The cookbook is made up of 50 of the most popular Wholefood Simply recipes. I started to put a marker in the pages of the recipes I wanted to try and ended up giving up because I was marking more pages than I was skipping! The Crispy Crunchy Crackers (pictured above) looked quick and easy and I knew they would be a great snack for Harvey especially when he started to get whingey around dinner cooking time – a good cracker to break bits off and throw to him on the floor while he sits at my feet and waits for dinner! They are just as the name suggests – crispy and crunchy, a little bit sweet and choc-a-block full of my favourite chia seeds that will fill you up for a long time.

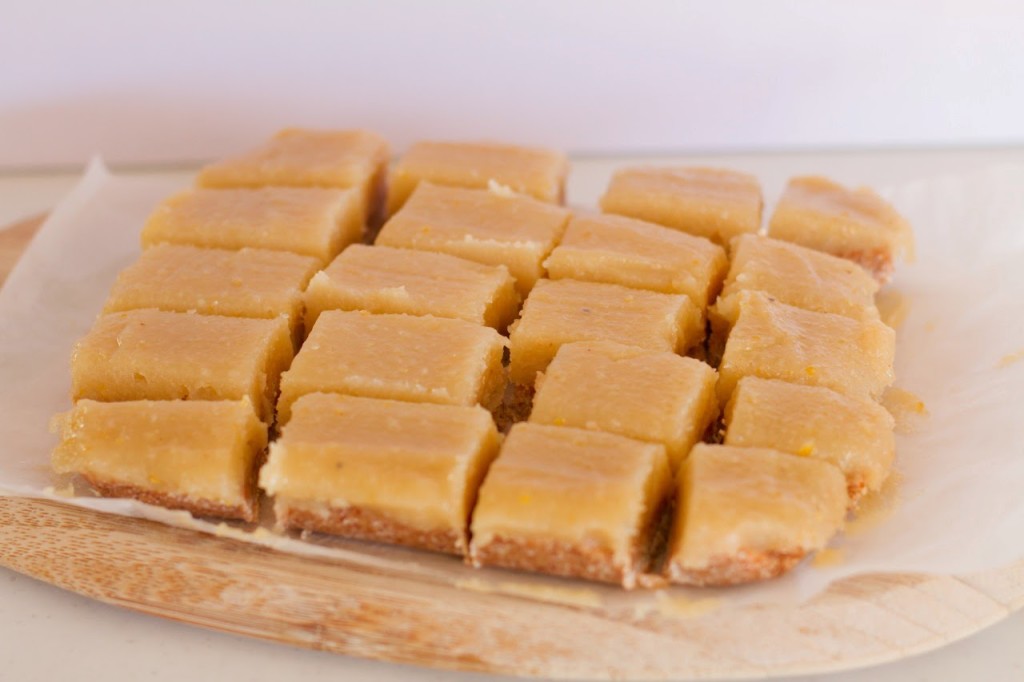
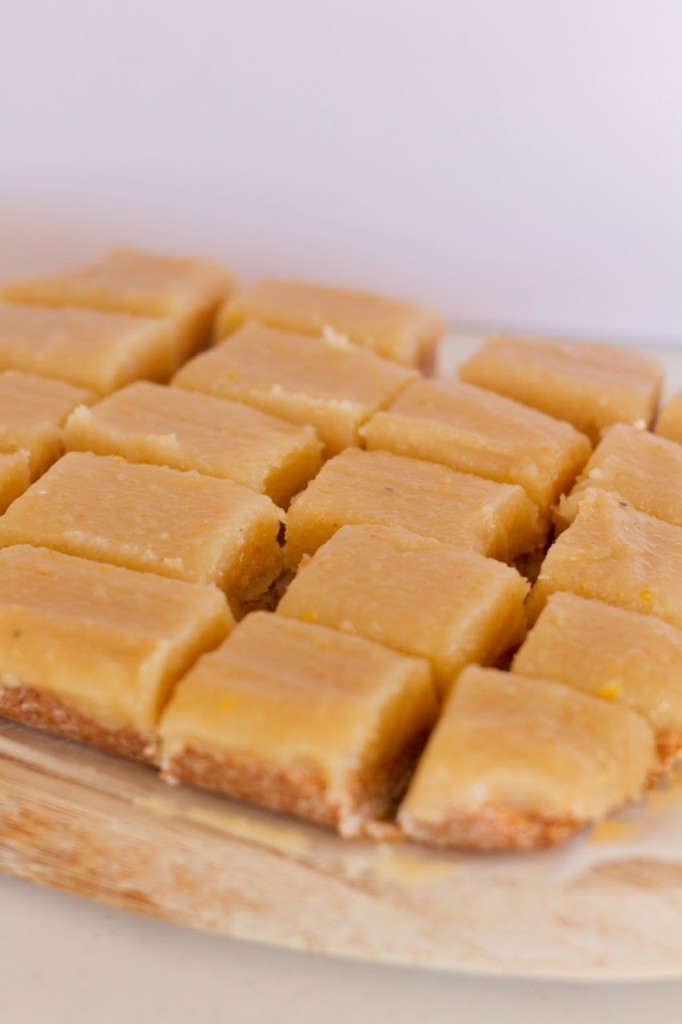
I also wanted to make another batch of lemon slice – I’ve made it before and it is my absolute favourite. I love lemon anything and this slice is great. Especially because it’s healthy, but still really rich and sweet. I substitute the maple syrup for rice malt syrup because I prefer the subtle flavour but other than that, it’s a great guilt-free sweet treat…eating a piece is just like grabbing a handful of macadamia nuts, dates and coconut. I like eating it from the fridge rather than the freezer because I don’t like frozen treats much, I also think the flavours are more intense when it isn’t frozen. Anyway, the flavours in this slice get better over a few days, so make sure you don’t eat it all at once!

Caramel slice, baked banana custard, coconut ice, chocolate mousse, jersey caramels, date & orange muffins, raspberry bliss icecream and so much more – Wholefood Simply is a delicious guilt-free, clean-eating cookbook that will be enjoyed by all. 

You can purchase a copy of the book here

Check out and try heaps of Wholefood Simply recipes here. And make sure you look out for the second Wholefood Simply cookbook that will be released very soon – Wholefood Simply Mixed.

I’m off to nibble a piece of lemon slice before dinner…because it’s good for me, right?!

Cooking

.Chocolate Slabs.


Christmas time always means a bit of naughty cooking. It’s the time of the year when you can cook up all sorts of yummies without feeling too guilty! 
We have a family tradition, probably one of our favourites, to cook yummy treats, package them up then drive around doing a “knock and run” on the doorsteps of friends and family. Jaron and I love it even more now that the older kids are big enough to get themselves in and out of the car and are getting super speedy and stealthy in their tactics! They are getting caught less often and get such a thrill trying to stay out of view.
Usually we cook up a few batches of things like rocky road, coconut ice, chocolate truffles and shortbread for knock and run. There is always plenty left over, I make sure that it is all packaged up in the fridge so that I’m not tempted to eat it all and it always comes in handy for times when you need a quick gift for someone or friends drop in and you want to share a treat with them.
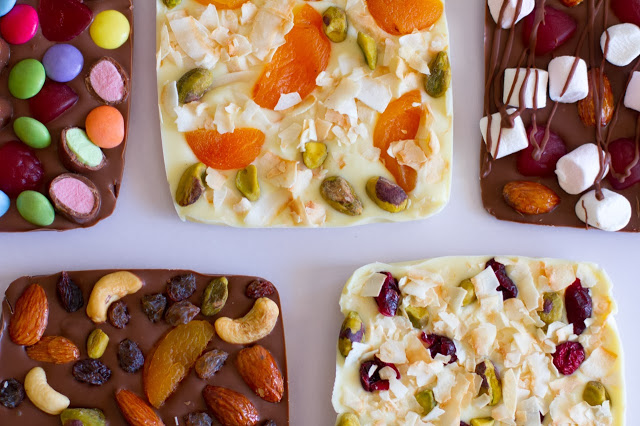
This year I decided to do something a little different and made up a ridiculous amount of what we call “Chocolate Slabs.” I guess the are similar to recipes you see around for chocolate bark but I made mine in rectangle slabs kind of like a little block of handmade chocolate.

A recipe isn’t really necessary for these, if you can manage to melt chocolate then you are set! 
I had three rectangle Tupperware containers (these ones to be exact) that I used as a mould for my slabs. Make sure you line the base with baking paper, I didn’t bother lining two of the sides and because the sides of the containers are a little flexible the chocolate slabs came out without any troubles. So, after melting the chocolate I covered the base of the conatainers with a thin layer (about 5mm) of chocolate then topped the melted chocolate with what ever concoction of toppings I could come up with. I put mine in the freezer to set then took them out when they were hard and re-used the containers and baking paper over and over again.
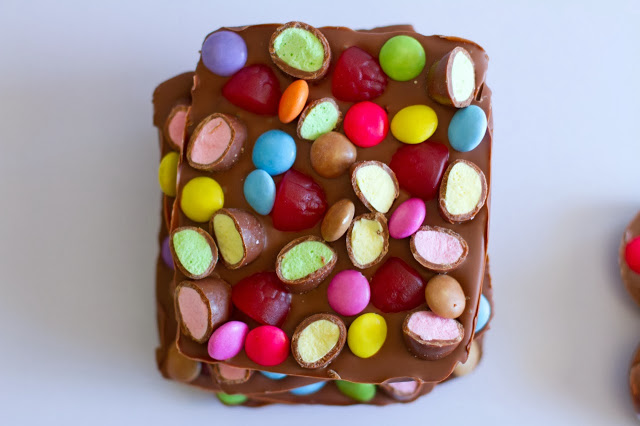
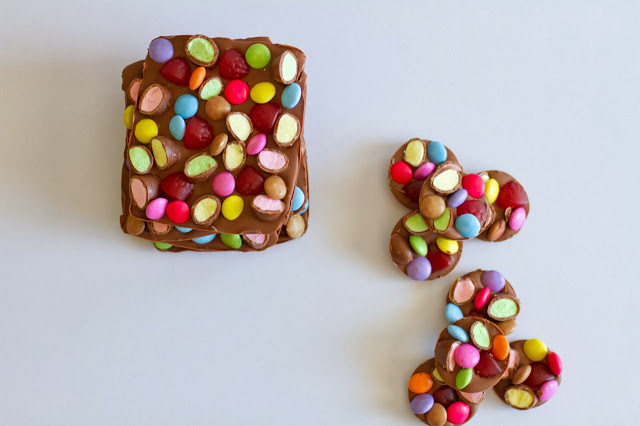
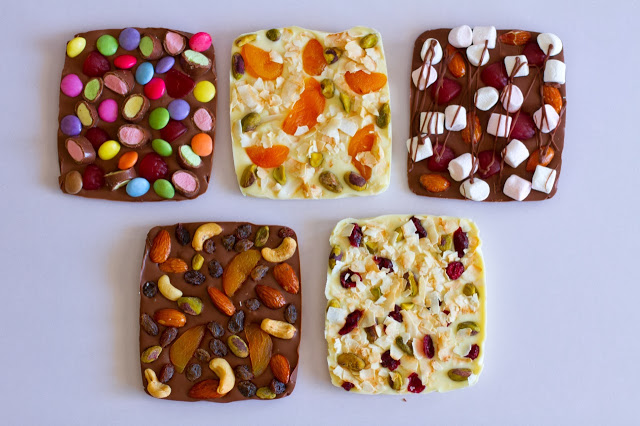
These ones were made using milk chocolate then topping with smarties, chopped clinkers and raspberry lollies that I had chopped in half. I think some lolly bananas would have been yummy in these ones too.

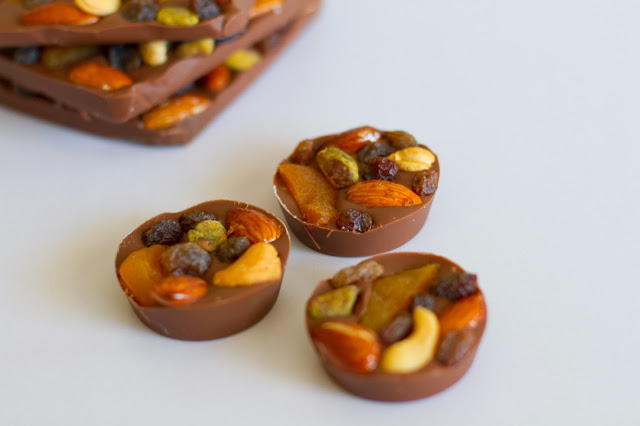
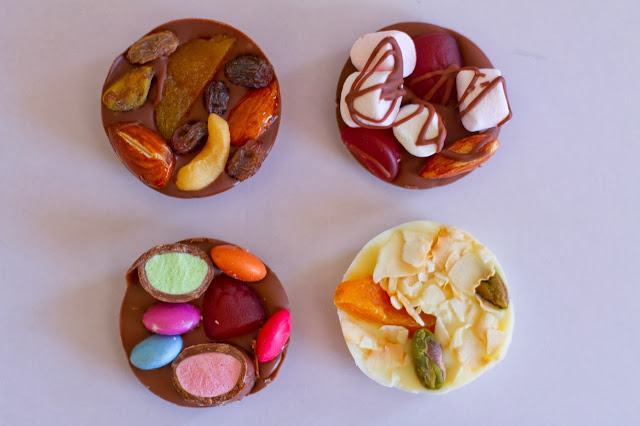
I also used this silicone muffin tray to make smaller, bite-sized chocolate slabs. They are really cute and looked great packaged up with the other flavours. I’m sure you could use any silicone muffin liners or ice trays though.

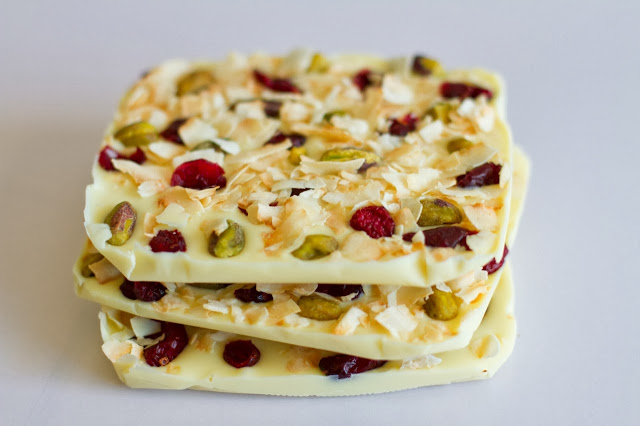
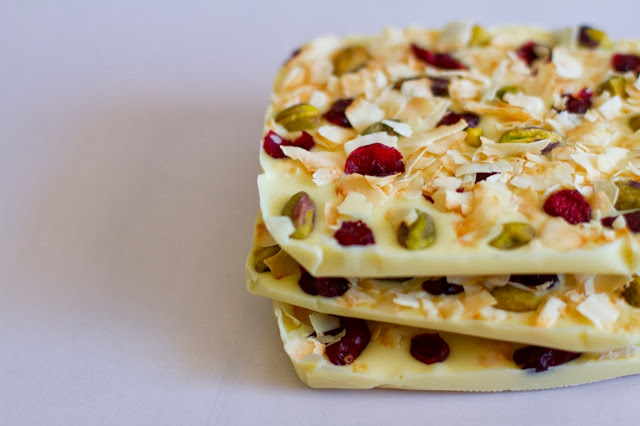
These ones are white chocolate with toasted coconut flakes, dried cranberries and pistachios.

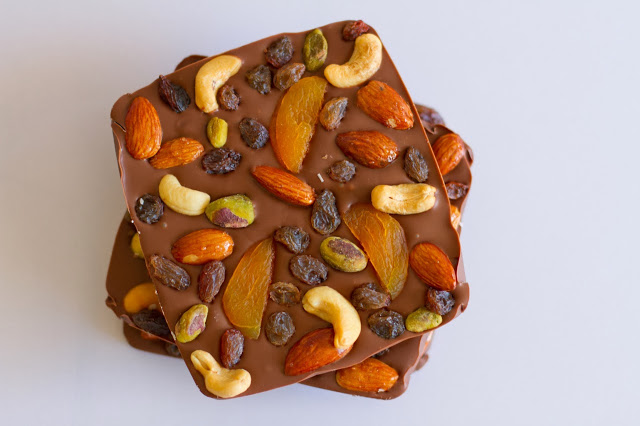
I took inspiration from fruit and nut chocolate with these ones and topped milk chocolate with dried apricots, sultanas, cashews, pistachios and almonds. It is delicious and would be yummy using dark chocolate too.


To make the almonds extra yummy, I spread them on a baking tray and drizzled them with rice malt syrup and sprinkled some salt over. Then baked them in a moderate oven for 10-15 minutes stirring 3 or 4 times. I call them “sweet and salty nuts” and they are so tasty. You could also use honey or maple syrup for these.

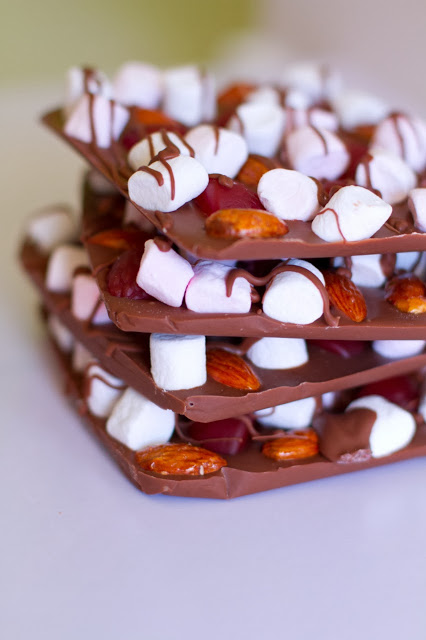
I love rocky road and didn’t want to miss out on some this Christmas so made a rocky road chocolate slab too. Milk chocolate is topped with mini marshmallows, raspberry lollies and sweet and salty almonds. Finished off with a drizzle of melted chocolate.
 

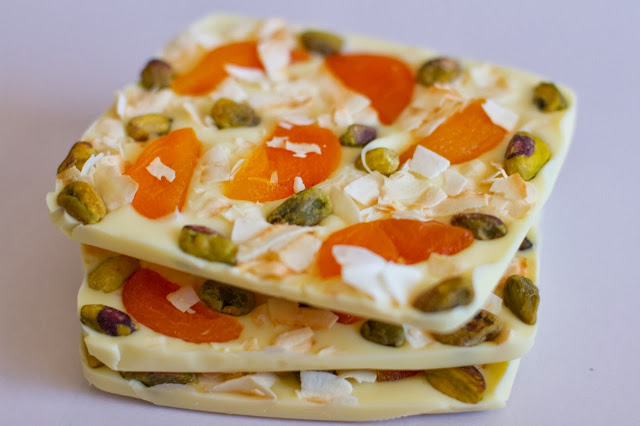
And finally another white chocolate slab topped with dried apricots, toasted coconut flakes and pistachios. I didn’t think I would like the white chocolate versions as much as I do, they are so yum!

So, if you have still got to do a bit of Christmas cooking or are looking for something tasty and unique to give away for gifts, get cooking some chocolate slabs. They are super easy, stress-free and taste amazing!

Make sure you package them up nicely for presents, we popped ours in some flat cellophane bags, sealed with a bit of washi tape and the kids made some cardboard toppers to put on the top of them. If you haven’t tried knock-and-run with your family before, go out one night after dinner and choose some friends or neighbours to do it to. It really is so much fun and your kids will love it!

I had a few more ideas for chocolate slab toppings that I haven’t tried out yet…
 – chopped up peppermint crisp bars
 – red & green m&ms
 – crushed candy canes
 – chopped oreos, tim tams or mint slice biscuits
 – lolly bag (lots and lots of different mixed lollies)
 – coconut and glace cherries

If you have any other good topping ideas, I’d love to hear them. Feel free to leave them in the comments for future reference!