Browsing Category

Cooking

Cooking

.Batch cooking saves my hide – literally!.


I’m going to let you in on a little tip that’s been making my life a lot easier lately.

When school went back this year I was in a very bad habit of purchasing snacks to put in the kids lunchboxes.  I don’t have anything against purchased snacks, we eat them all the time.  But I did feel a bit guilty when I was putting up to three purchased, packaged snacks in their lunches every day.   

Of course, the kids loved it!  But I love cooking, I love to bake and I love sending them off with something that I’ve made especially for them.

There were a few problems…
1.  I’d make a batch of cookies/cake/slice and they would run out faster than they should have so I’d find myself needing to bake more and more to keep up with the hungry tummies.
2.  We would quickly get over the baked goods and stop eating them and end up throwing half of the batch in the rubbish.
3.  I would eat WAY too many and didn’t like them sitting on the bench tempting me 24/7!

So, I came up with a very simple solution which is solving all of the problems – BATCH COOKING.

It saves my hide (in more ways than one) every day.  Now when I am baking something, I make sure I cook a double batch.  Keep enough out on the bench to last only a couple of days and throw the rest into a big snap-lock bag and put them in the freezer – easy!  I started with a couple of different biscuit varieties and make sure that I bake another batch when they are getting lowish.  It’s great having a variety in the freezer so that the kids don’t get sick of the same thing every day and keeping them in the freezer means that I’m not even a tiny bit tempted to eat them.

If you’re feeling a bit frazzled and spending too much money on packaged snacks, then do some batch cooking – you’ll feel happy every morning when you’re doing the school lunch making rush and dive into the freezer instead of the pantry for snacks.  Here are a few good recipes to get you started, I’ll share more as I make them and experiment with freezing!

(Post-edit…I’ve been freezing my biscuits AFTER cooking/icing so all I have to do is pull exactly what I need from the freezer and pop them into lunchboxes.  They defrost by morning tea time and haven’t had any issues with them going soggy or soft yet!)
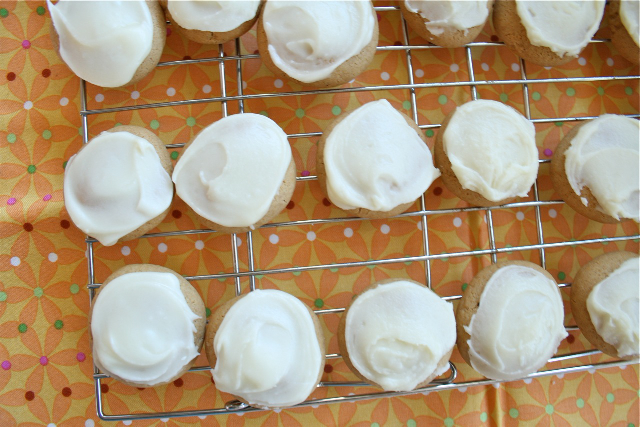
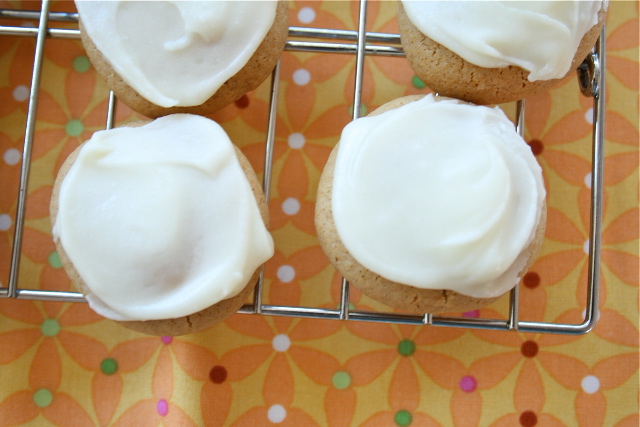
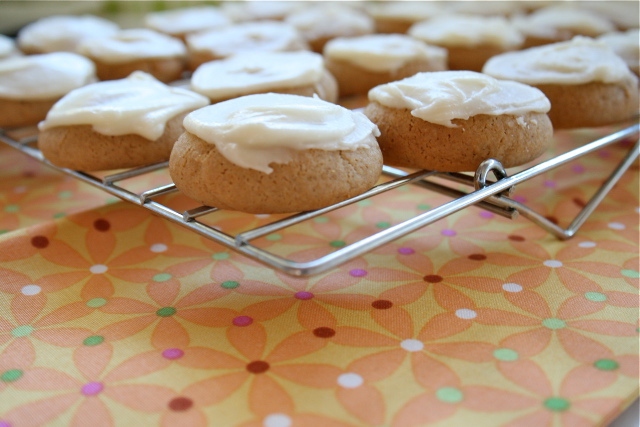
Honey Jumbles


For biscuits
85g butter
1/2 cup honey
1/3 cup brown sugar
2 cups plain flour
1/2 tsp bicarbonate of soda
1/2 tsp mixed spice
1/2 tsp ground cinnamon

For icing
1 1/2 cups icing sugar
20g butter, melted
2 Tbs boiling water

Combine butter, honey and sugar in a medium saucepan over low heat.  Cook, stirring for 3 to 4 minutes or until butter has melted.  Set aside to cool for 15 minutes.  Transfer to large bowl.
Sift flour, bicarb, mixed spice and cinnamon over butter mixture.  Stir until well combined.  Turn dough onto lightly floured surface.  Knead for 1 minute or until smooth.  Wrap in plastic wrap and refrigerate for 10 minutes.
Preheat oven to 180 degrees celsius.  Roll 2 level teaspoons of mixture into balls and place on baking paper-lined trays, 3cm apart.  Flatten slightly.
Bake for 8-10 minutes or until golden and just firm to touch.  Cool on trays for 5 minutes.  Cool and spread with icing.
To make icing:
Sift icing sugar into bowl.  Stir in butter and water until icing is a smooth, spreadable consistency.  Add more water if necessary.
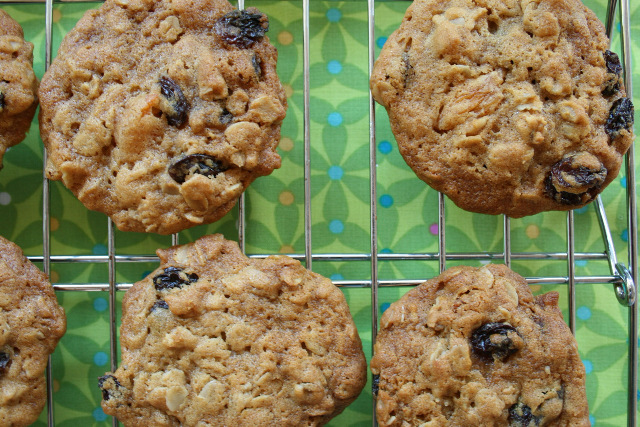
 
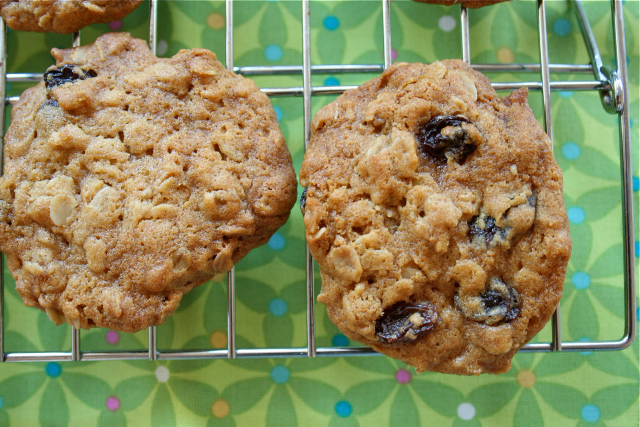
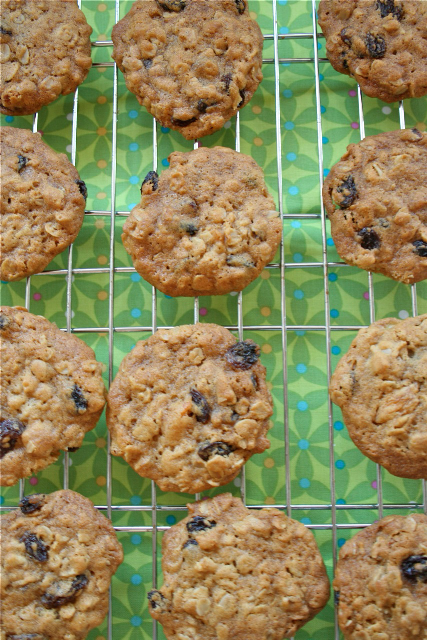
Apricot and Sultana Cookies


 1 1/4 cups plain flour
1 cup rolled oats
3/4 cup caster sugar
1/2 cup diced dried apricots
1/2 cup sultanas
150g butter, chopped
2 Tbs golden syrup
1/2 tsp bicarbonate of soda

Preheat oven to 180 degrees celsius.
Combine flour, oats, sugar, apricots and sultanas in a large bowl.
Combine butter, syrup, bicarb and 1 Tbs cold water in a small saucepan over low heat.  Cook, stirring for 3-4 minutes or until butter has melted.  
Carefully add butter mixture to oat mixture.  Stir until well combined.
Place level tablespoons of mixture on trays, allowing room for spreading.
Bake for 15-18 minutes or until golden and just firm to touch.  

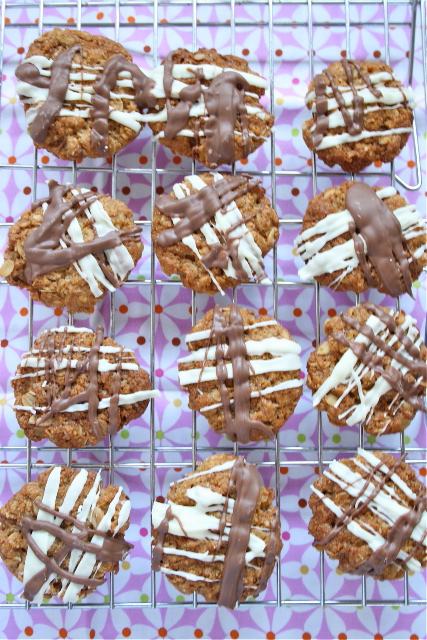
Chocolate Anzac Biscuits

1 cup rolled oats
1 cup coconut
1 cup plain flour
2/3 cup raw sugar
125g butter, chopped
2 Tbs golden syrup
1 tsp bicarbonate of soda
100g white chocolate, melted
100g milk chocolate, melted

Preheat oven to 180 degrees celsius.
Combine oats, coconut, flour and sugar in a large bowl.
Place butter, syrup and 2 Tbs cold water in a saucepan.  Stir for 3-4 minutes over medium heat or until butter has melted.  Remove from heat and stir in bicarb.
Stir butter mixture into oat mixture.
Roll tablespoons of mixture into balls.  Place on trays, 3cm apart.  Use a fork to flatten slightly.
Bake for 15-16 minutes or until golden.  Cool.
Take melted white and milk chocolate and drizzle over biscuits.  Allow chocolate to set.


Cooking, Thermomix

.Thermomix Cooking – Vegie Burgers.

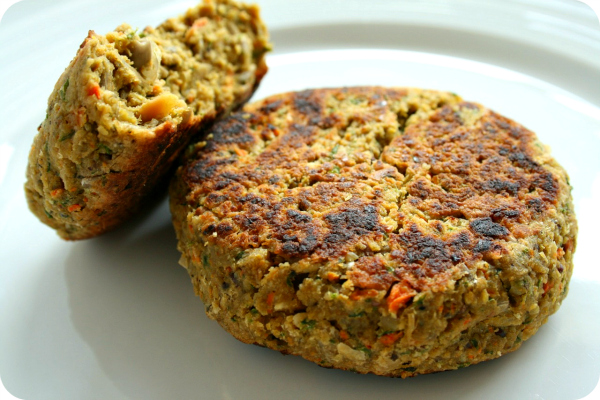
The recipe for these vegie burgers comes from this blog.  They are absolutely divine – lots of flavour and unexpected crunchy bits, plus they are good for you!  We had them with a side salad and relish, but they would be equally yum on some turkish bread or a good roll with salad.
 
Vegie Burgers

90g rolled oats
2-3 slices grain bread
1/2 onion
1 large clove garlic
1 Tbs olive oil
1 carrot
1 big handful fresh parsley
1 can cannelini beans, drained and rinsed
1 egg
70g sunflower seeds, toasted
60g slivered almonds, toasted
1 Tbs olive oil
1 Tbs soy sauce
1 1/2 tsp chilli
1 tsp cumin
1 tsp oregano
salt and pepper

Place oats and bread into TM bowl and process into crumbs on speed 9 for 10 seconds.  Remove from bowl and set aside.
Place onion and garlic into TM bowl and chop on speed 6 for 5 seconds. Add 1 Tbs olive oil and saute on 100 degrees, speed 1 for 1 minute.
Add carrots, beans and parsley to TM bowl and process on speed 8 for 10 seconds.  
Add egg and mix on speed 7 for 4 seconds.
Add sunflower seeds, almonds, olive oil, soy sauce, chilli, cumin, oregano, salt and pepper – mix on speed 4 for 10 seconds or until well combined.  Taste and adjust seasonings if necessary.
Shape into 8 patties.  Spray pan with olive oil and cook for 3-5 minutes each side until well browned and cooked through.

Cooking, Thermomix

.Thermomix Cooking – Blueberry Cheesecake.

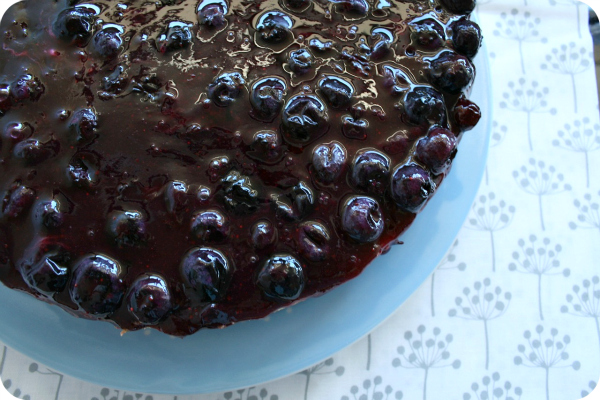
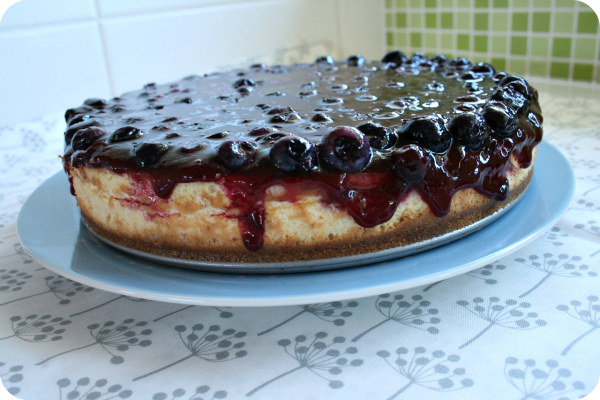
We went blueberry picking a few weeks ago.  It was loads of fun and sooo cheap – only $6 per kilo (as opposed to $25-$30 per kilo in the supermarket!) and soooo big and juicy and delicious.  So now we have a freezer full of them!  On my birthday, I was craving cheesecake so made a yummy blueberry cheesecake for our family birthday celebration on Sunday.  I found this recipe online and converted it to the thermo.  It was really easy and so tasty – far exceeded my expectations!  I used frozen blueberries, but of course you could use fresh aswell.

 
Blueberry Cheesecake

 For the base:
200g plain sweet biscuits
70g butter
2 tsp cinnamon
35g brown sugar

For the filling:
500g cream cheese
250g sour cream
140g sugar
2 eggs
1 tsp vanilla
1 Tbs lemon juice

For the topping:
110g sugar
1 Tbs cornflour
1/2 tsp cinnamon
60g water
30g lemon juice
400g blueberries

To make the base:
Place biscuits in bowl, crush on speed 8 for 5 seconds.  Remove.
Place butter in bowl, cook on 100 degrees, speed 2 for 1 1/2 minutes or until melted.
Add crushed biscuits, cinnamon and brown sugar to melted butter.  Mix on speed 5 for 10 seconds or until combined.
Press into greased springform pan and chill in the fridge.

To make the filling:
Place all ingredients into bowl, beat for 15 seconds on speed 5 until just blended.  Pour into pan and bake in moderate oven for 25-30 minutes until sides of cheesecake are set, but centre jiggles when moved.  Cool for 1 hour at room temperature.

To make the topping:
Place 200g blueberries and all other ingredients into bowl.  Cook on 100 degrees, speed 2 for 6 minutes.  
Add remaining 200g blueberries, mix on speed 1 for 5 seconds.
Pour blueberry mixture over cheesecake.
Chill in fridge overnight.


Cooking, Thermomix

.Thermomix Cooking – Cherry Ripe Slice.

I don’t know about you, but Christmas gives me an instant free pass to cook lots of deliciously bad treats.  This year I’ve been trying out a few new ones with pleasing results.
I found this recipe for Cherry Ripe Slice and knew that it would be perfect for converting for the Thermomix.  It was really yummy – I only managed to have one small piece before it was all gone so I think I’ll have to try it again before Christmas.  
The icing was supposed to be just chocolate spread over the top, but I tried adding a tablespoon of cream to turn it into more of a set ganache so that it would be easier to slice.  I also added a couple of drops of red food colouring to the cherry mixture to make it more red.
 
Cherry Ripe Slice 

For the base:
100g butter
150g self-raising flour
15g cocoa
75g caster sugar
100g plain sweet biscuits

For the filling:
300g glace cherries
150g dessicated coconut
1 tin condensed milk
5 drops red food colouring

For the icing:
200g dark chocolate, broken into pieces
30g copha
1Tbs cream (optional, for softer chocolate)

To make the base:
Place butter into TMX bowl and melt on 60 degrees, speed 1 for 3 minutes.  Remove from bowl and set aside.
Without washing bowl, place flour, cocoa, sugar and biscuits into bowl.  Process on speed 4 for 20 seconds.
Add melted butter and combine on speed 4 for 20 seconds. (The mixture will be quite dry.)
Press into the base of a paper-lined slice tray and cook in a moderate oven for 15 minutes.

To make the filling:
Place 200g cherries into cleaned bowl and pulse on turbo 3-4 times.
Add coconut and pulse on turbo 3-4 times to combine.
Chop remaining 100g cherries into halves and add to bowl with condensed milk and food colouring.  Combine on speed 3 for 10 seconds.
Spread filling over base and cook in a moderate oven for 30 minutes.
Allow to cool completely before icing.

To make the icing:
Place all ingredients into clean and dry bowl and melt on 60 degrees, speed 3 for 3 minutes.  Spread over filling and place in fridge until set and cold.  Slice and serve.

Cooking

.Nan’s Great Sponge.

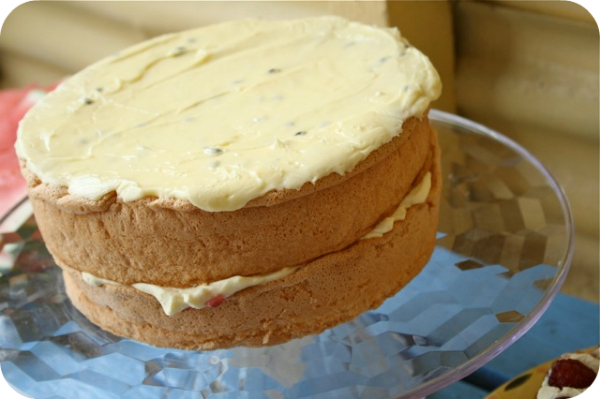
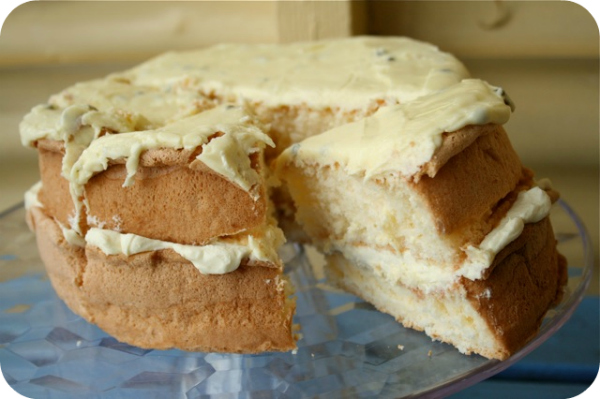
(After all that sponge making and eating on the weekend I thought it only fitting to re-post Nan’s famous sponge recipe from the archives, June 2008)

 
Myth: sponge cakes are hard to make.

They are not, they are actually one of the most easiest cakes around. Require little ingredients and just a bit of time.

My Nan is famous for her sponge. She always has a couple in the freezer to pull out when people come around. Before I was married and still living at home I was lucky enough to spend time with Nan once a week and help her with cleaning and jobs around the house. It was when she lived at her old house in the country and was more able than she is now, but still appreciated a bit of help with vacuuming and washing the floors. When Pop still went to work every day at the river and would drive home with his dog, Sandy on the back of the ute for a hot lunch. They are much older now and much less able. They don’t live in the country anymore and Pop doesn’t go to work. But those memories are still alive.

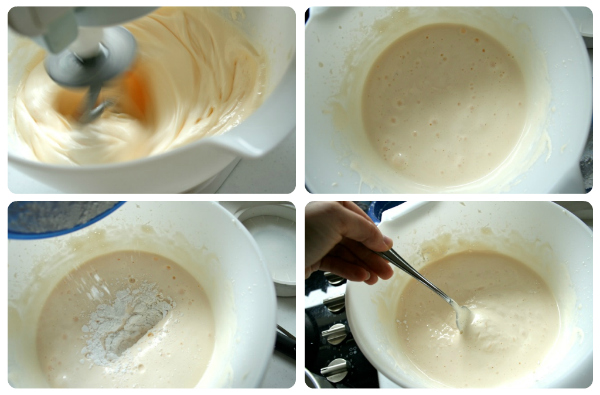
During one of my visits, Nan requested I do some cooking for her so that she could stock up the freezer with some goodies. It was that day she taught me how to make her world famous sponge cake. And I’m glad she taught me, standing over my shoulder with very definite instructions. If she had just handed me the recipe, it would have failed. I know I would have skipped the part where I was supposed to beat the eggs and sugar for “at least” 10 minutes. It would have been more like 2 or 3 minutes. And I know I wouldn’t have bothered folding the dry ingredients in with a fork. I would have thrown them in and let the beaters do the mixing. And then my sponge would have failed.

Trust me when I say it is easy…as long as you follow the instructions exactly as they are written.
 

Nan’s Great Sponge
3/4 cup castor sugar
4 eggs
3/4 cup cornflour
1 tsp baking powder
3 tsp plain flour

Beat sugar and eggs for at least 10 minutes until very creamy.
Sift together baking powder, cornflour and plain flour. Add to egg mixture and stir with a fork until just combined.
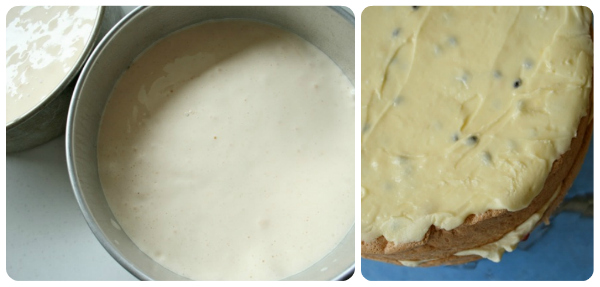
Grease two sandwich tins and divide mixture evenly between the two. Gently tap each tin on the bench.
Bake in a 200 degree celcuis oven for 20 minutes.
When cool, fill with jam and whipped cream.  Dust with icing sugar or ice with passionfruit icing.