Browsing Category

DIY

DIY

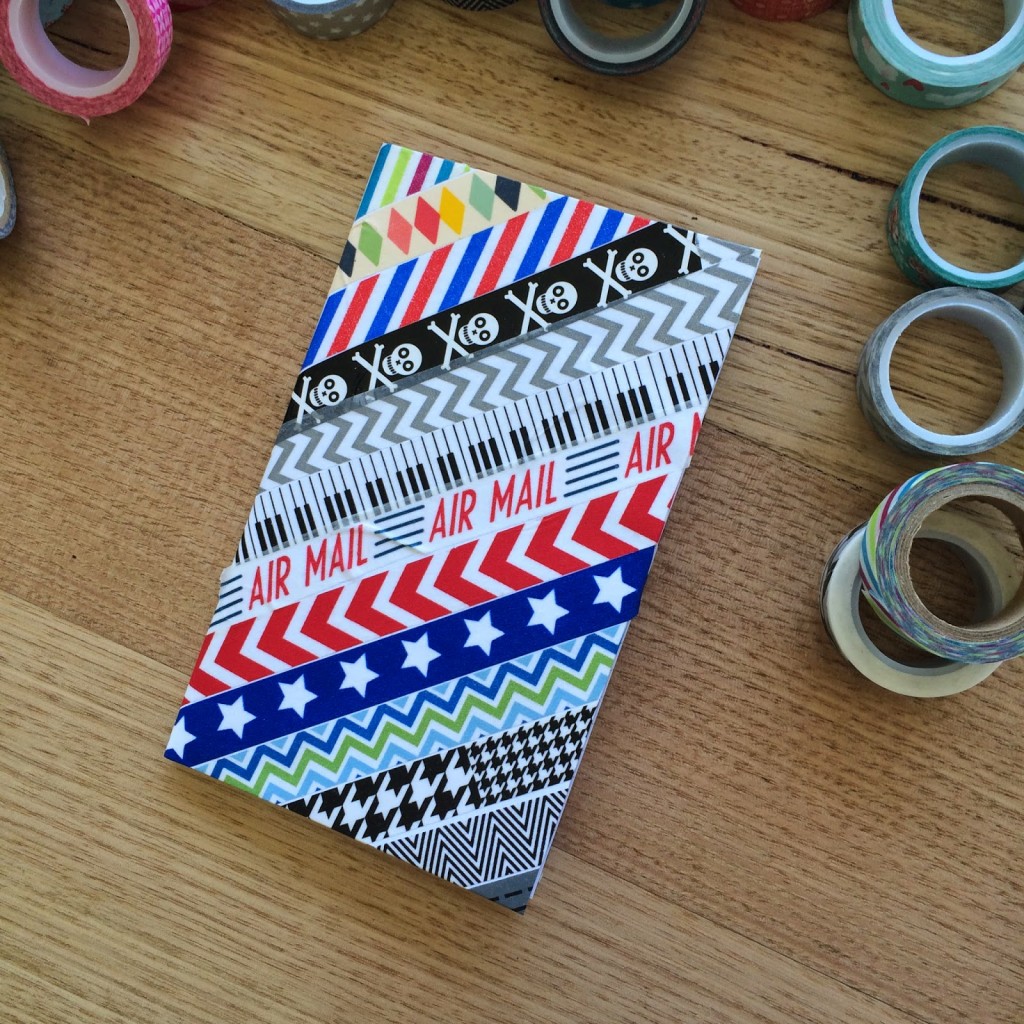
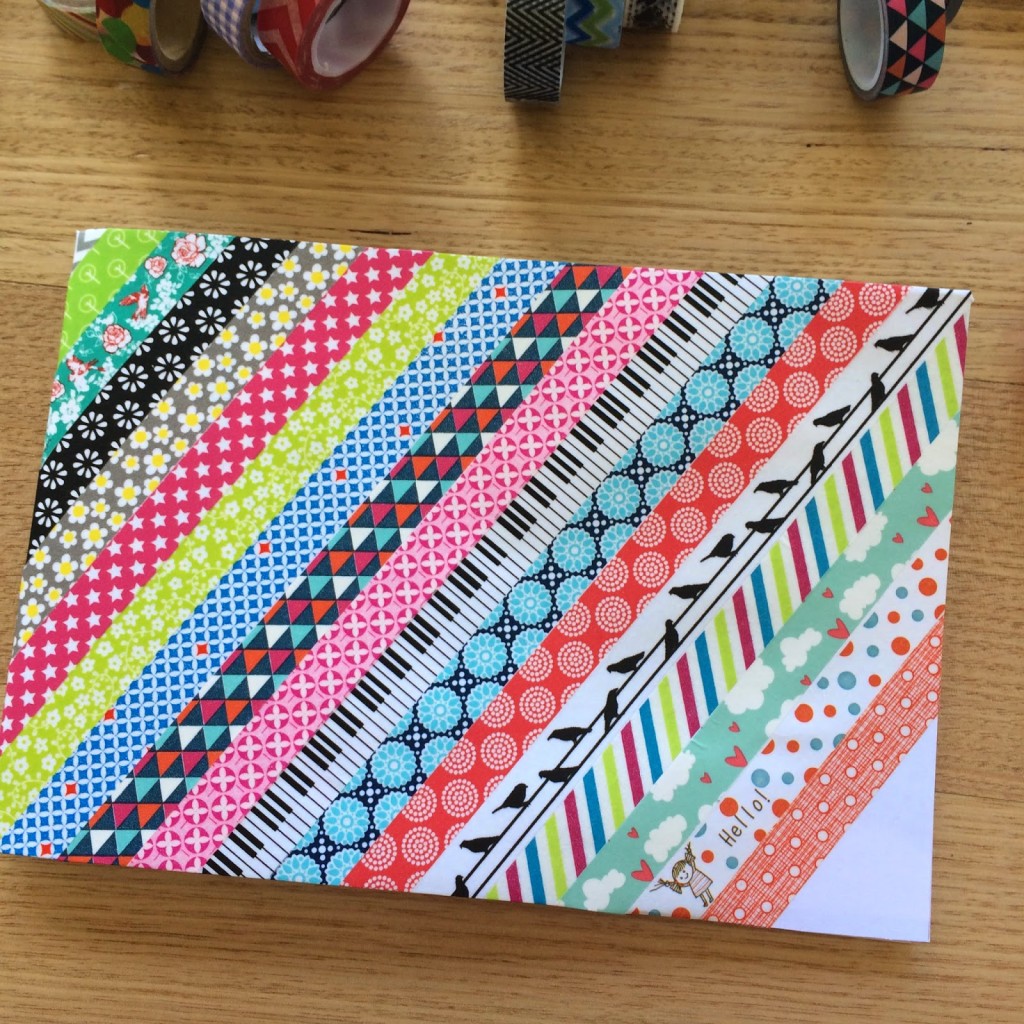
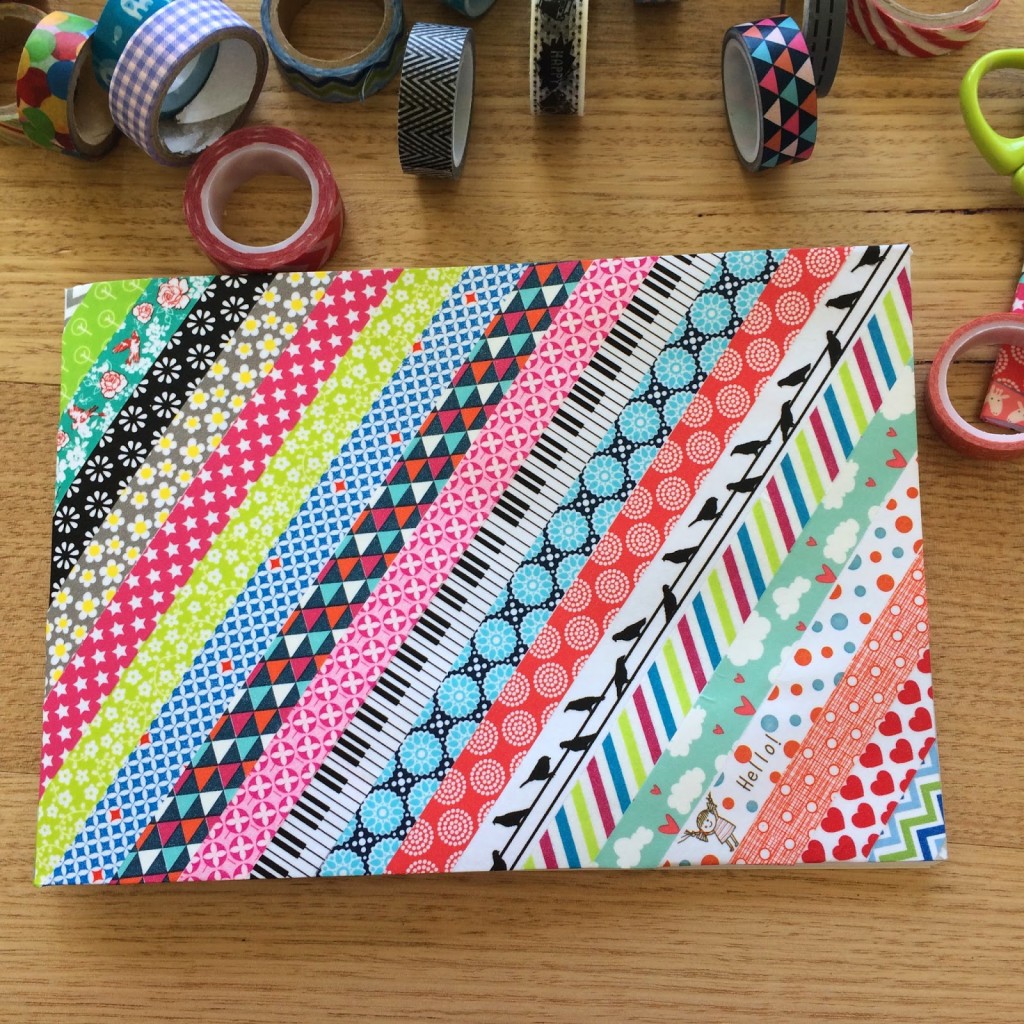
.Washi Tape the school books.

After packing up to move house a few months ago, it became clear to me that I have way too many craft supplies. I mean, I knew that I had a lot, but it wasn’t until I counted my boxes of fabric next to my boxes of kitchen items and realised that they were pretty much equal that my eyes were really opened! And that was just fabric…not everything else!
So, I’m trying to become less of a hoarder and more of a user. It is a bit tough at times but I’m just gonna do it because if I run out of a precious supply I can always replenish, right?!
Our kids start school in a couple of days and the start of the school year brings the book covering marathon. It seemed to go on and on and on this year with three kids to cover books for! To make the job less of a chore, I am the sucker who tries to get crafty at the same time! Lil’s books are much easier to “pretty up” as a lot of my craft supplies and papers are girly looking. The boys require a little more thought and I resort to using printed wrapping paper on some of their books. 
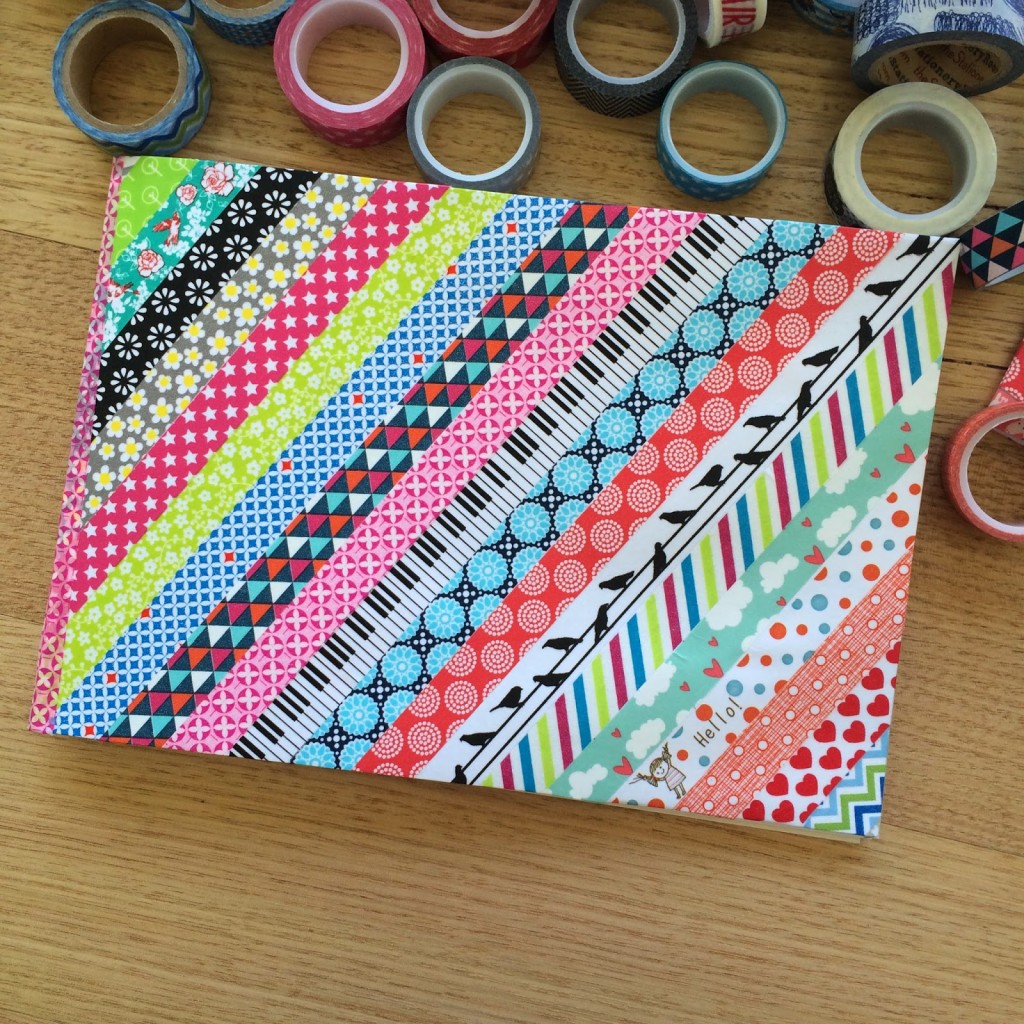
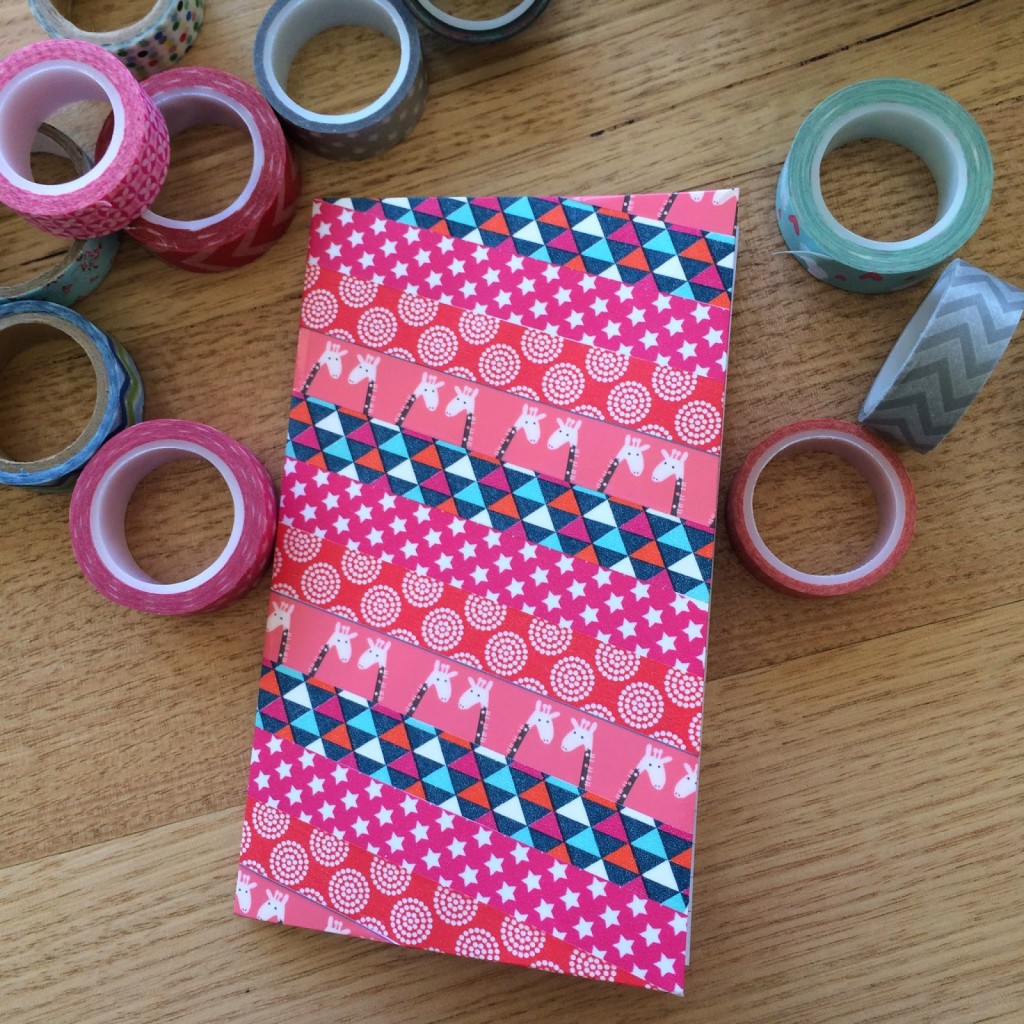
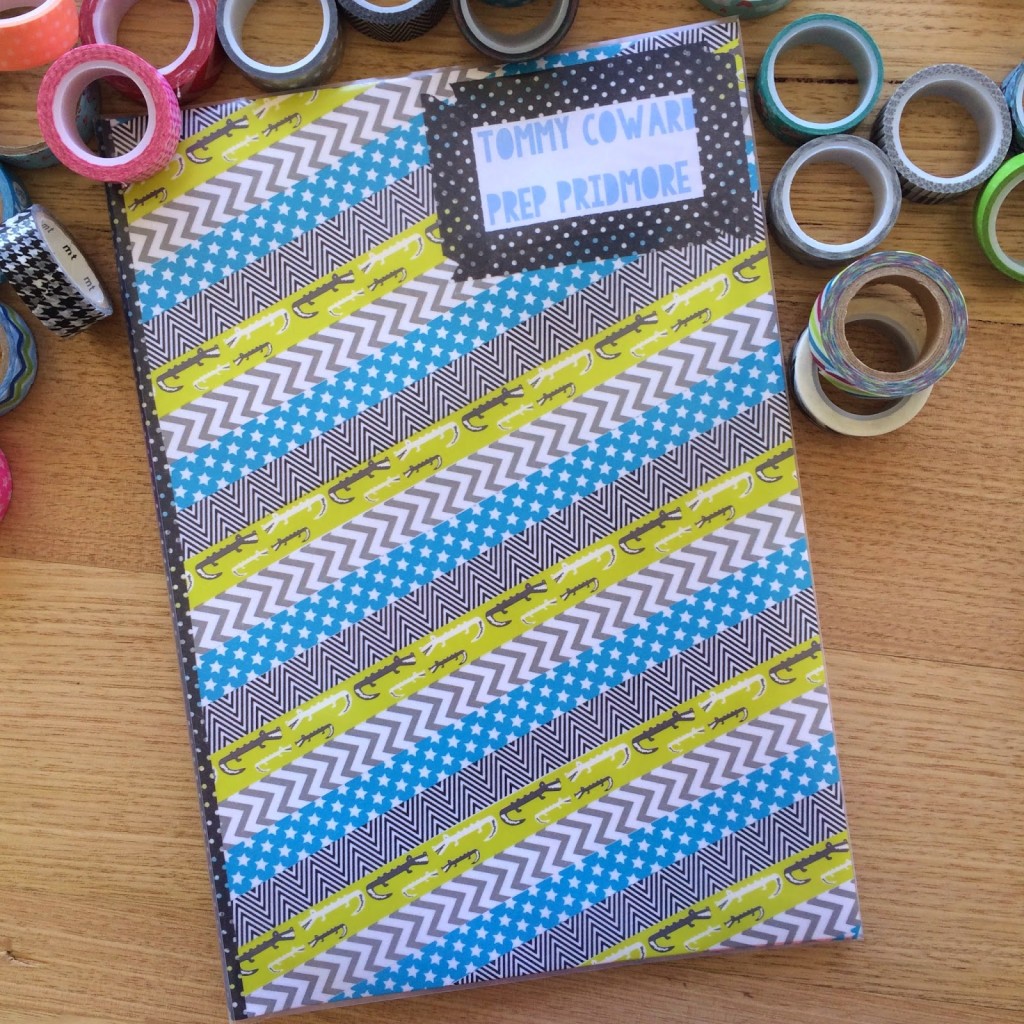
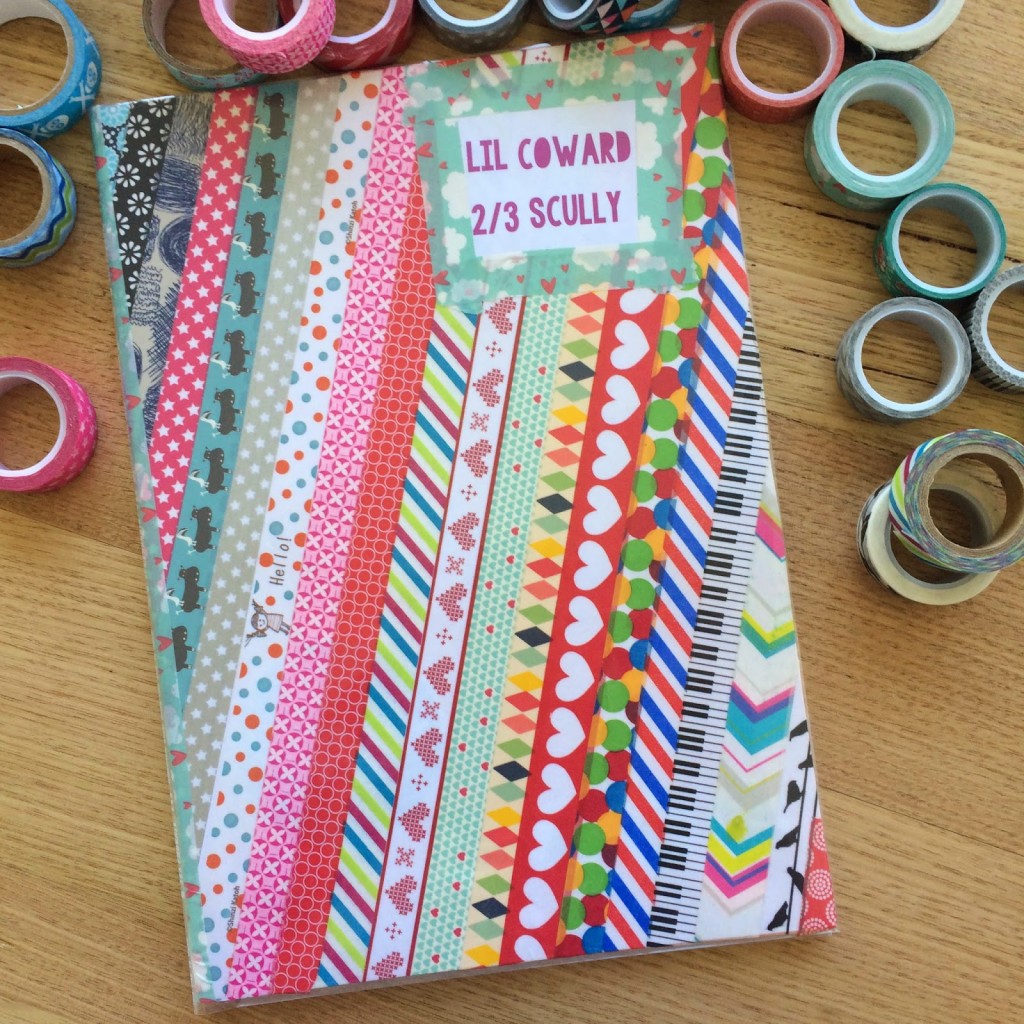
These washi tape covered school books, however, are both boy and girl friendly, and take much less time and effort to make than they look. In fact, they are so easy to do that Oscar and Lil even covered a few books each using this method with great results! Because the washi tape can be repositioned without tearing the paper underneath, they can pull a misplaced piece of tape up and have another go at sticking it down if it ends up in the wrong spot.
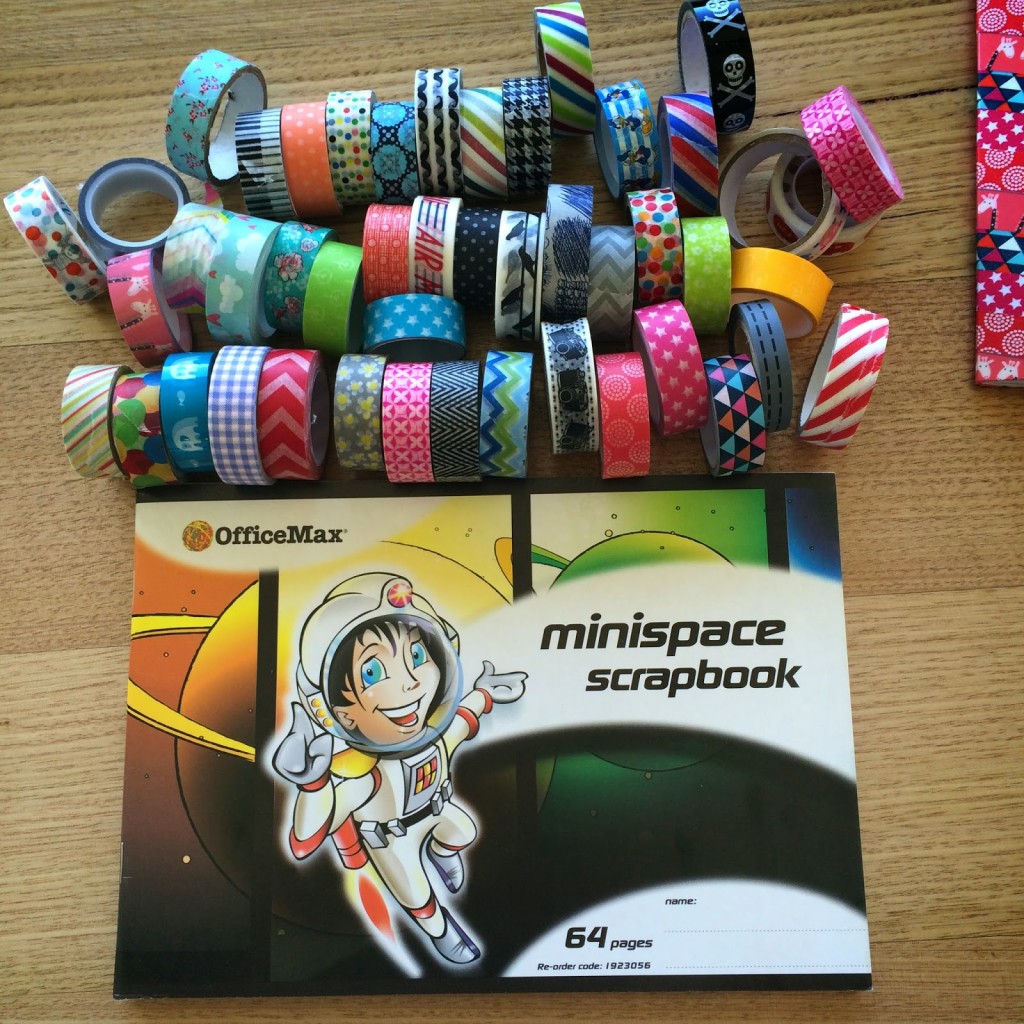
 
Even if you think you’re not a crafty person, I can guarantee success with these books! And if you have covered your kids school books already then maybe you can make yourself a special washi tape covered book to write important notes in or to use for journal keeping? 
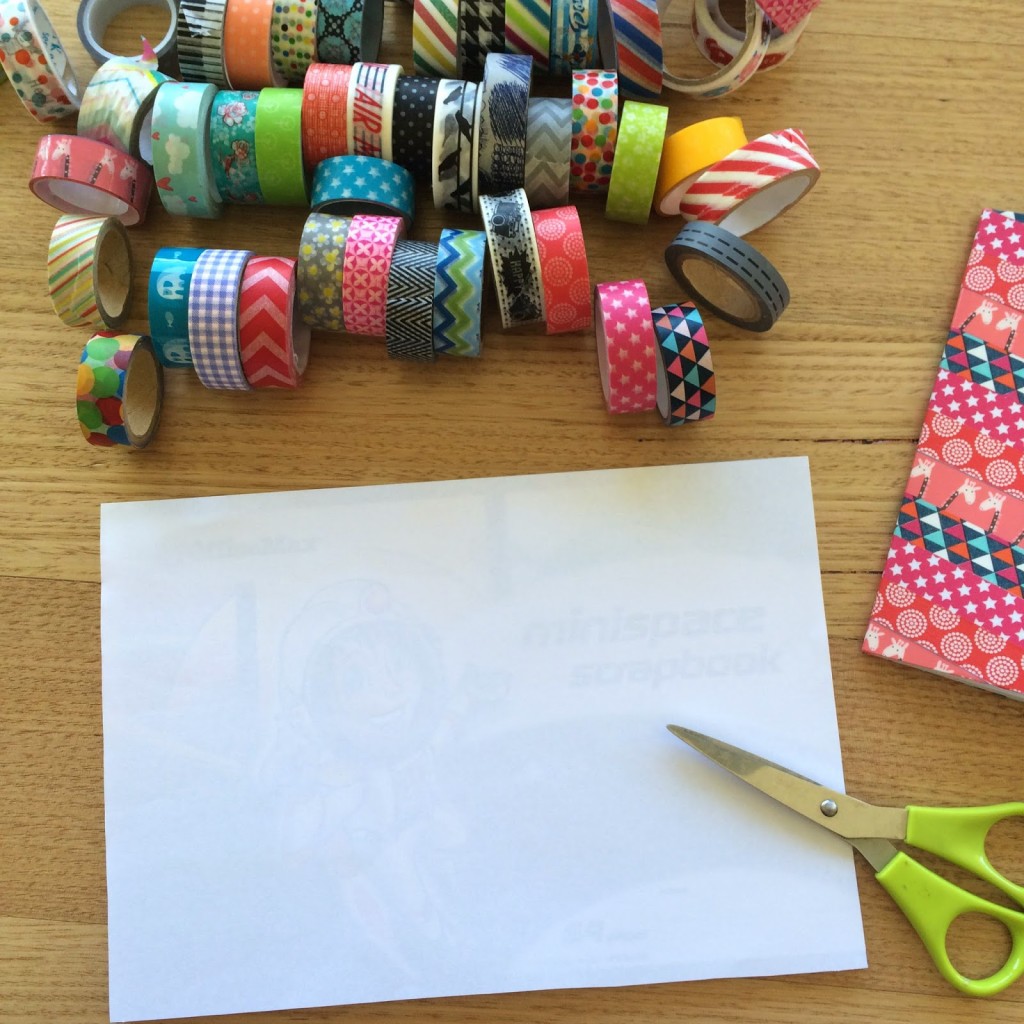
To start with, you will need your book to be covered and a selection of washi tapes. If you don’t have a big supply of washi tapes, don’t let that put you off. Some of the books I like best are covered with a repeated pattern of just 4 or 5 different tapes.
 

Before you start sticking down your tapes you will need to cover your book with a piece of plain copy paper. Most washi tapes have clear or opaque areas in the design, so if you don’t start with a white base you will see the colours and patterns on the cover of your book through the tapes. I just stick mine down with a couple of pieces of double sided sticky tape. For most of my books, I only cover in washi tape and then stick a patterned paper on the back. If the book is smaller though, I will cover the front and the back. Do what ever you like – but just make sure that you have white paper on any surface you want to cover.

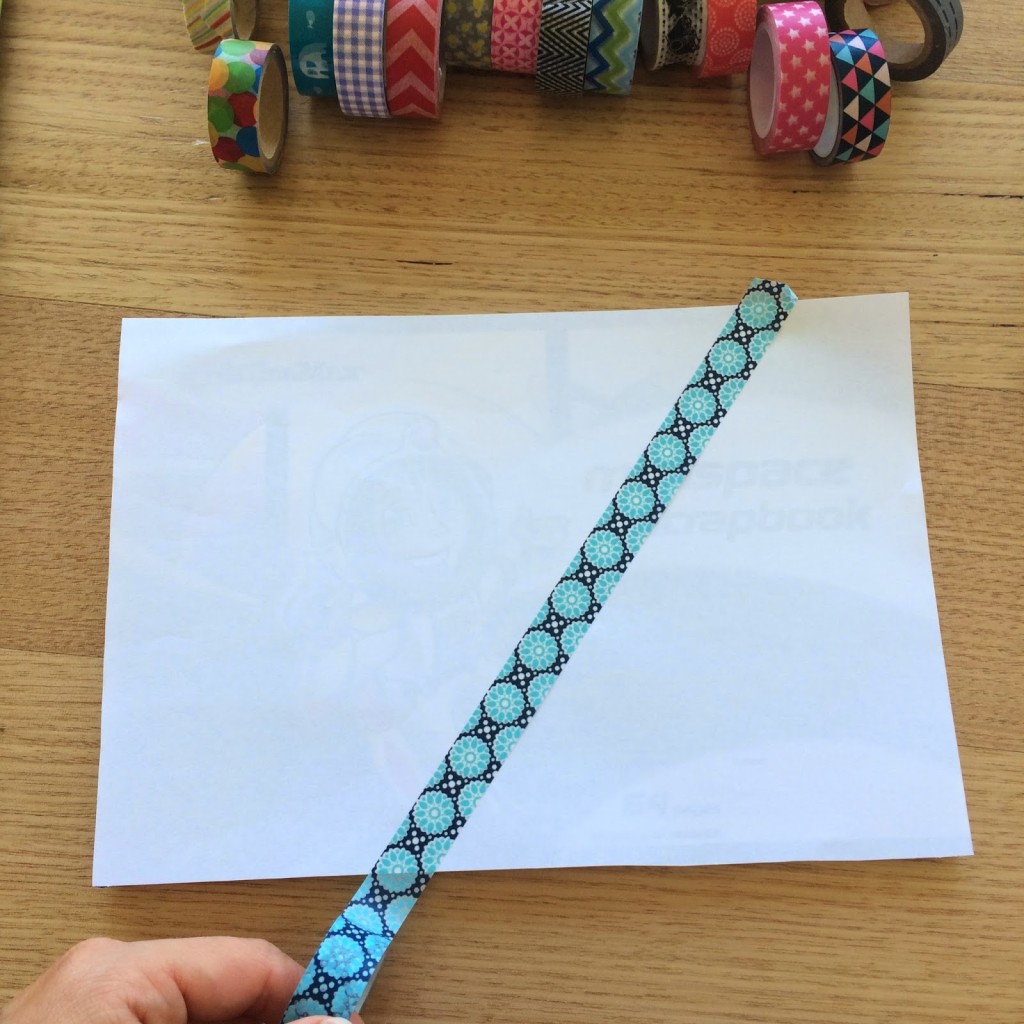
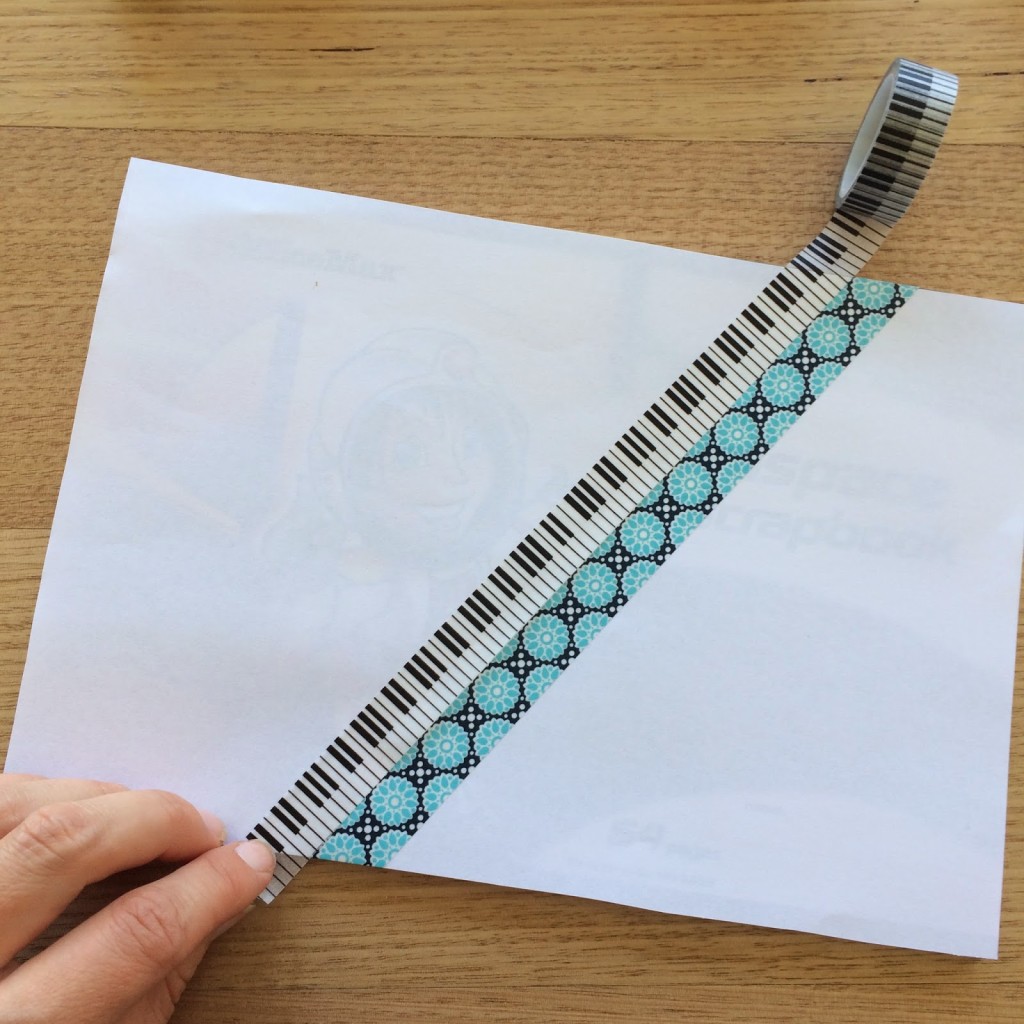
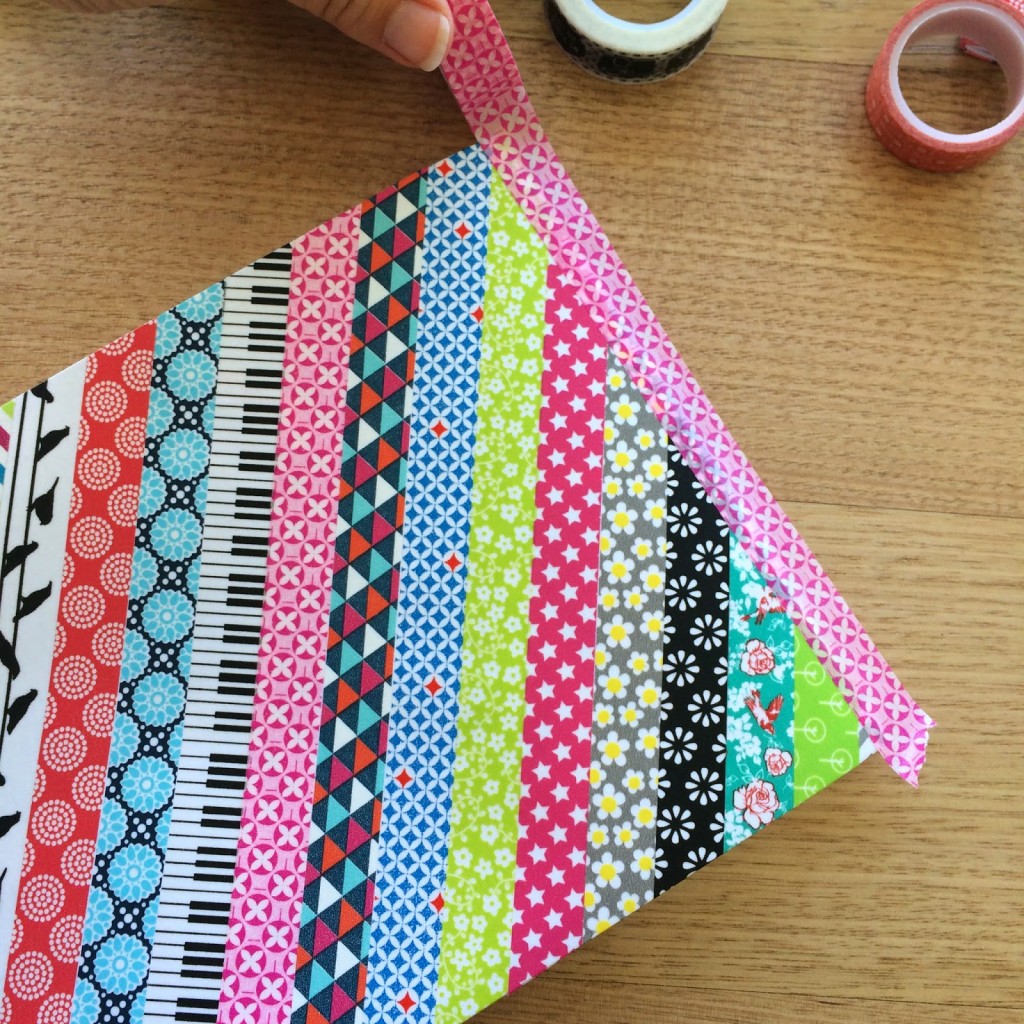
 Decide on what direction you want your washi tape to run (diagonal, horizontal, vertical, etc.) and stick one of your tapes in that direction, leaving a little bit of tape hanging over each edge of the book.

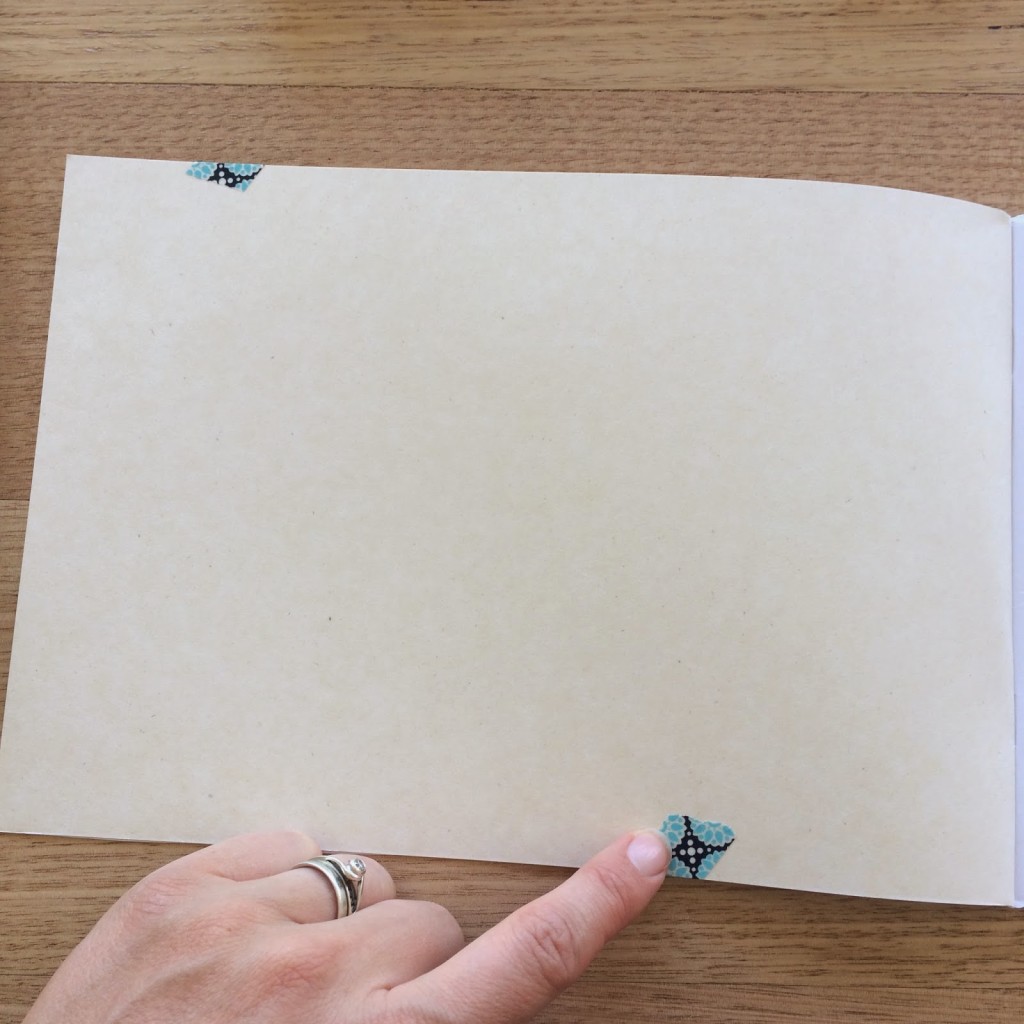
Open the cover of the book, and fold the overhanging edges of the tape to the inside cover and press down.

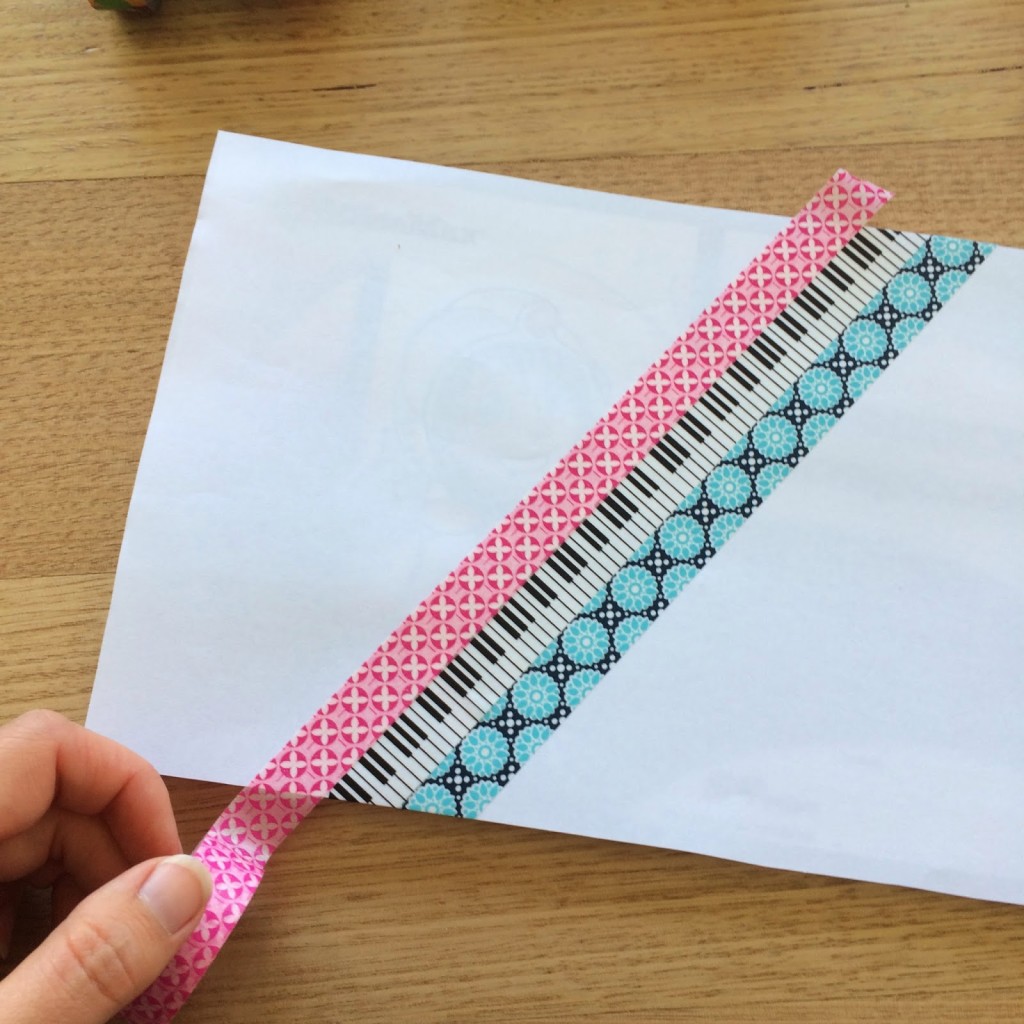
Take your second piece of tape and line up the edge with the first piece. Press down, break off and fold overhanging edges to the inside cover.

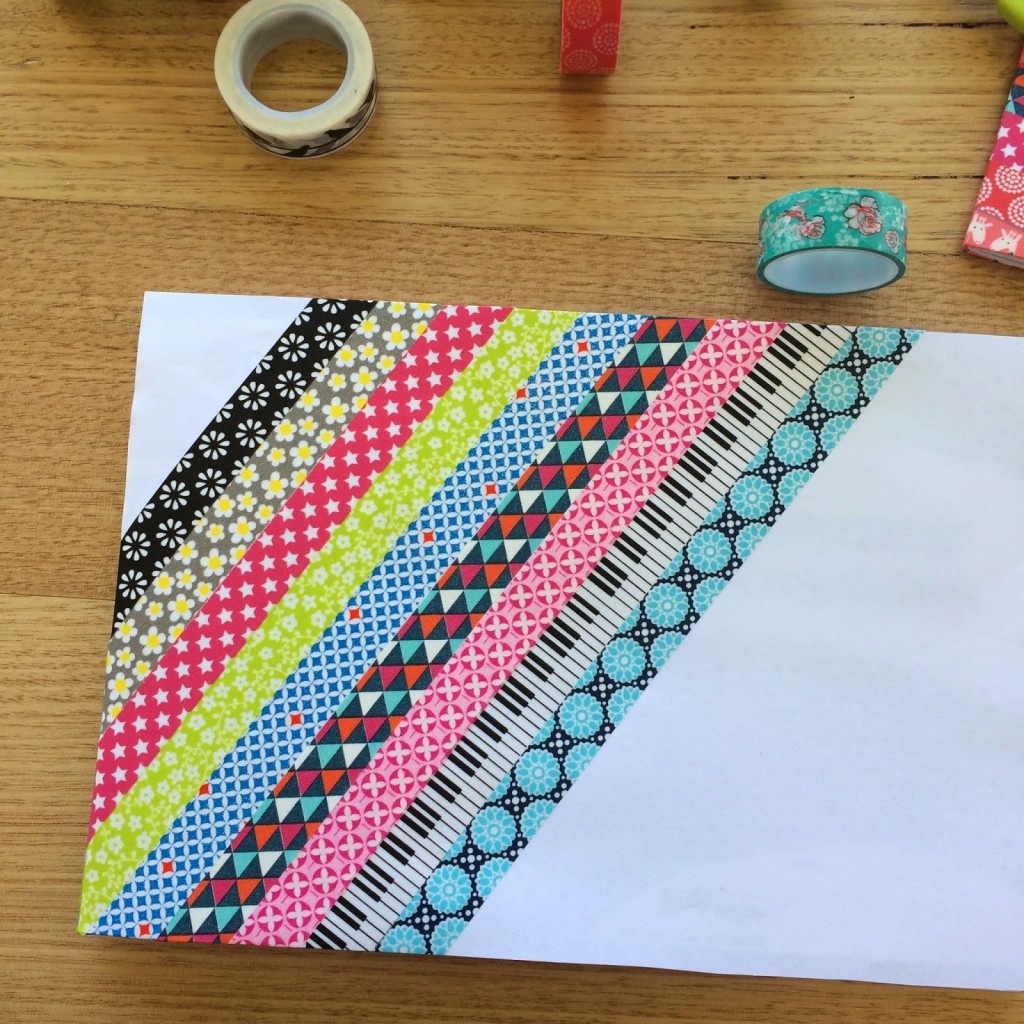
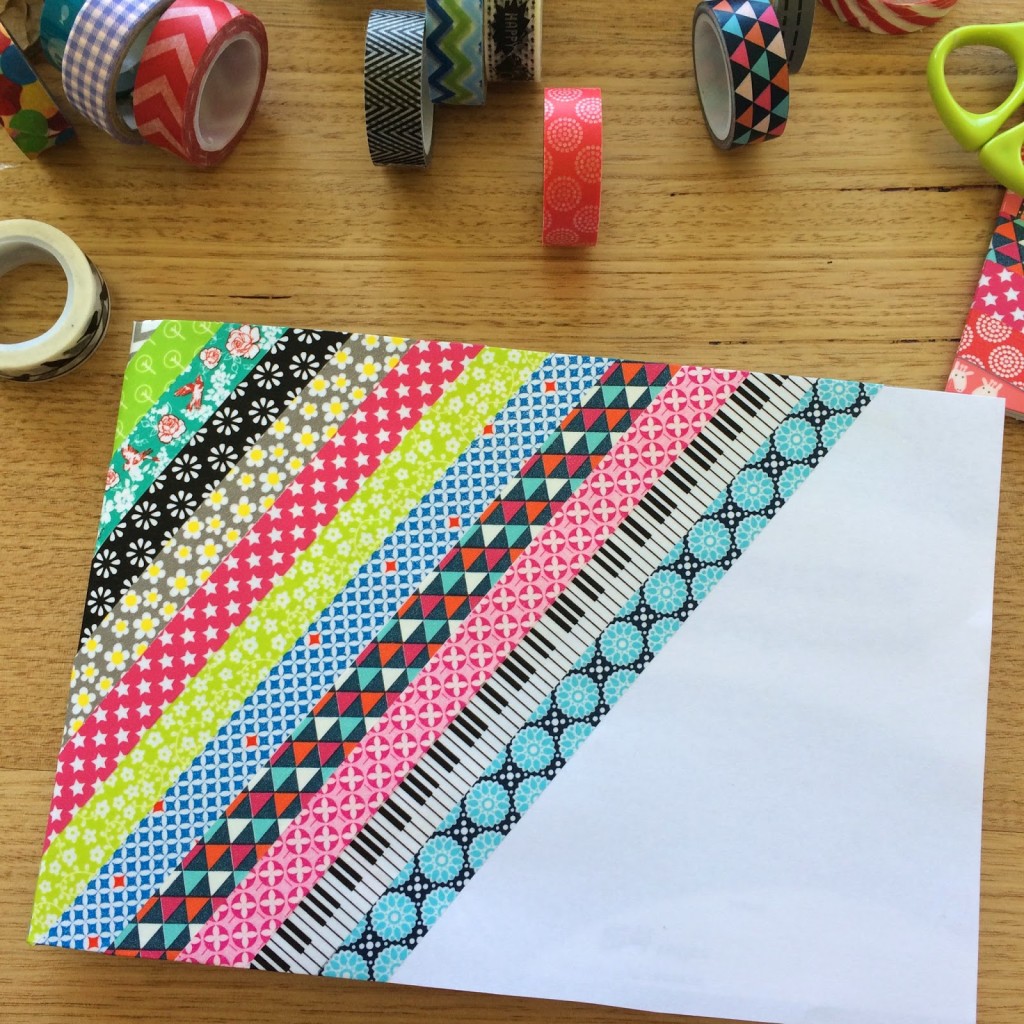
 Continue adding strips of washi tape…

 …until your book…

 …is completely…

  …covered!

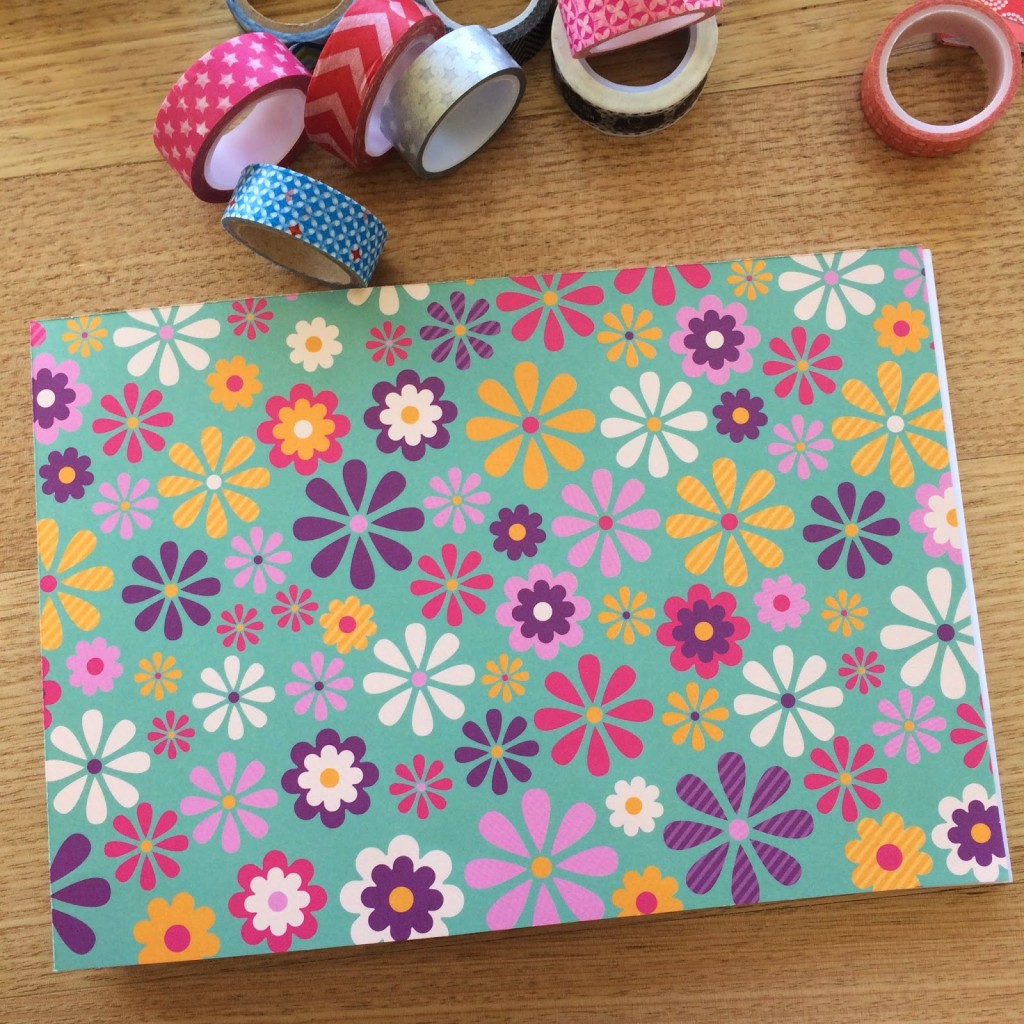
Decide what you want to put on the back cover – I mostly use scrapbook paper cut to size (yep, using up those hoarded craft supplies!) and stick it down with a few pieces of double sided sticky tape.

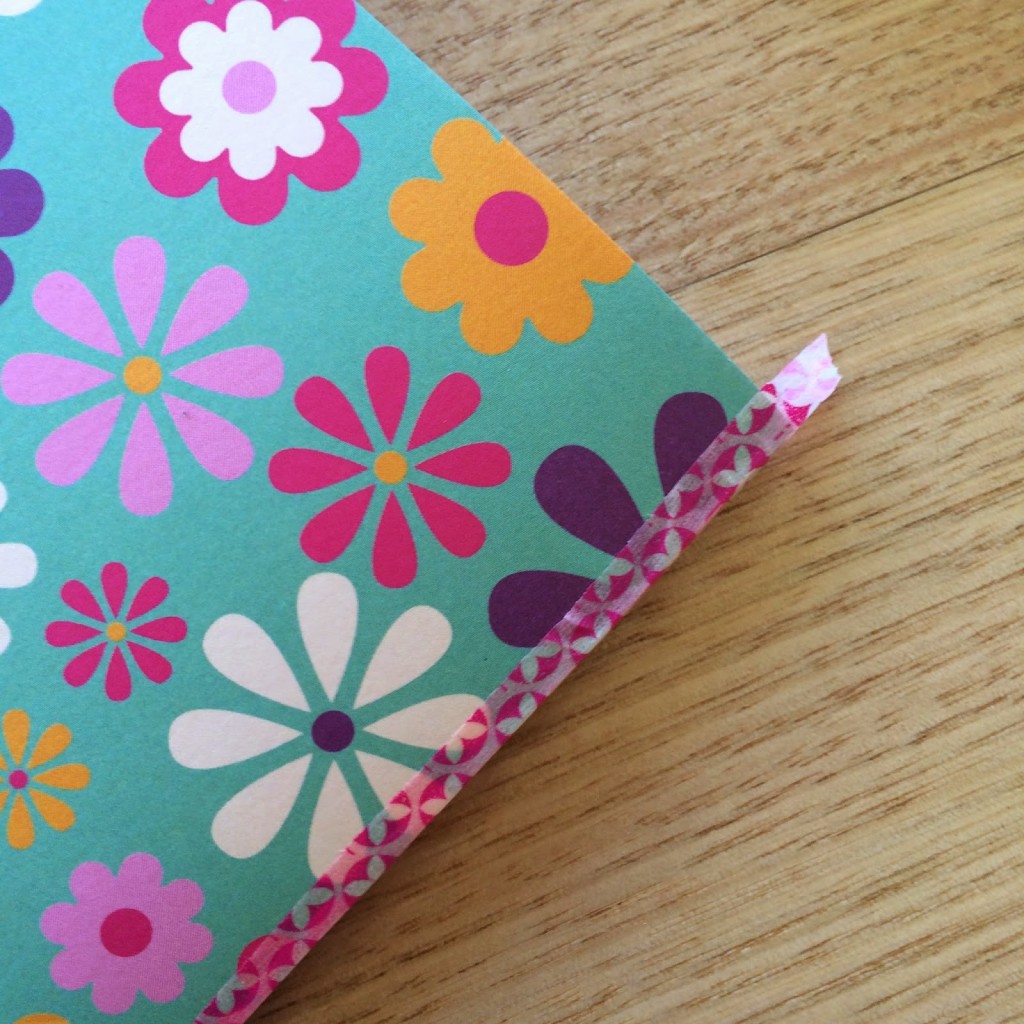
To keep the spine of the book nice and neat, choose a washi tape to run down the folded edge. Make sure that half of the tape is hanging over the spine…

 …and fold it over to the back cover of the book.

Fold the short, overhanging edges of the washi tape to the inside of the book to finish.

And there you have it! A washi-tape covered school book that is way cooler than any Disney or Minecraft character contact!!!

I like to finish my book off with some protective plastic. If the book is A4 size, I buy plastic book covers (way easier than contact!) to pop over the top. And I use clear contact on smaller or odd shaped books. If you are covering your whole book (front and back) in washi tape you could probably skip the plastic covering, I would skip it for myself, but not for the kids!

Happy covering, and here’s to using up pretty hoarded craft supplies!  

DIY, Quilt

.Handmade Christmas Gifts.

This year I only made a couple of Christmas presents for family members. In past years I have made many more, but the sewing machine hasn’t been used much at all since moving house. I’m still getting my sewing area set up and with the kids on school holidays and the weather finally warming up I just haven’t felt like doing much sewing. A sewing break is always nice though, after a month or so I’m really hanging out to get back into it and at the moment my list of things to sew is becoming rather long so hopefully this week I will pull out the fabric and start making a mess again!

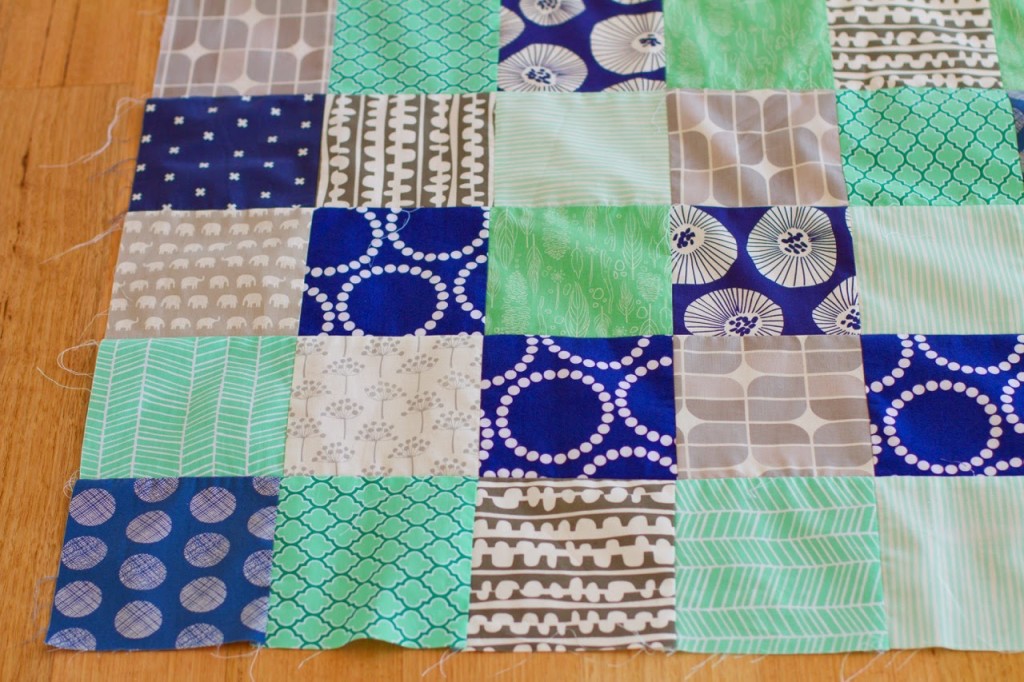
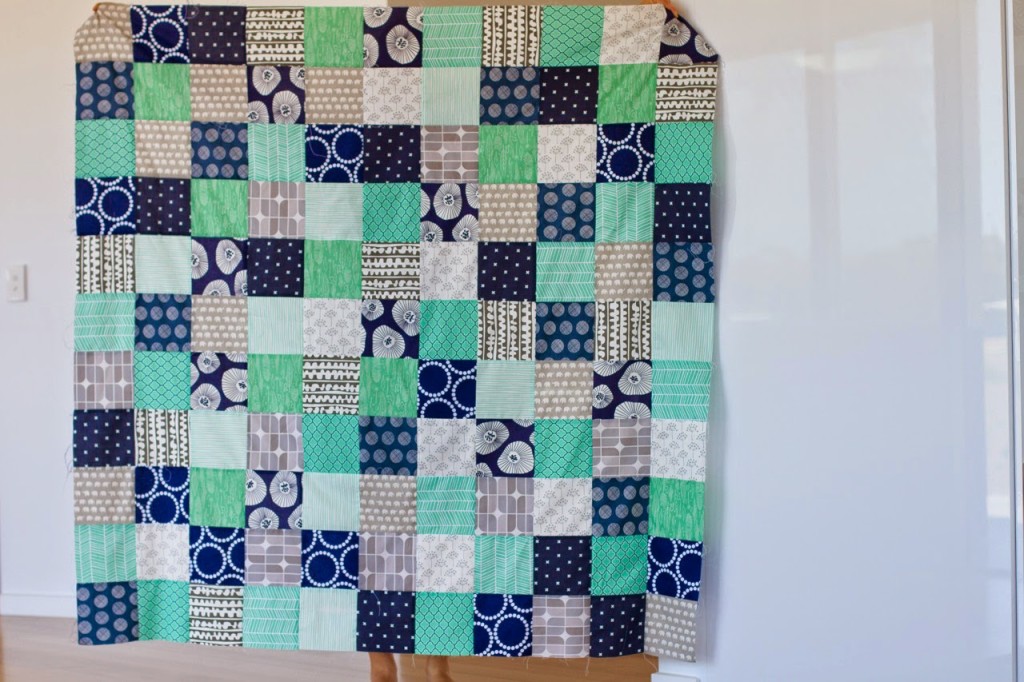
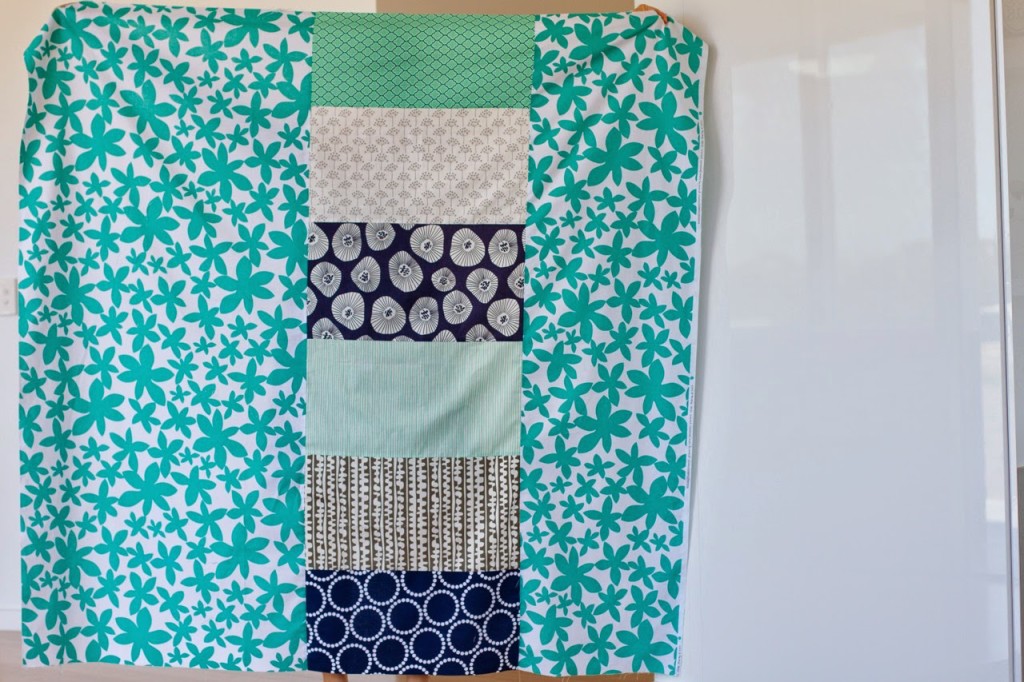
So, the first handmade Christmas gift was for Carli. We do a family Christmas draw where adults gift for another adult and children gift for another child. It’s really nice – especially the cousins choosing presents for each other. Jaron got Carli’s name and she hinted that I could make her a quilt top! She doesn’t like cutting or sewing on the machine, but does enjoy a bit of hand quilting on the couch so I put together this quilt top for her, taking inspiration from colours in her house. I forgot to measure it before it was posted, but the blocks were cut at 6 1/2″ square so it must be around 66″ (167cm) square. I love this modern colour palette, nice and vibrant and I’m a big fan of simple square quilts where the focus is on the fabric.

After I had finished making the top, I kept looking at this floral fabric by Lotta Jansdotter sitting in my cupboard and thinking how good it would look on the back of the quilt. It wasn’t big enough though so I selected a few fabrics from the quilt top and pieced them together to make the back bigger. Now all Carli has to do is buy some wadding and baste the layers together and it will keep her busy for a little while!

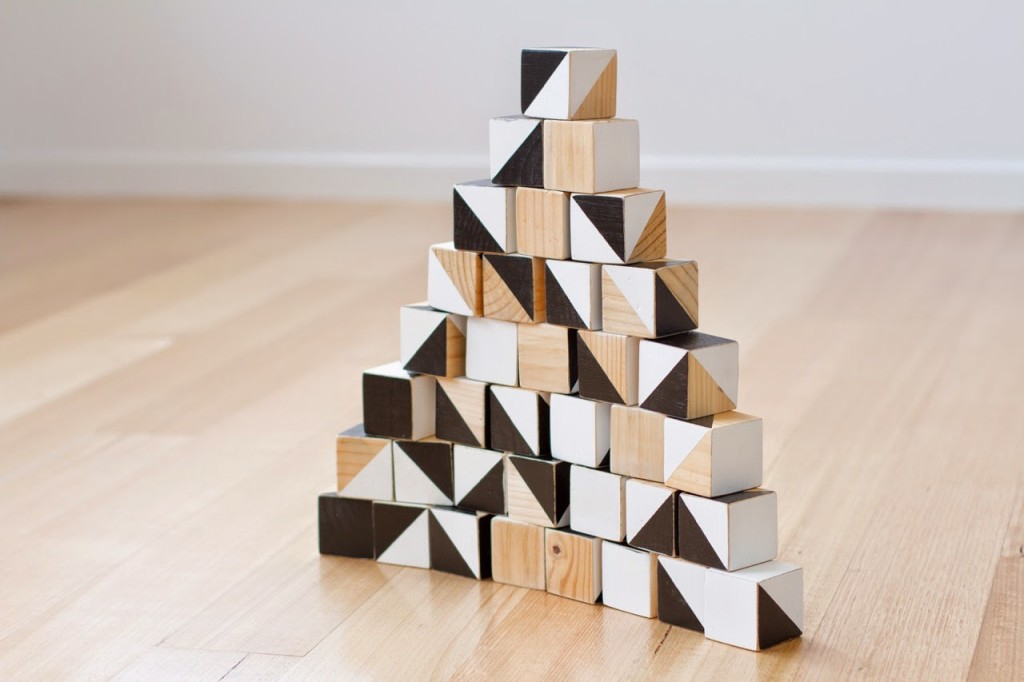
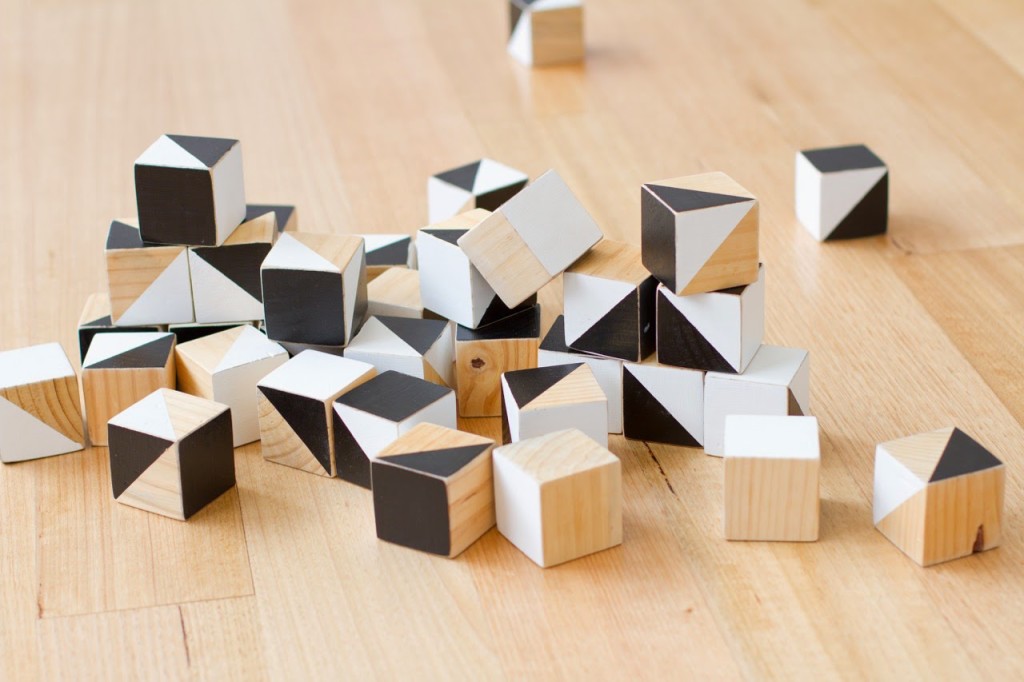
The other handmade gift was not of the sewing variety. Lil had to get a gift for baby George and Sam said that she would like to get more wooden toys for the kids. At the beginning, I thought this project was going to be quick, but I found myself cleaning, sanding and painting these little suckers for 3 weeks! Lucky I started with lots of time up my sleeve! 
These wooden blocks started out in our toy collection. I had a man make them for us a few years back and lots of them I had covered in scrapbook paper and modpodge. My kids didn’t play with them much as they were so I soaked them in water to get the paper off then gave them all a really good sand and clean up. Then the painting went on forever…but I love the black and white geometric effect and think they will have lots of fun making different shapes and designs with all of the painted sides.

My inspiration came from this account I follow on Instagram. Check her out, she makes lots of funky kids toys and books and other craft projects. Now that I know how long these blocks took to paint I know why she has a really long waiting list for new orders!!!

FABRIC USED FOR QUILT:
Diawabo, Tip Top Elephants in grey (Japanese fabric)
Lizzy House, Pearl Bracelets in dark blue
Cotton & Steel Basics, Cross in navy
Lotta Jansdotter, Echo, Rugged Lena in suede
Sarah Jane, Wee Wander, Nature Walk in grass
Lotta Jansdotter, Echo, Moira in deep indigo
Joel Dewberry, Modern Meadow, Herringbone in pond
Joel Dewberry, True Colours, Lodge Lattice in turquoise
Lotta Jansdotter, Echo, Small Spring Buds in grey
Art Gallery, Chromatics, Pointelle in navy
Michelle Engle Bencsko, Simpatico, Straws in minty
Riley Blake, Hipster, Mirrah Leaf in grey
Lotta Jansdotter, Glimma, Marby in jade

DIY, Zippered Pouches

.Teacher Zippered Pouches.

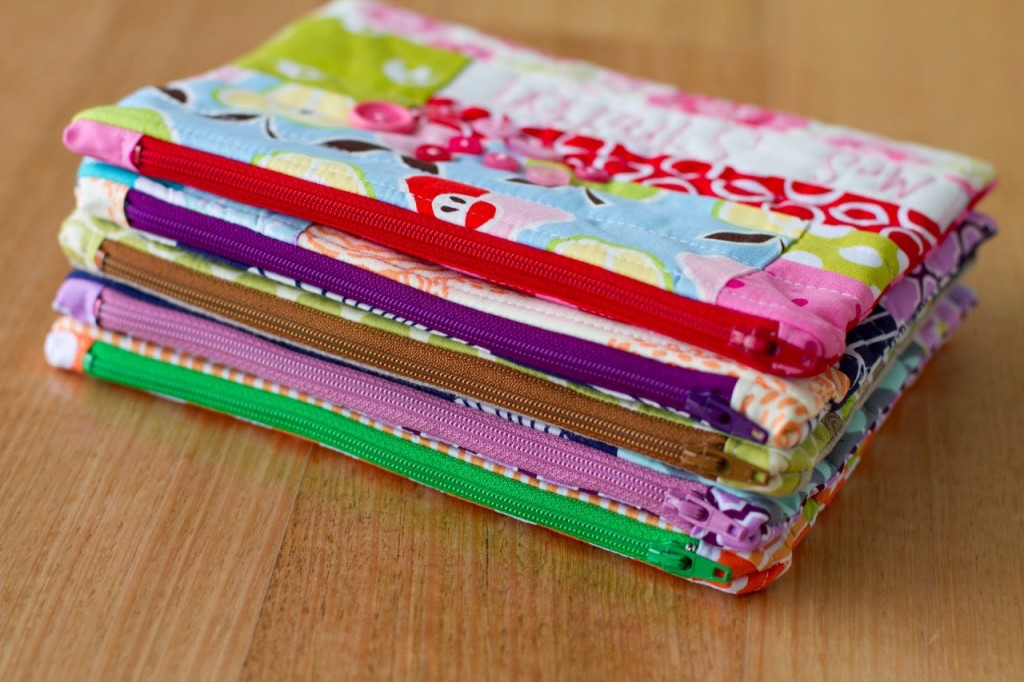
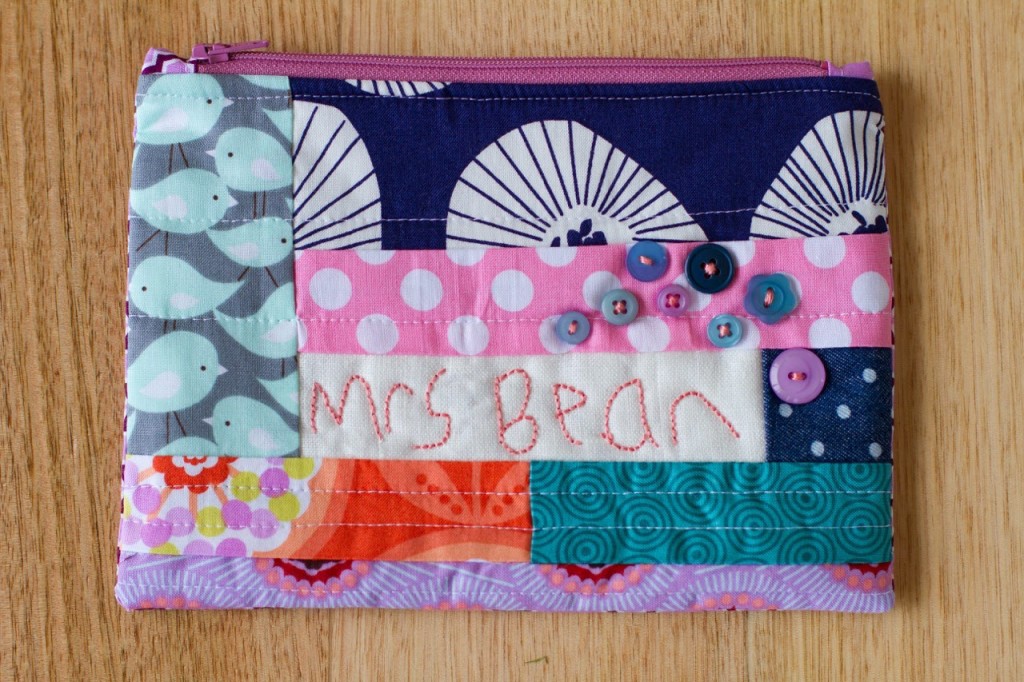
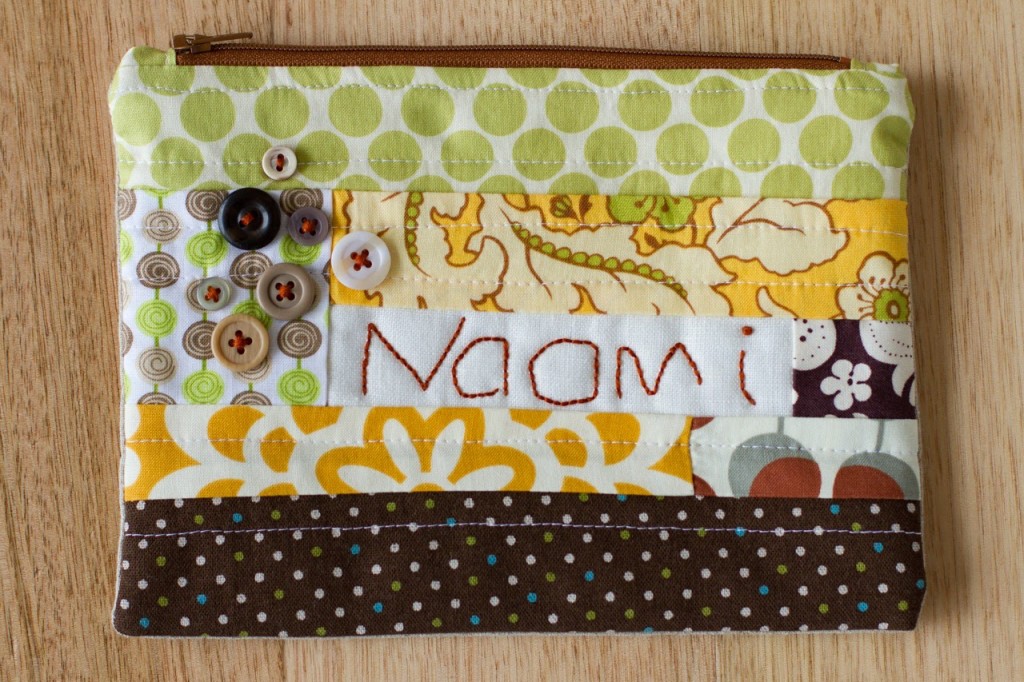
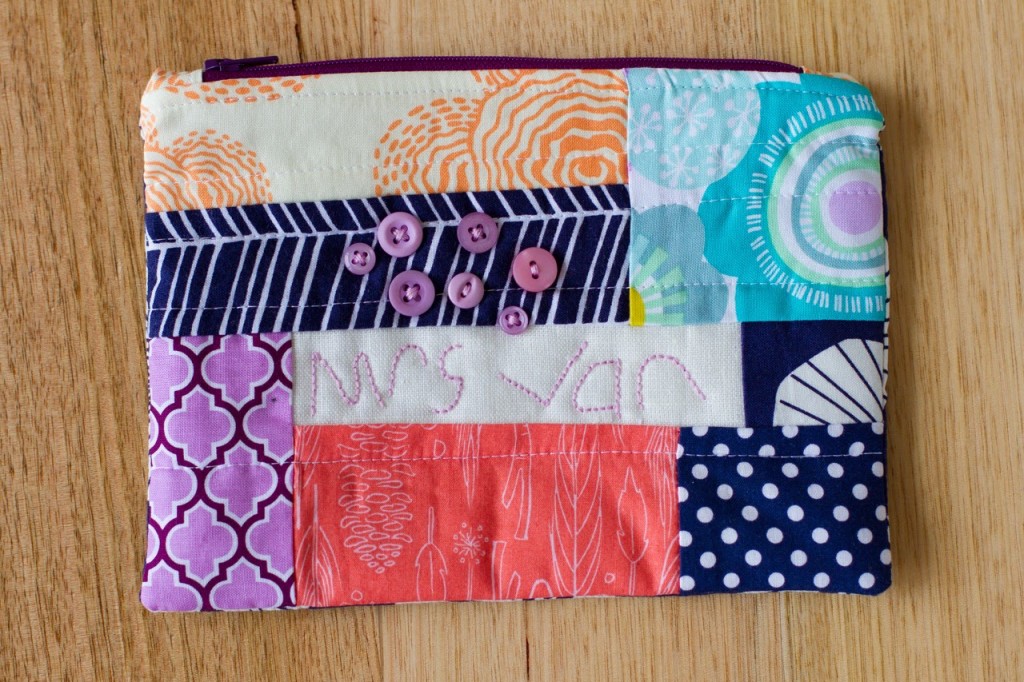
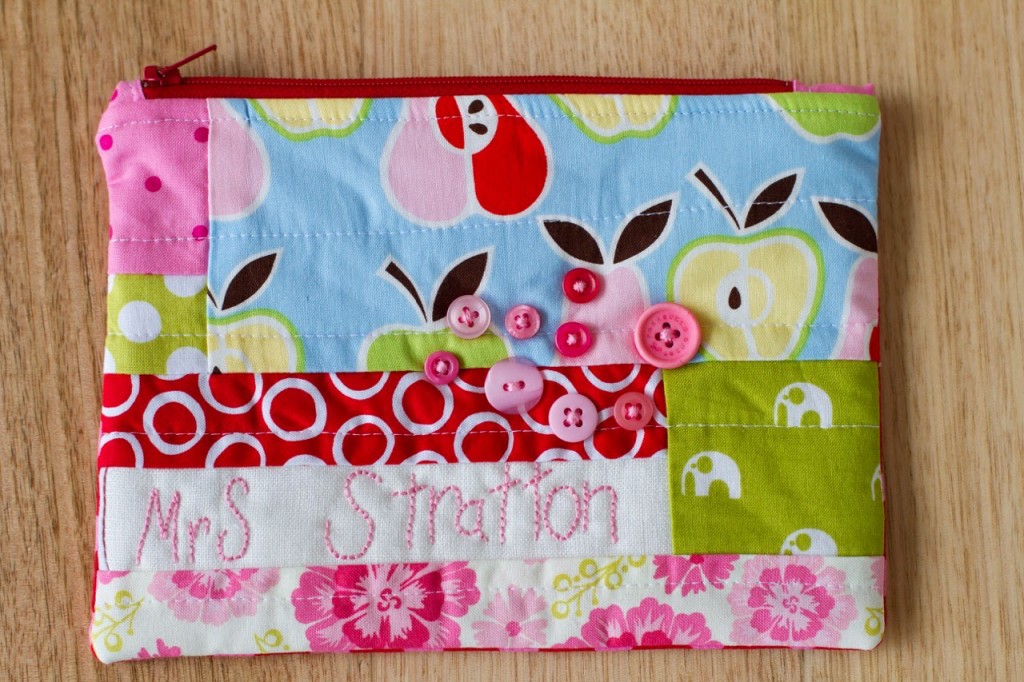
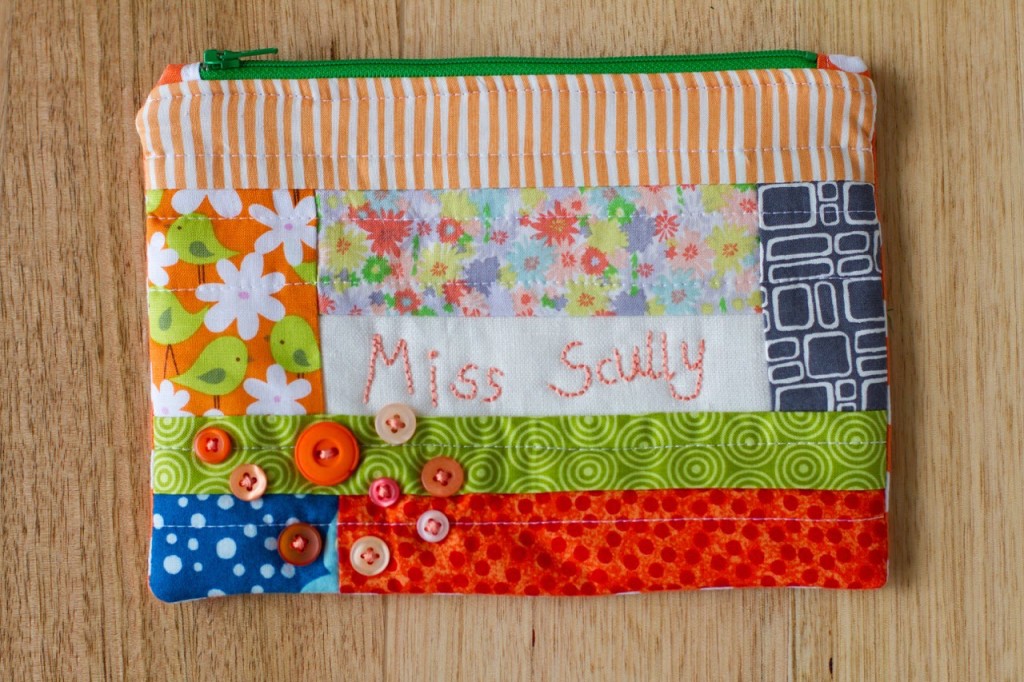
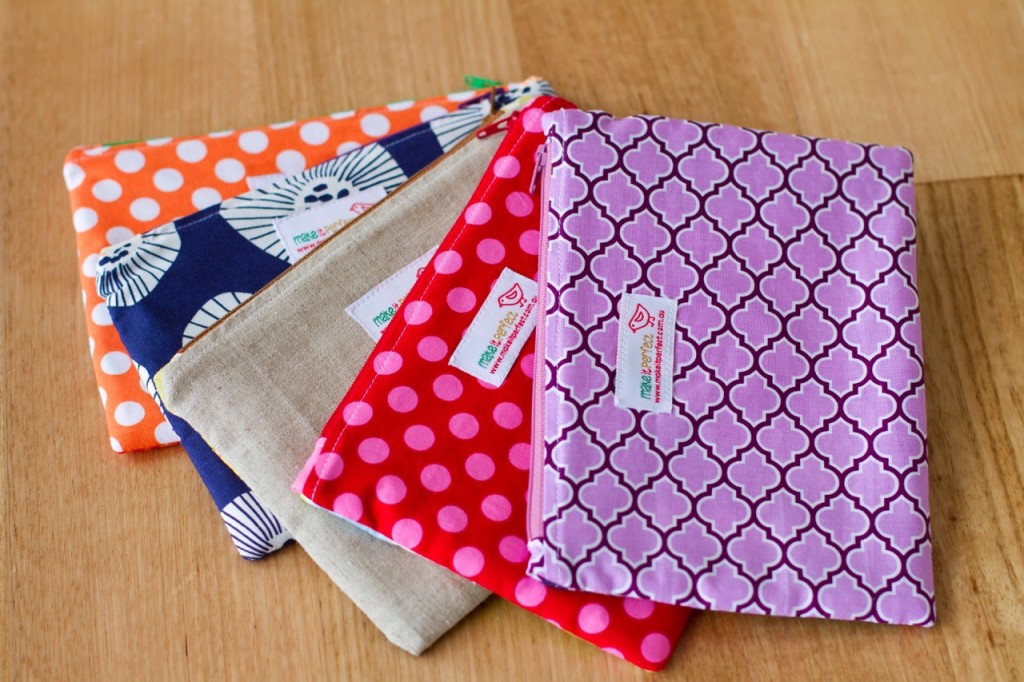
The end of the school year was signified with the annual school teacher zippered pouch marathon!
It’s kind of good having a “go to” teacher pattern – something that suits them all, is personal, not edible and something that I can be sure will actually be used in the future. Plus, it gives me a chance to lessen the load in the scrap fabric bin!
This year there were two teacher’s aides in Tommy’s class which meant I had to make 5 pouches. I managed to get them finished with a week or so to spare though which was nice considering it happened in amongst the craziness of moving and unpacking house.
You can see previous teacher zippered pouches here, here and here – this is the fourth year I have made them. Funny that some of those same scraps are still going strong!
I used my Zippered Pouch Tutorial to make them.


DIY

.Necklace in a Jar Gift


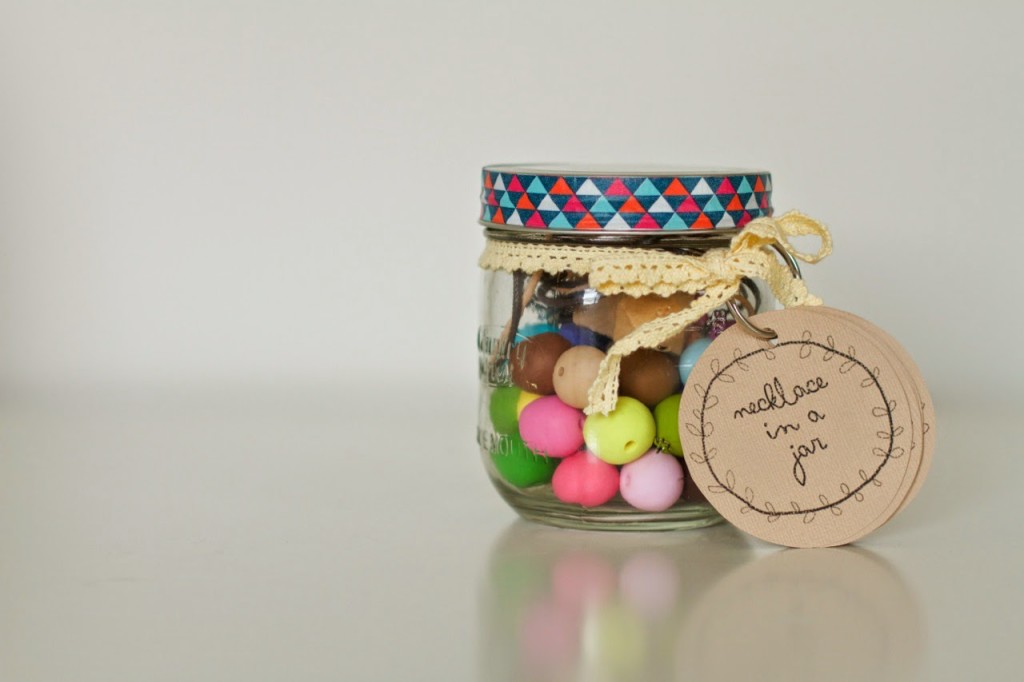
I’m a big fan of gifts “in-a-box” or “in-a-jar” they are a fun and interactive surprise for the recipient. Recently I made a “Necklace in a Jar” gift for a special friend of mine. 


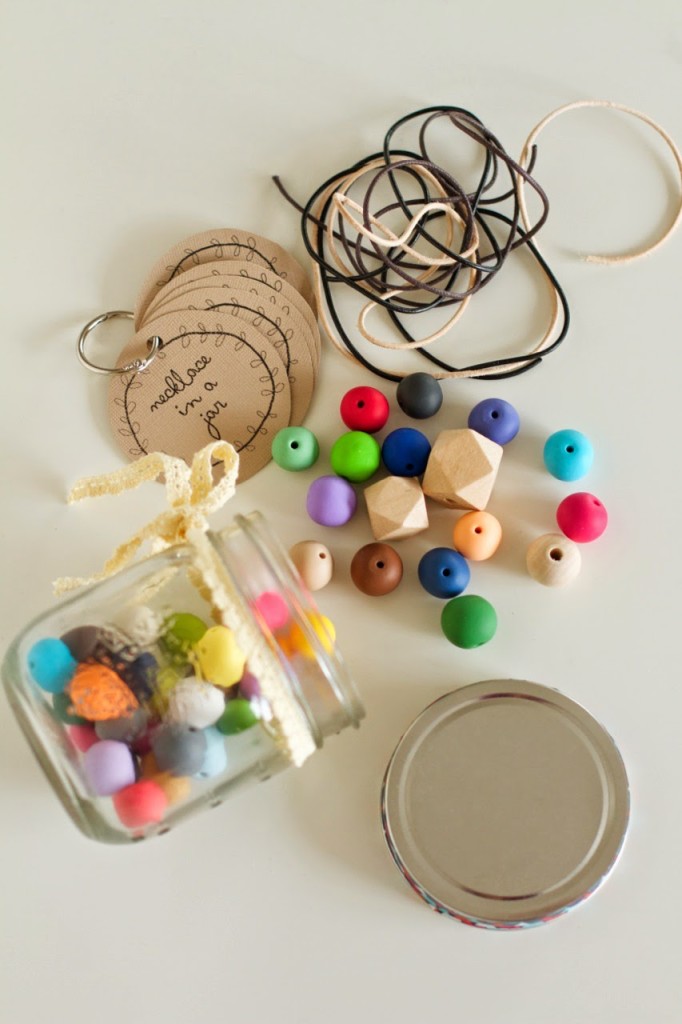
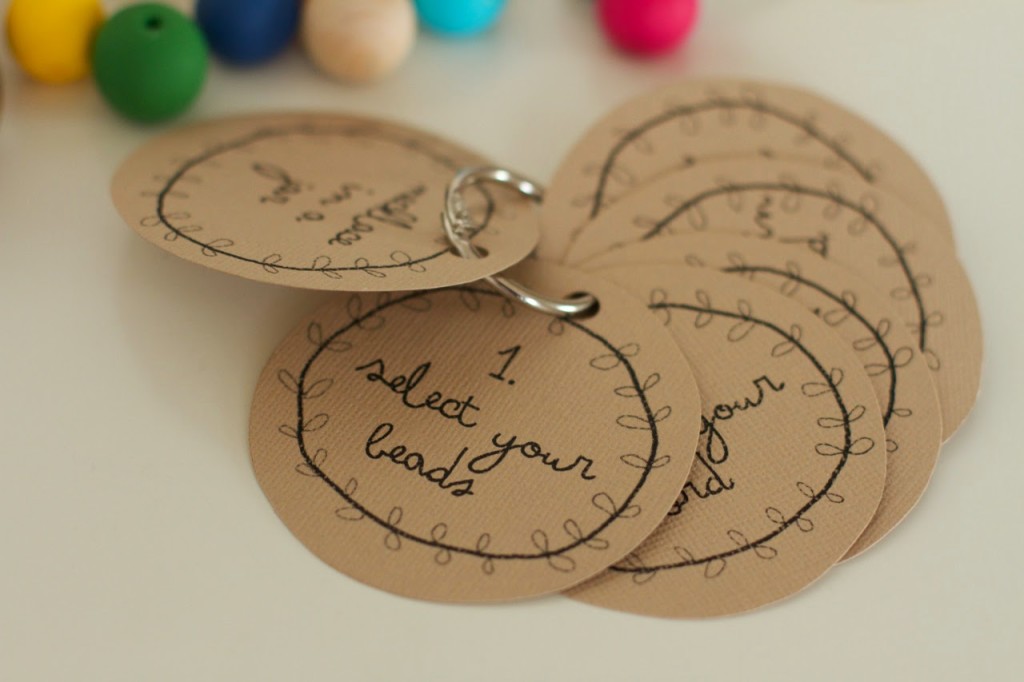
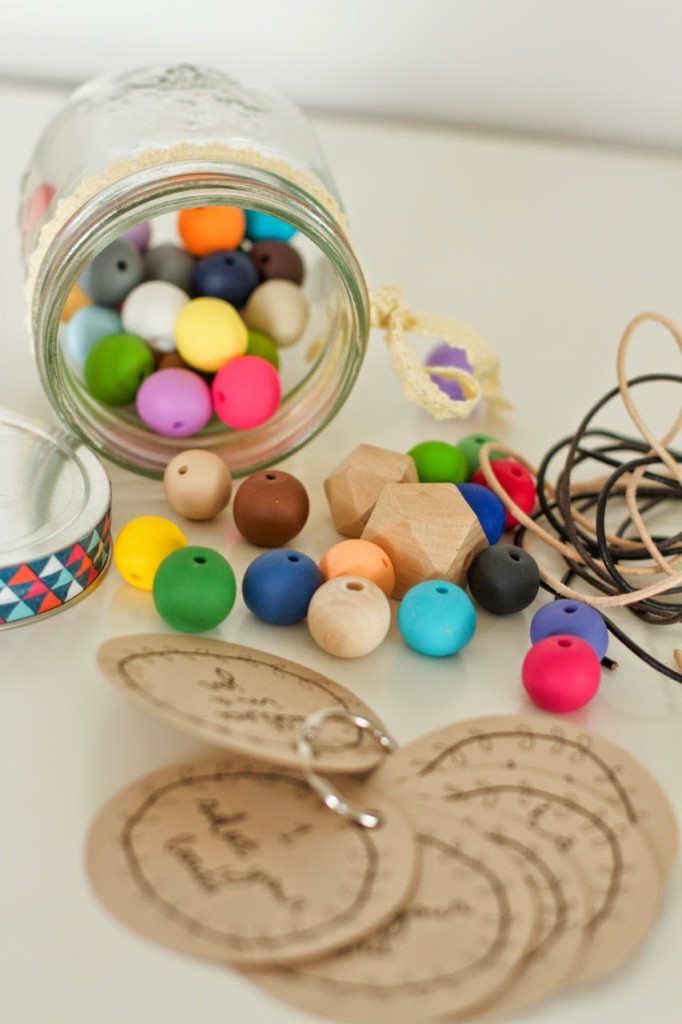
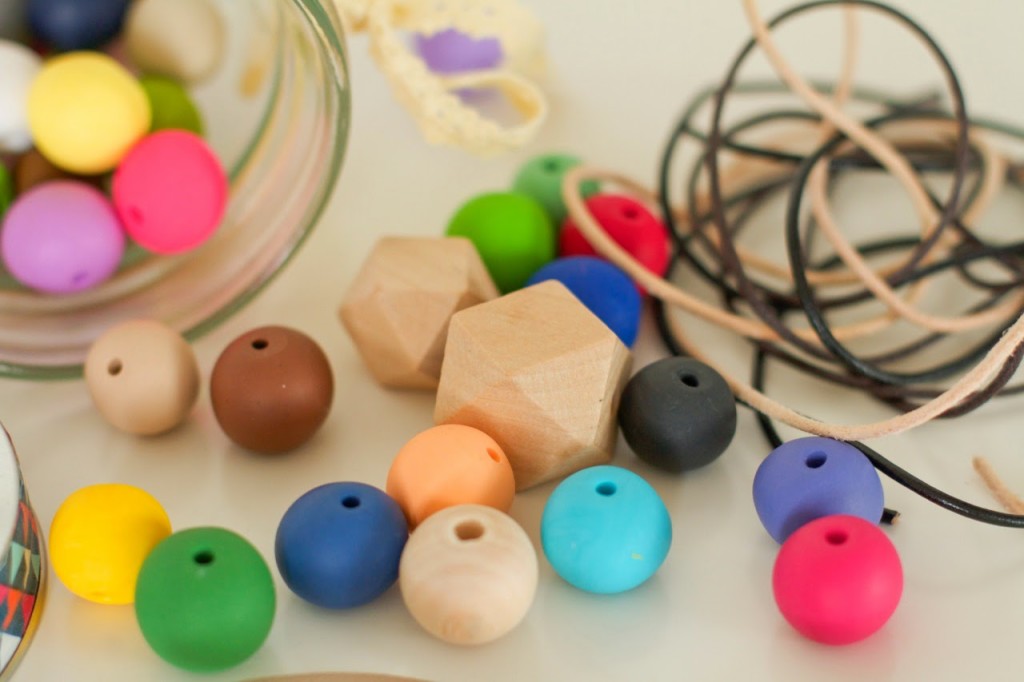
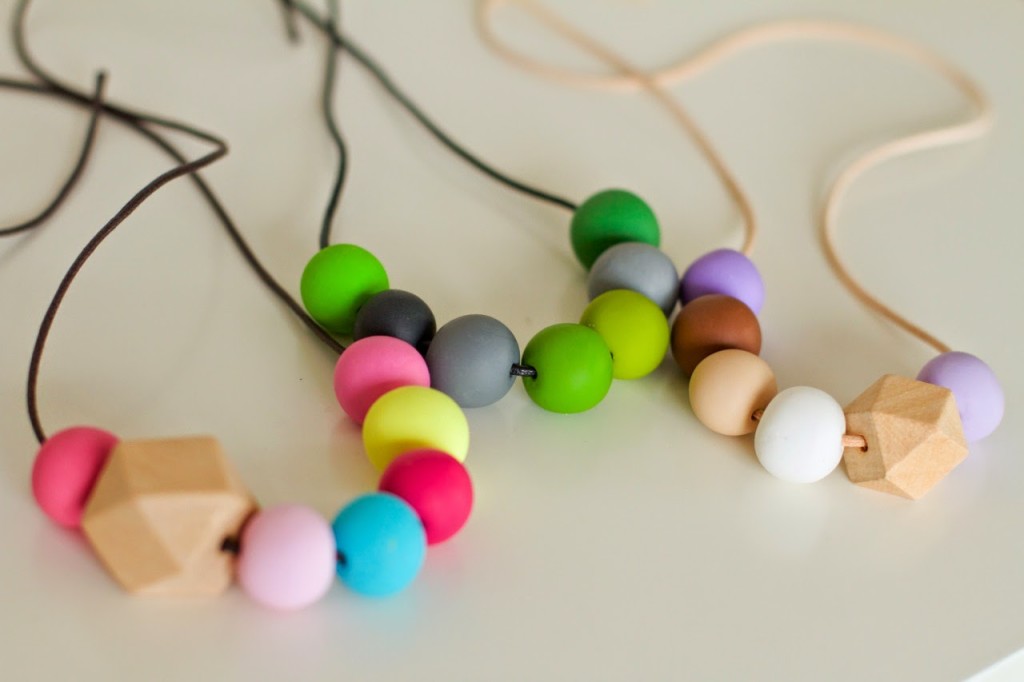
Included in the jar were a heap of handmade polymer clay beads, some wooden geometric and circular beads, leather necklace cording and a set of instructions to make your own necklace.


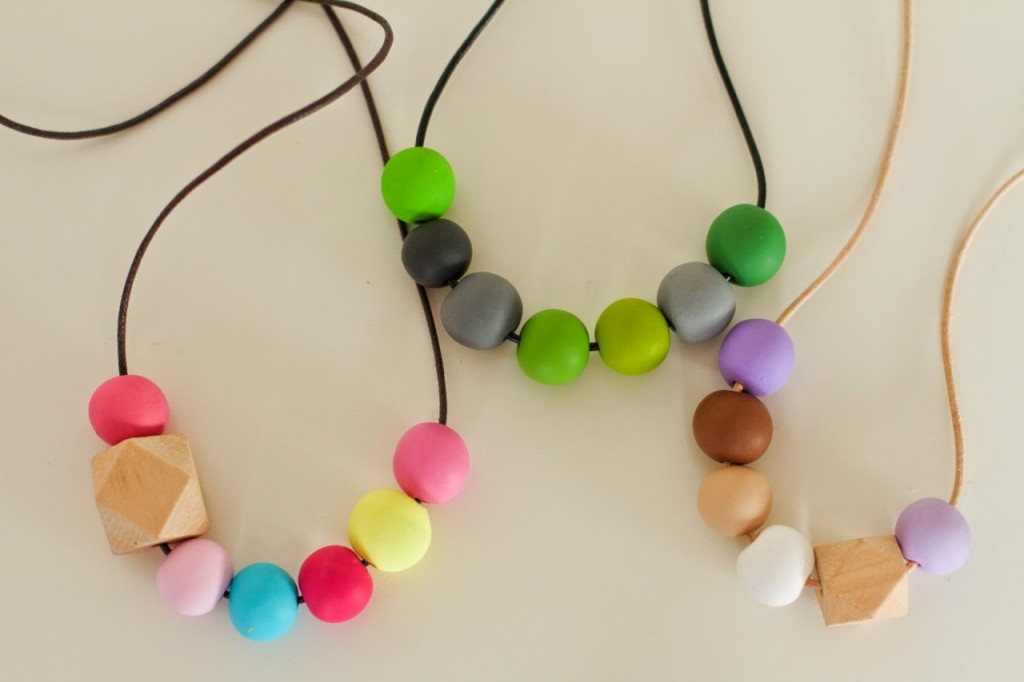
The amount of necklaces you can make up with this jar full of beads is endless – meaning that you can literally have a necklace that matches every single outfit in your wardrobe! This is a great gift for someone if you aren’t sure about what colours they would usually wear – be creative about what you put in it too…I’m sure you could hunt around your favourite craft stores and find lots of fun beads, pendants and charms to include!

 
DIY

.My love affair with succulents.

It started with admiring them in gardens.
Then lots of pinning on Pinterest.
Then a bit of researching on the internet.
Some cuttings from friends and neighbours.
A few purchases at the nursery.
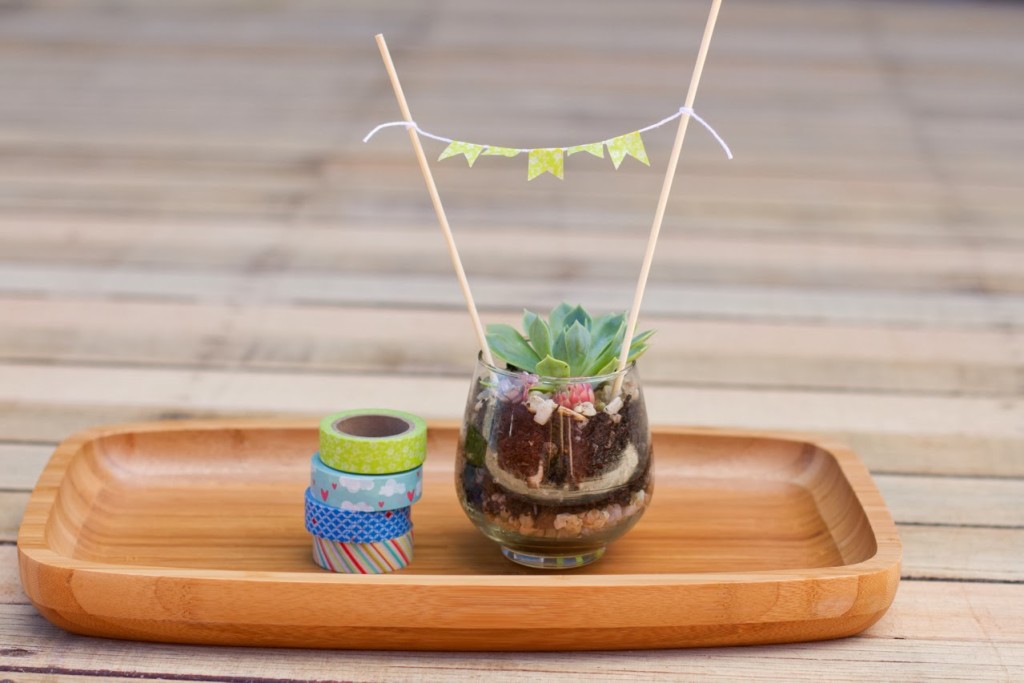
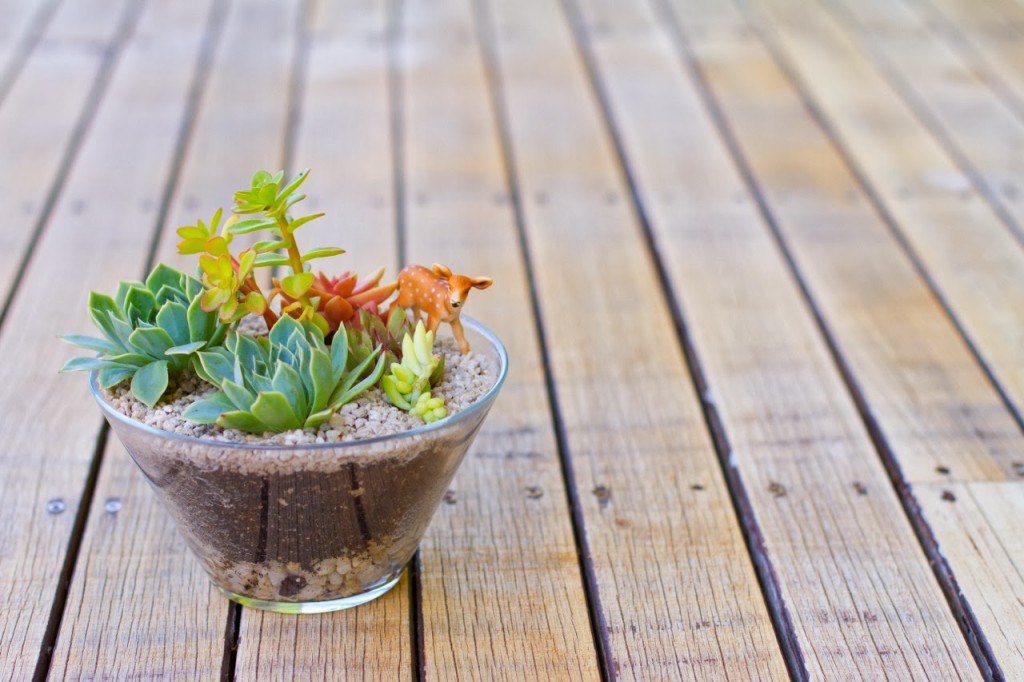
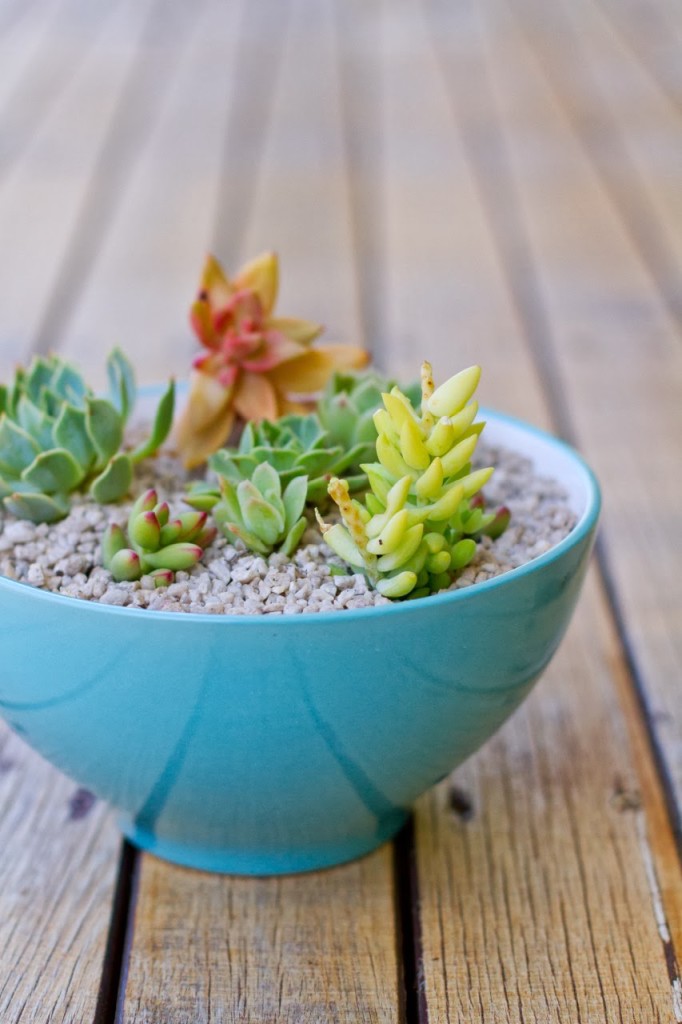
Collecting bowls, jars and vases.
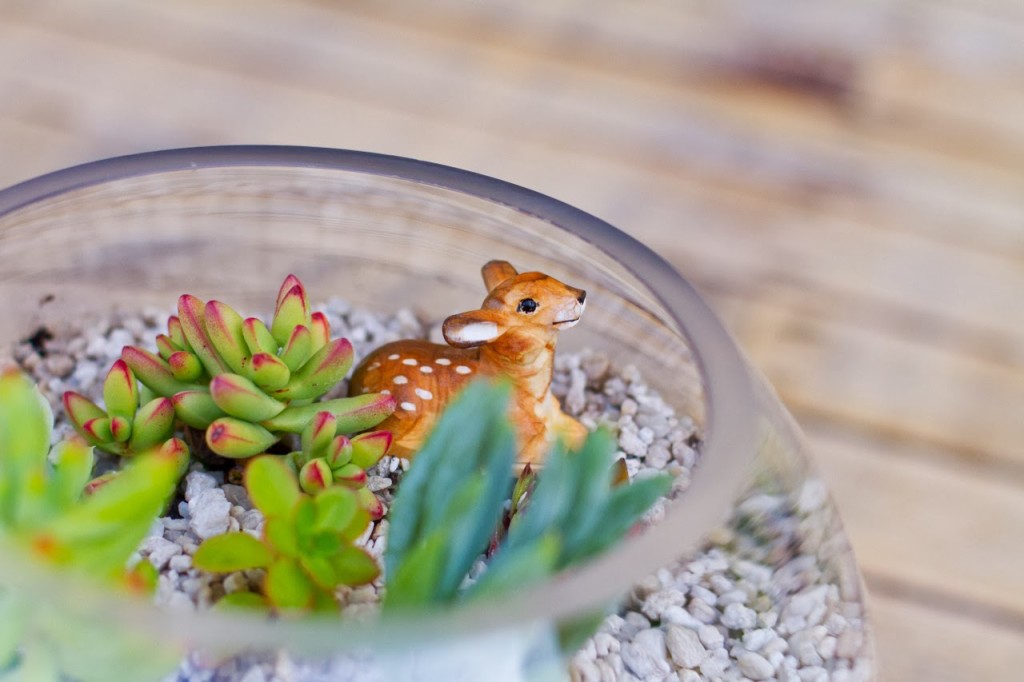
And cute little deer (we can’t forget the deer.)
An evening layering and planting.
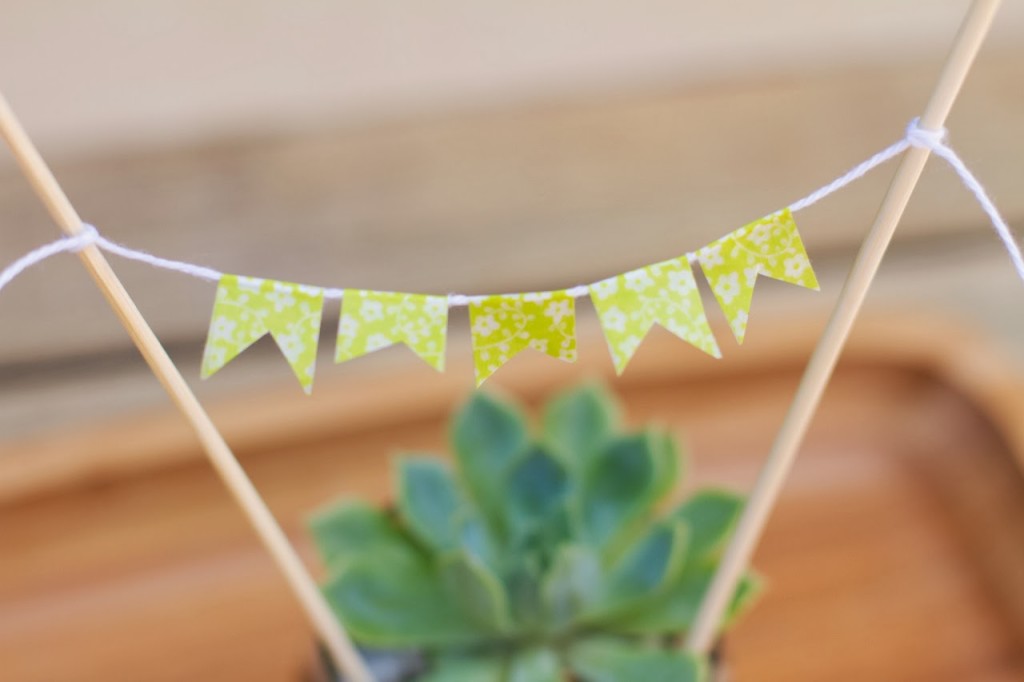
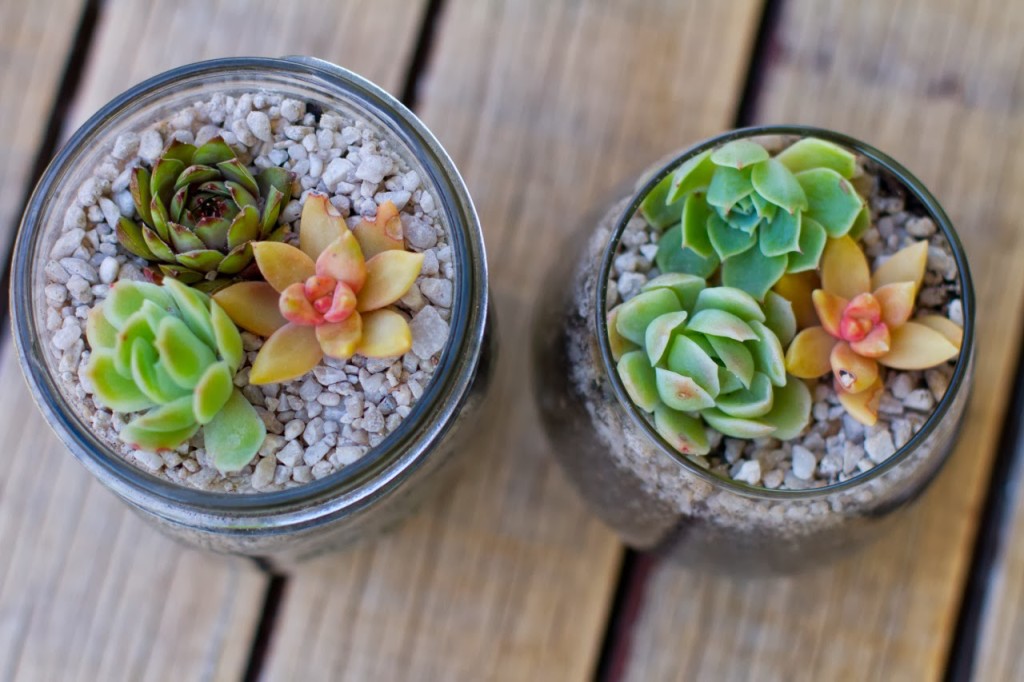
And a handful of succulent succulent arrangements to pretty up the home and give away as gifts.