I’m guest blogging over at UCreate today, sharing a tutorial to turn an old sweater into a cute cardi…


I’m guest blogging over at UCreate today, sharing a tutorial to turn an old sweater into a cute cardi…
I’m happy to report that Tommy’s cot is done. And I really love how it unexpectedly turned out. So, here are the before photos (and yes, he sometimes sleeps with Lil’s pink blanket!):

This cot has slept all three of our children, it was given to us by our friends when I was pregnant with Oscar. (Before it slept their son, it was used for many more babies!) It was great and we loved it, but 5 years later it was looking very tired with chipped paint, dirty marks and a ripped fabric panel from our last house move.

Originally I was going to paint it white again, then when I was at the paint shop I visioned a fire truck red cot and thought it would look really cool. My vision must have been a bit warped because when I was about half way through painting, we looked at it and went “yuck!!” I had the fabric panels all ready and covered in my favourite Alexander Henry, 2D Zoo print and when we put them against the red cot it was double yuck. So, it sat half-done until the next weekend and poor Tommy slept in it for the week! I thought about painting it white again, but knew it was going to take a lot of effort to cover up the red – then Jaron suggested using the charcoal exterior house paint we had in the shed from painting our front fence and letter box.
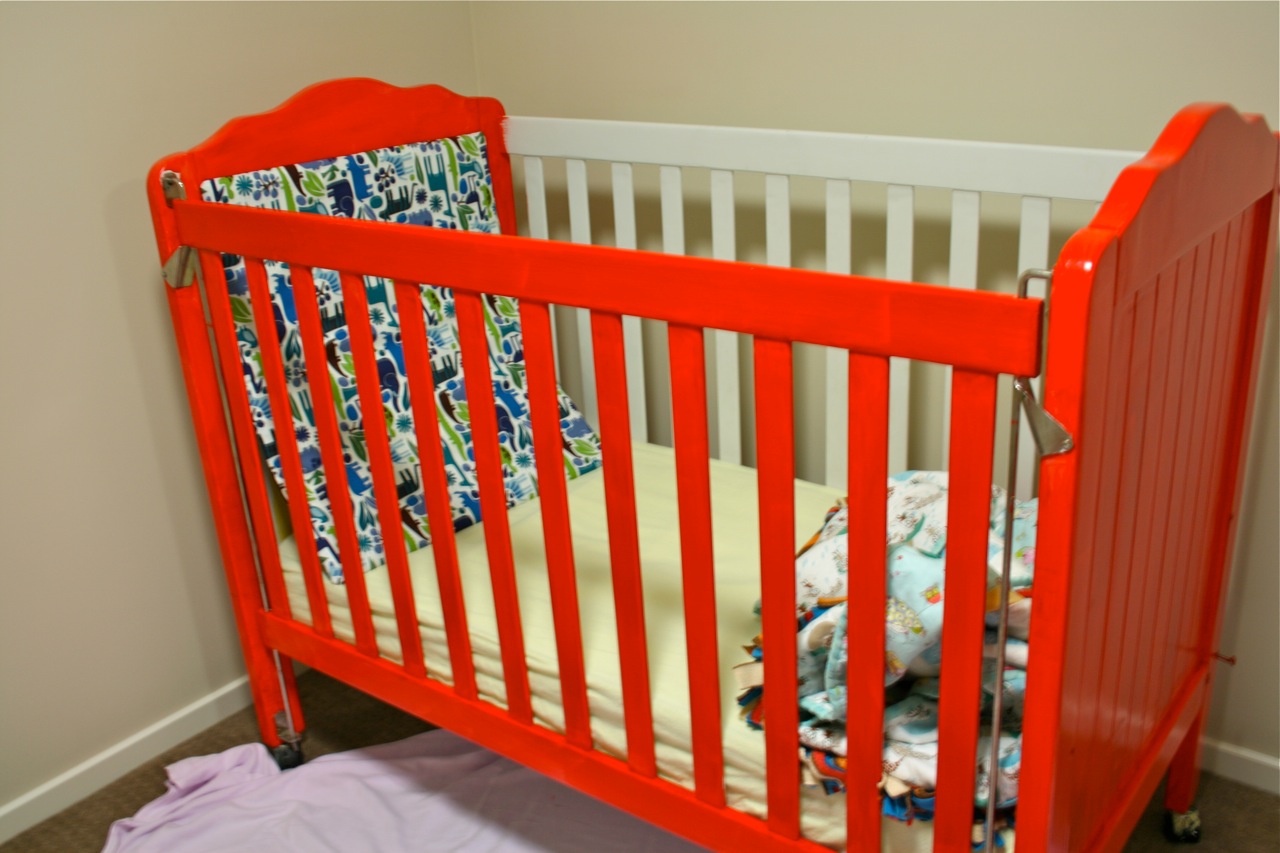
And ta-da!!! It worked. No more yuck. Shows off the fabric perfectly and is a lot more classic looking than the crazy red! Because I used an exterior house paint, I put a couple of coats of water-based clear gloss over the top to seal it, make it easily wipe able and kid-safe.

I covered a canvas in fabric too, but it is looks little out of place on the wall – maybe a bit small? I need my wall decorating extraordinaire sister to come and give me some advice!!


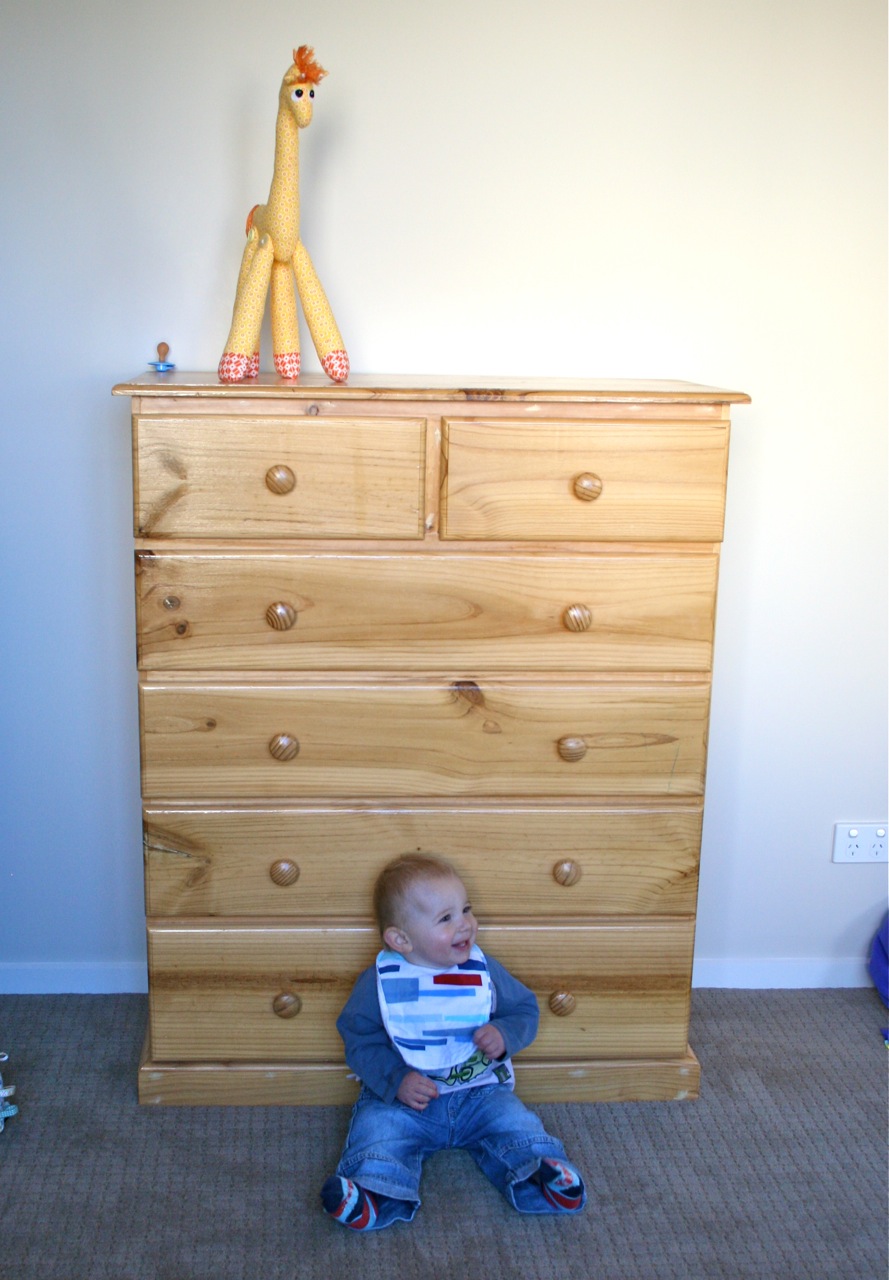
The room is far from finished but at least I have a theme to work with now. Next project to tackle will be to paint the chest of drawers in the room charcoal – thinking about painting a couple of random drawers blue and/or green?? I’m sure I’ll get to the stage where the house is finally decorated and then we will decide it is time to sell and build again!!

And this is about 1 year late, but I realised I haven’t shared the quilt my Mum made for Tommy when he was a baby. This is her tradition, to make each grandchild a cot-sized quilt and I love Tommy’s.
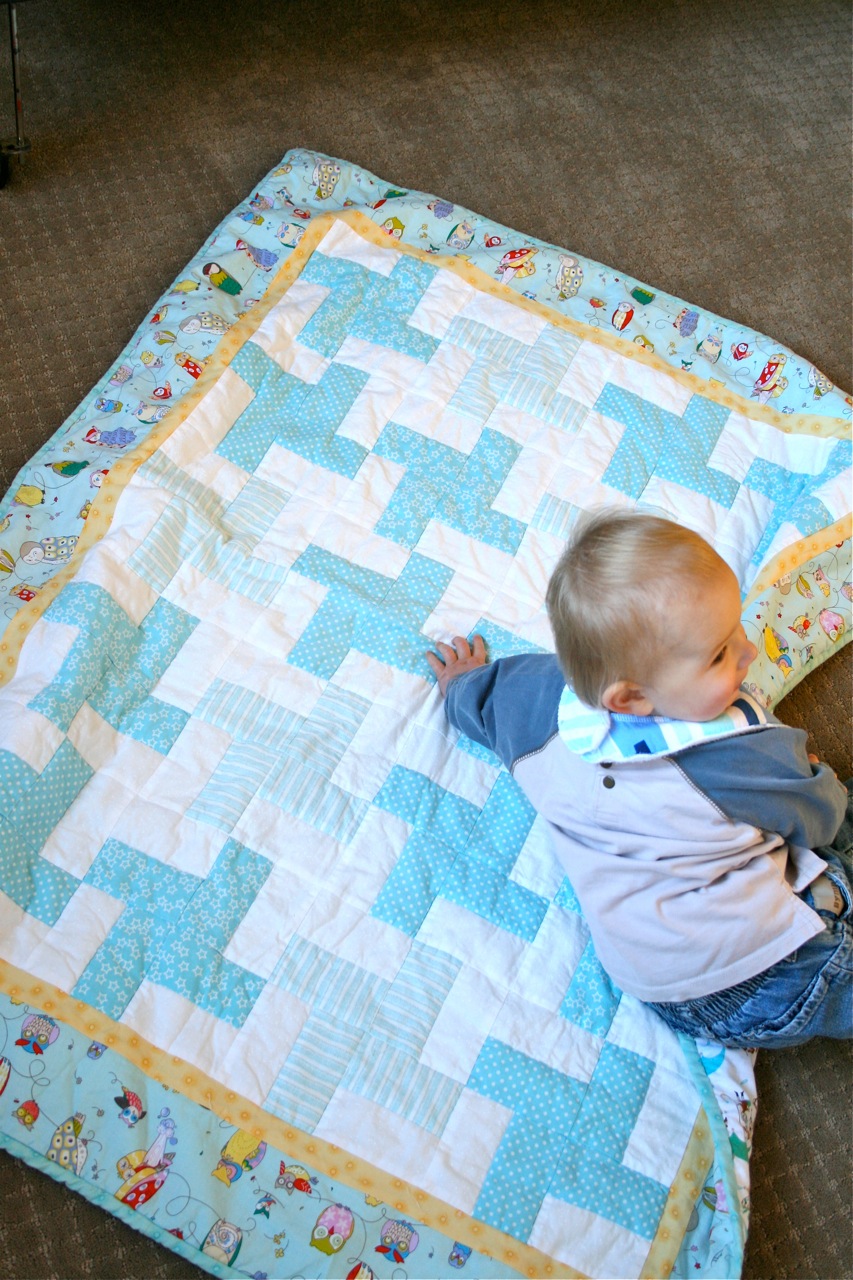

He loves it too 🙂


Congratulations Shahana 🙂
And thanks to everyone who entered, for your kind words and excitement – I’d love to see any Big (or Little) Uptown Girl jackets that you make, so feel free to email them to me or include them in the Make It Perfect Flickr Group!
About a month ago I got an iphone. It is such a snazzy, convenient little thing, I love that it can perform like a little computer – meaning I can reply to emails wherever I am and don’t have to sit at the big screen for so long.
The problem is, though, that I couldn’t find a cover that I liked. I didn’t want some plain old plasticy case for it and decided that I would have to make myself one. But you know what those thoughts are like…thinking about making one and actually getting around to doing it are two different matters! It meant that for the first 2 weeks of owning my phone I didn’t take it anywhere with me…it sat on the kitchen bench 24/7 because I was scared of scratching it in my bag!!
My lovely friend, Janelle must have read my mind – a few days later we were emailing back and forth about a few things and she suggested that we do a little swap: a set of my Citrus pOp hairpins for a CUSTOM-MADE iphone pouch. I didn’t waste any time agreeing 🙂 And I definitely think I got the best part of the bargain – she even let me choose my own fabric!
And here it is…


It is absolutely perfect and now my iphone travels everywhere with me. Thanks Janelle!!
P.S. If you want to make an iphone pouch for yourself, Janelle shares the pattern in her new book, Pieces of Me.
P.P.S. Nah, my photography skills haven’t improved dramatically all of a sudden – these photos were taken by Janelle 🙂
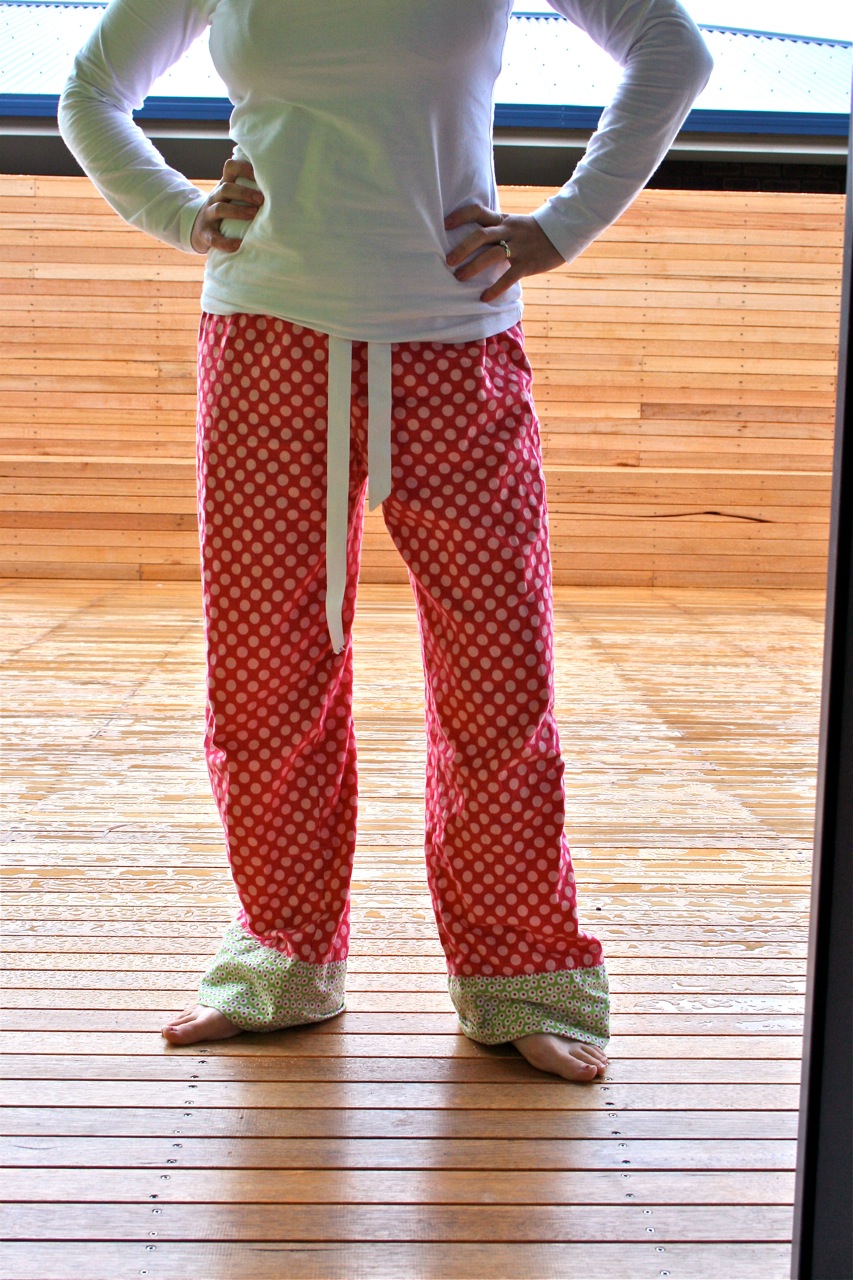
These pics have been a long time coming. Mostly because the two pairs of flannel Sweet Dreams PJs I have made for myself are in constant rotation and one pair always seems to be in the laundry basket or drying on the line! Plus, I need Jaron around to take the photos for me and it is always dark when he gets home. I did manage to pin him down to take some over the weekend, but it was raining and we didn’t want to get wet so they are horribly dark – but good enough for you to get the idea 🙂
So, my love affair with flannel this winter just seems to be getting stronger and stronger…it is so cosy and warm. And here are my two new pairs of PJ pants – they are worn constantly and making them was great incentive to get rid of some of old, old, threadbare PJ pants that I have been wearing previously.

And while I’m loving my flannel PJs for winter, I’m also getting myself geared up (e.g. purchasing MORE fabric) to make some cotton ones for summer 🙂
SUPPLIES:
Make It Perfect, Sweet Dreams pattern
Riley Blake, Summer Song, Summer Dot in Pink (flannel)
Riley Blake, Summer Song, Mini Blooms in Green (flannel)
Amy Butler, Love, Tumble Roses in Pink (flannel)
Amy Butler, Love, Sunspots in Mint (flannel)