(Taking a little break from the Pattern Parade today, there are only a few days unscheduled during the month…I kept Sundays free so that I’m not trying to link up blog posts before church and today is the only other free day so I’m making the most of it and sharing my latest finished sewing project…)
I’m in the middle of writing up a new pattern at the moment and have lost my momentum. I am *this* close to finishing, but just can’t find the last little push to get to the end. I know from previous experience that the best way out of this rut is to set the pattern aside and treat myself by spending some time sewing something “just for fun”and I had no difficulty settling on which project to tackle next.
The Minoru Jacket from Sewaholic Patterns has been on the top of my list of things to sew for awhile now. And as every day is geting a bit colder I have been wanting to sew it NOW so that I can get as much wear out of it during winter as I can.
I posted this photo on Instagram on Monday morning and finished the jacket 3 days later. I only sew when Harvey is napping during the day and then when the kids are in bed at night so there were a few late nights thrown in there but I was on a roll and determined to get it finished quickly! I always get the “how do you find the time?” and “you must have more hours in the day than me” comments, but really…if you saw the state of my house (and the dark circles under my eyes) as I was snipping that final stray thread you would totally understand how I managed to squeeze in such a time consuming project!! Once I’ve started on a new sewing project I find it hard to set it aside and do anything else until it is finished – just like reading a good book!
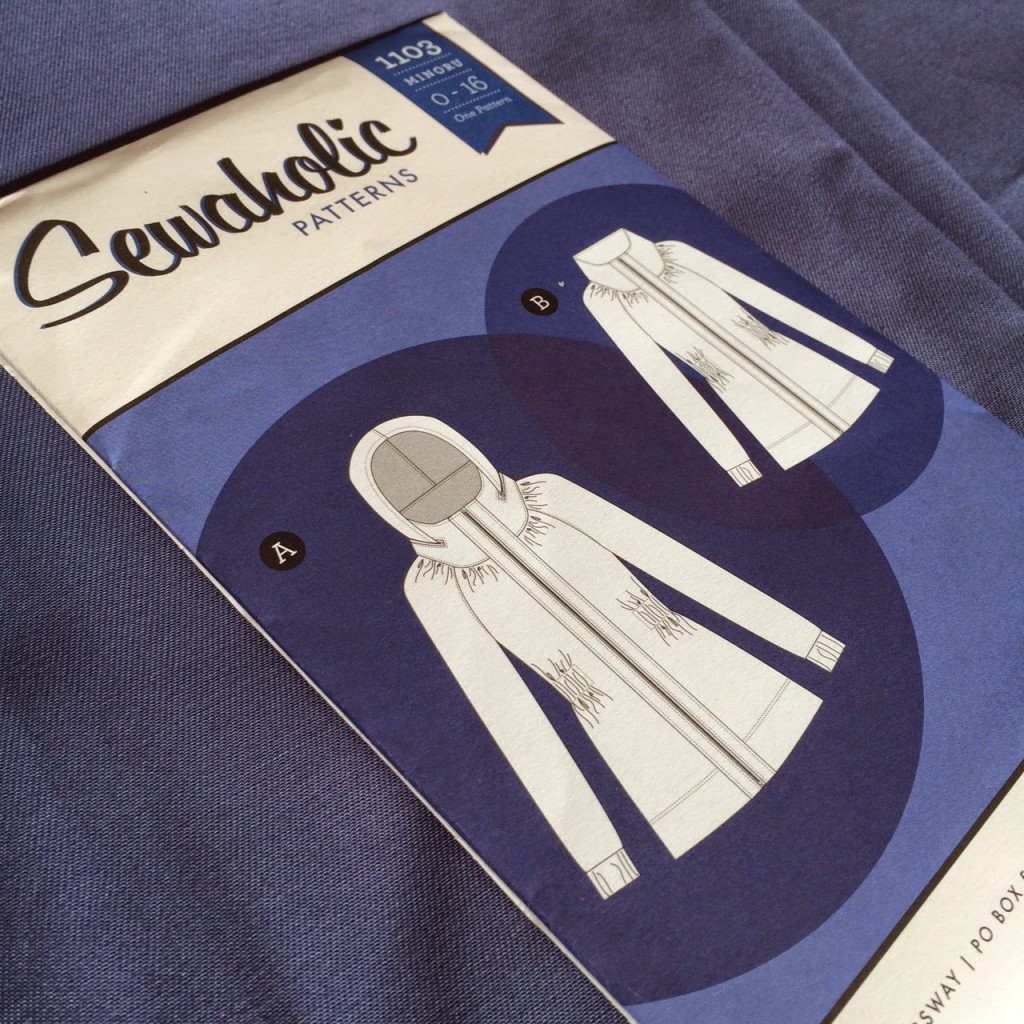
I knew that this jacket was going to be a time consuming sew and I did a lot of research based on other people’s experiences and variations before diving into it myself. After lots of reading I decided not to make too many changes to the original pattern and let this be the guinea pig to see what I did/didn’t like. My measurements fell into a size 6 so that is what I sewed and the fit is perfect. I was really hoping that the jacket wouldn’t end up too big because jackets have a tendency to make you look bulkier than you are but am really happy with the fit. (And I was too lazy to make a muslin so just crossed my fingers that it would all work out!)
So, the construction of the pattern was really good, everything came together without any hitches. If you are going to sew a Minoru, I would suggest visiting the Sewaholic blog for the Minoru sew-along. The paper instructions included with the pattern are VERY brief and I would have been stuck more than once if I didn’t have the sew-along to refer to. The sew-along is really thorough though and I think even a confident beginner sewer would manage with the detailed instructions included there. Personally I would have preferred more thorough instructions on the paper because it was a bit annoying having to go back to my phone or ipad for each step, but nothing worth complaining about.
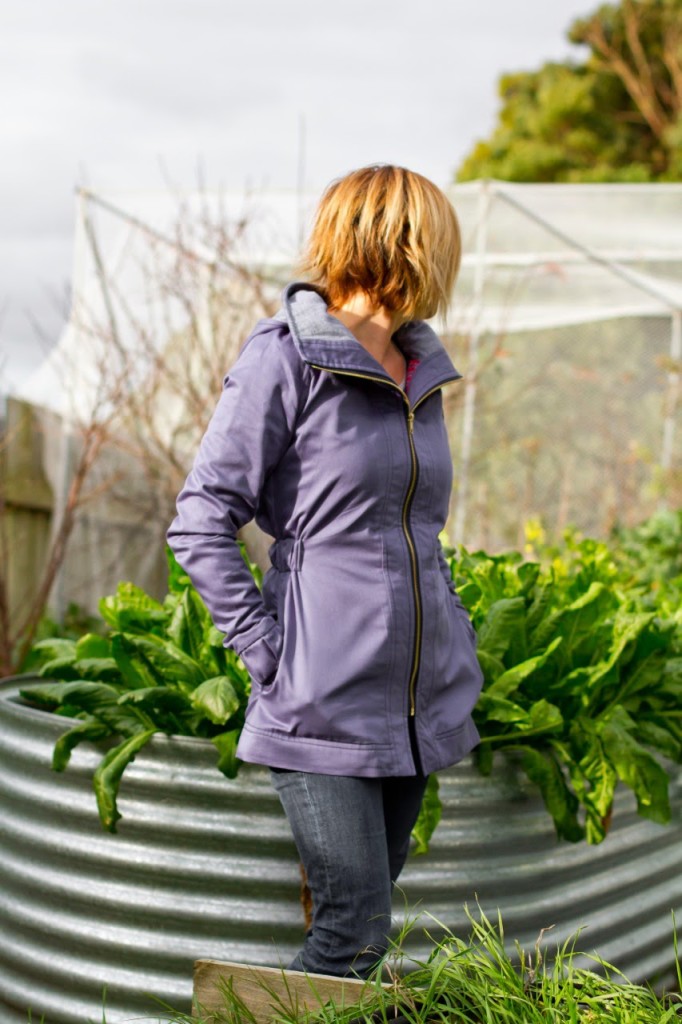
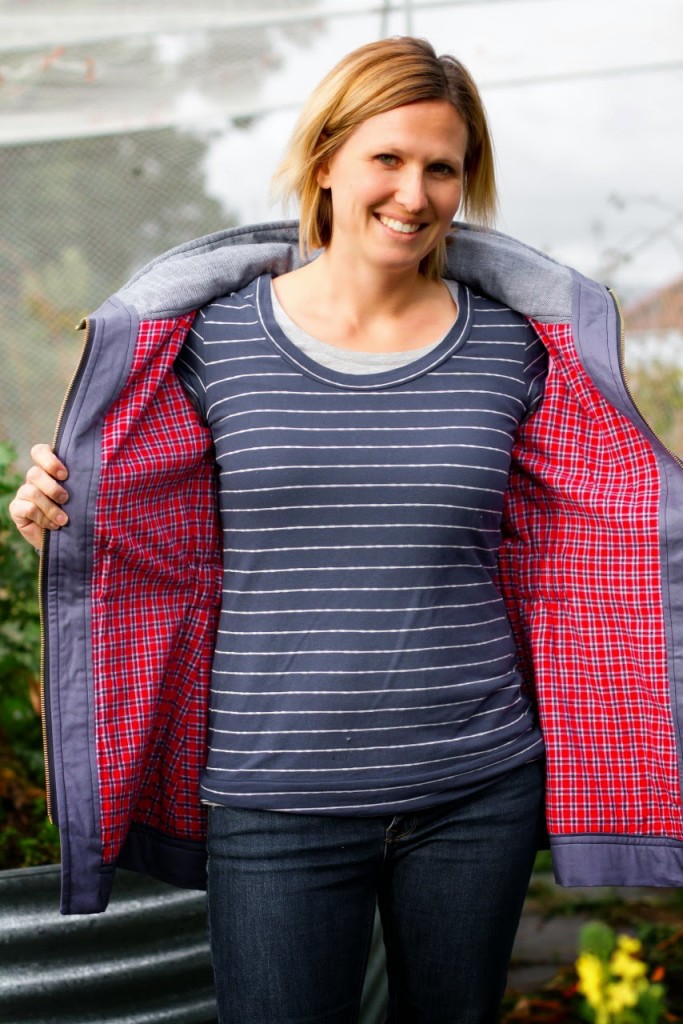
Fabric…deciding on what fabric to use for the jacket probably took me longer than actually sewing it! I always find it hard to make a decision when there are a lot of different fabrics to decide upon! I started with the exterior and went with this cotton twill. In my photos the fabric looks a purpley blue but it is actually isn’t purple toned in real life. The image on fabric.com is closer to what it is like in real life. When I first got the fabric I thought that it was going to be too thin/flimsy for the jacket exterior but once I got all the layers sewn together it was fine. Even though most people seem to make this jacket as a lightweight Spring/Autumn jacket I wanted mine to be really warm because I am more likely to wear a jacket every day in Winter than any other time. When it came to the jacket lining I made myself select from my fabric stash. I wanted to use flannelette as the lining and really liked how this red tartan looked with the exterior but didn’t want it to be too visible from the outside because it would limit what I could wear the jacket with. So I lined the front and back pieces with the tartan flannel and then used some of this herringbone print chambray for the collar and hood lining that could be seen from the outside of the jacket.
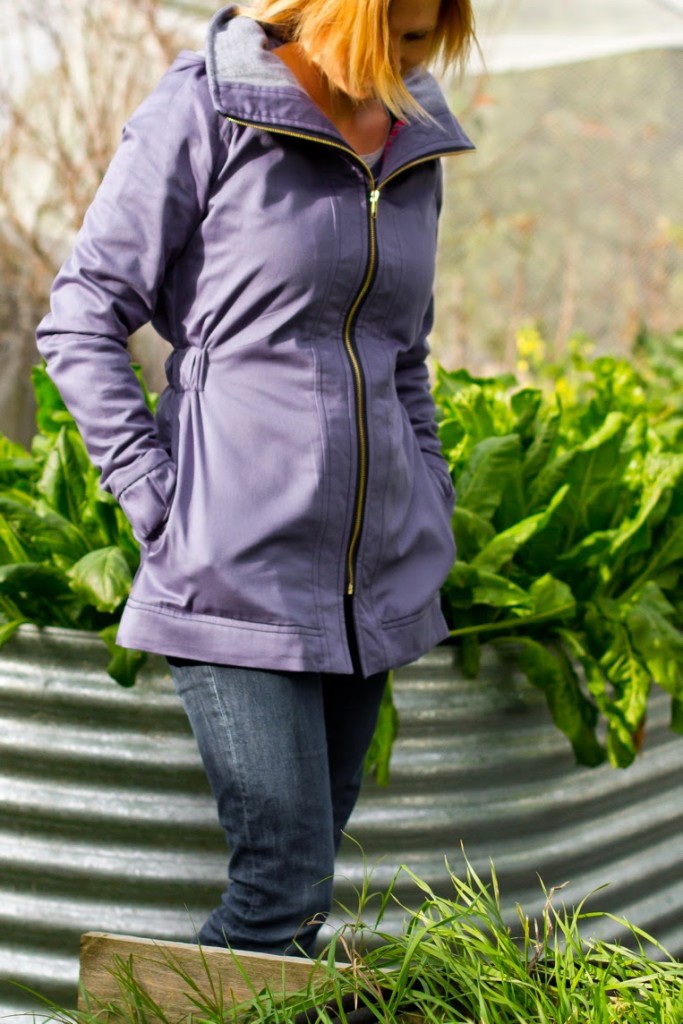
I love the length of the jacket, I think it’s really practical for cold weather. Also, the cinched waist is awesome – so flattering in what could be an otherwise drab-looking jacket.
I also love the elastic in the sleeve cuffs, I actually cut mine 1 1/2″ shorter than specified (I think 8″) because it seemed a bit loose with the specified amount and I wanted to make sure mine were much more fitted. The sleeve length is a bit longer than usual, I really like that (again, extra warm!) but thought that if the cuff was tighter they wouldn’t hang too low and annoy me.
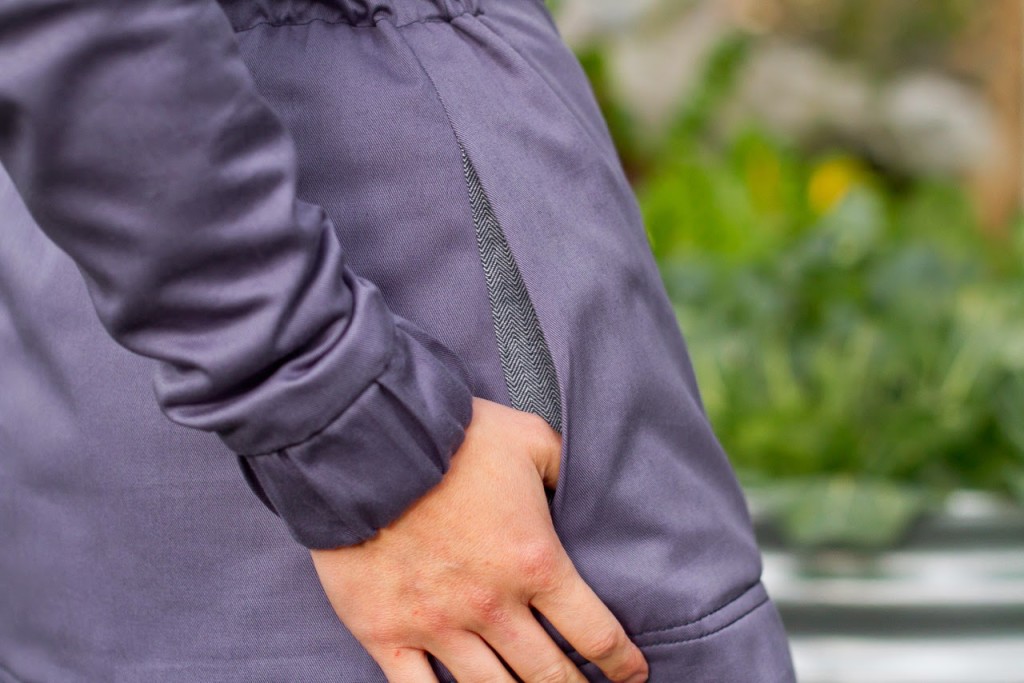
I left out all of the interior pockets because I know I will never use them, but I did add in some side seam pockets because I am always stashing my keys in pockets and like to have somewhere to keep my hands too. I placed these pockets 1 1/2″ down from the bottom edge of the elastic, but I think they would be better just 1/2″ down.
I opted to line my hood because I think it looks more finished that way.

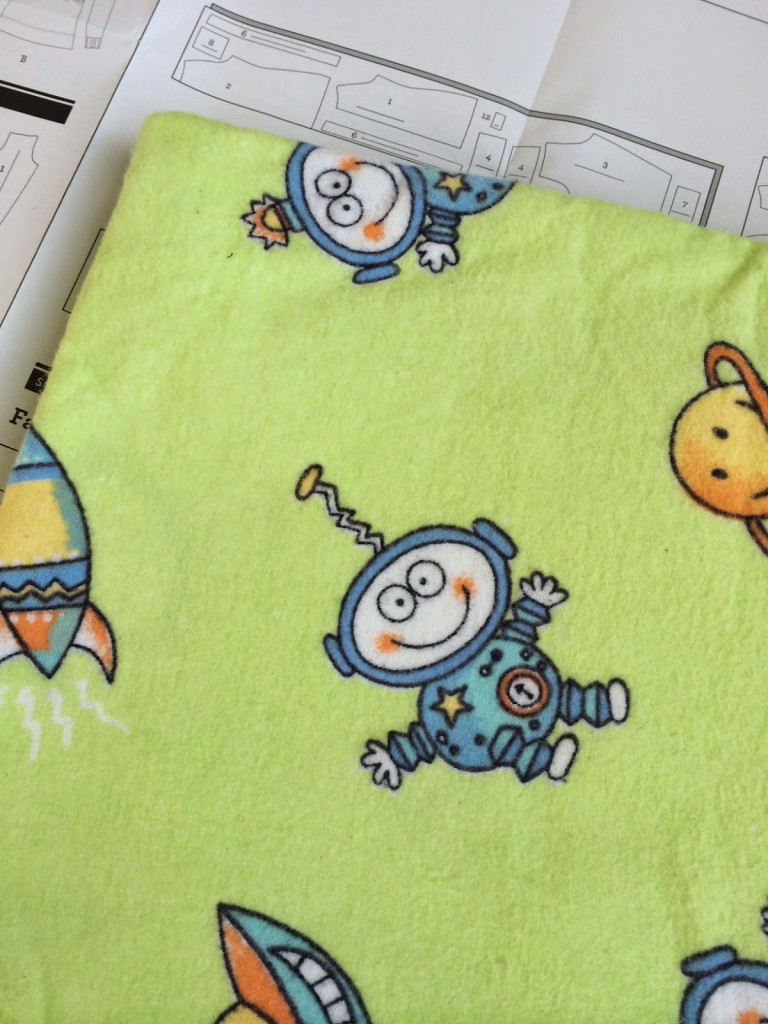
The jacket is designed with a zipper in the back of the collar which the hood comes out of and then you have the option of rolling the hood up and storing it in the collar when you don’t want it to be seen. It’s a nice idea if you are actually going to use this feature, but I like the look of a hood hanging out even though I will rarely wear the hood and will never put it in the collar. I think mine is a bit too bulky being 3 layers of fabric anyway and makes the collar really puffy when it is rolled inside. If I had realised how prominent this zipper would be when the hood is being worn I would have taken more care to purchase a matching zipper, instead I didn’t buy one but just used one that I had in my zipper collection and light blue was the closest match. It really does stand out when the hood is being worn and if I was to sew the jacket again I would leave the zipper out completely and just attach the hood behind the collar. This would save a lot of time and still have the same look. The thing that I really found strange with the pattern (unless I did something wrong?) is that the inside of the collar (seen through the zipper) is unlined. My collar had the green alien interlining so if the zippered opening opened too much or flopped down a little bit then you could really see them – very annoying! I spent about an hour at the end of the project hand sewing the hood to the zippered opening so now I can’t use the zipper at all but at least the alien fabric is hidden! Good to remember for next time anyway…if you don’t think you will ever roll your hood up and hide it in the collar then skip the zipper.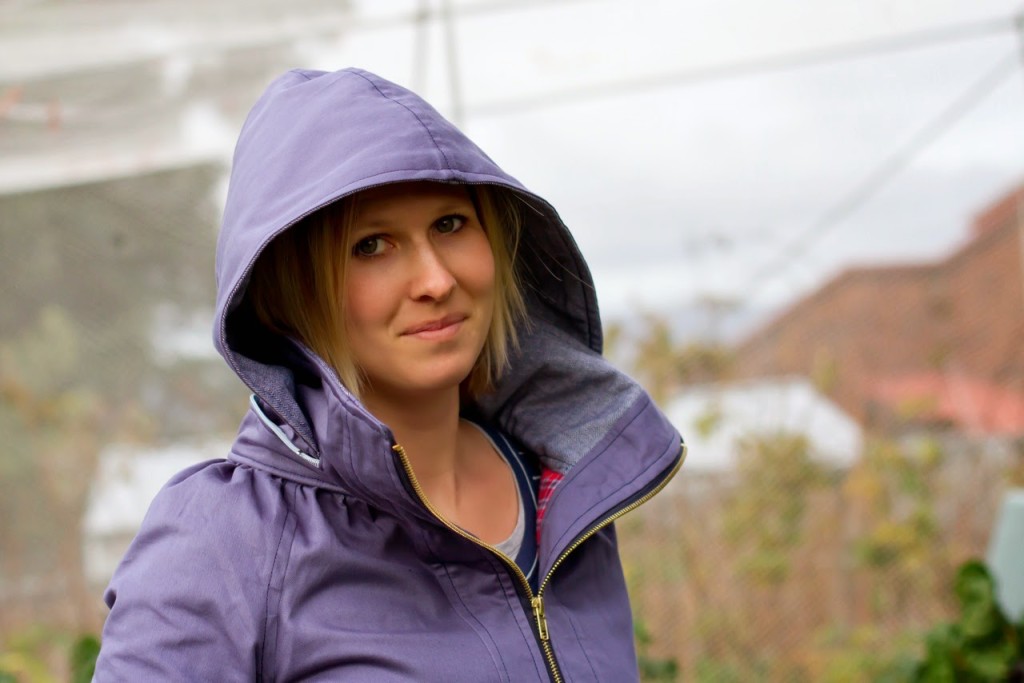
I really like the feature of the big collar, but would probably cut it an inch or so shorter if I made it again. It is nice but the ends of the zipper kept poking Harvey in the eye when I was carrying him around!
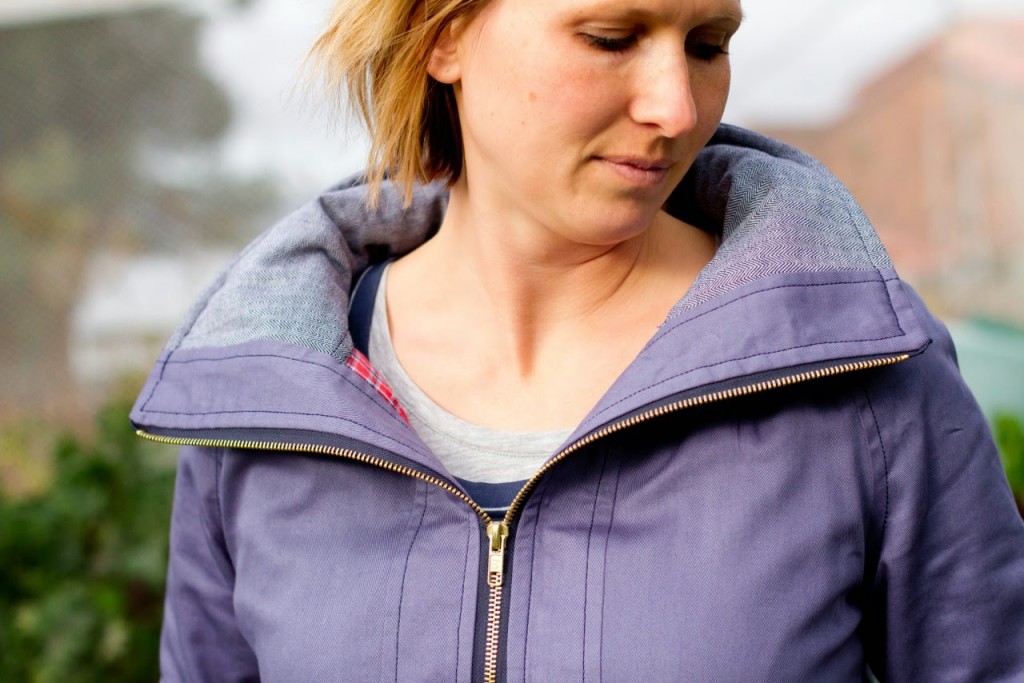 When the jacket is completely zipped up, it makes a fun game of peek-a-boo with the baby! Oh, and would be handy for a really windy day…
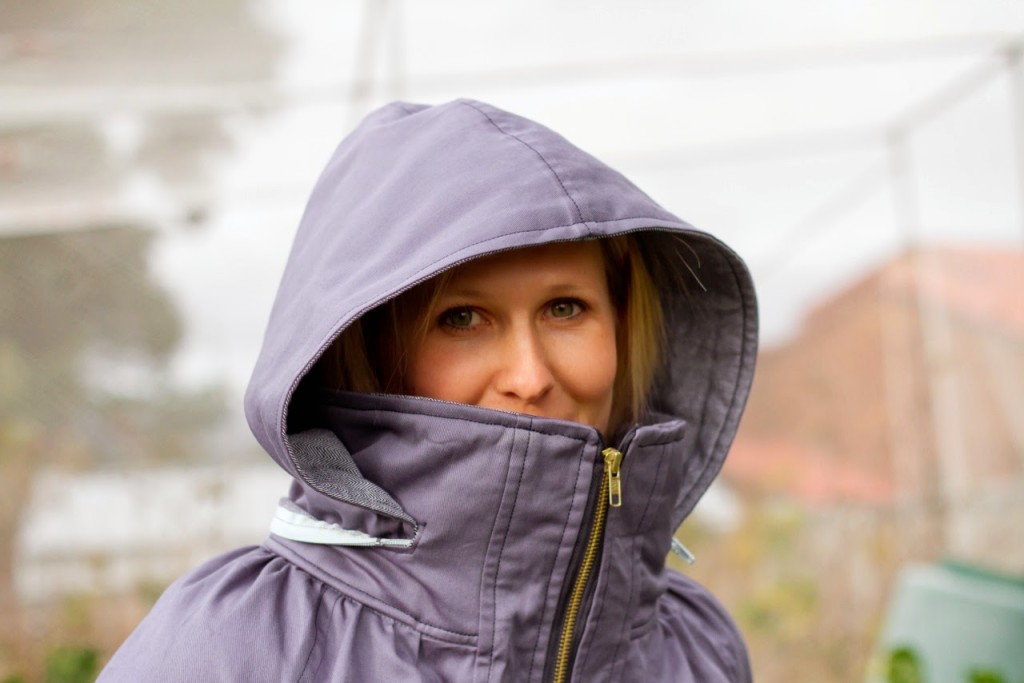 |
| (You can see how the collar zipper sometimes rolls opened in this photo…another reason I would leave it out – or at least use a coordinating colour!) |
If I were to make another one, I think I would like to try a heavier exterior fabric – maybe a denim or some wool coating with no interlining. I have seen a few Minoru’s with elbow patches that were pretty cool too…
Phew! This is getting really long…hopefully it will be helpful to you if you are thinking about sewing a Minoru though? I know I appreciated reading other people’s reviews, particularly because it is such a time-consuming sew and it’s good to learn from other’s experiences. All in all, great pattern and awesome jacket for everyday wear!

