Where are we going today Mum?…What are we doing today Mum?…Who’s coming to play today Mum?
It gets a bit like that when you have a quiet week during the school holidays and my children have really noticed that we have slowed down since coming home from our action-packed trip. They are still in “lets do stuff” mode when I just want to chill at home and catch up on things!
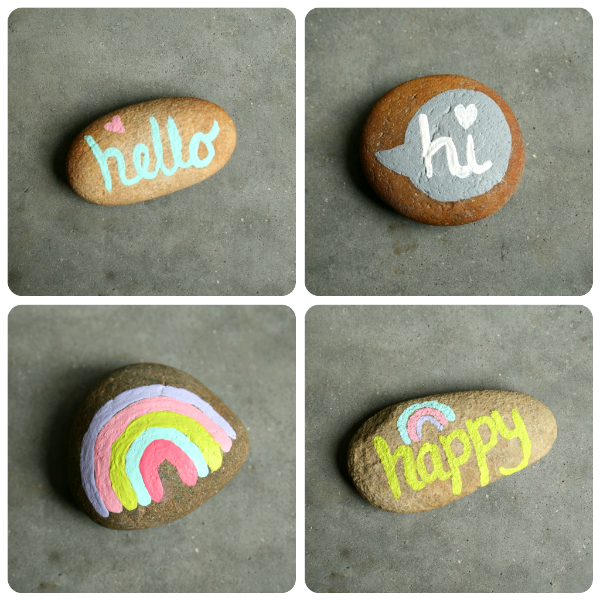
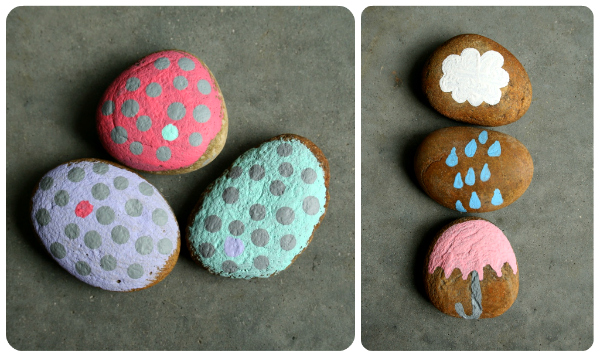
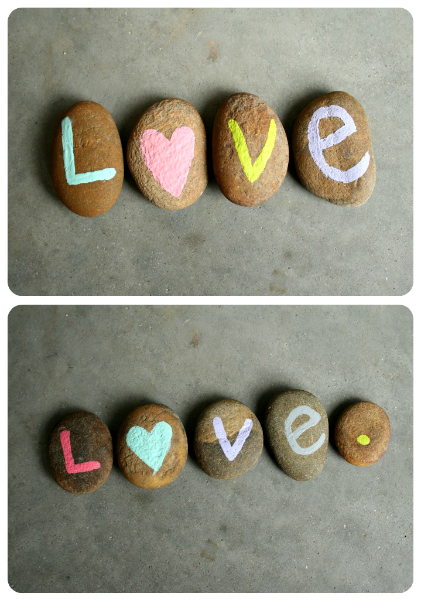
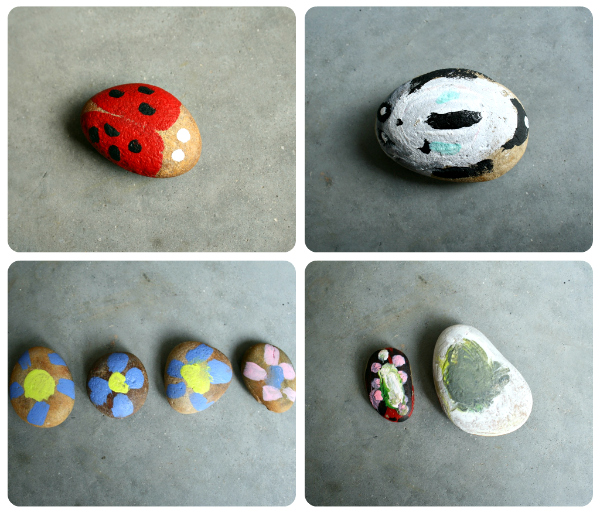
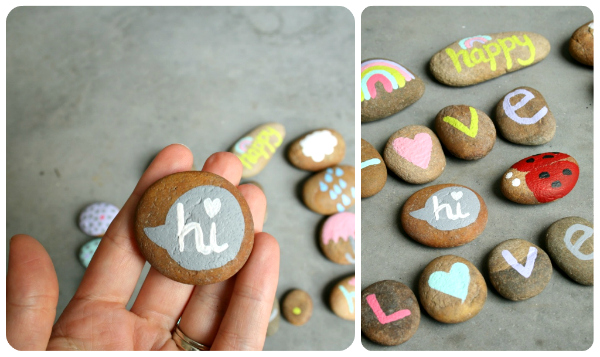
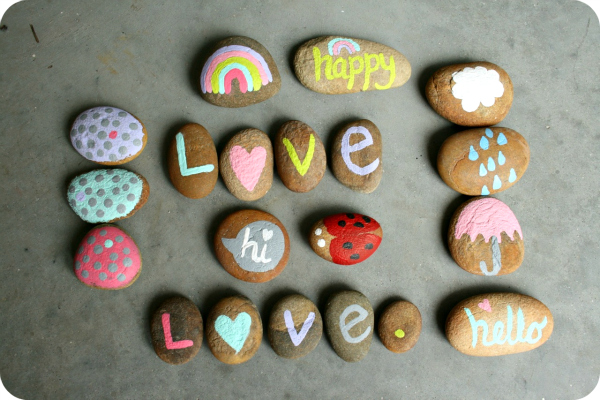
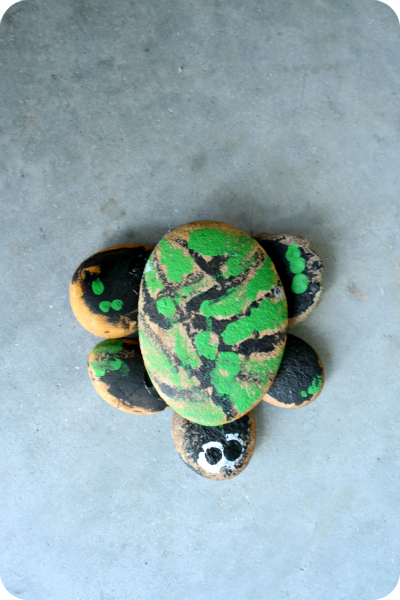
So, thanks to Martha for the inspiration (you can ALWAYS count on Martha to help!) we headed to the beach and collected a big bag full of rocks. Filling big tubs with water and washing all of the sand off was just as fun as the painting. Then we left the rocks to dry while we had some lunch. Be warned, rock painting is very messy. A few old towels on the deck kept things kind of clean for us. Rock painting is also very relaxing. It has been ages since I’ve made something unimportant just for fun. I love seeing the kids getting all crafty and creative. We basked in the sun and painted and chatted for two whole hours.
And I didn’t think about the dishes or the washing or other silly old jobs at all.
Friday marked the 6th birthday of our big boy! Hard to believe we have been muddling our way through this parenting business for 6 whole years now, we are so proud of our practical, fun-loving boy! Oscar has been Lego-crazy for a few years now, so we decided on a Lego-themed birthday party for him and a few of his little buddies from school.
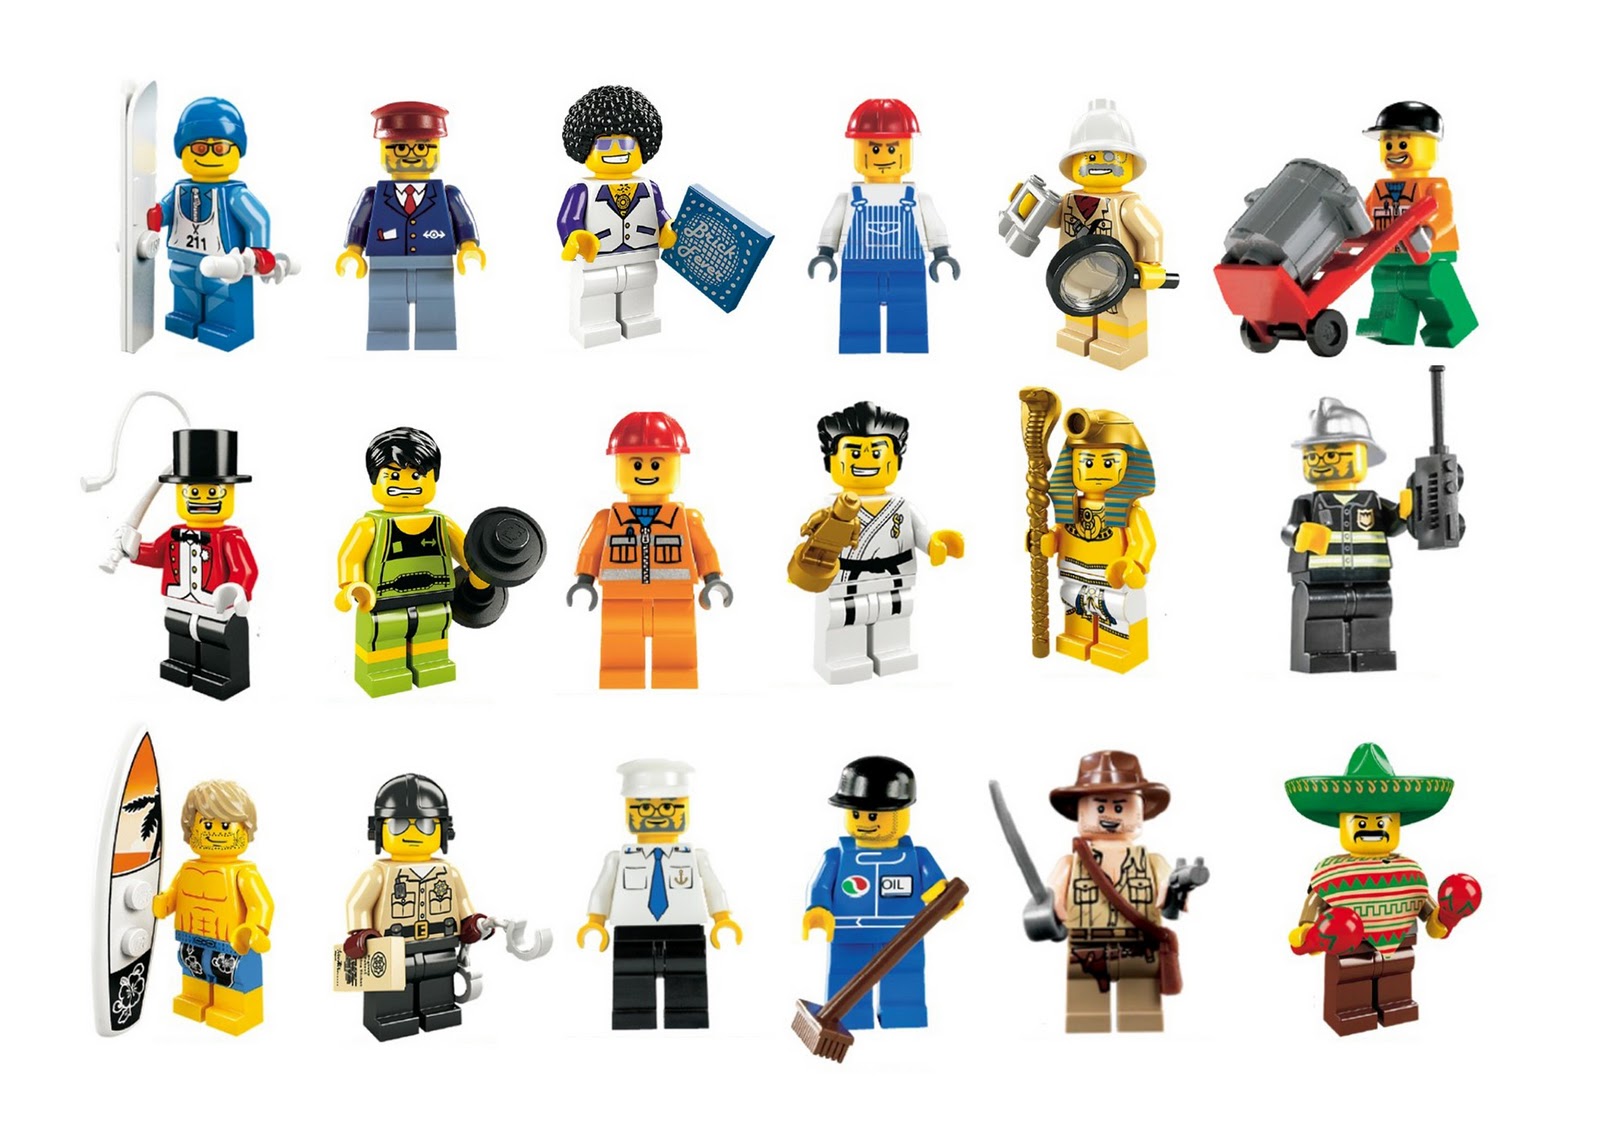
I made the invitations using some Lego Minifigure images from this blog (really cool, ready to print memory game here if you are interested) and printed them out A5 size on cardboard…(feel free to use these images if you want to use them for a party – I know Lego is the flavour of the month for many little boys out there!)
Front of invitation
Back of invitation
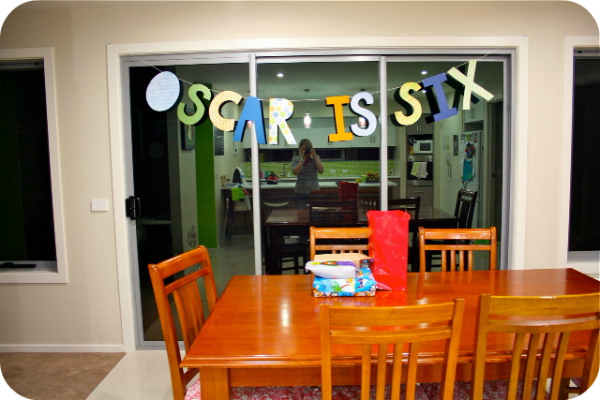
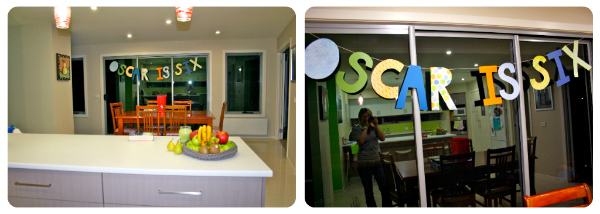
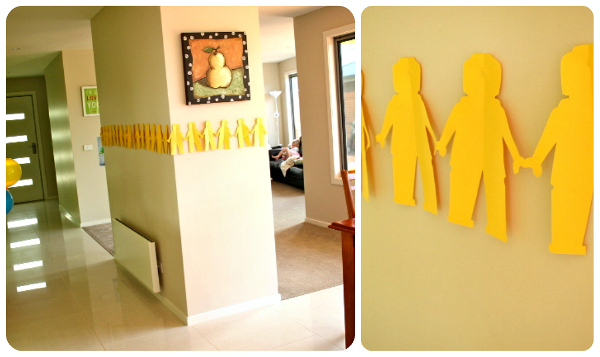
I’m a bit of a sucker for these message banners and made another one to surprise Oscar when he woke up in the morning…(I’ve got a LOT of scrapbook paper that I don’t use much anymore and feel happy putting it to good use!)
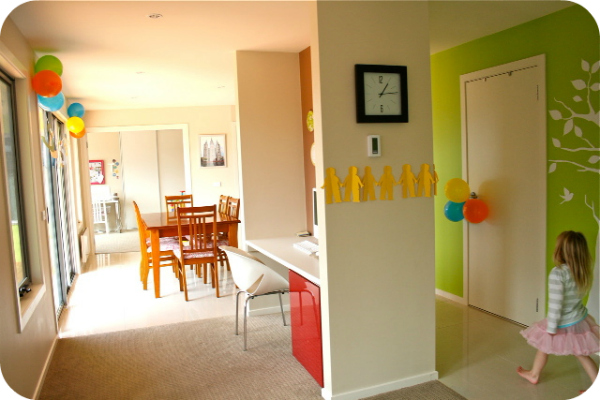
The decorations were simple, aside from the banner, I blew up a handful of balloons and made some funky Legoman Kirigami shapes using a template from here.
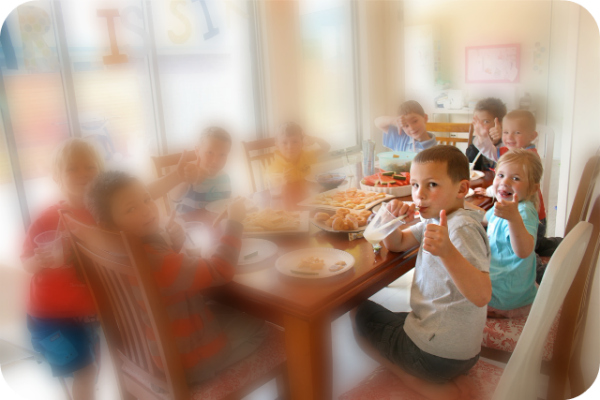
The party started right after school, so we started with some food and milkshakes…
(not sure if the other mothers want pics of their kids on my blog!)
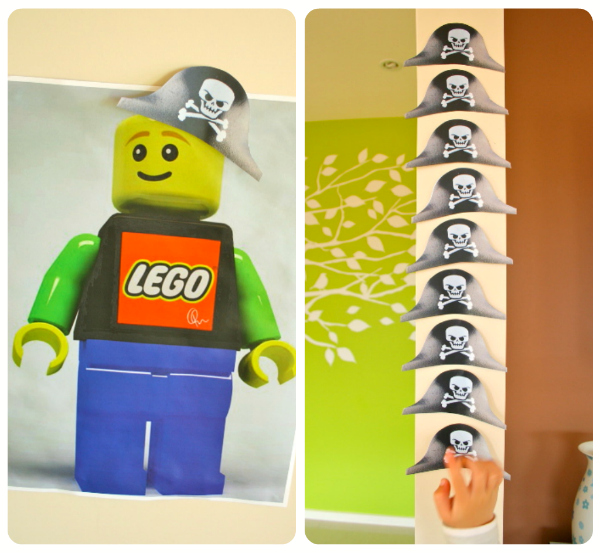
We had a few games organised, but after playing pass-the-parcel and pin-the-hat-on-the-lego-man, the boys were more interested in playing outside – kicking the balls around and jumping on the trampoline so that’s what they ended up doing!
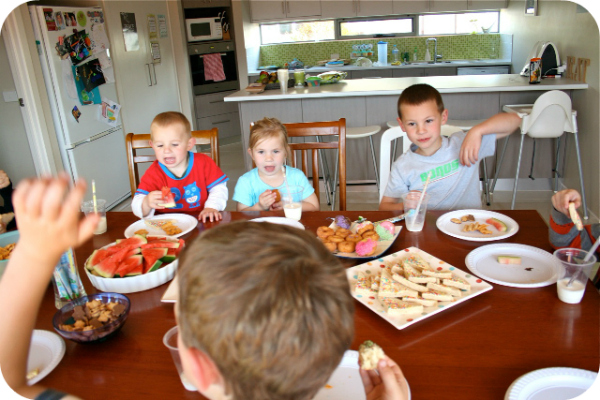
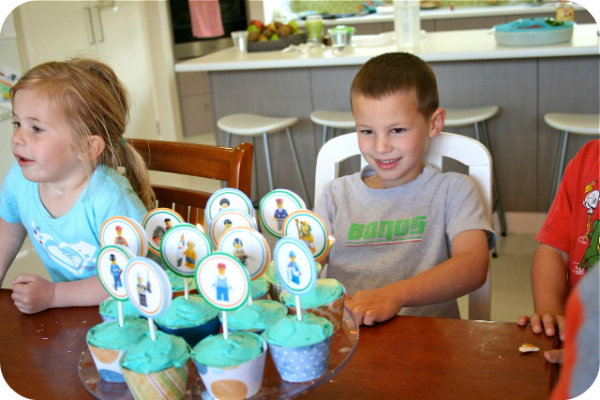
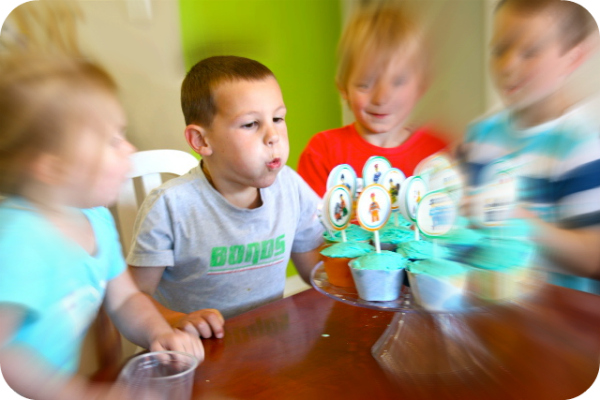
After a run around outside, they came back in and each made a mini pizza for dinner, then more playing outside while the pizzas were cooking. Then it was time for pizza and singing happy birthday and CAKE!
You’ll know by now that my birthday cakes are very maker-friendly…I’ve had enough stressful moments in the past with elaborate cakes not working out how I imagined so like to keep it low-key now!
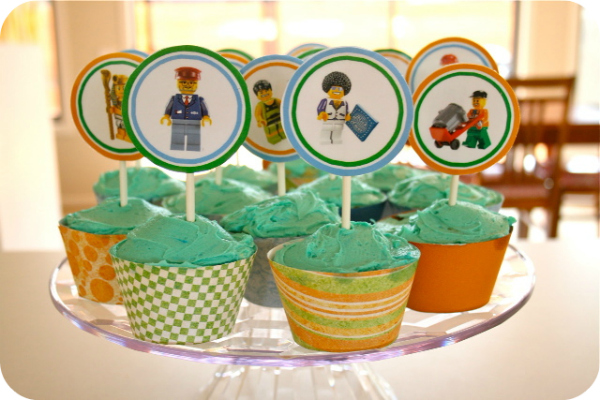
Oscar was happy with cupcakes, so cupcakes it was!
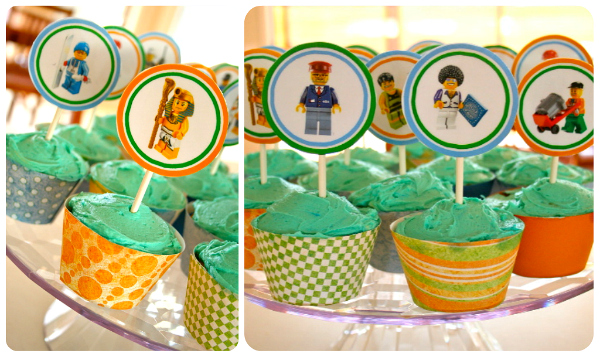
I did jazz them up a bit by making cupcake wrappers using leftover paper from the banner and this template – thought they looked super cute and a nice change from regular cupcake liners that never look very nice once the cake has been cooked.
The cupcake toppers were made using the same images from the invitations. If you want to use these toppers yourself, click on the link below to download the document. I printed two copies of 12 toppers and laminated them, then stuck them either side of the stick so that there wasn’t a “back” side to the cupcakes.
My Mum is a great knitter…something I wish I had the patience for, but just never seem to get the hang of. Perhaps I’ll have to choose a simple project and get her to give me some lessons – I’m liking the look of the very popular Milo vest.
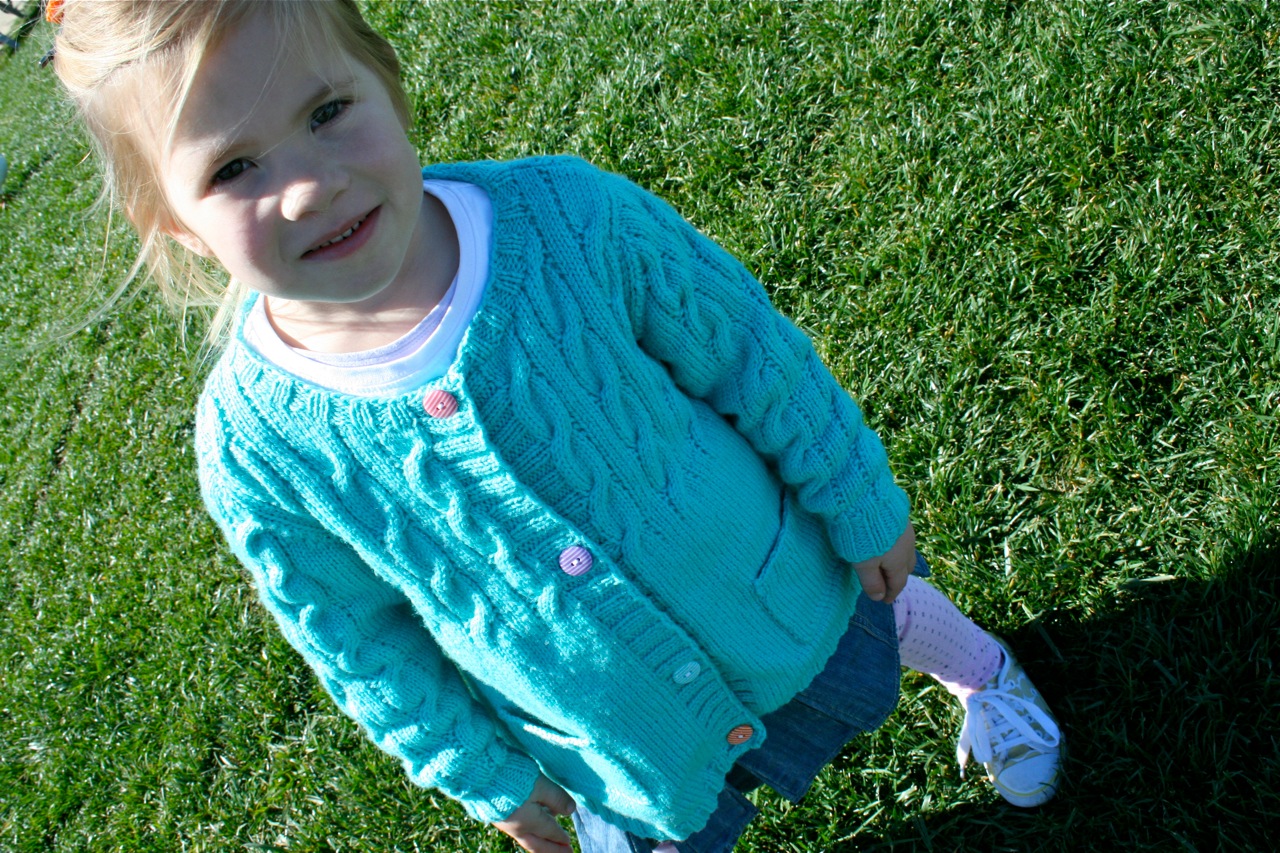
She has just finished knitting Lil a gorgeous new cardi.
Lil chose the colour (with a little nudging from me!) and I’m happy that it is not totally girly pink and purple.
The last cardi that Mum knitted for Lil is still being worn…and I was surprised to look back on my blog and see that it was THREE years ago! So hoping that we get at least a couple of years out of this one!
Thanks Gramma for another gorgeous knit – feel free to make us more!!!
Now…if I was to take up a new hobby (because I really have a whole heap of spare time to fill – ha!) what quick and easy knitting patterns would you recommend?
Post Edit… Pattern for cardi is “Cable Jacket” from “Twilleys of Stamford, Freedom Gorgeous, 464” Yarn used is Color Works, 8 Ply, 100% Fine Merino Wool
I’ve been cleaning out my craft supplies and came across a few balls of yarn I bought two years ago to crochet some dishcloths with. It wasn’t doing any good tucked away in a box, so I got out my hook and started making squares.
They are fun (and addictive!) to make. Good to pop in the present box for a quick gift. I used Lily Sugar ‘n Cream cotton yarn from here (remember you need to use 100% cotton yarn for dishcloths to be absorbent). The pattern was a simple one from Design Sponge.
They helped keep me entertained for a few weeks of Masterchef watching! I’m no pro-hooker, but this book helps me out a lot when it comes to my crochet endeavors 🙂 Now to decide how many to keep for myself and which ones to put in the present box?!
Back in the day, before I was consumed with my sewing hobby, I dabbled a bit in scrapbooking. I remember looking at double sided papers back then and thinking to myself that it was such a silly idea, because you would only see one side of the paper in a scrapbook layout anyway. My thoughts about double-sided paper have since subsided, now I think they rock.
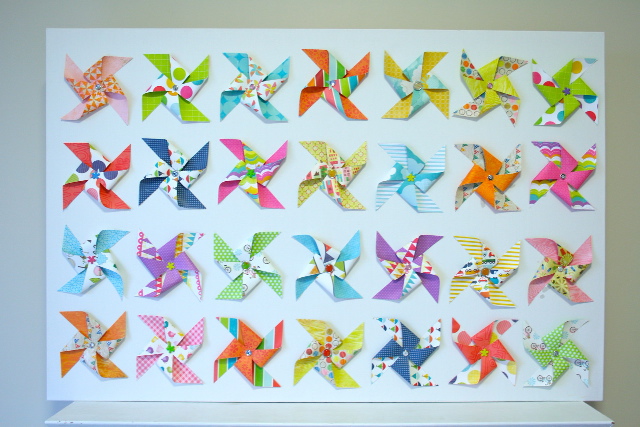
Presenting last night’s work of art – Pinwheel Canvas…
Double-sided paper was awesome because it meant that I didn’t have to worry about sticking two single-sided pieces together, making for a very quick and easy Saturday night craft 🙂
It was fun. I bought a massive canvas last year, wanting to make an art display similar to this for a blank wall in the kids bedroom. I still love the idea and want to do it sometime, but pinwheels have been calling my name for quite awhile now and after being inspired by Sam’s Butterfly Canvas I could picture a bright and colour pinwheel wall art being made in a similar way.
I really love how it turned out, even more so the next morning (things always look/seem better the next day, don’t they?!) and it will definitley inject a bright punch of colour into their bedroom.
A few specifications for people who want to make something similar themselves…
Making pinwheels is really, really easy – just google for a tutorial if you aren’t sure. If you use double-sided paper, it is much faster. You can stick two pieces of printed paper back to back using some glue or spray adhesive if you want to though.
I cut my squares for the pinwheels at 11cm x 11cm. My canvas size was 90cm x 60cm. I made 28 pinwheels.
I used a random selection of brads from my old scrapbooking supplies for the center of each pinwheel then arranged them on the canvas and stuck them down with a hot glue gun. (Make sure they are in the correct position before sticking them down, it is really hard to pull them off once the glue is set and makes a mess of your canvas…ask me how I know…)
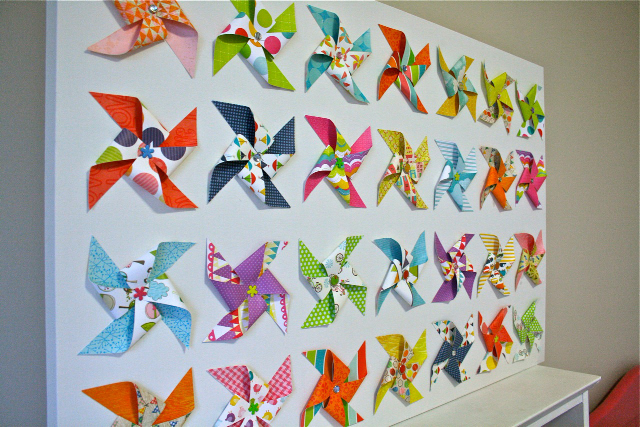
In hindsight, I’m wondering if it may have looked better if all of the pinwheels were sitting in random directions rather than all uniformly lined up like mine are – I did pull a couple off and play around with the direction but it lifted the white coating off the canvas and was going to be very messy so I stopped (- now you know how I know…)
Anyway, I’m loving it and it was a nice change from the crazy sewing of samples that I have been making of late to take to the Craft and Quilt Fair in Sydney. I think making a similar canvas using all the one colour or even all of the one paper would look striking too – how many pinwheel canvases can one house have?!
P.S. The market in Ulverstone on Friday night was great – such an impressive turn out, lovely to meet lots of new faces and although I was there with Citrus Pop, it was fun to talk sewing for a lot of the night too!

 Filling big tubs with water and washing all of the sand off was just as fun as the painting. Then we left the rocks to dry while we had some lunch.
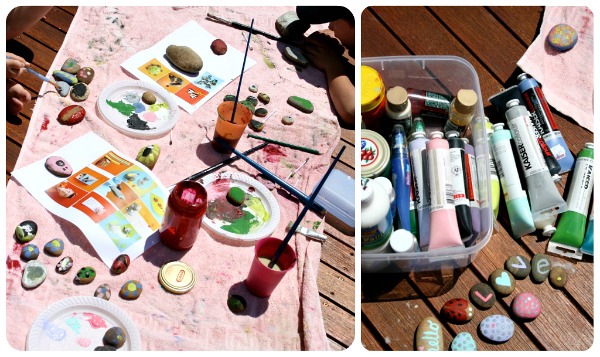


