I’ve had a 2 1/2 year break from quilt making. The last one I made was very special and there hasn’t been a need for a new quilt until now. New house = new bedrooms = new quilts. Well, I guess I could go out and buy bedding, but that’s not my style. Any excuse to get creative, right?!
Our house will be finished at the end of this week (eek!) then we have a marathon of cleaning the new house, moving, unpacking and cleaning the old house. We are really looking forward to it, but will be able to enjoy everything more when the work phase is over!
Oscar is especially looking forward to having a bedroom to himself. His two great loves are the solar system and the human body – we thought decorating a room solar system-style would be more tasteful than the human body!! Oscar has just turned 9 so I’m very mindful of keeping the room decorated to suit an older boy and didn’t want to make him a quilt that screamed planets.
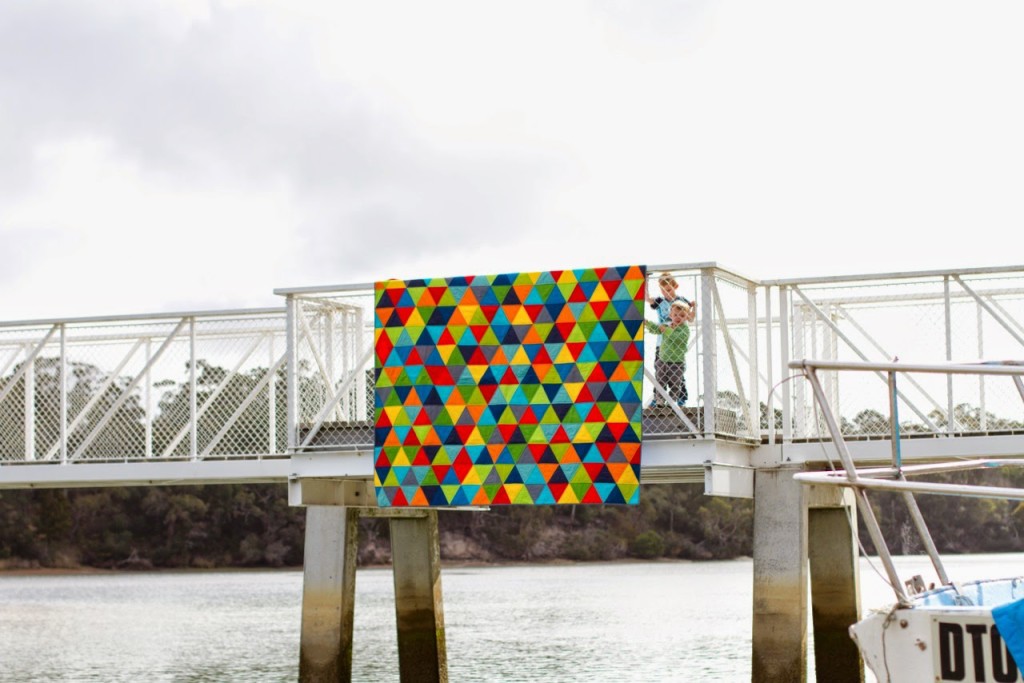
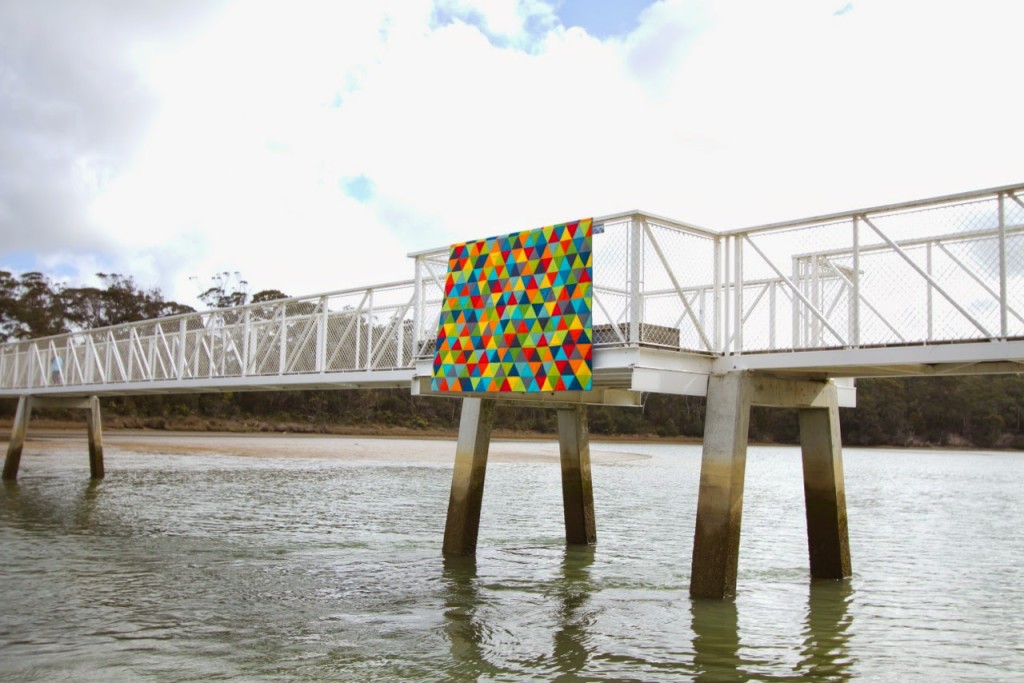
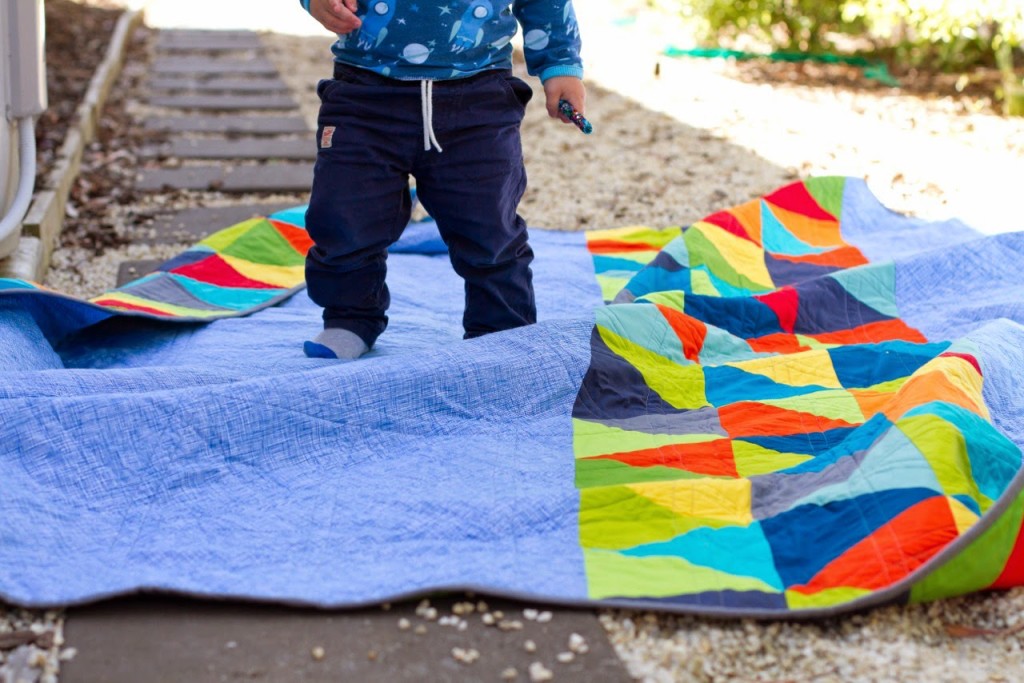
Instead, we chose a selection of solid coloured fabric (I’ve listed them all at the end of this post) inspired by the solar system. I’ve been drawn to triangle quilts lately, this one on Instagram especially caught my eye and it was decided that the quilt would be made of lots and lots (325 to be exact!) of triangles. Sticking with a theme-neutral quilt also means that if he ever grows out of the solar system, we are not stuck with an out of place piece of bedding that a lot of work has gone into!
This quilt is definitley the biggest I have ever made. The finished measurements ended up being 91″ (231cm) x 82″ (208cm). I wanted the quilt to be big enough to sit on a queen-sized bed and tuck under completely on the bottom and two sides. I like the look of a tucked in quilt.
When I first started cutting and piecing triangles, I totally underestimated how many I would need to make the quilt big enough and ended up cutting and piecing more and more rows until it finally worked! At the moment Oscar only has a single bed, but when Harvey moves out of his cot we will do a bed shuffle and will buy a queen sized bed for Oscar. This quilt is made with forward planning in mind, but can sit folded in half on his bed now anyway!
To cut the triangles, I cut 7″ wide strips of fabric, then cut those into equilateral triangles using the 60 degree cutting line on my cutting mat and ruler. It wasn’t hard, but more time consuming than cutting squares or rectangles.
With all of the quilts I have ever sewn, I have only once had a try at machine quilting and that was using a quilt-as-you-go method. I was keen to give proper machine quilting a go though but wondered if it was worth trying for the first time on a quilt this big?! I bought myself some proper quilting gloves (they were my magic gloves and made a huge difference!) and used Matilda’s Own brand 100% cotton batting and managed to pull it off!! I’m definitely not going to be winning any prizes at the fair for my efforts, but it was a lot easier than I thought it was going to be. There are a few wonky sections and uneven stitches, but I’m super happy for my first effort and am keen to perfect my technique now!
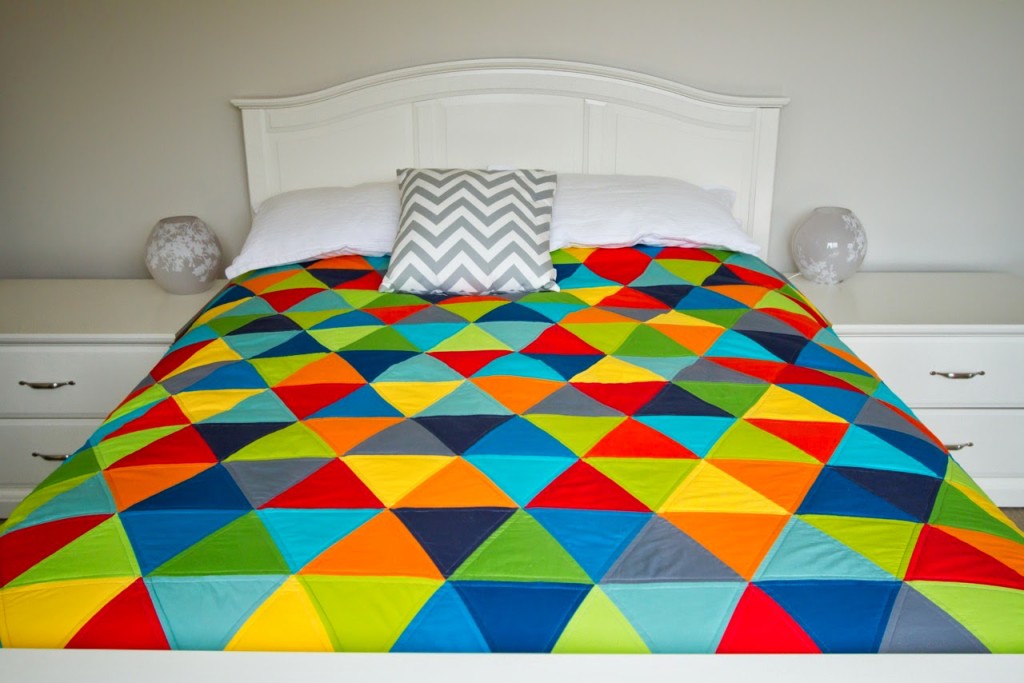
To make it easier, I stuck with straight lines and quilted 1/4″ either side of every seam. I thought it was going to to take me weeks to get it finished, but it only took 5 or 6 hours! Hand quilting this would have taken me a few months so I was extremely happy with the quick finish it gave me.
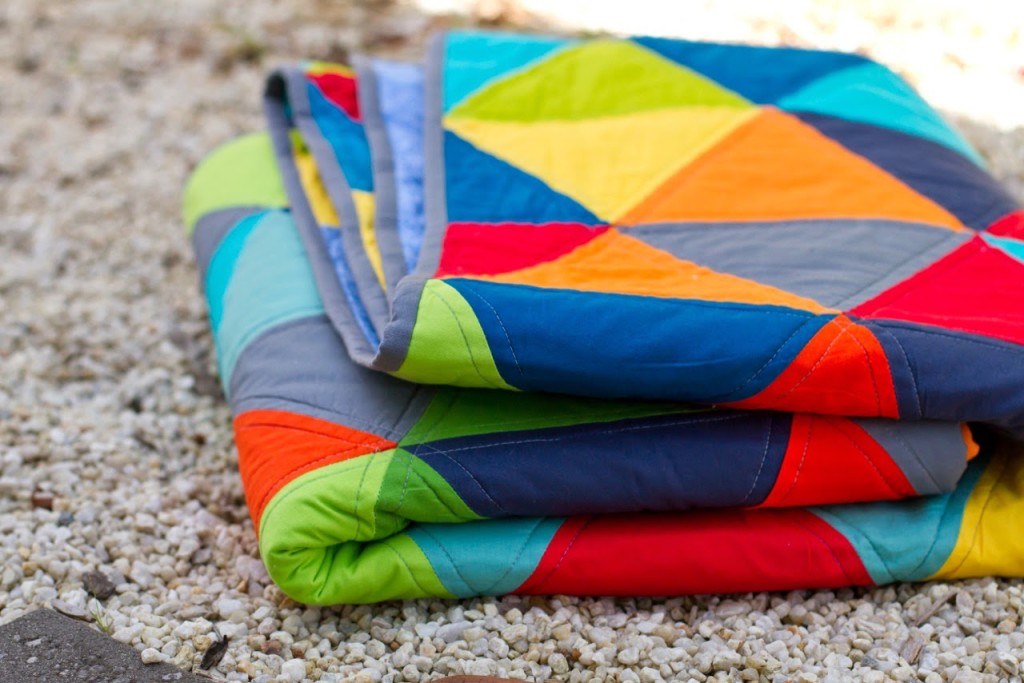
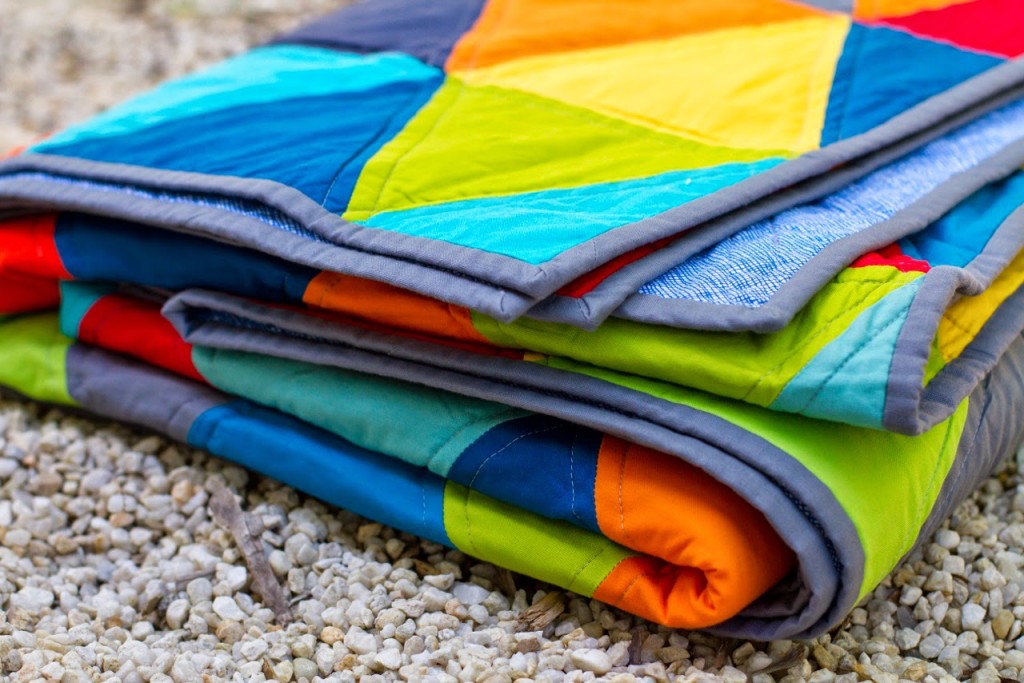
For the back of the quilt, I bought some extra wide backing fabric to save myself the hassle of having to piece anything. When it arrived in the post though, the shop didn’t send me as much as I had ordered so I made use of a few extra rows of triangles that I hadn’t used in the front and added a happy strip down the middle. Although I didn’t want to do any more piecing, I’m really glad that I did because it really gives the back some bright character.
I had just enough solid grey fabric left to use for the binding, and then it was done! Just in time for a new bedroom in a new house…and now I’ve got three more children waiting for their new bedroom quilts! I said I wanted to perfect my machine quilting, didn’t I?!!
SUPPLIES: Triangles…Kona cotton solid in the following colours: Orange Sage Breakers Celestial Poppy red Graphite Oasis Chartreuse Corn Grass green Flame red Navy Peapod Binding…Kona cotton solid in graphite Backing…Carolyn Friedlander, Widescreen, Crosshatch in Pacific
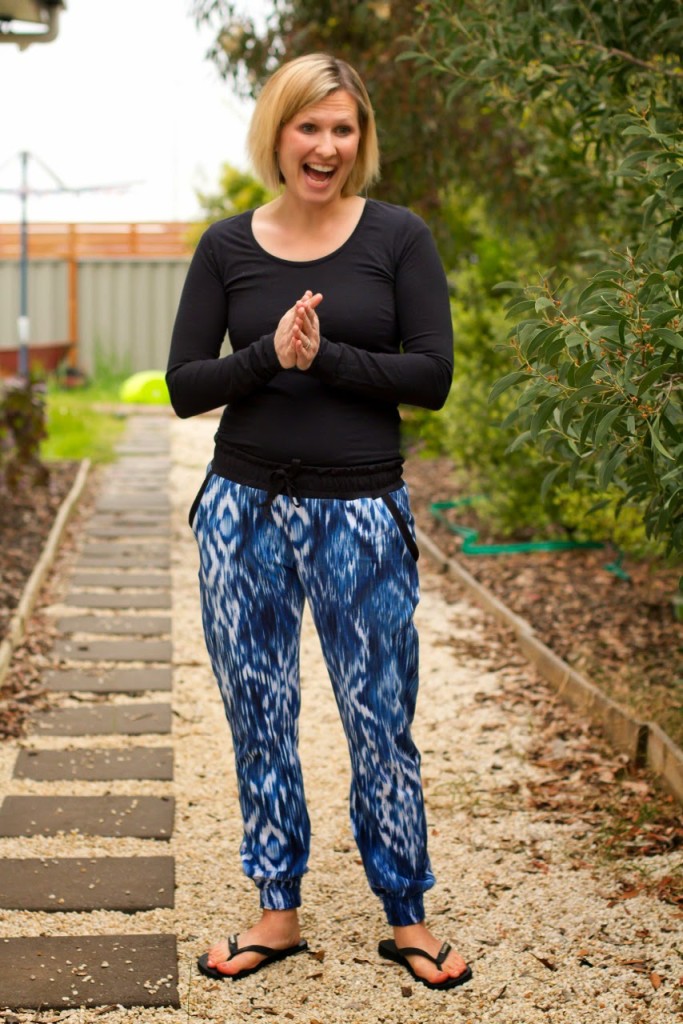
Last week I made myself a pair of Hudson Pants. This pattern has been on my “to sew” list since it was released, and I’m glad I hadn’t bought it yet because it is a part of the Perfect Pattern Parcel #6 so I managed to get this pattern + 5 other awesome women’s patterns in one!
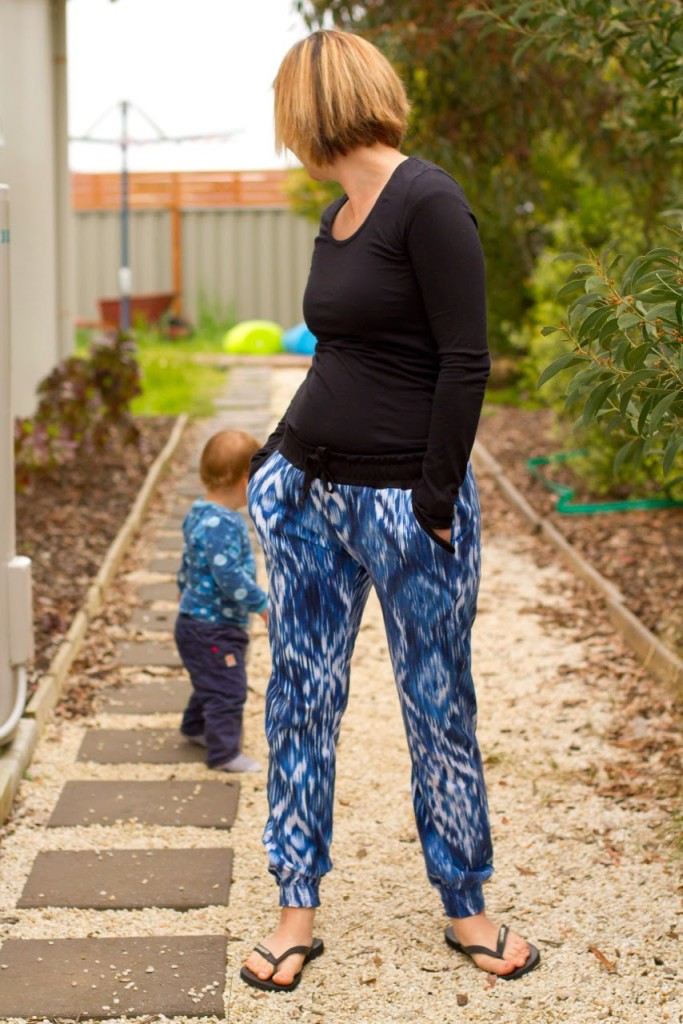
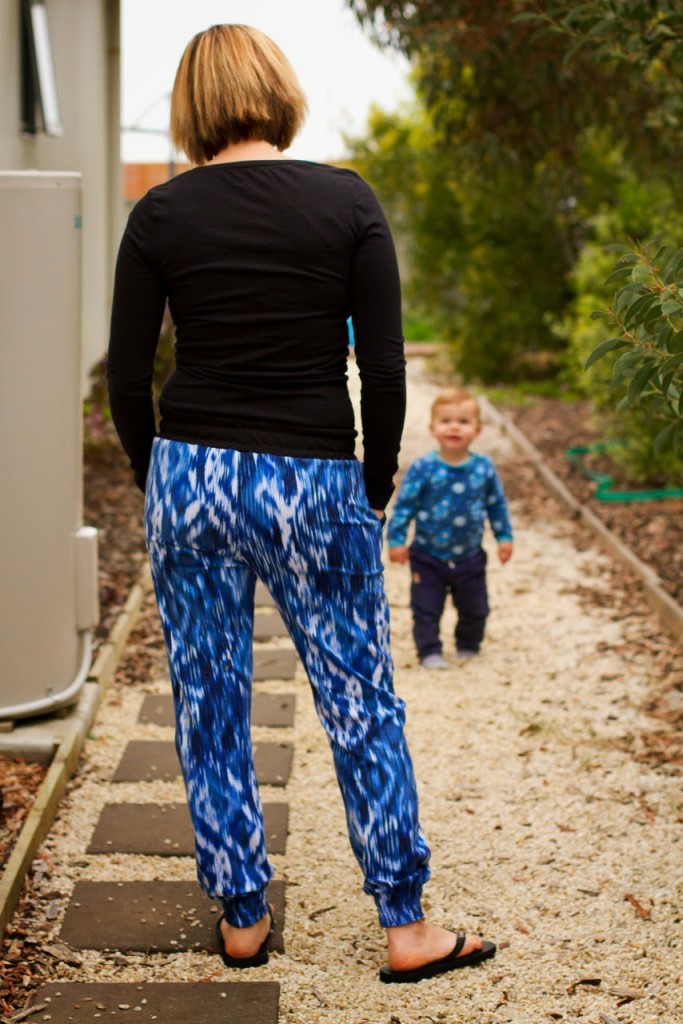
(I think I was singing a song with Harvey in the pic above!)
When I pulled out the pattern, I had a few moments of fabric indecisiveness…I had some light grey sweater knit or some dark grey velour or my (big) stash of jerseys to choose from. I was leaning towards the sweater knit or velour as the Hudson Pant pattern is for a pair of “dressier” trackies (if there is such a thing?!) but we are heading into Summer and I wanted something that I would be able to wear as the weather warms up and those fabrics would be too hot. Then I remembered this pair of pants I saw at the shops a few days before…when I saw them I made a mental note to try and construct a pair myself because they looked really easy to make and I knew I could totally kill that $60 price mark!
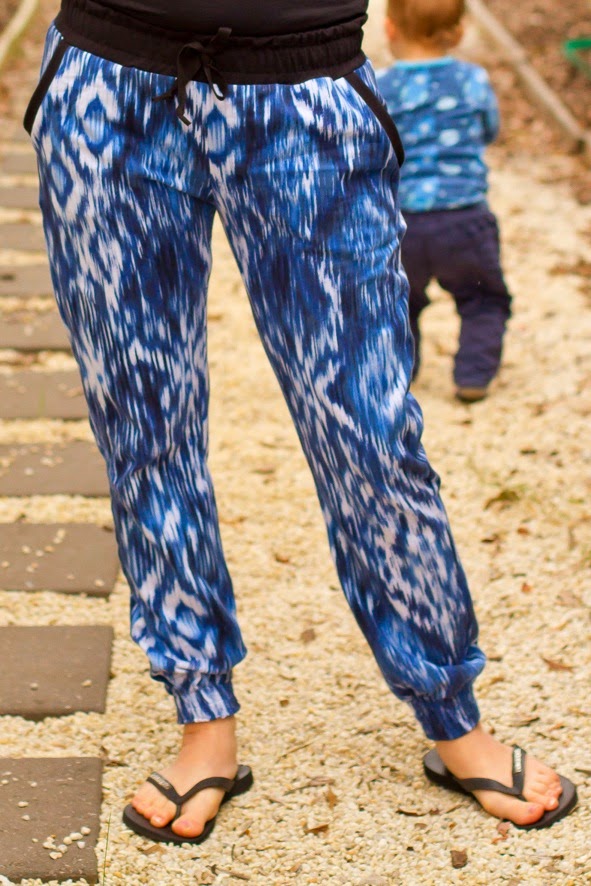
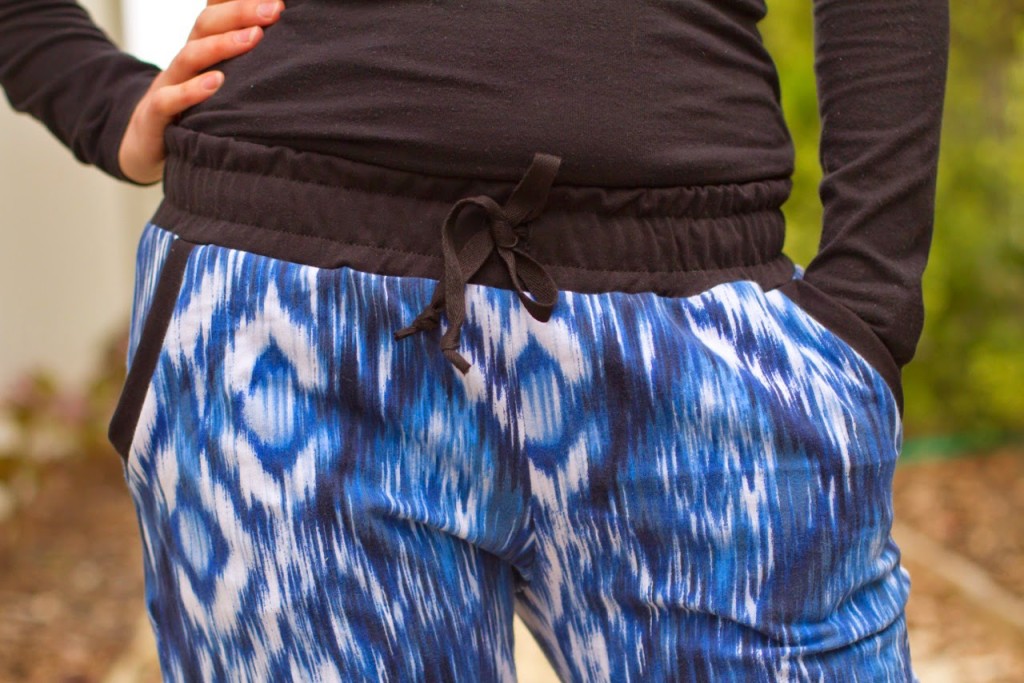
And this variation of the Hudson Pant was created! I decided to take the original pattern and change the bottom of the legs to give the pants more of a harem-feel. To do this, I simply straightened the legs instead of tapering them in at the bottom and then added 5″ to the length as I wasn’t adding a cuff to the leg hem. To hem the pants, I turned up a casing and inserted the same wide elastic as in the waistband.
I LOVE how they turned out and have been wearing them heaps! When the harem pant trend first started, I didn’t buy it at all. But seriously…now I get it! Who doesn’t want to be able to wear a pair of pants as comfy as pyjamas out and about??! I can’t wait to make some more, and want to try out the original cuffed hem too. This fabric is a ikat print cotton jersey from Ixat (not avaliable now.) I thought I might have been too flimsy for the pants, but it is actually perfect. Perhaps if I had stuck to the original cuffed pattern it might have felt a bit too much like leggings though?
If you are looking for a comfortable pair of pants you can wear practically anywhere – then give the Hudson Pant a go, it is awesome. I couldn’t fault anything in the pattern…the fit is spot-on, the instructions are just right. The perfect amount of instructions and nothing was confusing or hard to understand at all.
To get this and these FIVE other amazing women’s patterns at a great price AND support a charity at the same time, visit Perfect Pattern Parcel…it won’t be around forever, you’ve only got 4 more days to take advantage of this great offer.
Parcel #6 includes: Syrah Skirt by Lauren Dahl (exclusive release!) Bronte Top by Jennifer Lauren Julia Cardigan by Mouse House Creations Hudson Pant by True Bias Zsalya Dress by Kate and Rose
BONUS PATTERN: Odette Dress by Bluegingerdoll
Bonus Pattern: Choose a price of $32 or greater for Parcel #6 and you will automatically also be sent the Bonus Pattern! That’s only $5 a pattern. The Bonus Pattern for this Parcel is the Odette Dress by Bluegingerdoll. Vintage inspired silhouette is had two flattering necklines and a gorgeous skirt. The Odette Dress pattern goes from a size 4 through a 24!
How Pattern Parcel Works: Here at Perfect Pattern Parcel, we believe in supporting independent pattern designers. It’s our opinion that indie patterns are just, well, better than big box patterns, and we’re pretty sure our customers think so too. So, we allow customers to show their support in naming their own price for each Parcel. We also encourage customers to allocate part of their Parcel price to the charity Donorschoose.org in order to help classrooms in need. Pattern Parcel donates all profits after expenses from Parcel sales to the charity as well. Together we’ve raised over $12,000 for classrooms in need!
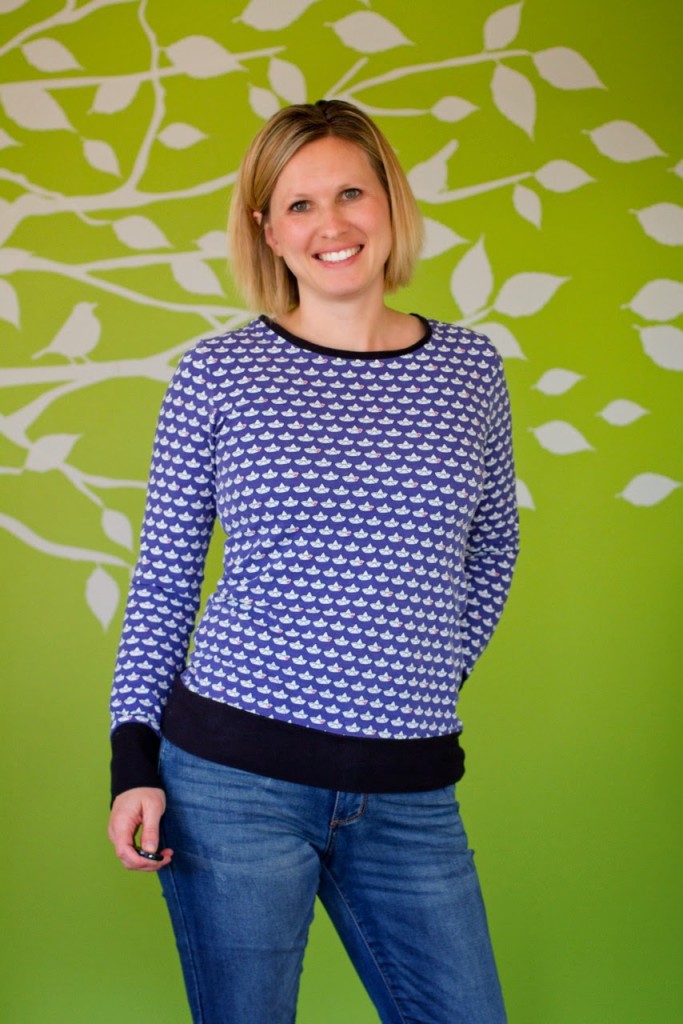
After making Spy Tops for the little girls I had on my to-do list to sew one for myself. By the time I got around to it, the weather wasn’t cold enough to commit to a cowl neck so I made a couple without the cowl.
These were fun to sew, super fast and it was a good
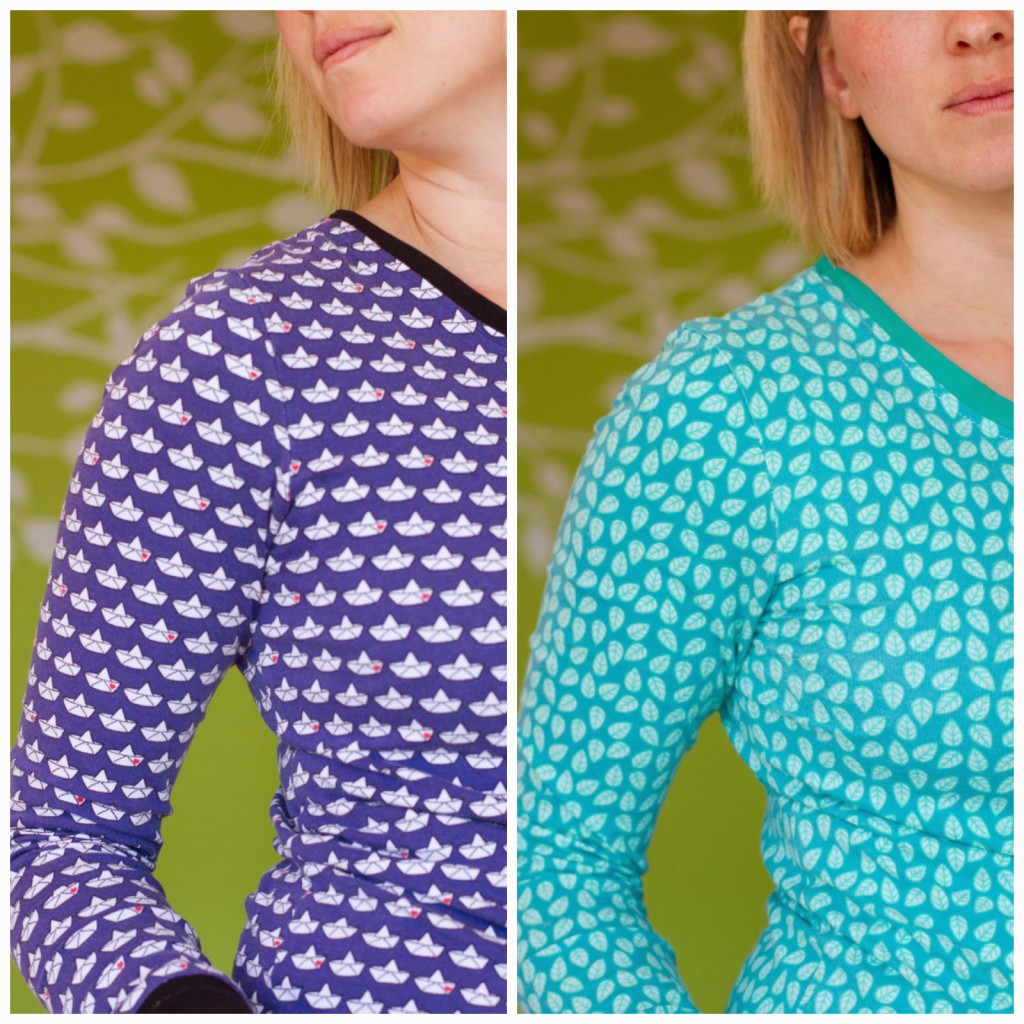
opportunity to put a few of those printed knits (both from Crafty Mamas) to use. I bought this
fabric with intentions to use it for myself, it is a German knit and the
quality is unreal. I used a black jersey for the contrast cuffs and like how it frames the print.
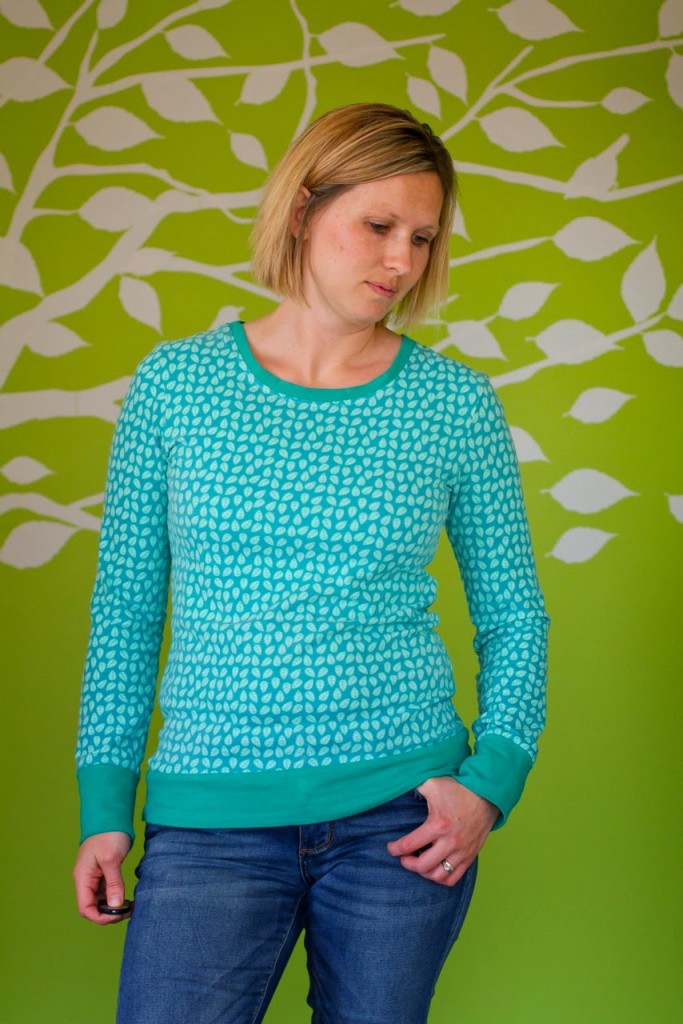
This Lillestoff print is a little less “out there” but the tone-on-tone leaf print is enough to give a bit of interest.
The pattern was drafted using my Skippy dress as a base. I took the top portion and modified it heaps – removed the gathers from the sleeves, brought in the side seams a bit for a more slim-fit, added some length then finished it off with wide cuffs on the hem and sleeves.
There are lots of top patterns around now, I don’t know if anyone would be interested in this one or if you can just draft your own? What do you reckon? If enough people are interested I could write up a pattern for this – and include the cowl neck option and perhaps a couple of other variations? These tops have been on high-rotation in the wardrobe lately, just right for that in-between seasons change.
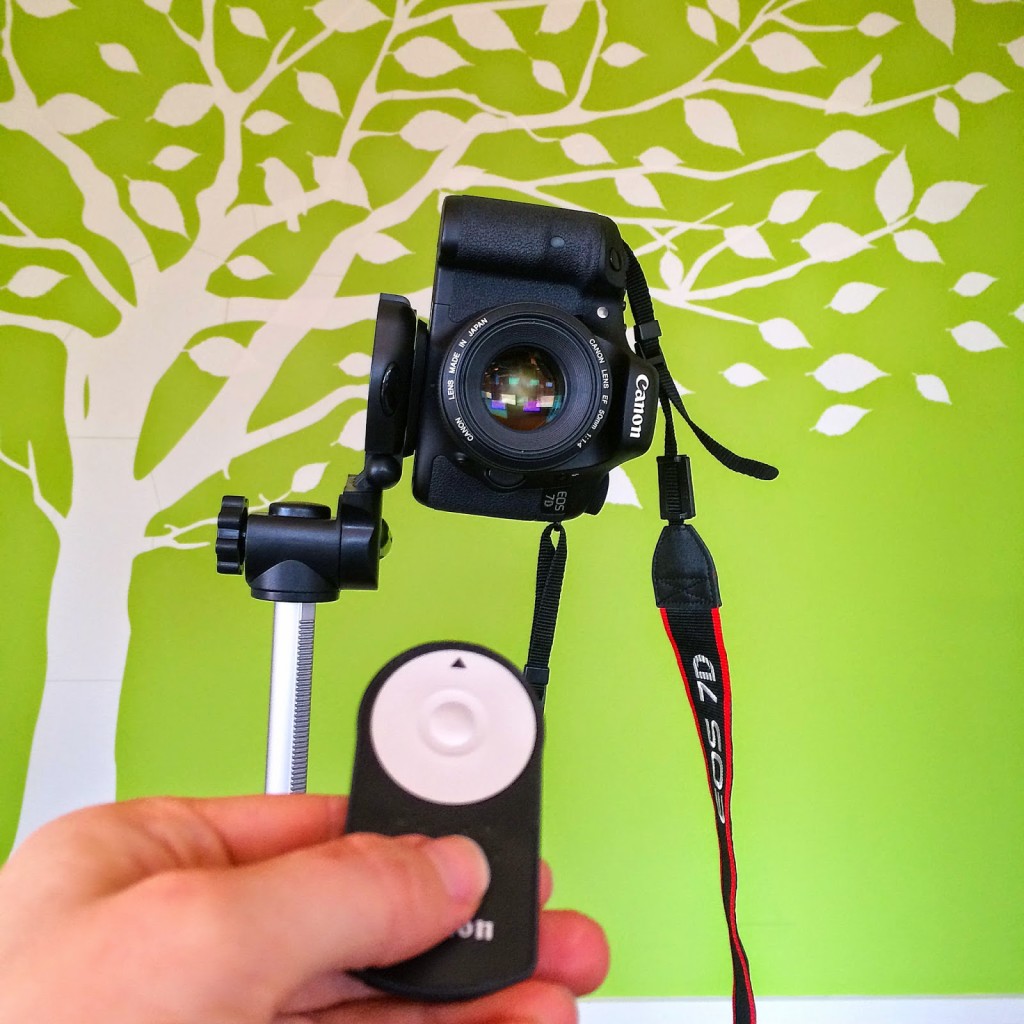
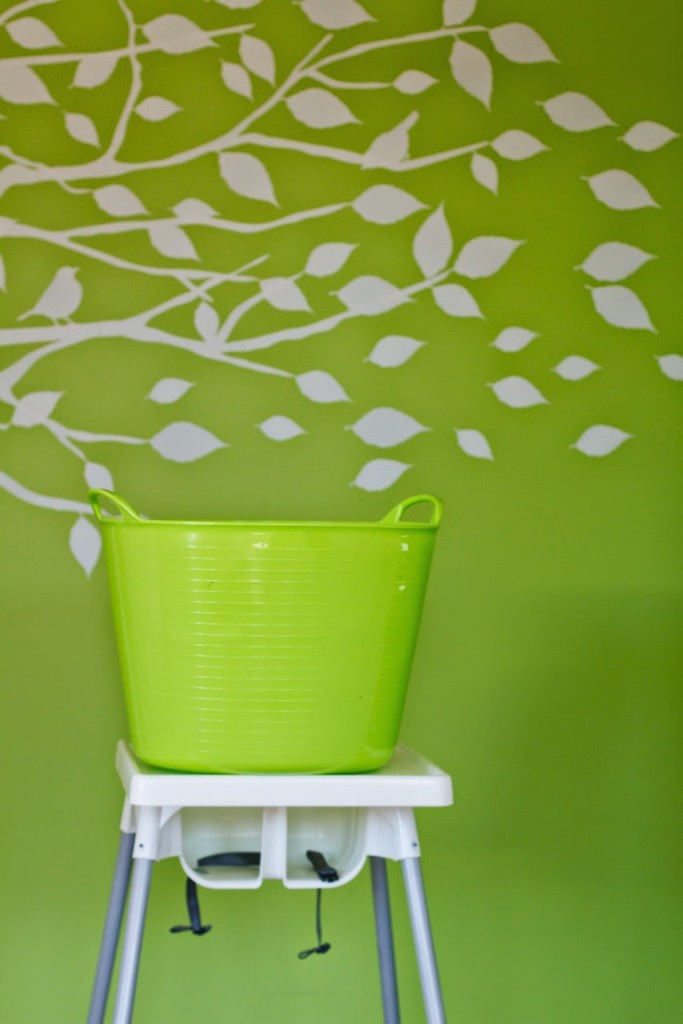
And for the first time ever I pulled out my tripod and remote and took these photos myself! It took a bit of figuring out, but I found that it was easier to take them inside than outside for some reason. I rigged up a plastic basket on the highchair to focus on before I jumped in front of the camera! Apparently my camera and remote are supposed to have a timer function on them so that I can press the button and then hide it from view before the camera actually snaps the pic but it wasn’t working for me so you can see the remote in all of the photos!
SUPPLIES: Swaffing, Cherry Picking, Love Boat in Blue jersey Black jersey Lillestoff, Leafly in mint jersey Robert Kaufman, Laguna in Emerald jersey
I know what you are thinking…anotherSkippy post? Sorry…(not sorry) I’ve got lots to share!
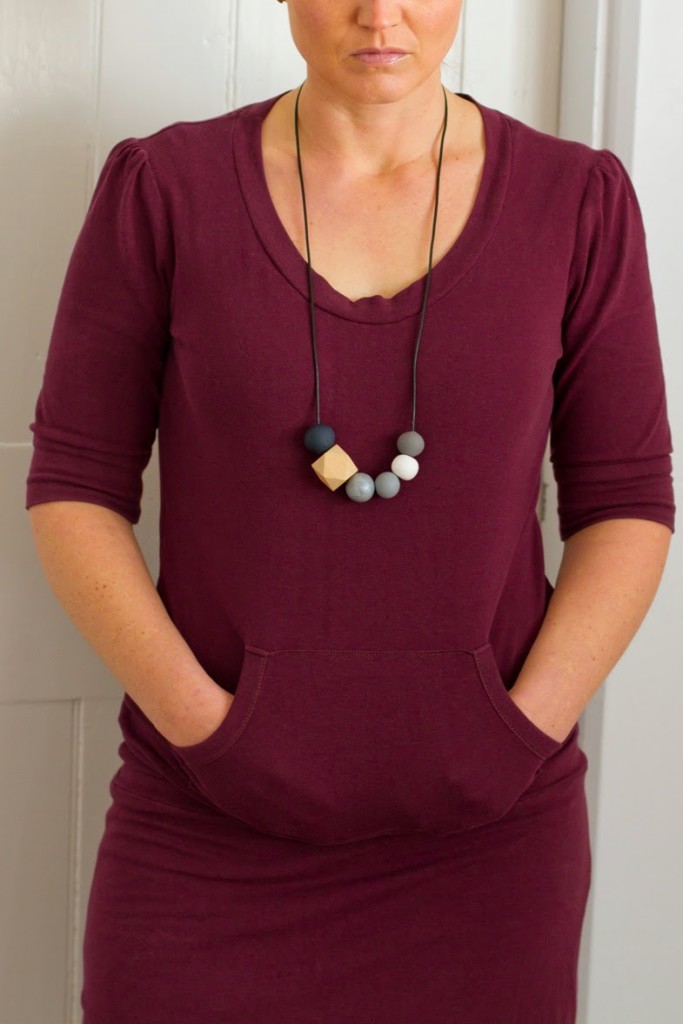
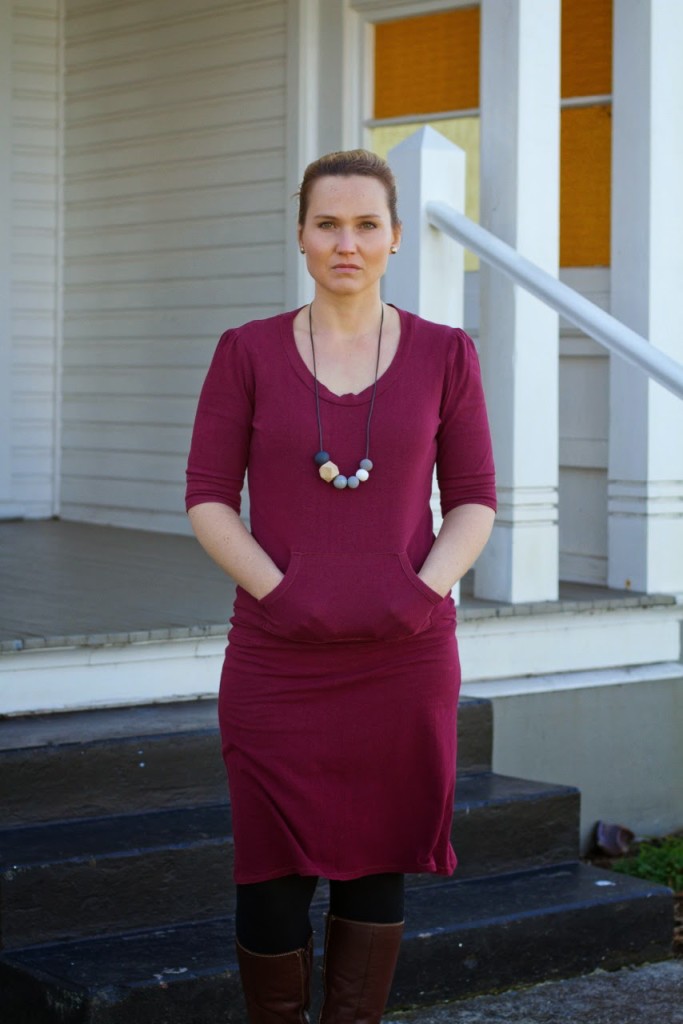
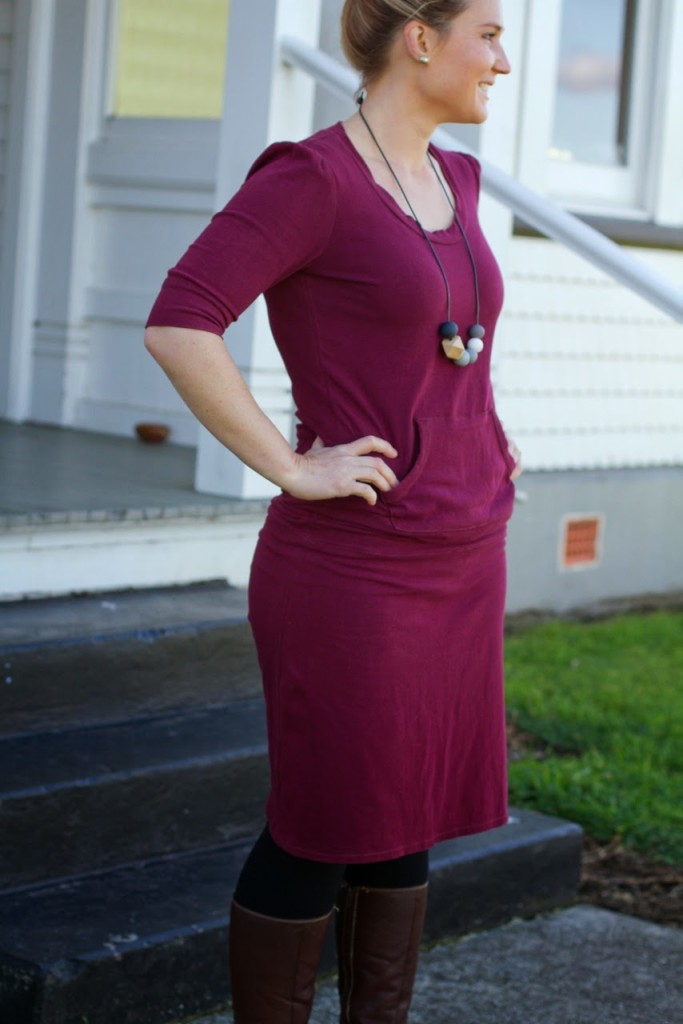
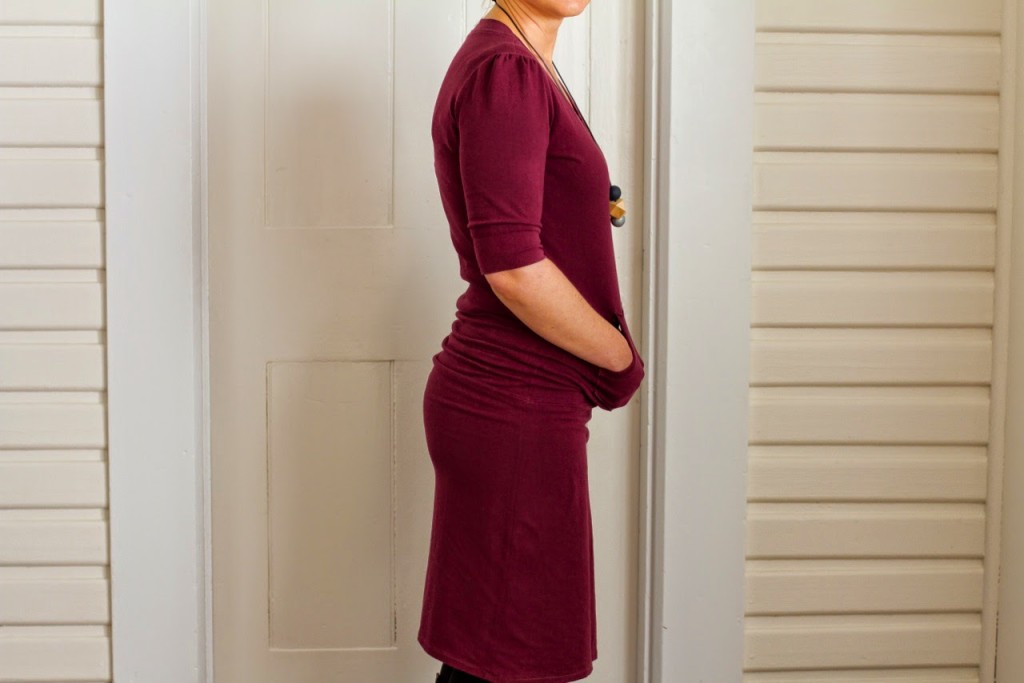
This maroon one was the very first Skippy I made. I used this fabric because I knew that I wouldn’t be disappointed if it didn’t work out. The fabric quality is great, not sure what it is as it was given to me but feels like a jersey that has a bit of lycra content as it has great stretch and recovery and isn’t thin or flimsy. But the colour just didn’t do much for me. I don’t think I have anything maroon in my wardrobe and just don’t feel comfortable in it.
Turns out, the dress worked out pretty well first time around, too good to not be worn, so my big sister scored herself another Skippy!
Maroon is also a really hard colour to photograph. It isn’t as dull as in these pictures. I’m not sure what else to say about this one that hasn’t already been said…feminine gathered 3/4 length sleeves, a pocket to stash your hands and as comfortable to wear as your favourite pyjamas!
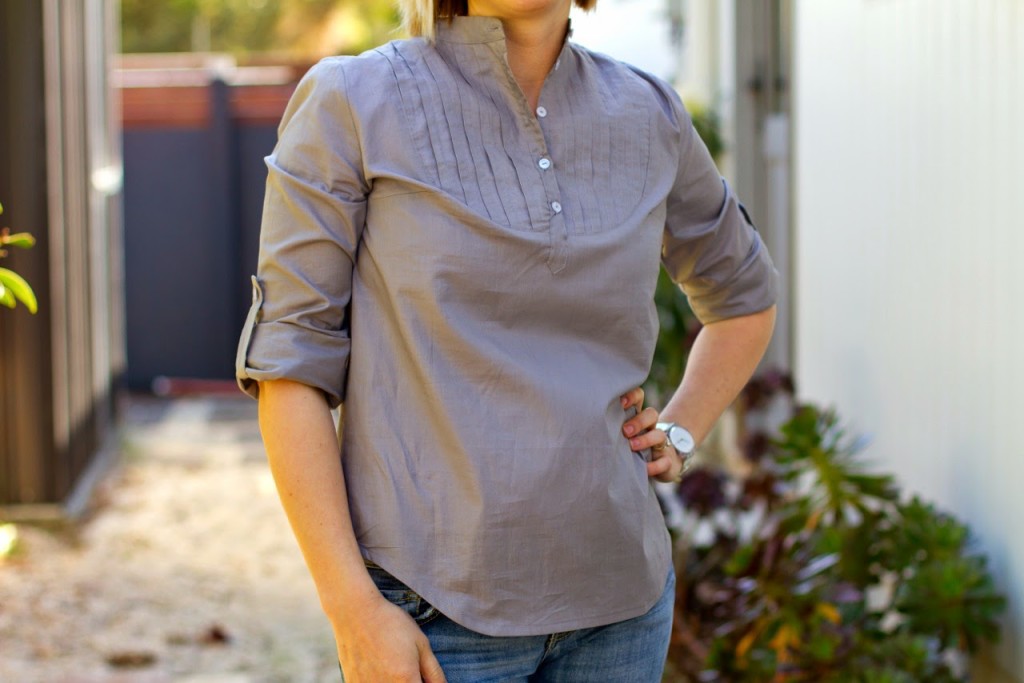
A few months ago I was browsing Kollabora when I came across thesetwo pretty white blouses. I’m a sucker for a white blouse and at the moment I have none in my wardrobe. This pattern – the Carme Blouse by French designer Pauline Alice looked like it would be a great way to add fill the blank spot in my wardrobe but alas, I had no white fabric in my stash so decided to test out the pattern with this grey voile that I bought from Lincraft in an online sale recently. Who buys plain white fabric anyway? I must remember to collect some next time I’m doing some fabric shopping!
As much as I love the finished blouse, it was a nightmare to put together. Mostly due to my silly mistakes, but the pattern could have done with a bit more detail in the instructions and some extra diagrams. I definitley don’t think I would have made the mistakes if the instructions were more thorough.
The thing I loved about the design is the pleated front yoke. It was really easy to make – you sew the pleats into a rectangle of fabric before using it to cut the yoke piece from but I was stung when sewing in the front placket. Not once, but TWICE! I could have cried!! Especially after all of that work sewing the pleats, my placket ended up off-centre both times. The instructions just weren’t clear enough, and even though my instincts were telling me to sew the placket in the centre of the yoke (and I’ve sewed plackets a lot so I should have just gone with my gut!) the instructions made me think that the placket should have been placed off centre….argh!
This is the first project I have tackled in a long time which has sat half-finished for a couple of weeks – I was mad about it! Anyway, I finally got it together and finished it, but only just scraped in with enough fabric to re-cut the yoke and placket pieces three times!!
I also love the option of rolled-up sleeves – probably how I will mostly wear it, but I like being able to unroll the sleeves to wear under a jacket without as much bulk too.
I sewed a size 36 and am satisfied with the fit. Looking at these photos, there is some funny bunching up of fabric just under the curve of the yoke, but after looking at a few other finished blouses it seems as though most people have the same problem unless they have no boobs. It really doesn’t bother me that much, probably a lot more noticeable in still photos than when I’m moving around in real life.
The fabric is fine, nothing to gush about but it’s a very easy colour to wear and feels nice. Plus, it was cheap (I got mine half price) so makes for a good wearable muslin. It does crease really well which is great for the pleats to stay in place but not so great if you can’t handle creased clothes. It doesn’t really bother me in a shirt like this.
There will be another Carmel. It will be white and I will not make any mistakes with the placket next time! Stay tuned!

 I’ve had a 2 1/2 year break from quilt making. The last one I made was very special and there hasn’t been a need for a new quilt until now. New house = new bedrooms = new quilts. Well, I guess I could go out and buy bedding, but that’s not my style. Any excuse to get creative, right?!
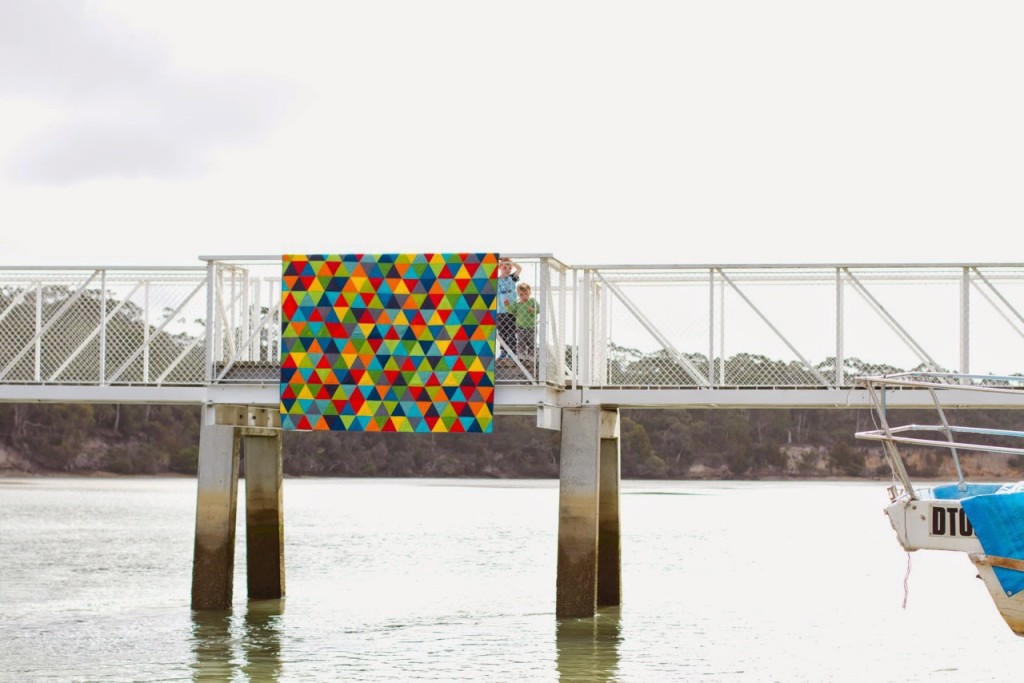
 When I first started cutting and piecing triangles, I totally underestimated how many I would need to make the quilt big enough and ended up cutting and piecing more and more rows until it finally worked! At the moment Oscar only has a single bed, but when Harvey moves out of his cot we will do a bed shuffle and will buy a queen sized bed for Oscar. This quilt is made with forward planning in mind, but can sit folded in half on his bed now anyway!
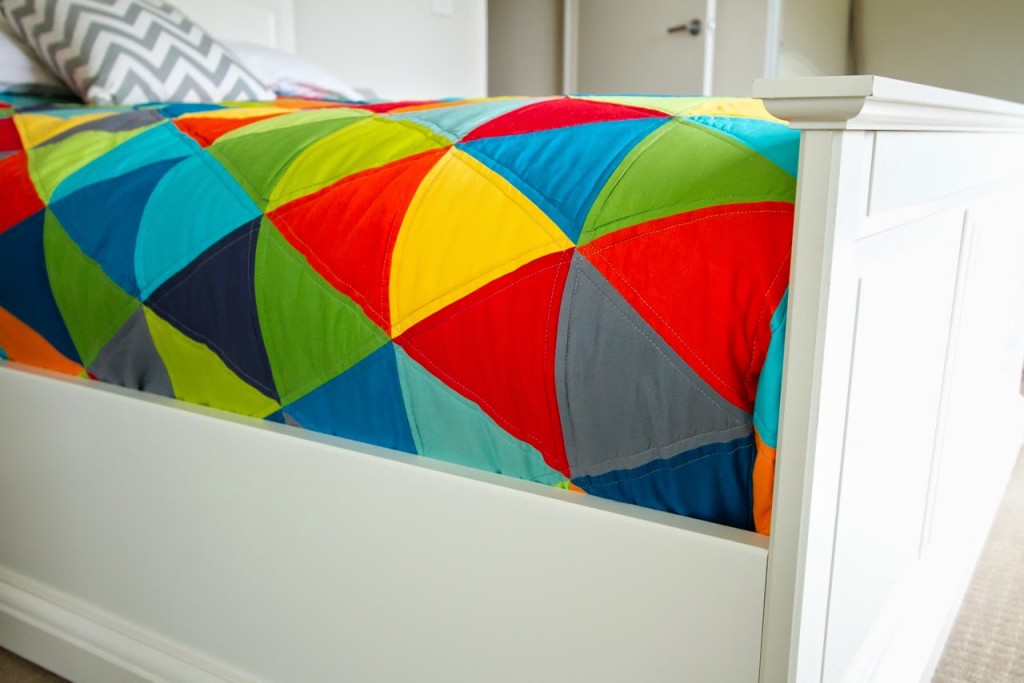


 After making