Lil’s birthday is coming up in a couple of weeks and I am trying to make more of an effort to only give the children things that I KNOW they will get great use out of and will not end up becoming clutter in our house.
After talking with my sister about it she convinced me that playsilks were the way to go. It made perfect sense. Out of everything that gets played with in our house, my fabric stash is always getting pulled apart and used as blankets, dress ups, picnic blankets, roads. I think I spend more time folding and putting my fabric away than I spend picking up toys at the end of the day! This website gives some great ideas and uses for playsilks.

So, I could have gone an purchased a set (these ones look great!) but after doing a bit of research, I discovered that plain white silks could be purchased online and then dyed with Kool-Aid. I’m a do-it-yourself girl, and if I can make it then I won’t usually buy it. Plus, it ended up heaps cheaper this way.

You can find instructions for dyeing playsilks lots of places on the internet, but I thought I’d share my “how to” with you.
First of all, you will need to buy some plain white playsilks. I ordered mine from here. They came really fast too. I was only planning on buying 7 or 8, but shipping was about $10 so I kept adding extra silks to my shopping cart until the shipping increased. I bought 19 silks and only paid $10 shipping. There are heaps of sizes to choose from, I got the 30″ x 30″. I know I don’t need 19 playsilks but I figured I would hang onto them for presents or something – my friend came to visit last week and bought a few off me, so that was an easy solve!!

You will also need Kool-Aid. I bought mine of Ebay as it is not readily for sale in shops in Australia. You will need THREE of each colour/flavour you wish to use.

To prepare your silks for dyeing, they need to soak in a bowl filled with boiling water and about 1/2 cup vinegar for half an hour.

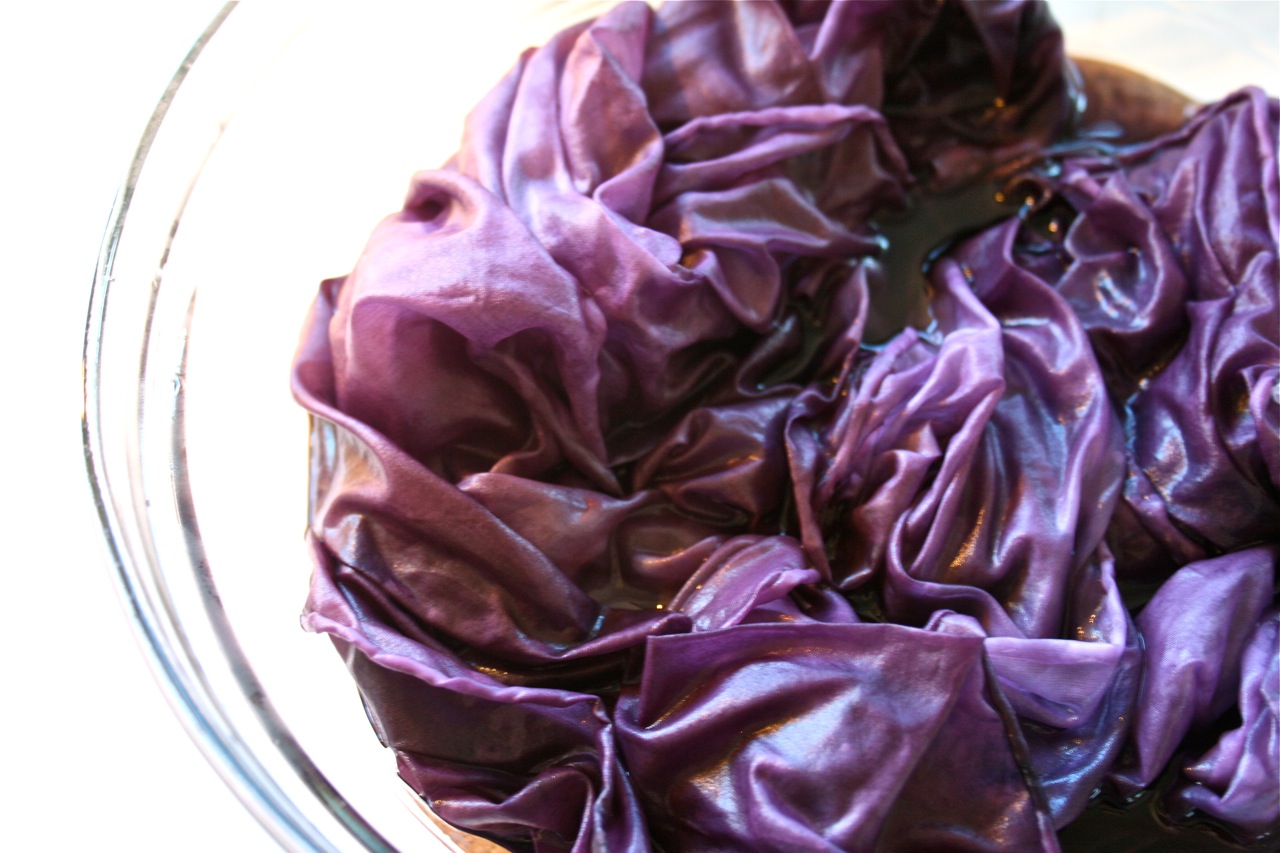
In a large glass or microwave-safe plastic bowl, mix together 2 cups boiling water, 1/2 cup vinegar and 3 packets of Kool-Aid. Place silks in Kool-Aid mixture to dye. I found that the dye clung to the silks really quickly and seemed to get sucked out of the water (it was pretty cool actually – can’t believe people drink the stuff!!!). Most of my silks ended up being a bit patchy in colour…I don’t think you can avoid this unless you are using a lot more Kool-Aid/water and a huge bowl. I did find that I could make it as even as possible by trying not to fold/scrunch the silk up and getting as much surface into the liquid as I could at the beginning. I actually dyed 2 silks each colour. For this ratio of Kool-Aid/water you couldn’t dye more than two 30″ x 30″ silks – there wouldn’t be enough liquid.
Put some plastic wrap over the top of the bowl and place in the microwave on HIGH for 3 minutes. Take out and rest on the bench for 3 minutes, then stir. Repeat this process two more times.
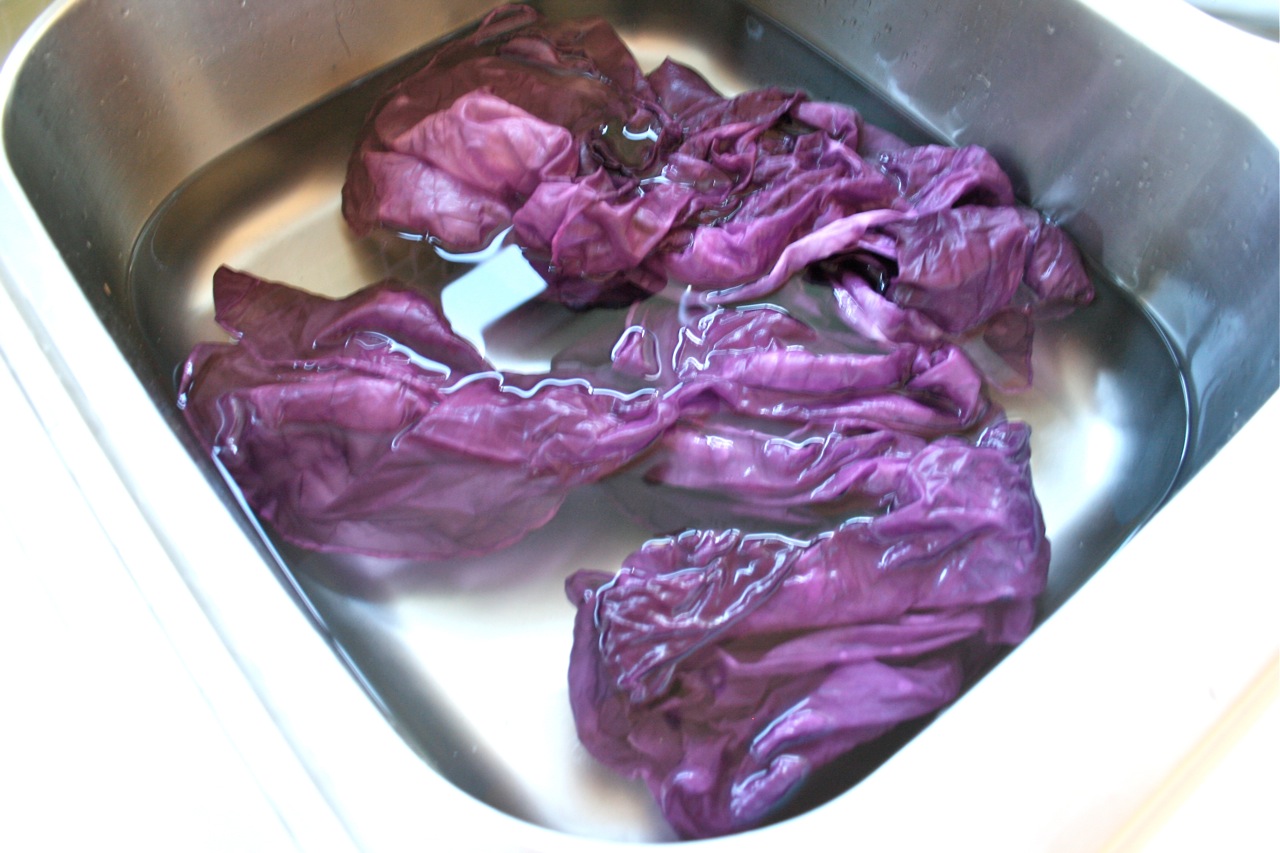
Place in a sink of cold water to rinse out any remaining dye.
Hang on the line to dry and you are done!!!

I ended up with a lot of red silks because the set of Kool-Aid I bought had a few red coloured mixes in it. I thought some of them might come out more pink, but they all looked pretty much the same.
These are going into hiding until Lil’s birthday – I know she is going to love them though and will be sure to share later on 🙂
If you want to have a go at doing this yourself, I thought I’d share which Kool-Aid mixes I used to make each colour playsilk – hopefully will help to take the guesswork out of choosing which flavours to buy!
BACK ROW L-R:
Strawberry, Grape, Ice Blue Raspberry Lemonade
MIDDLE ROW L-R:
White…I didn’t dye this one, Cherry, Orange
FRONT ROW L-R:
Tropical Punch, Lemon-Lime, Lemonade, Pink Lemonade